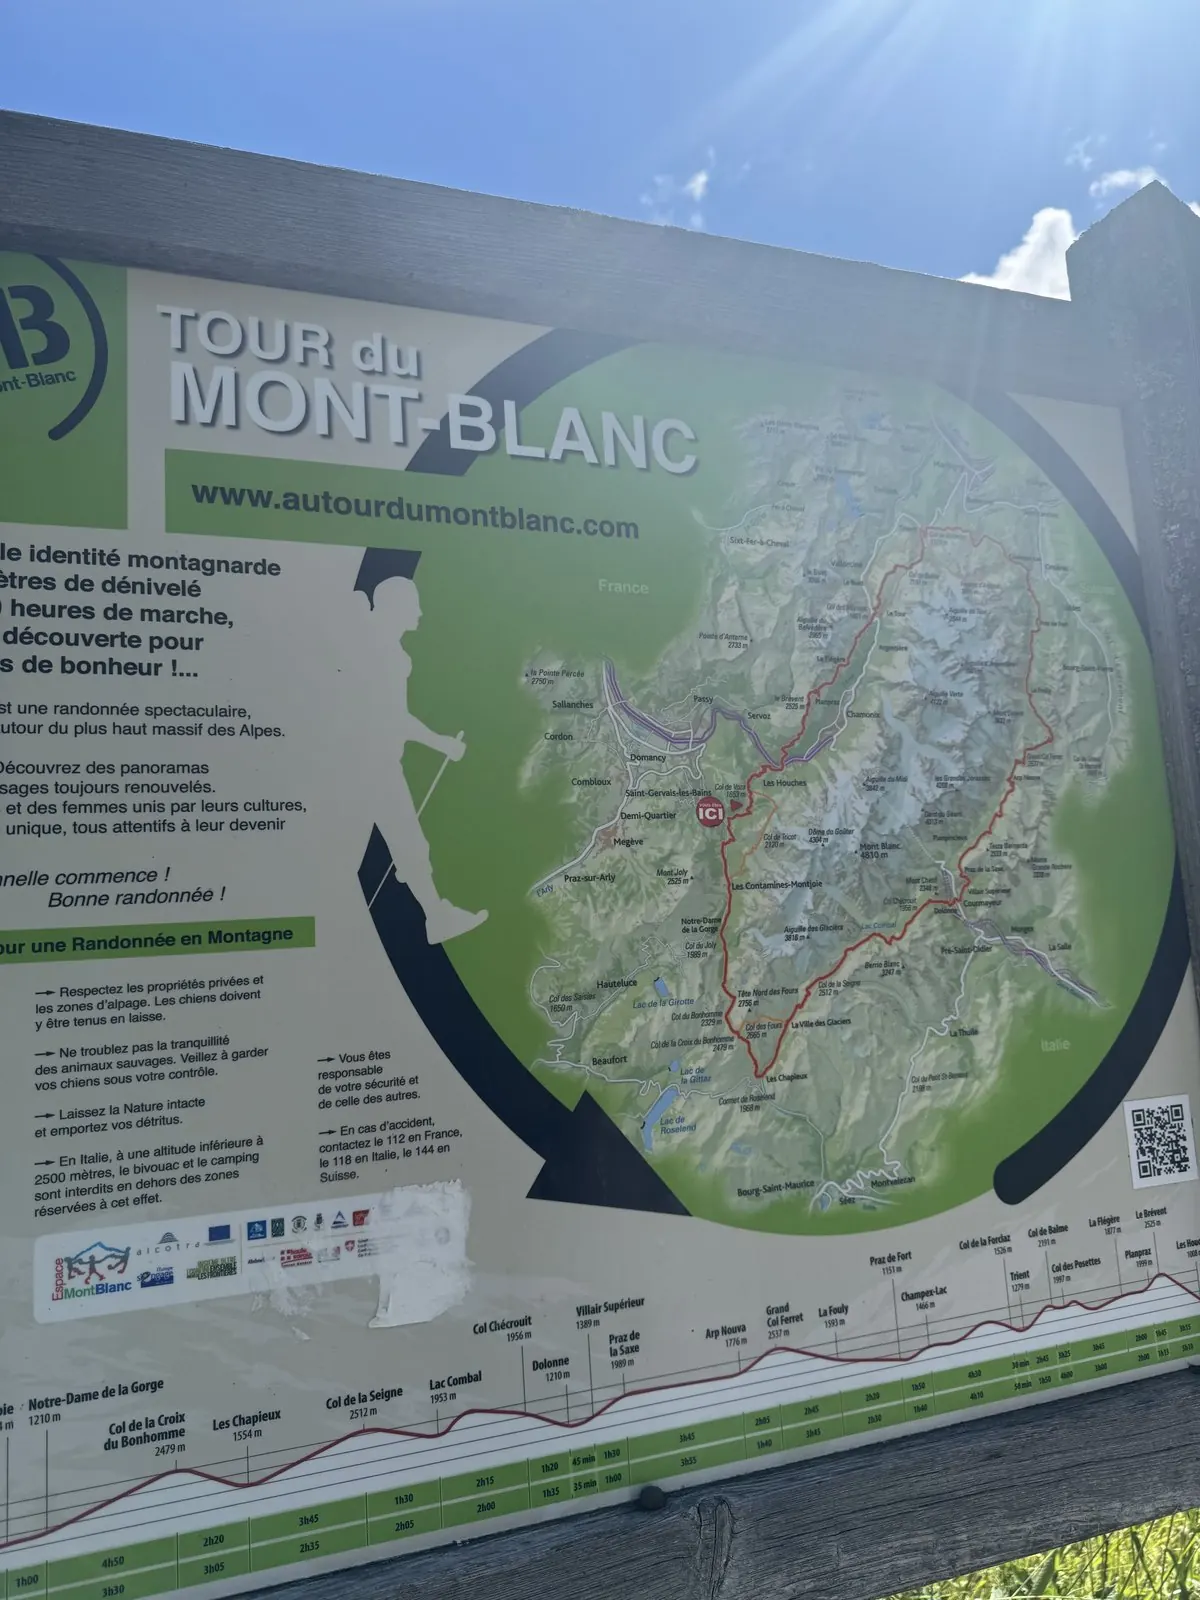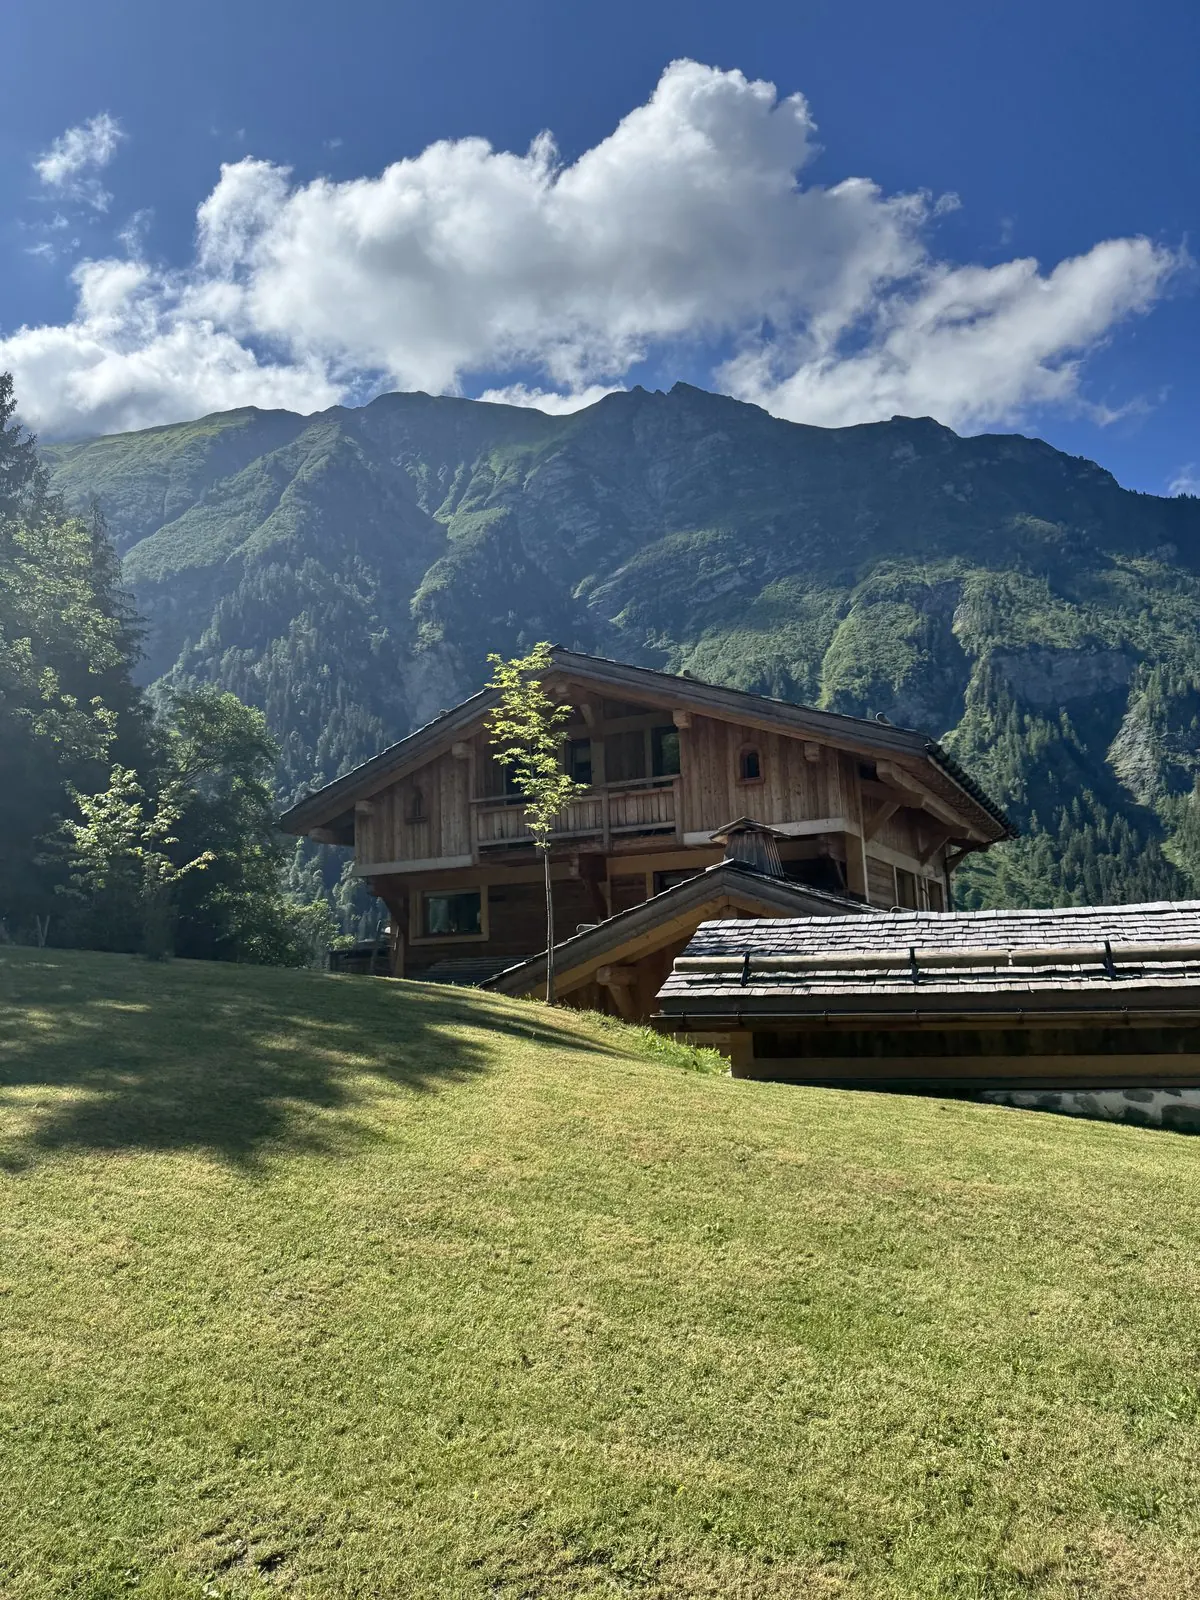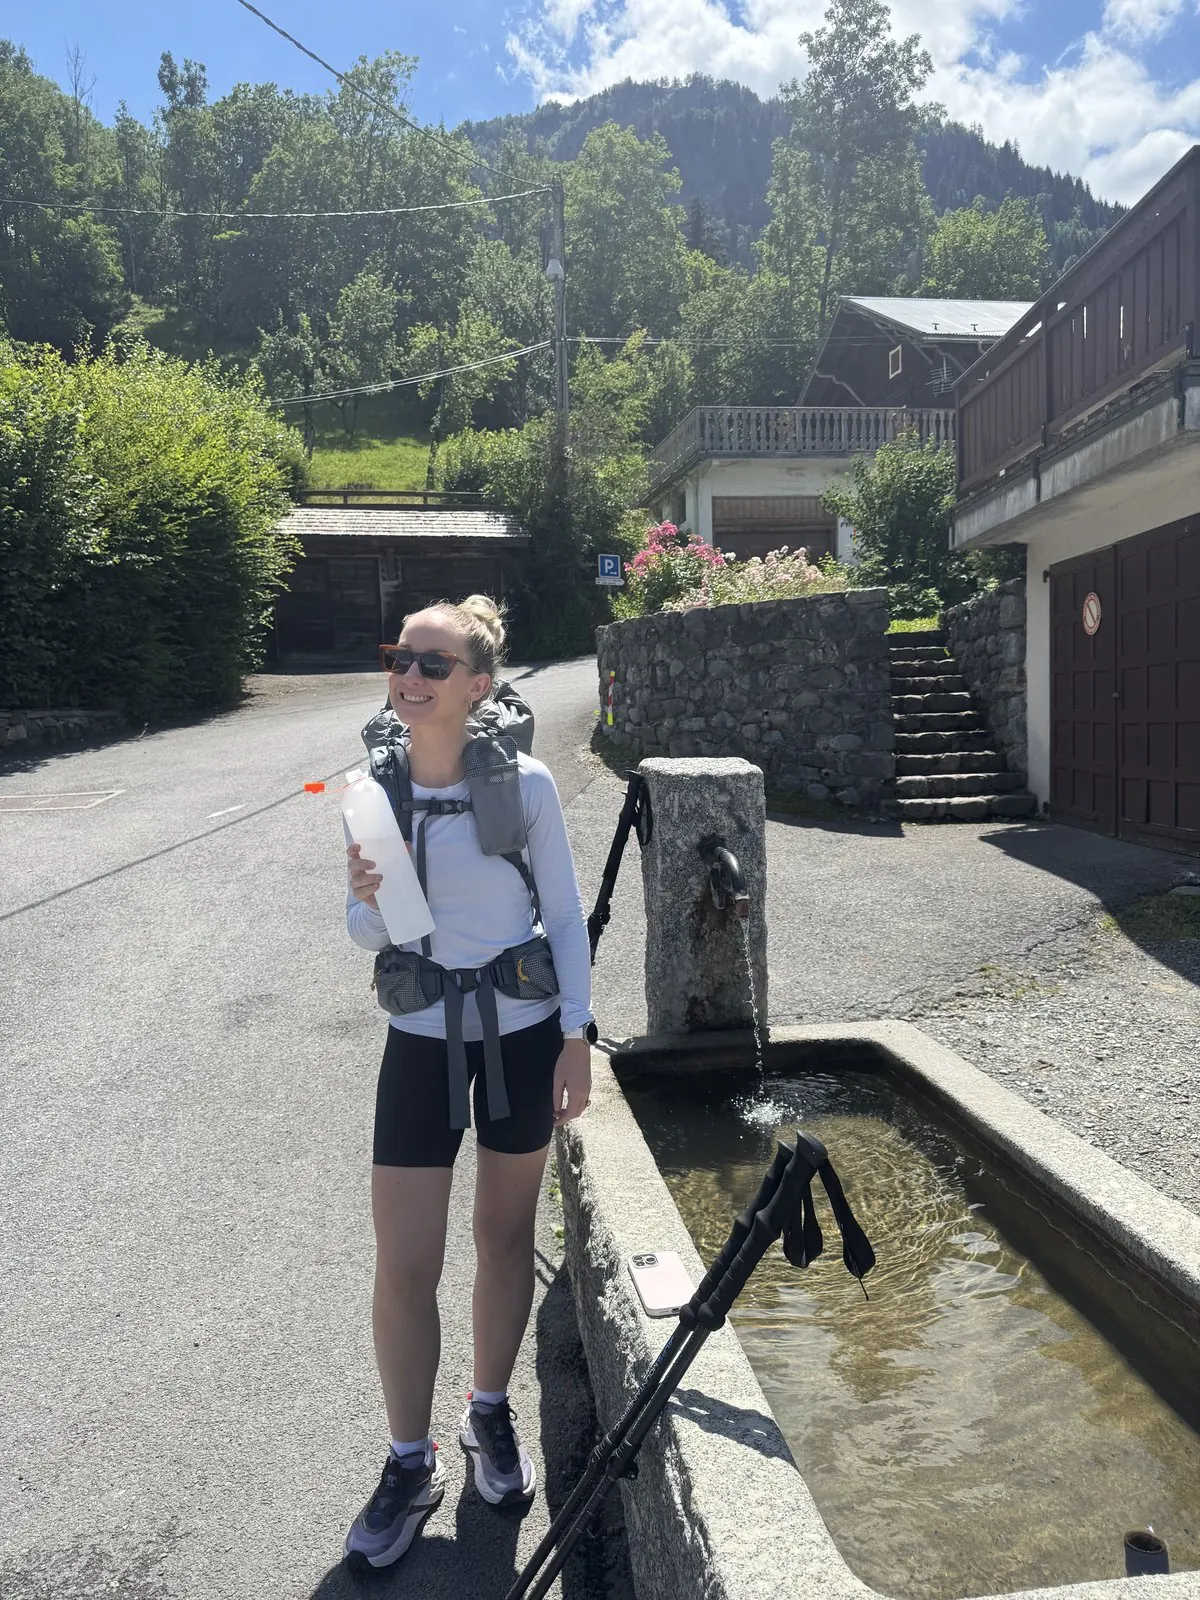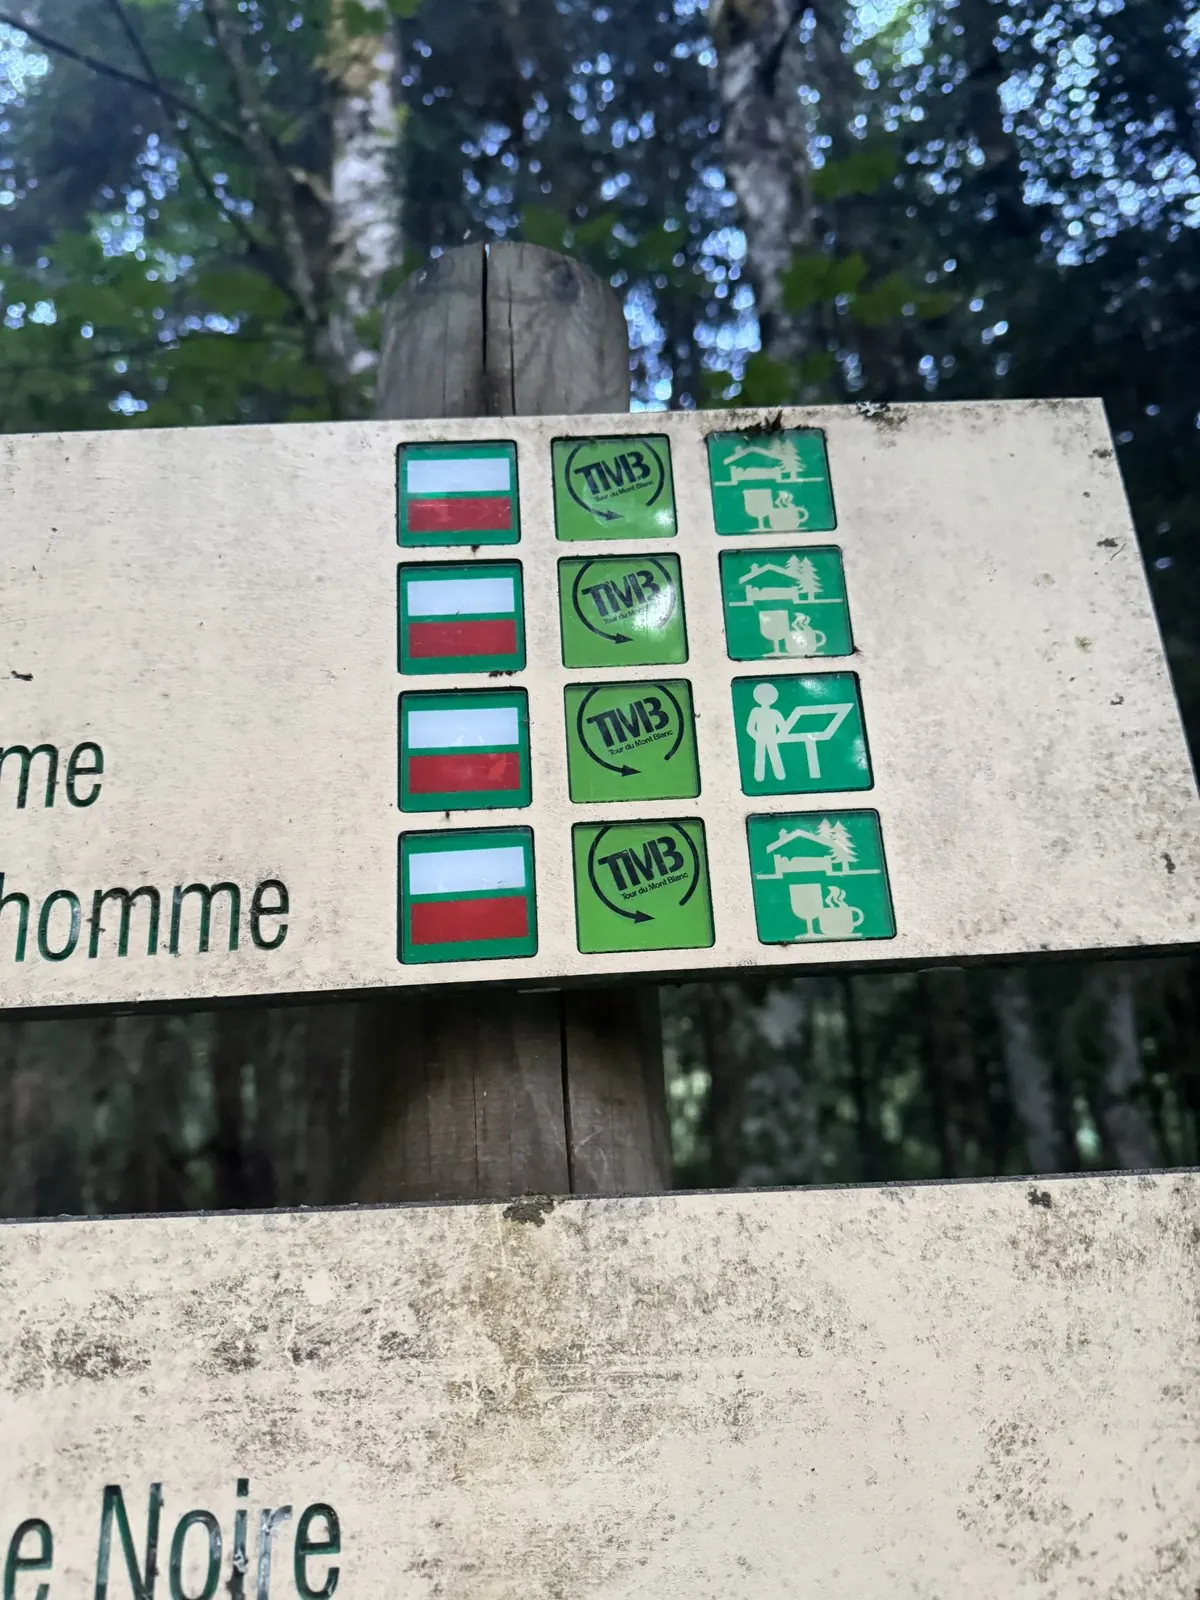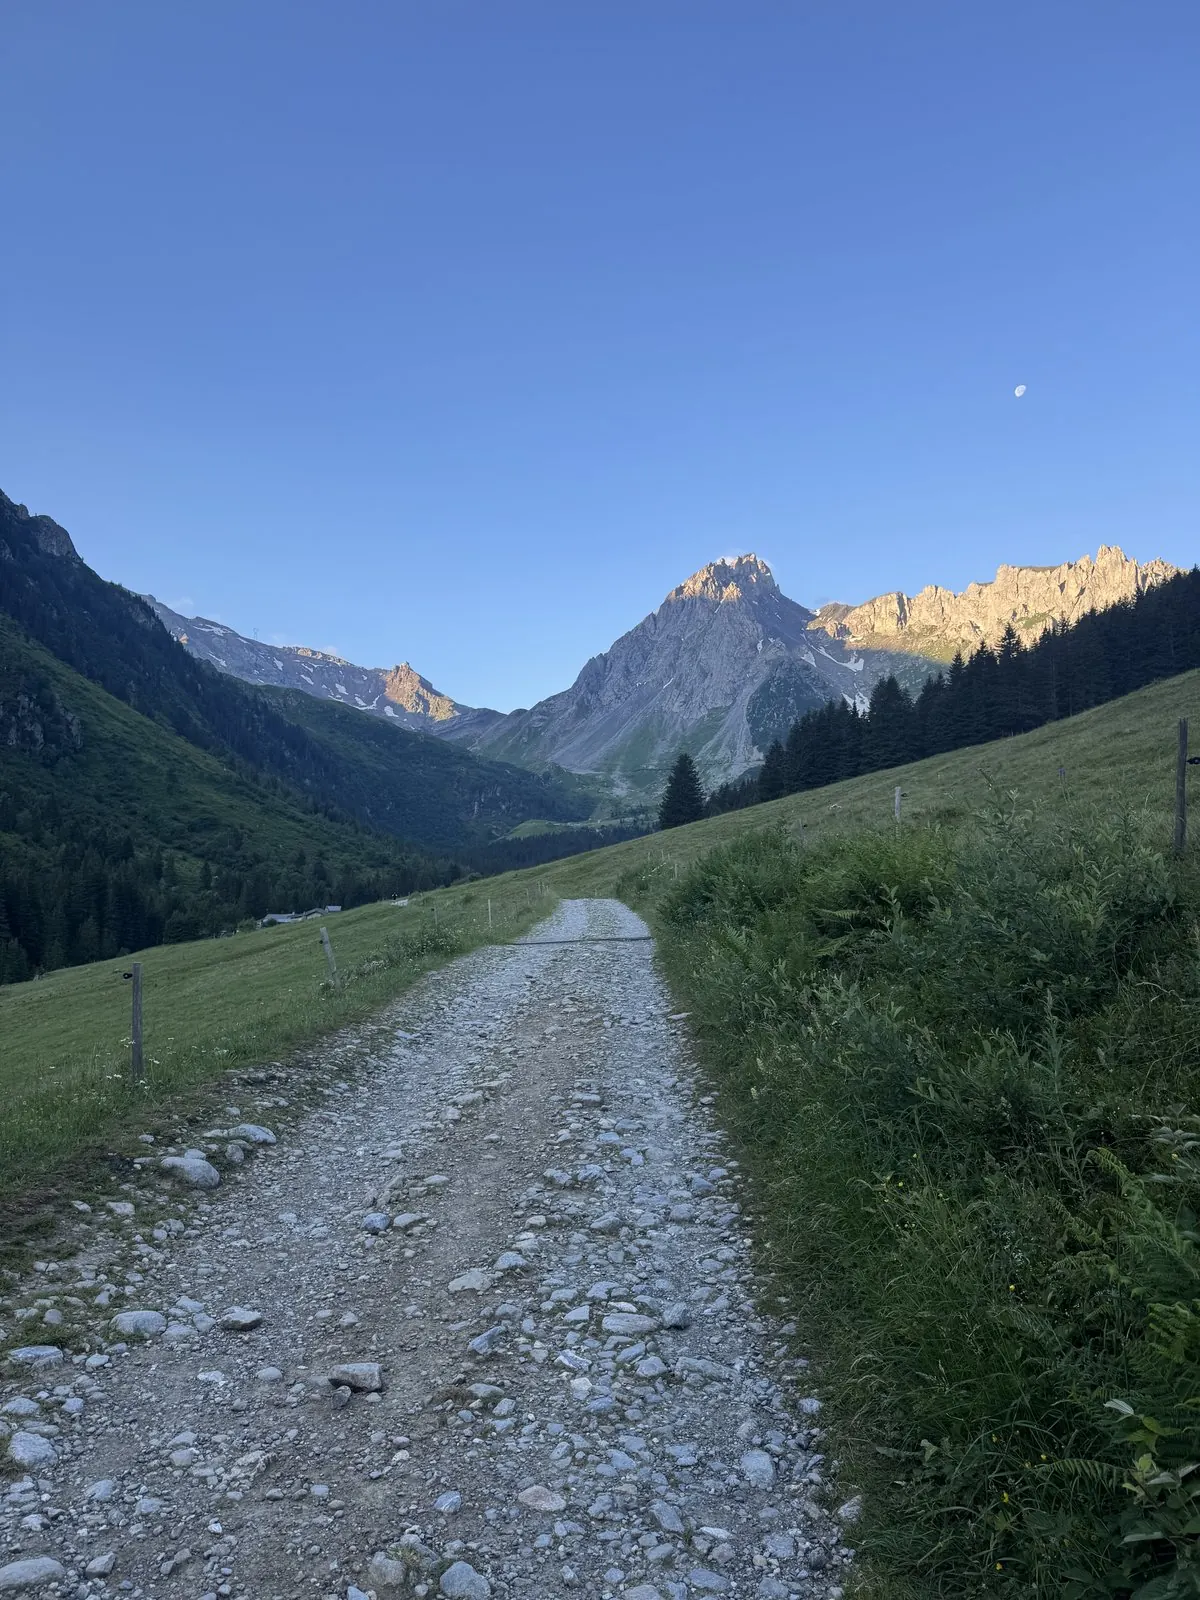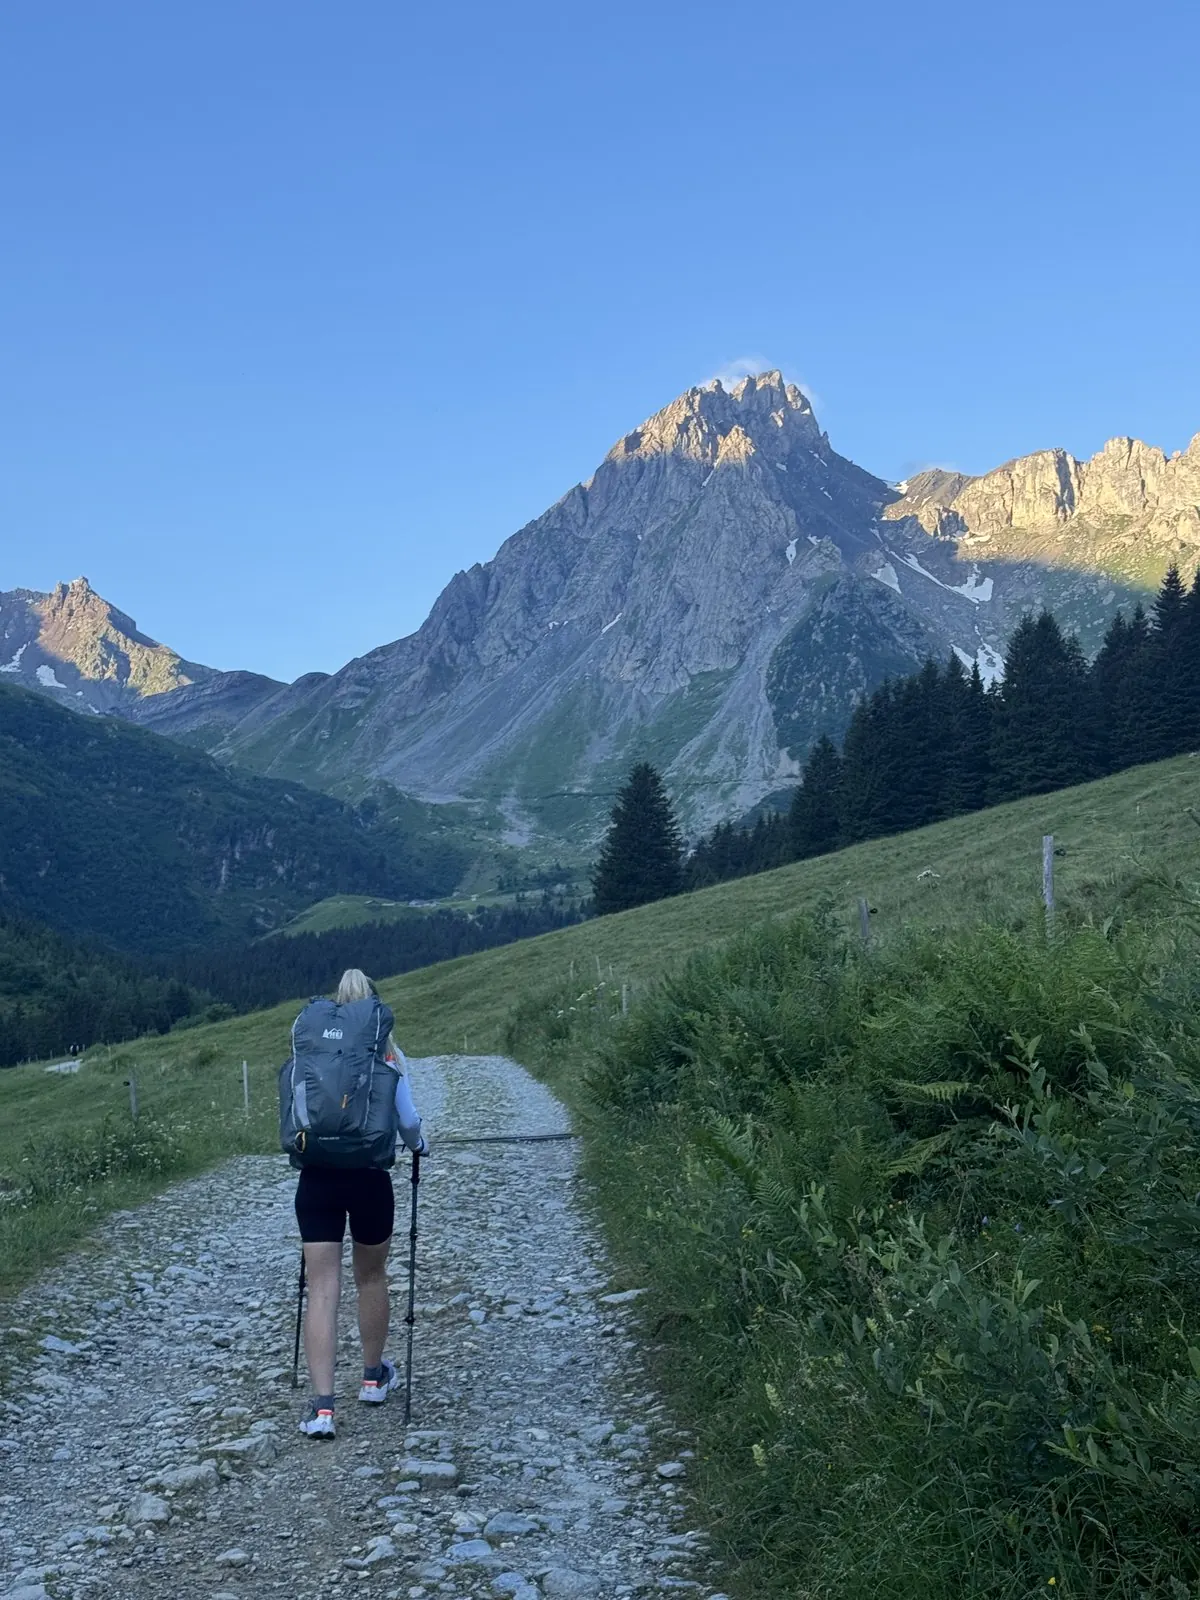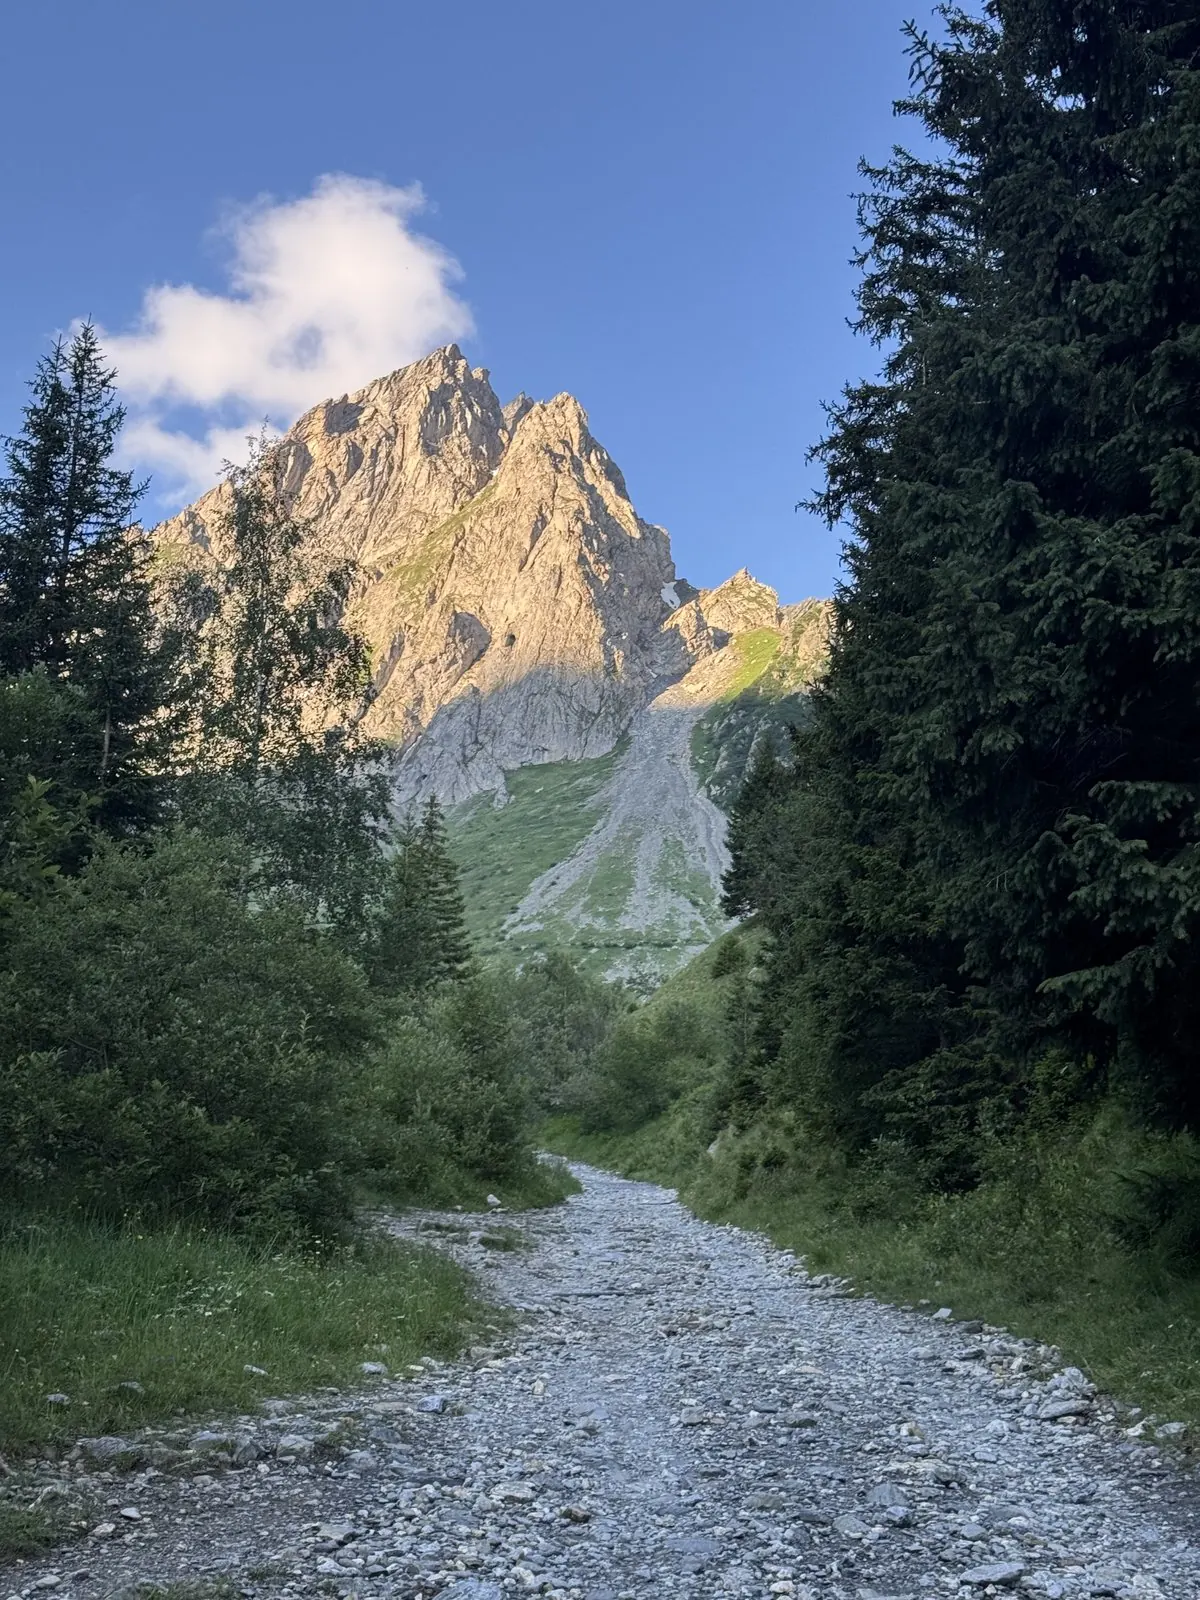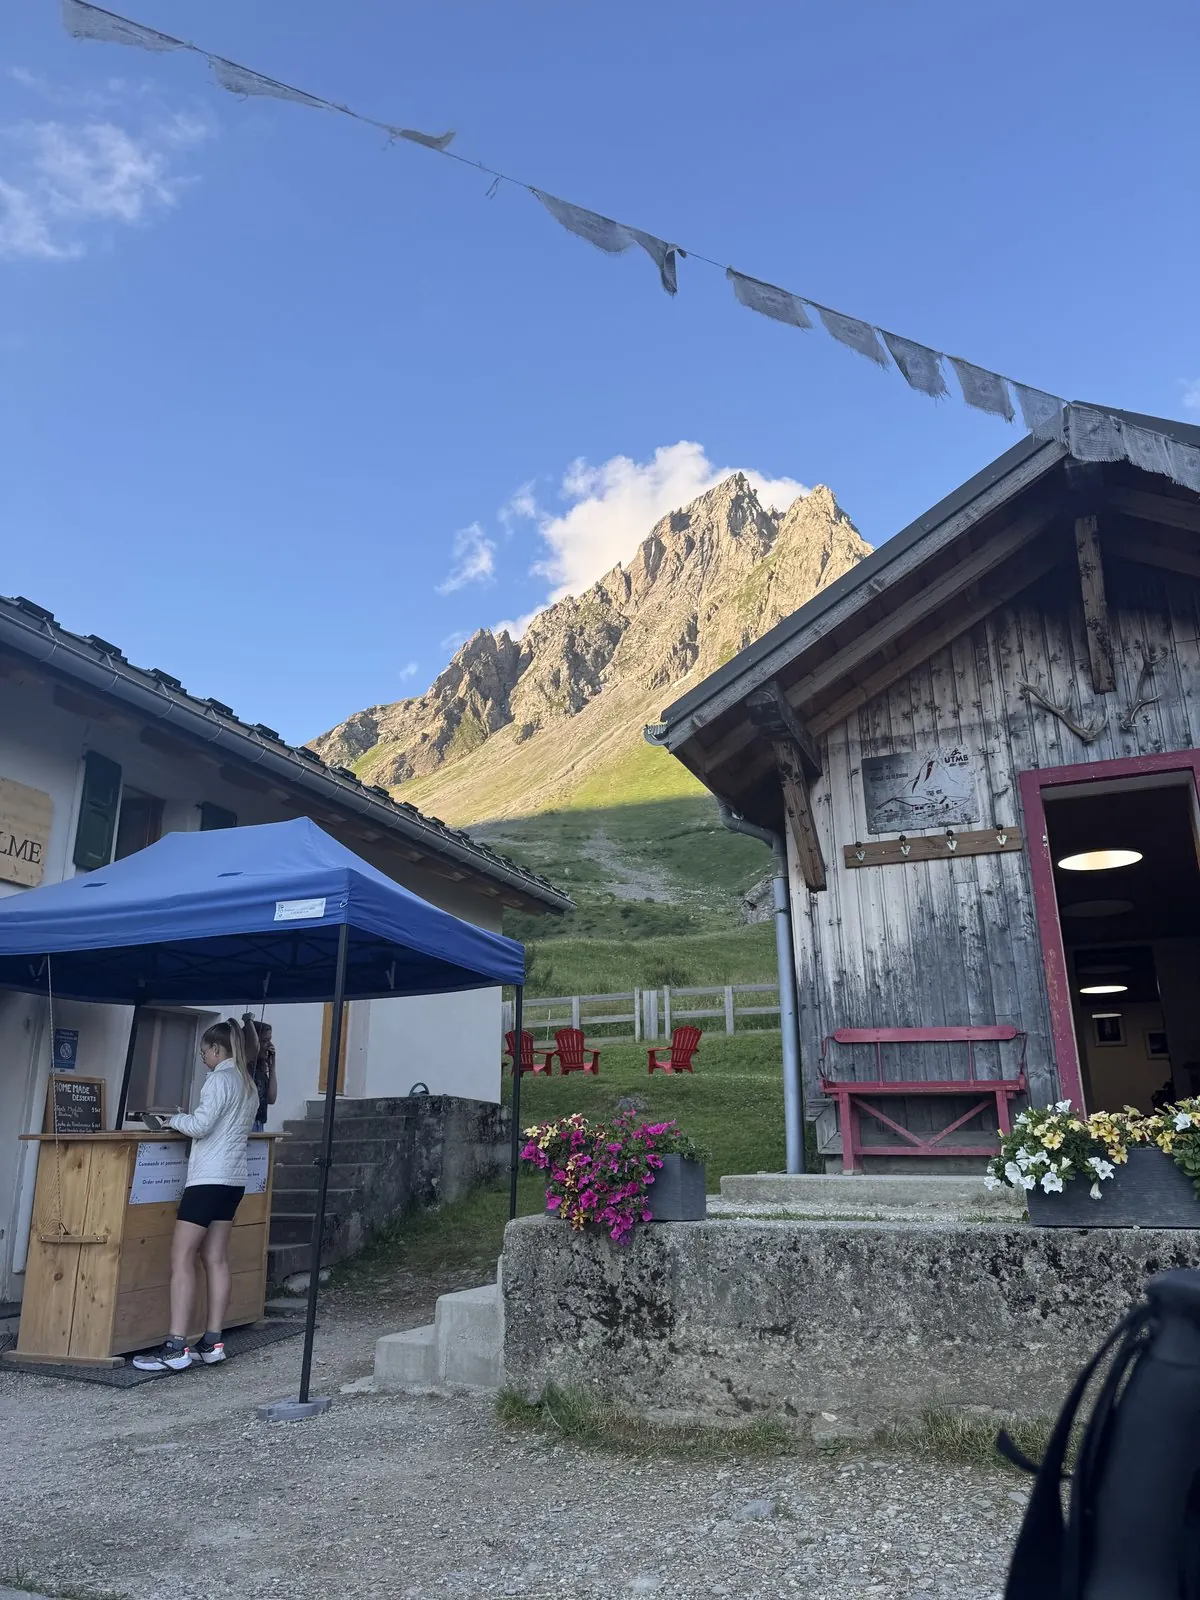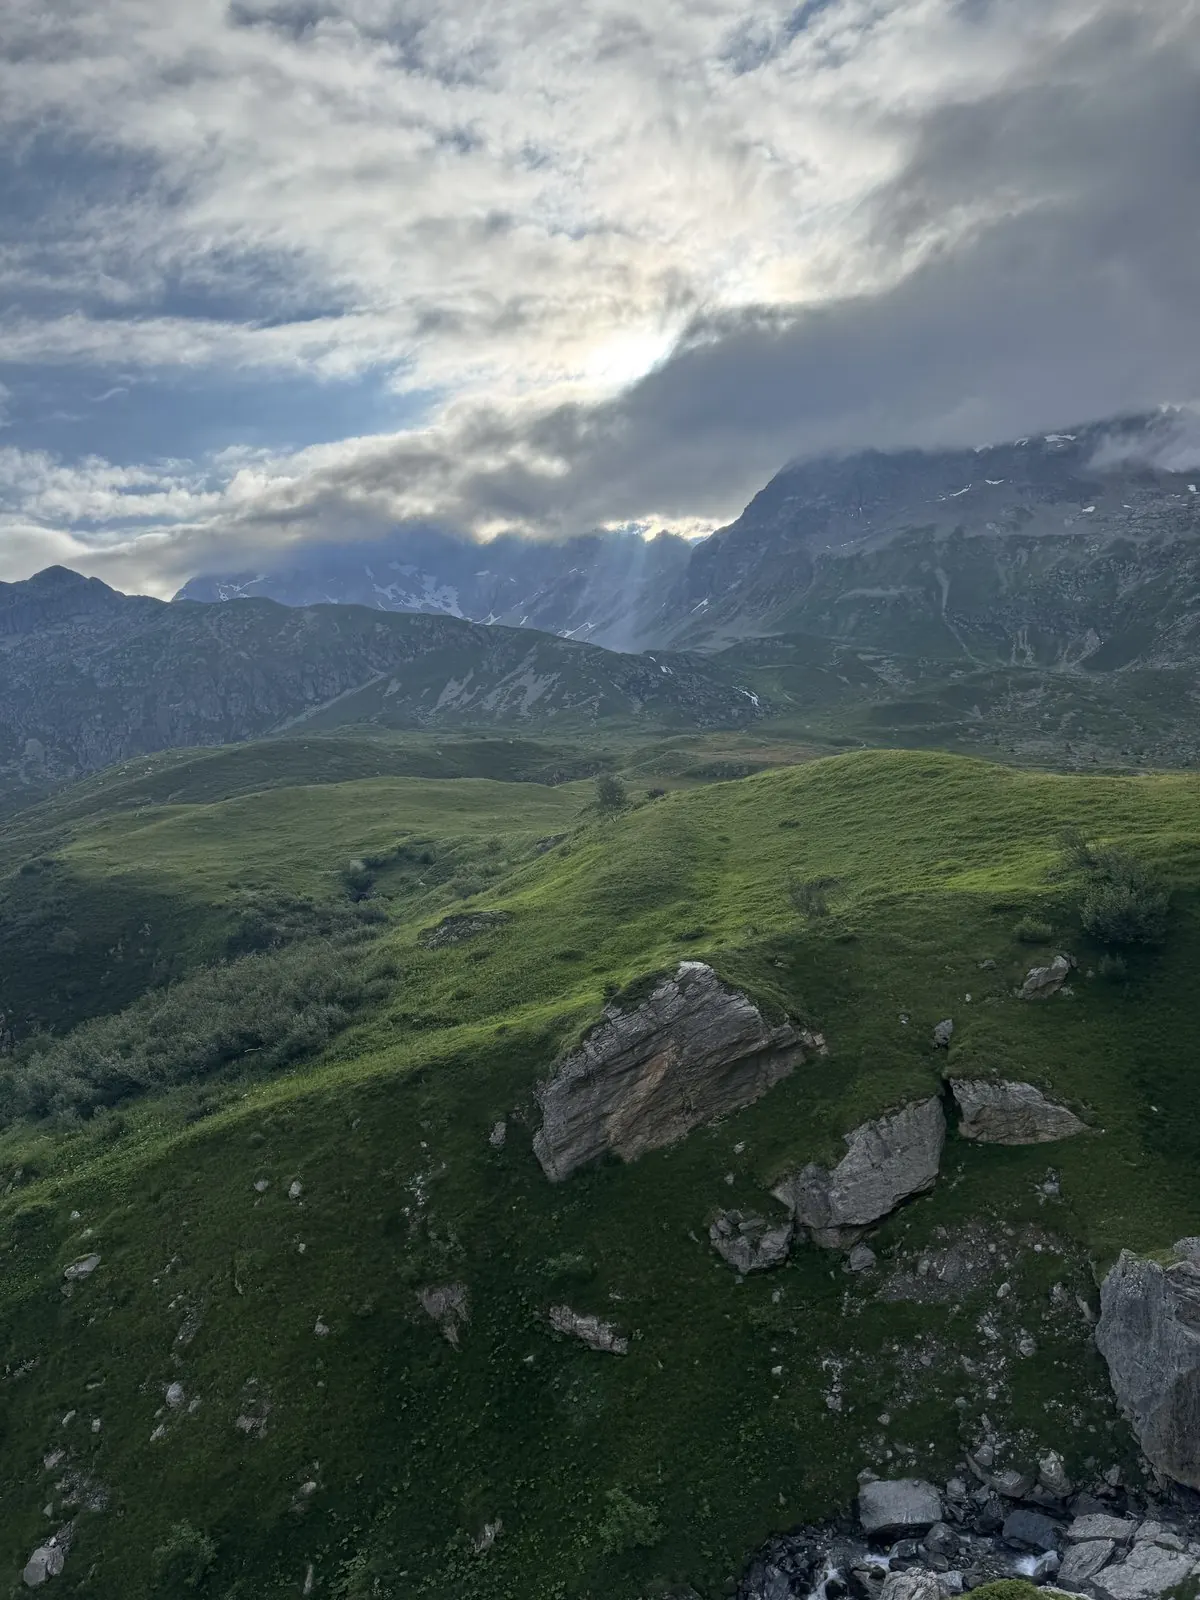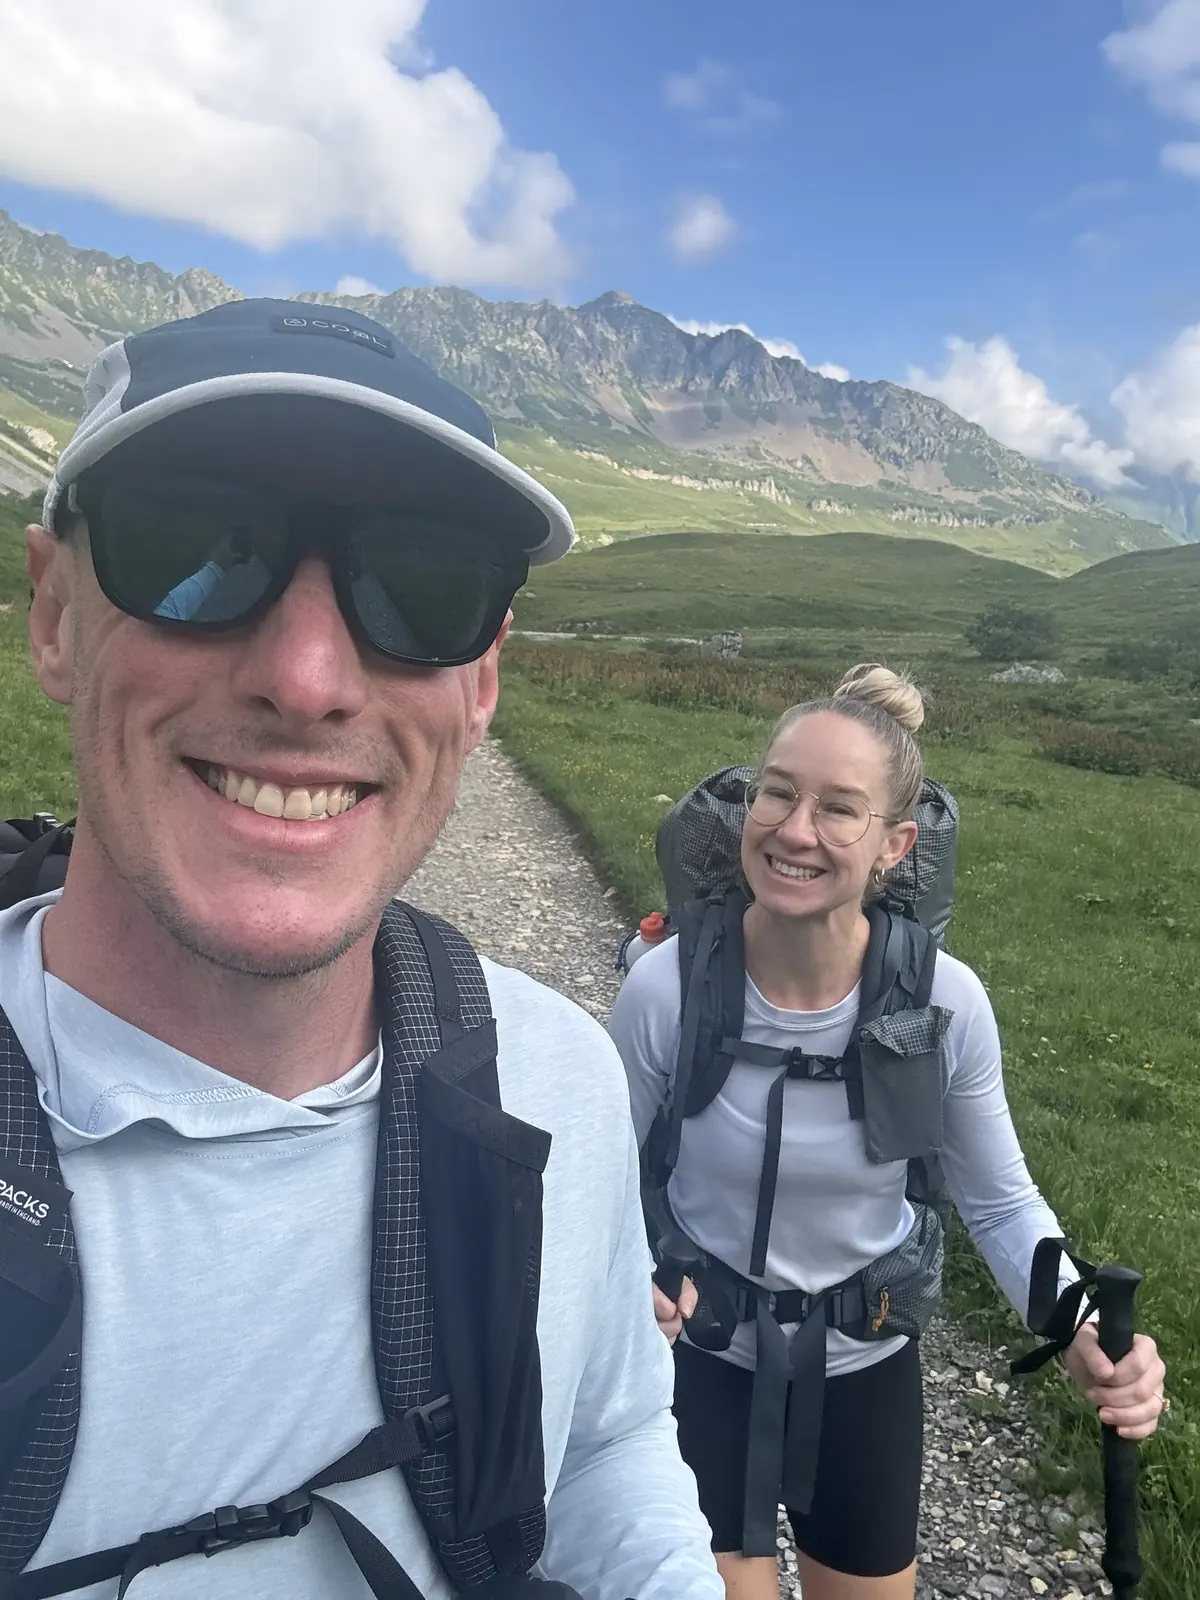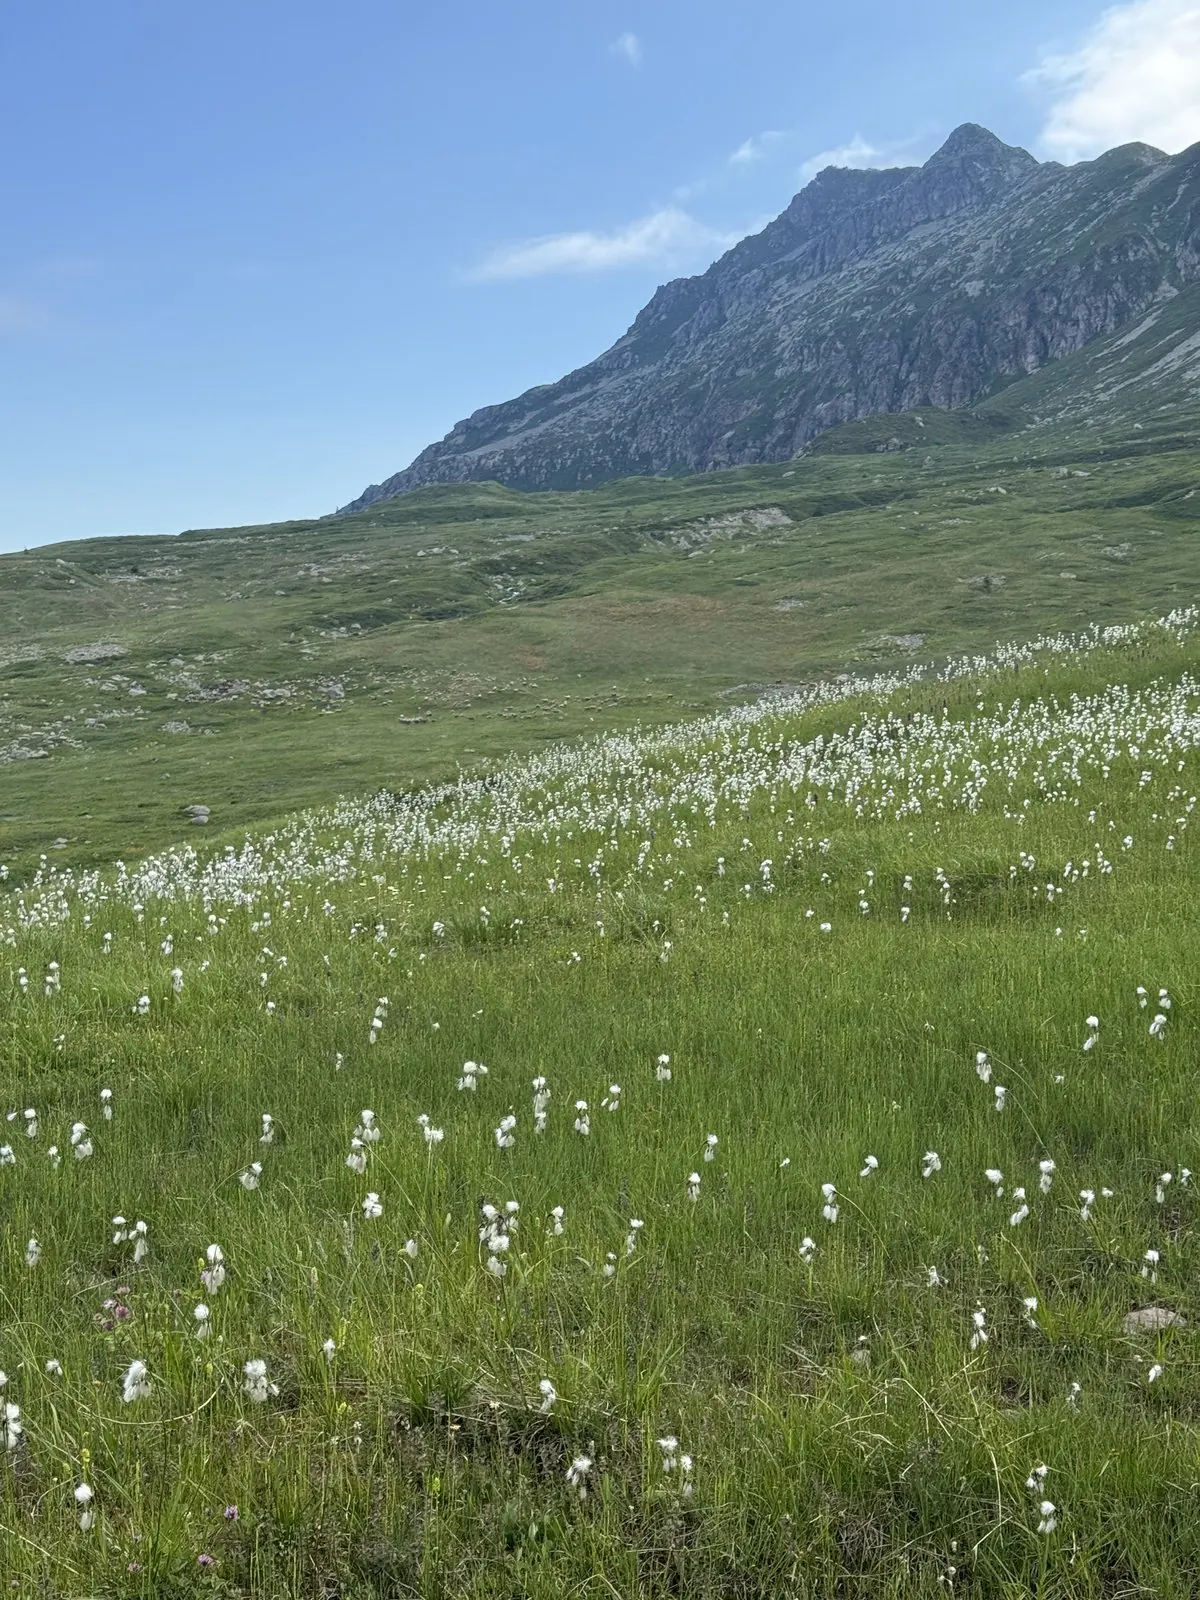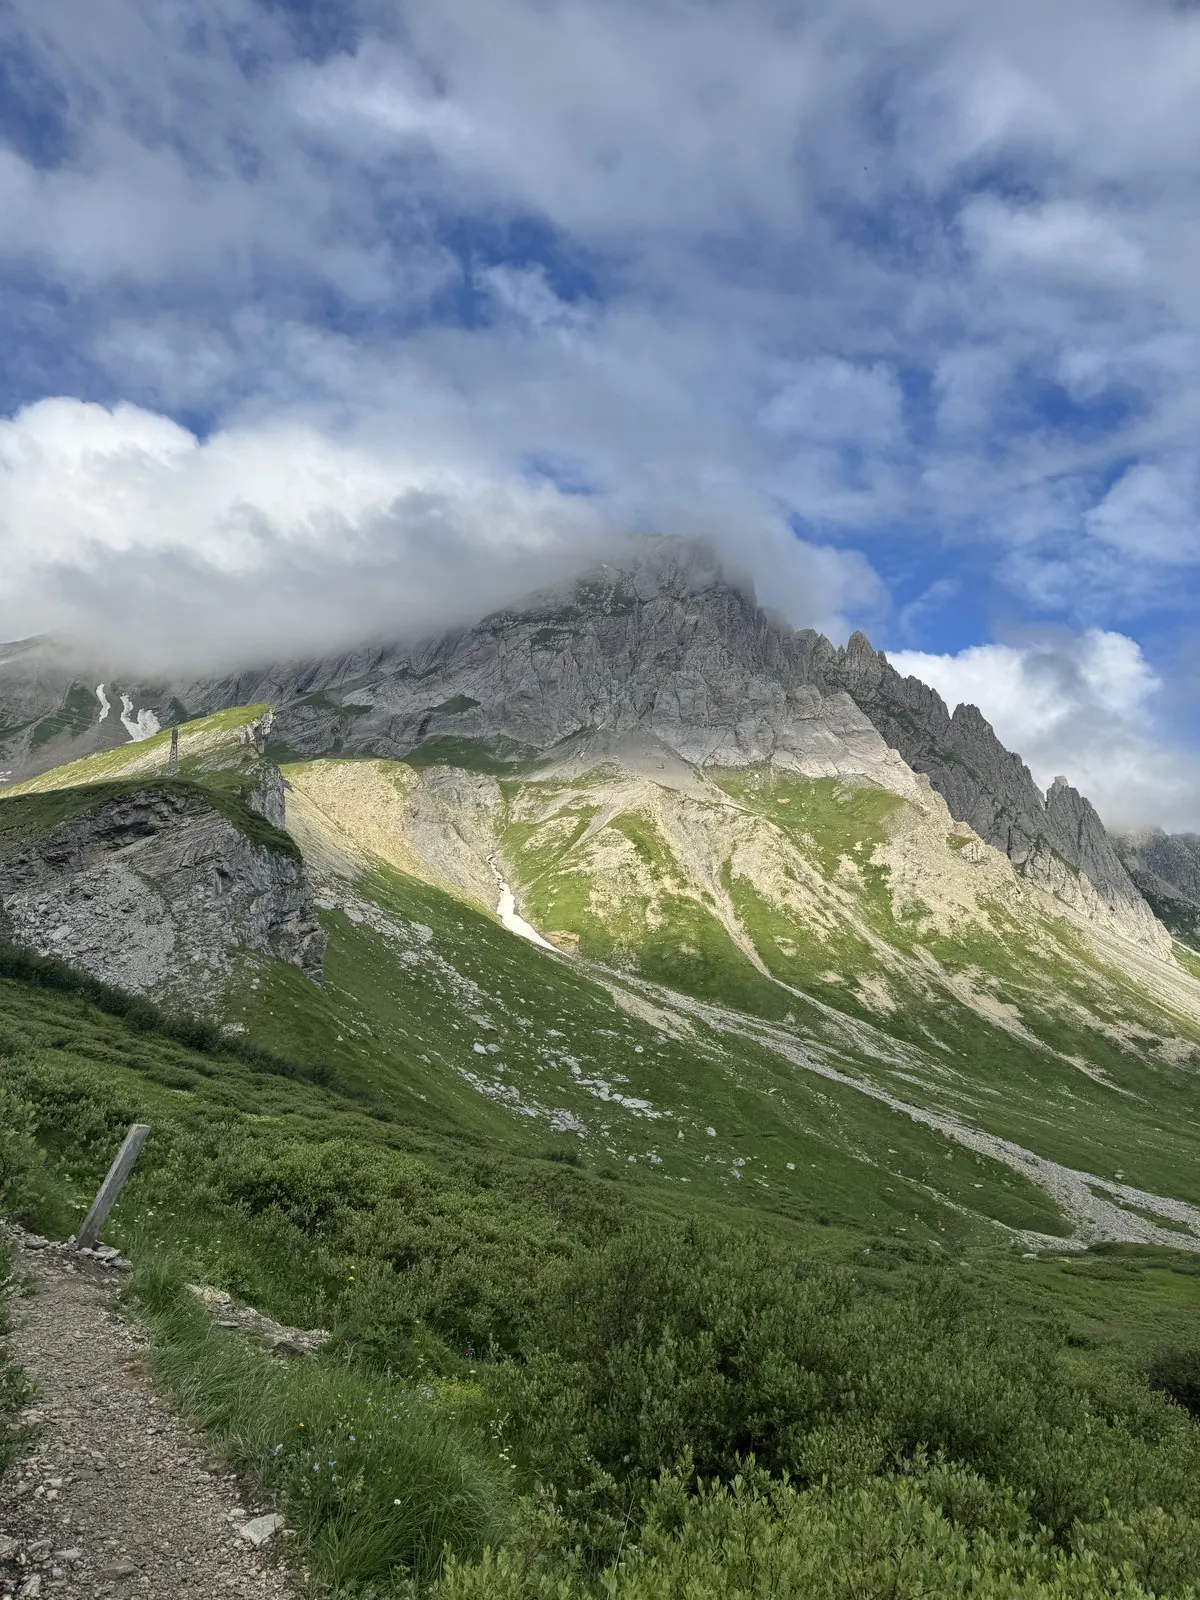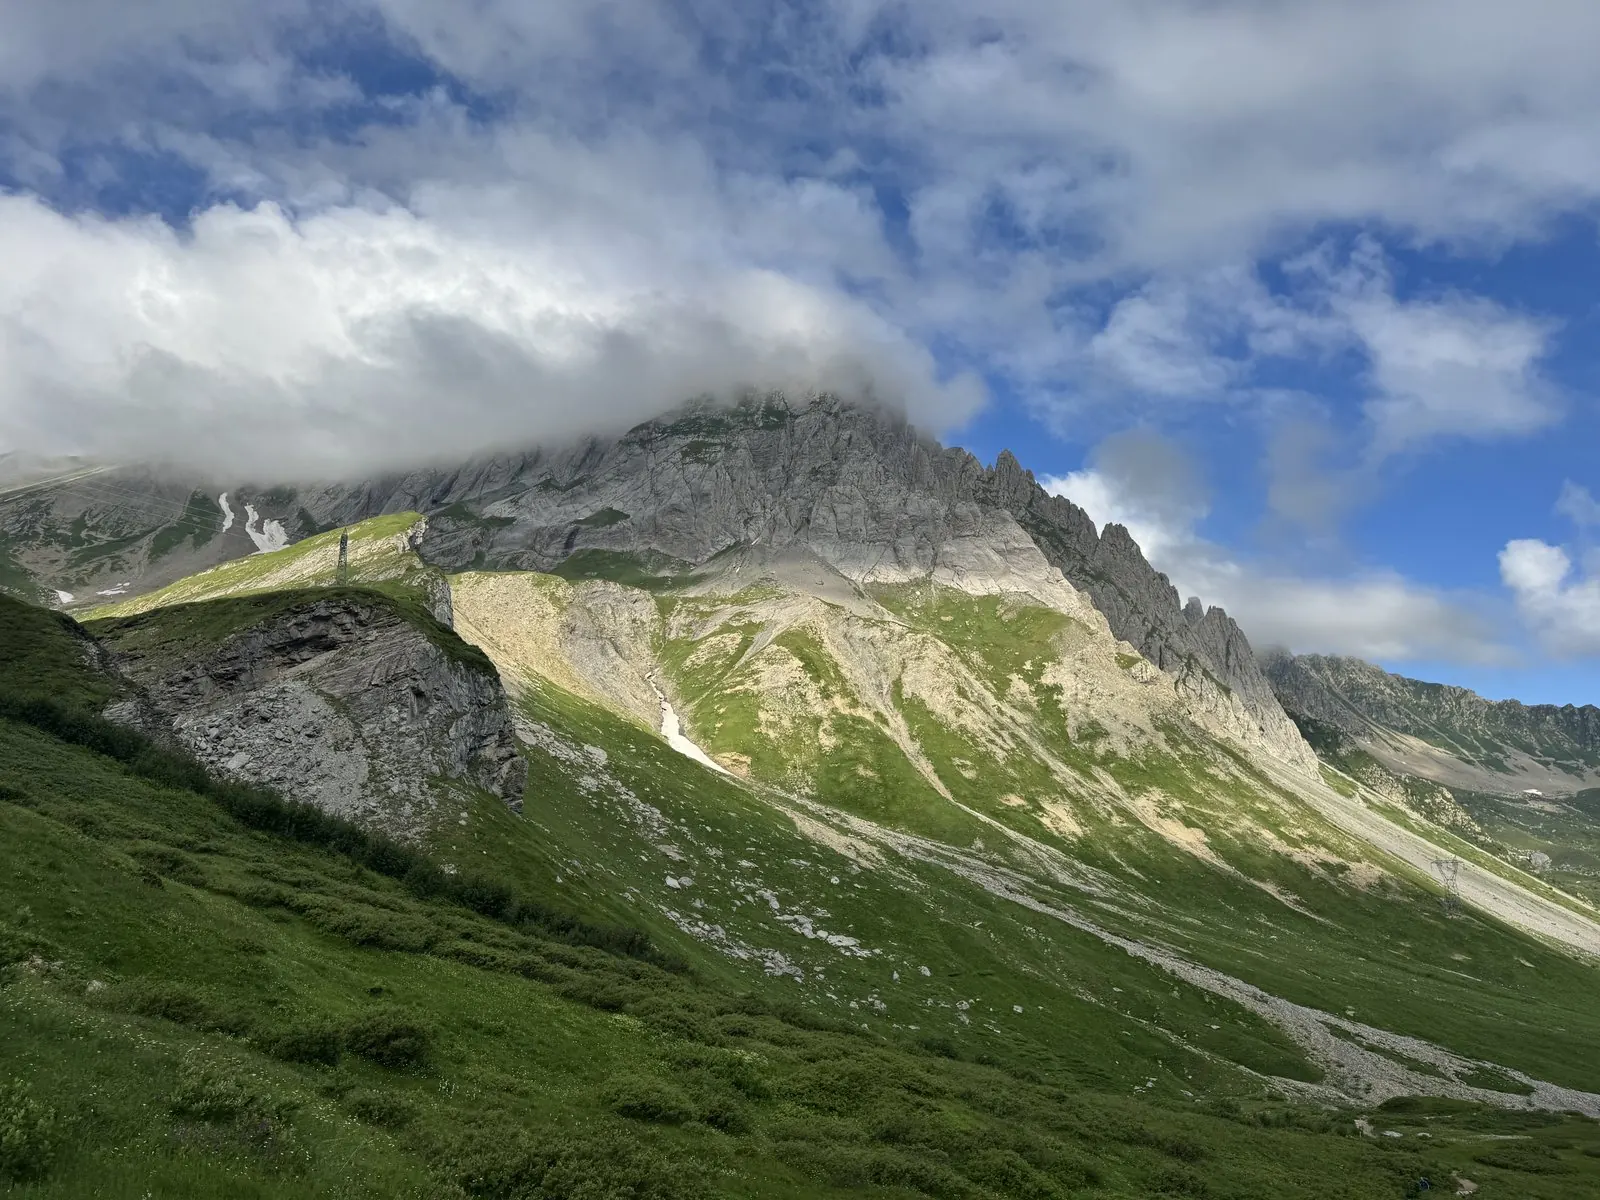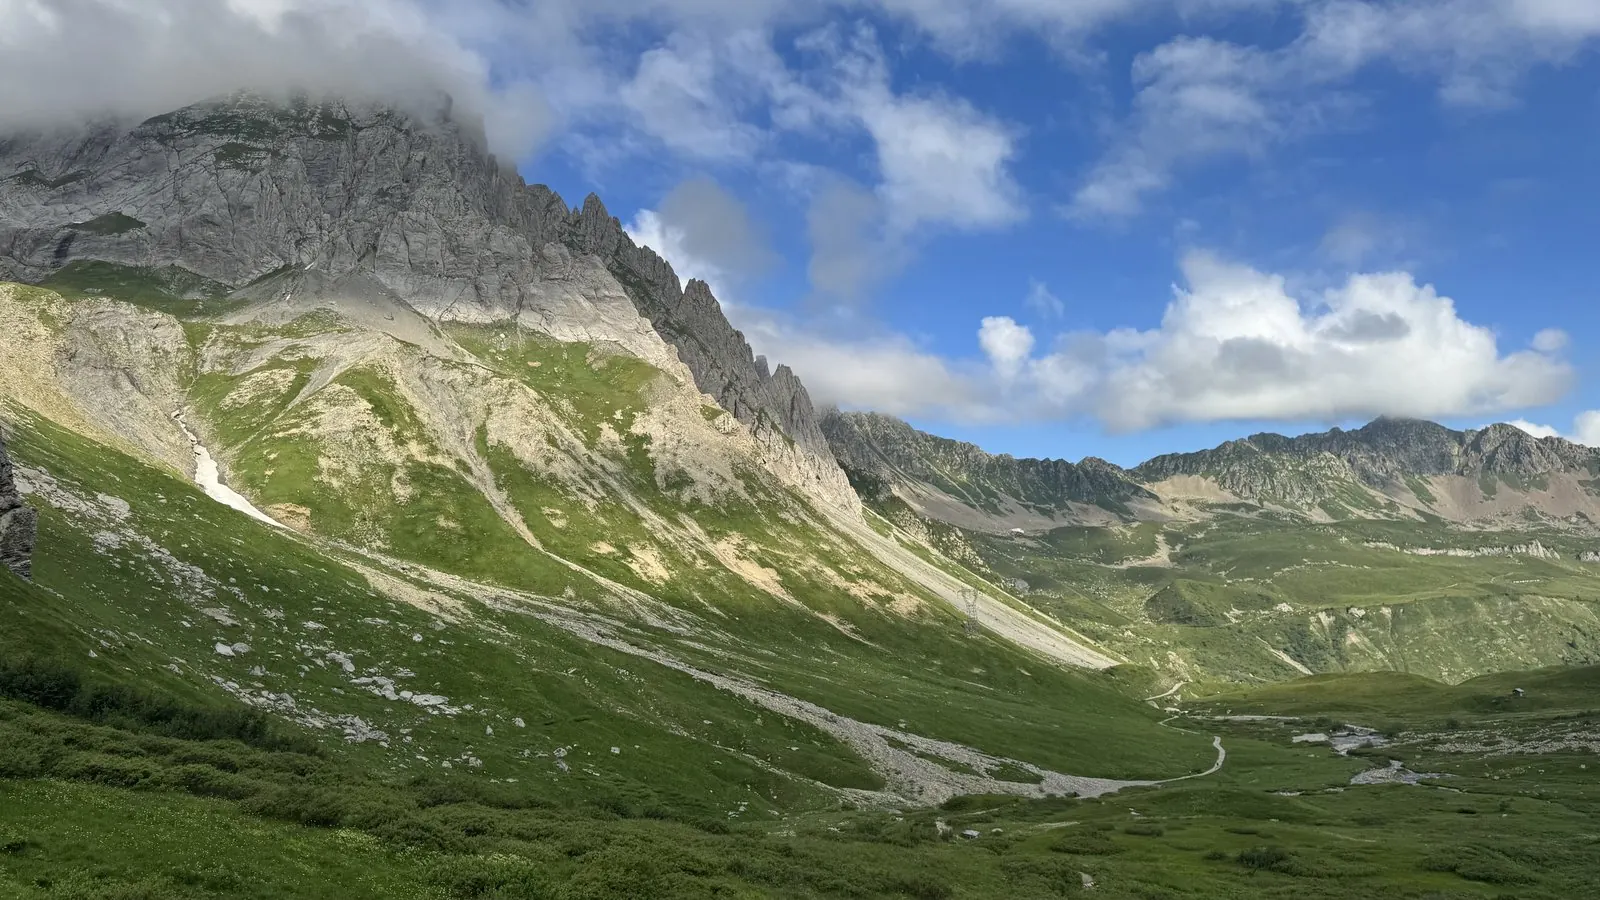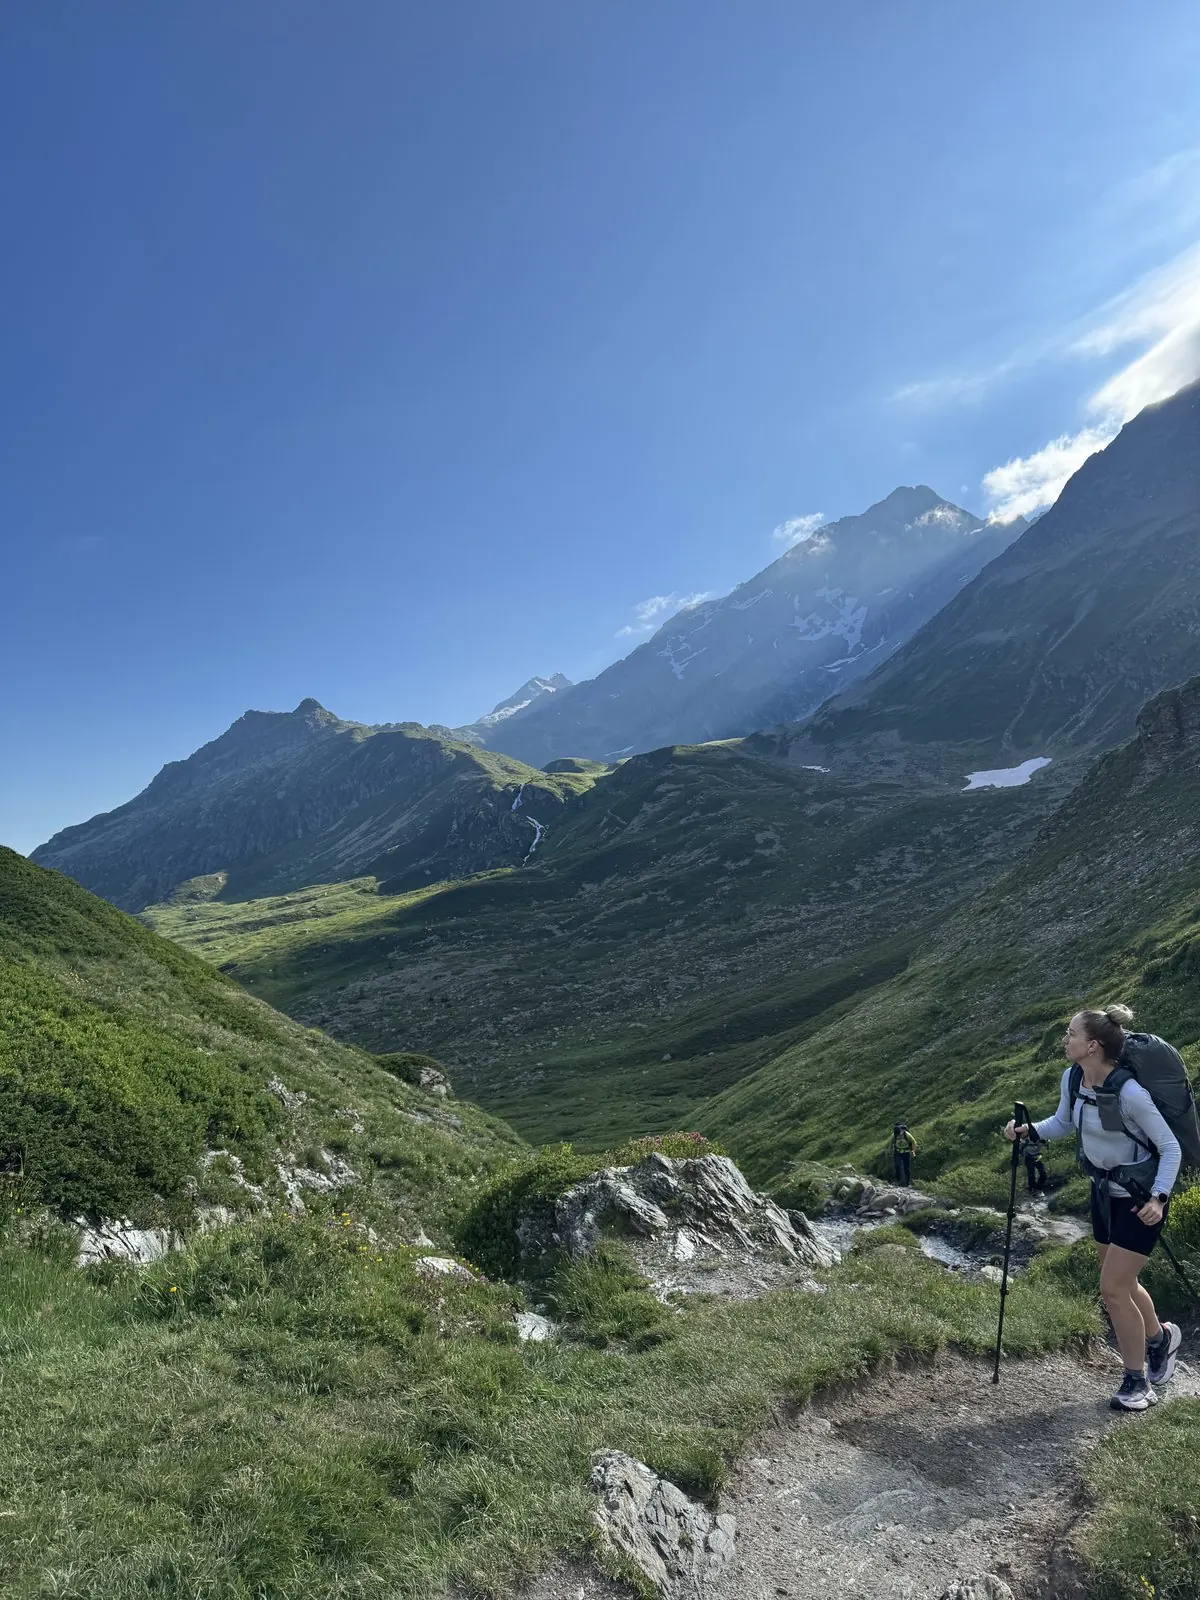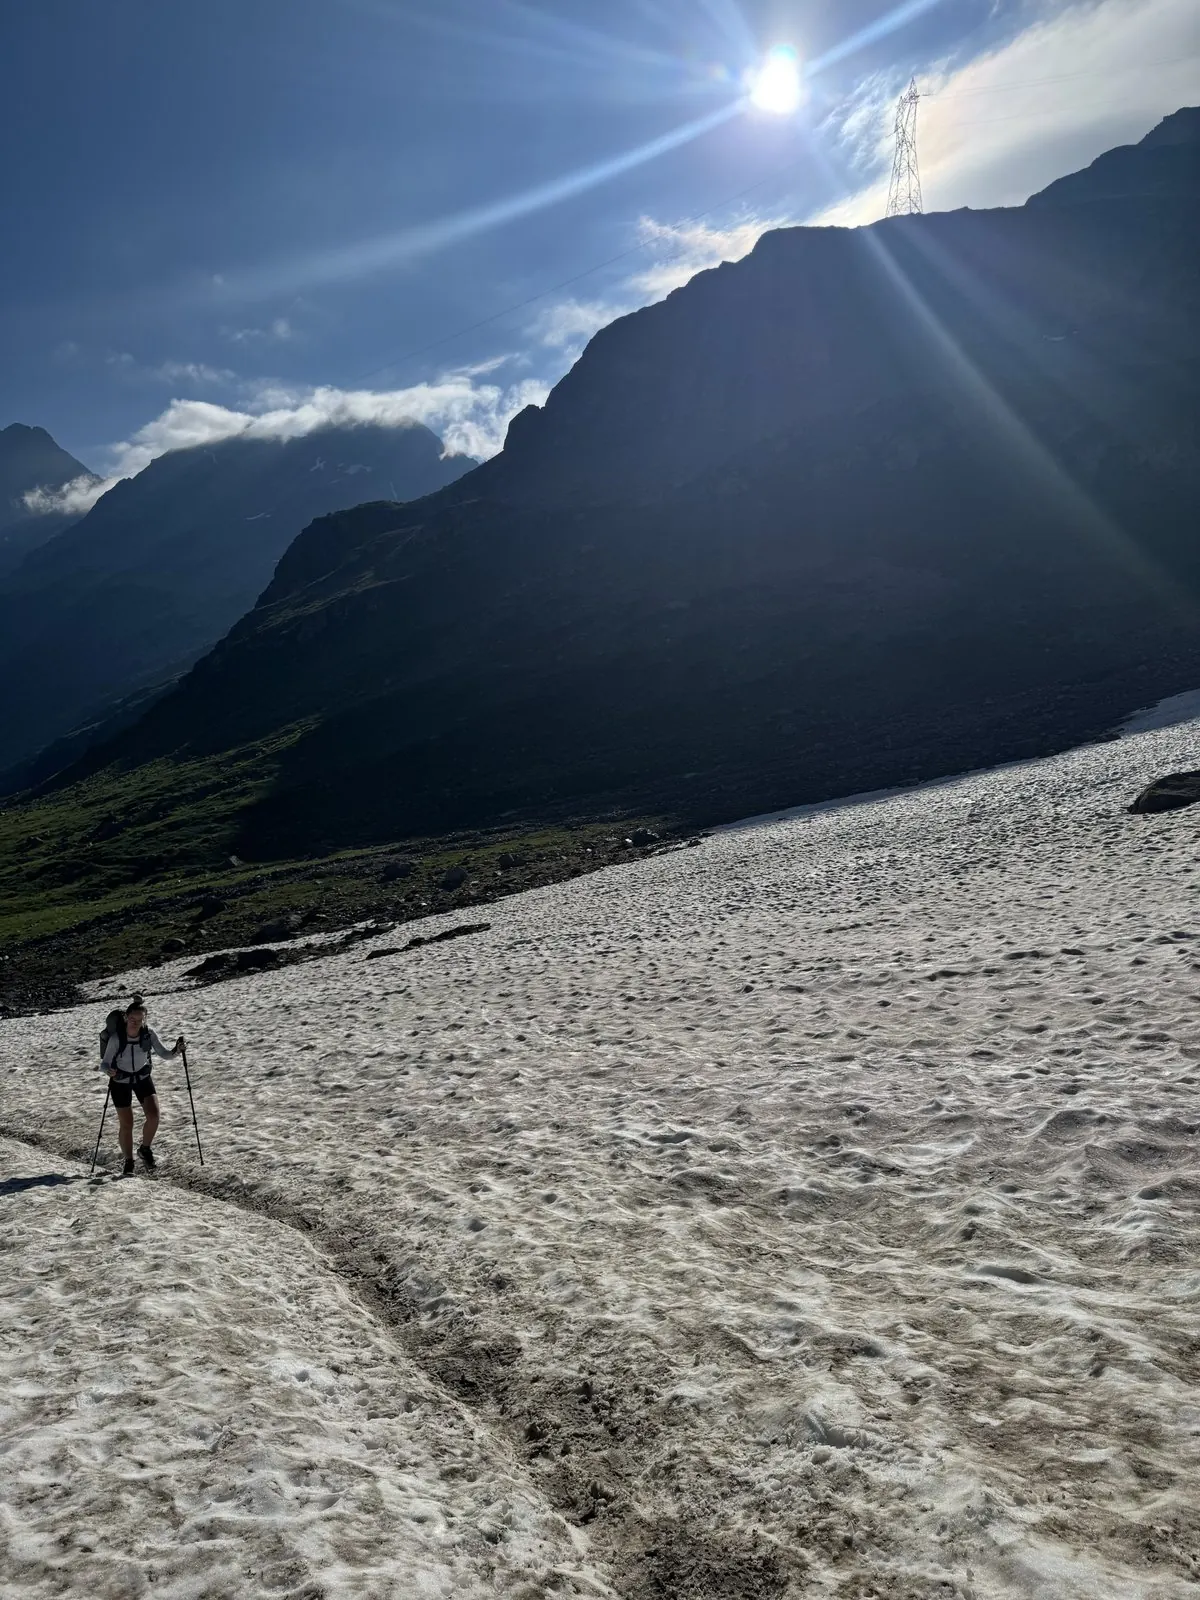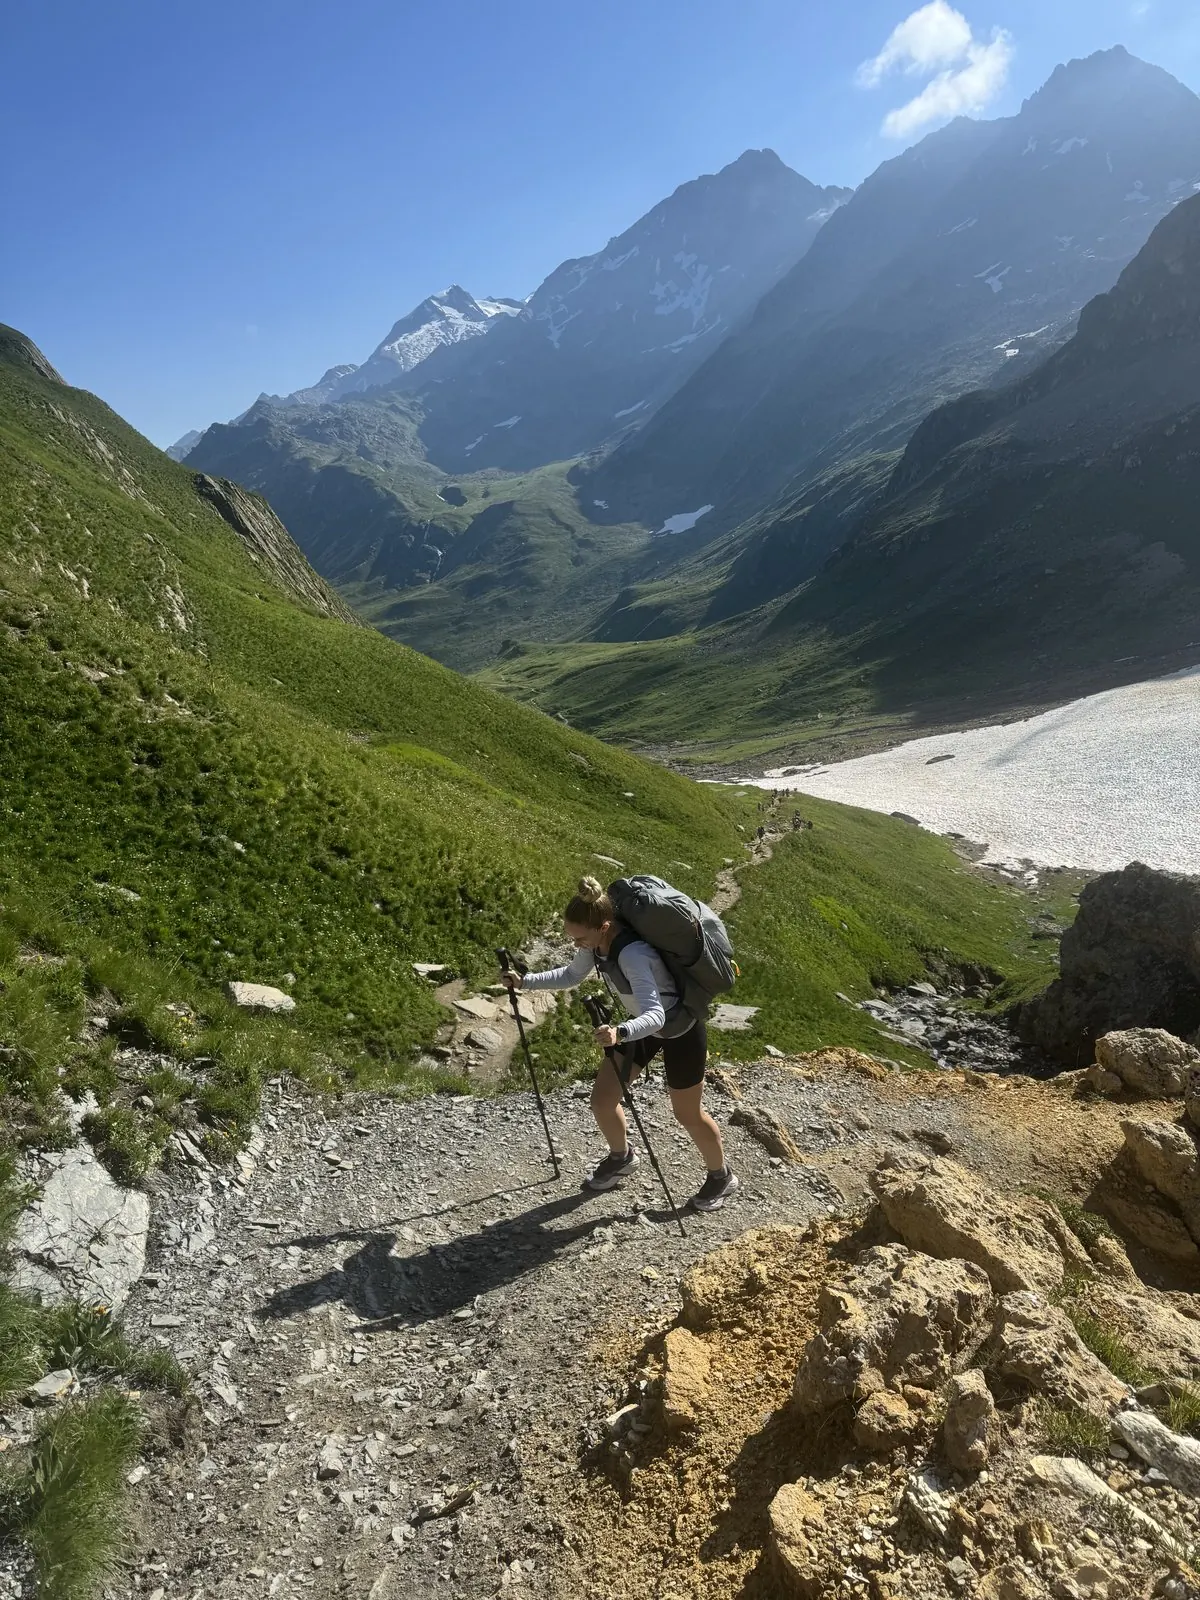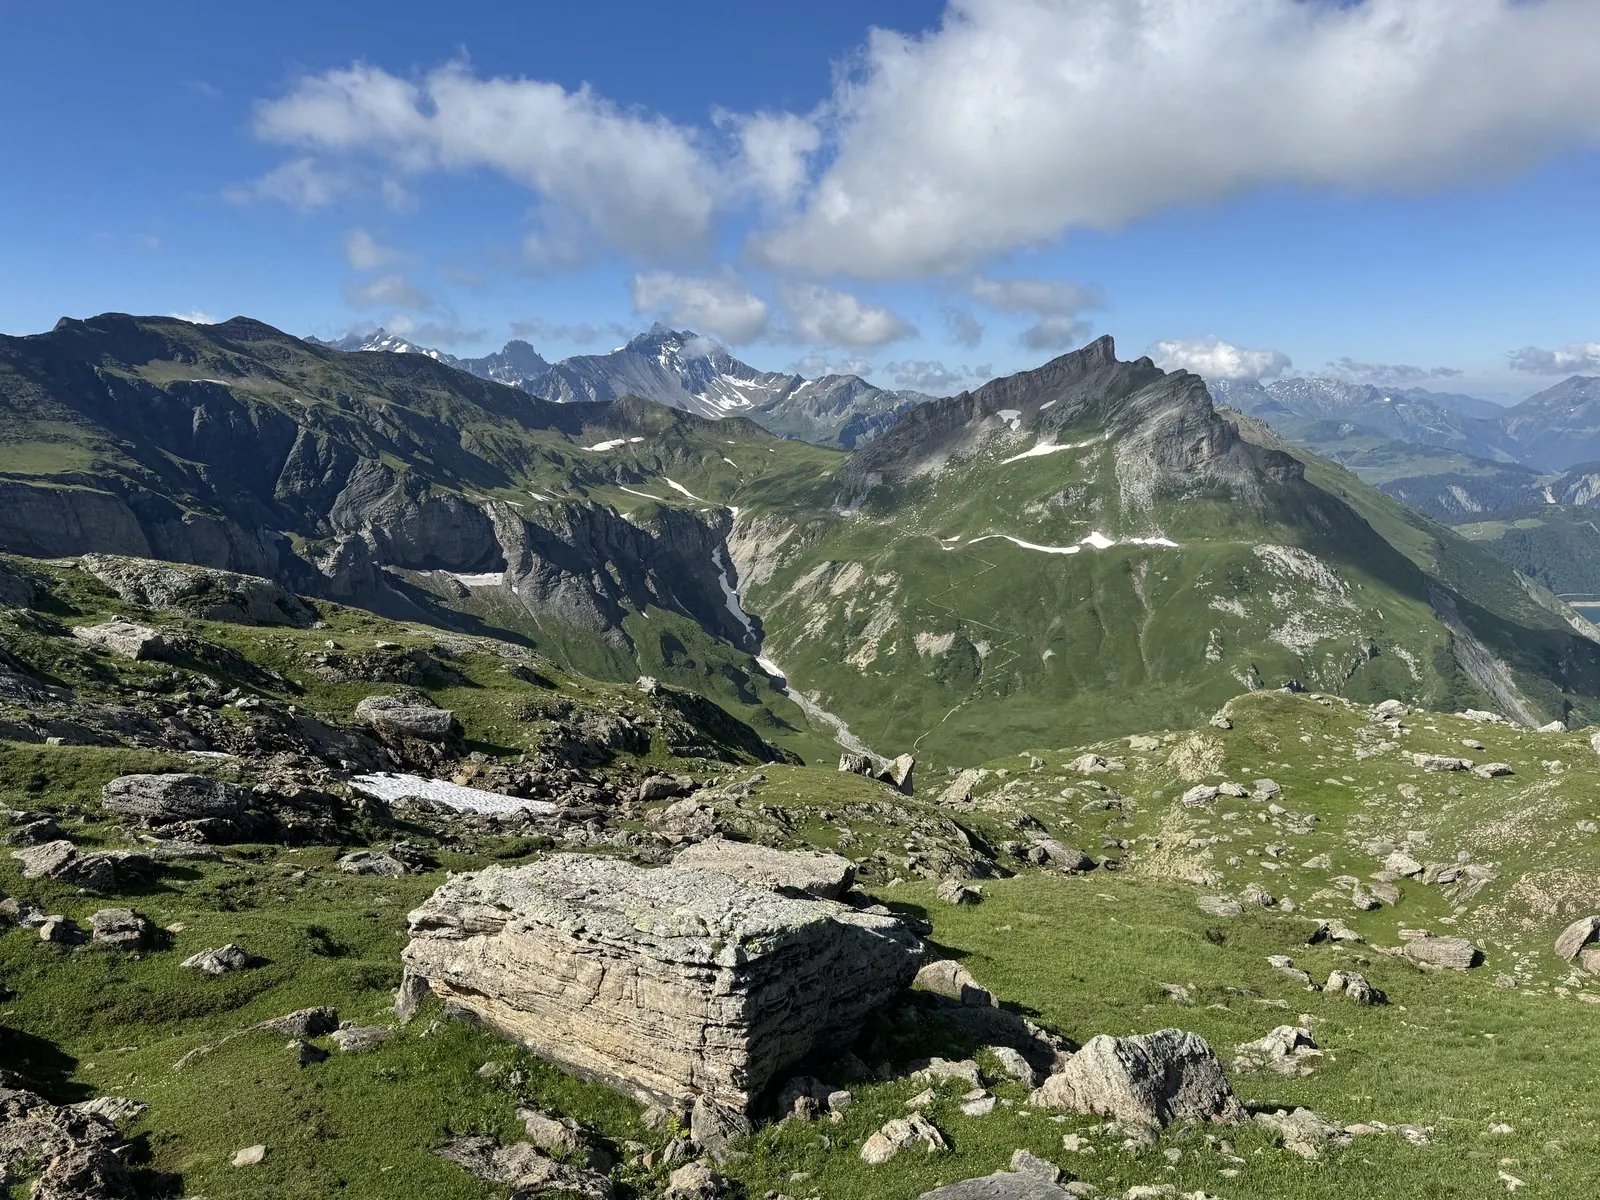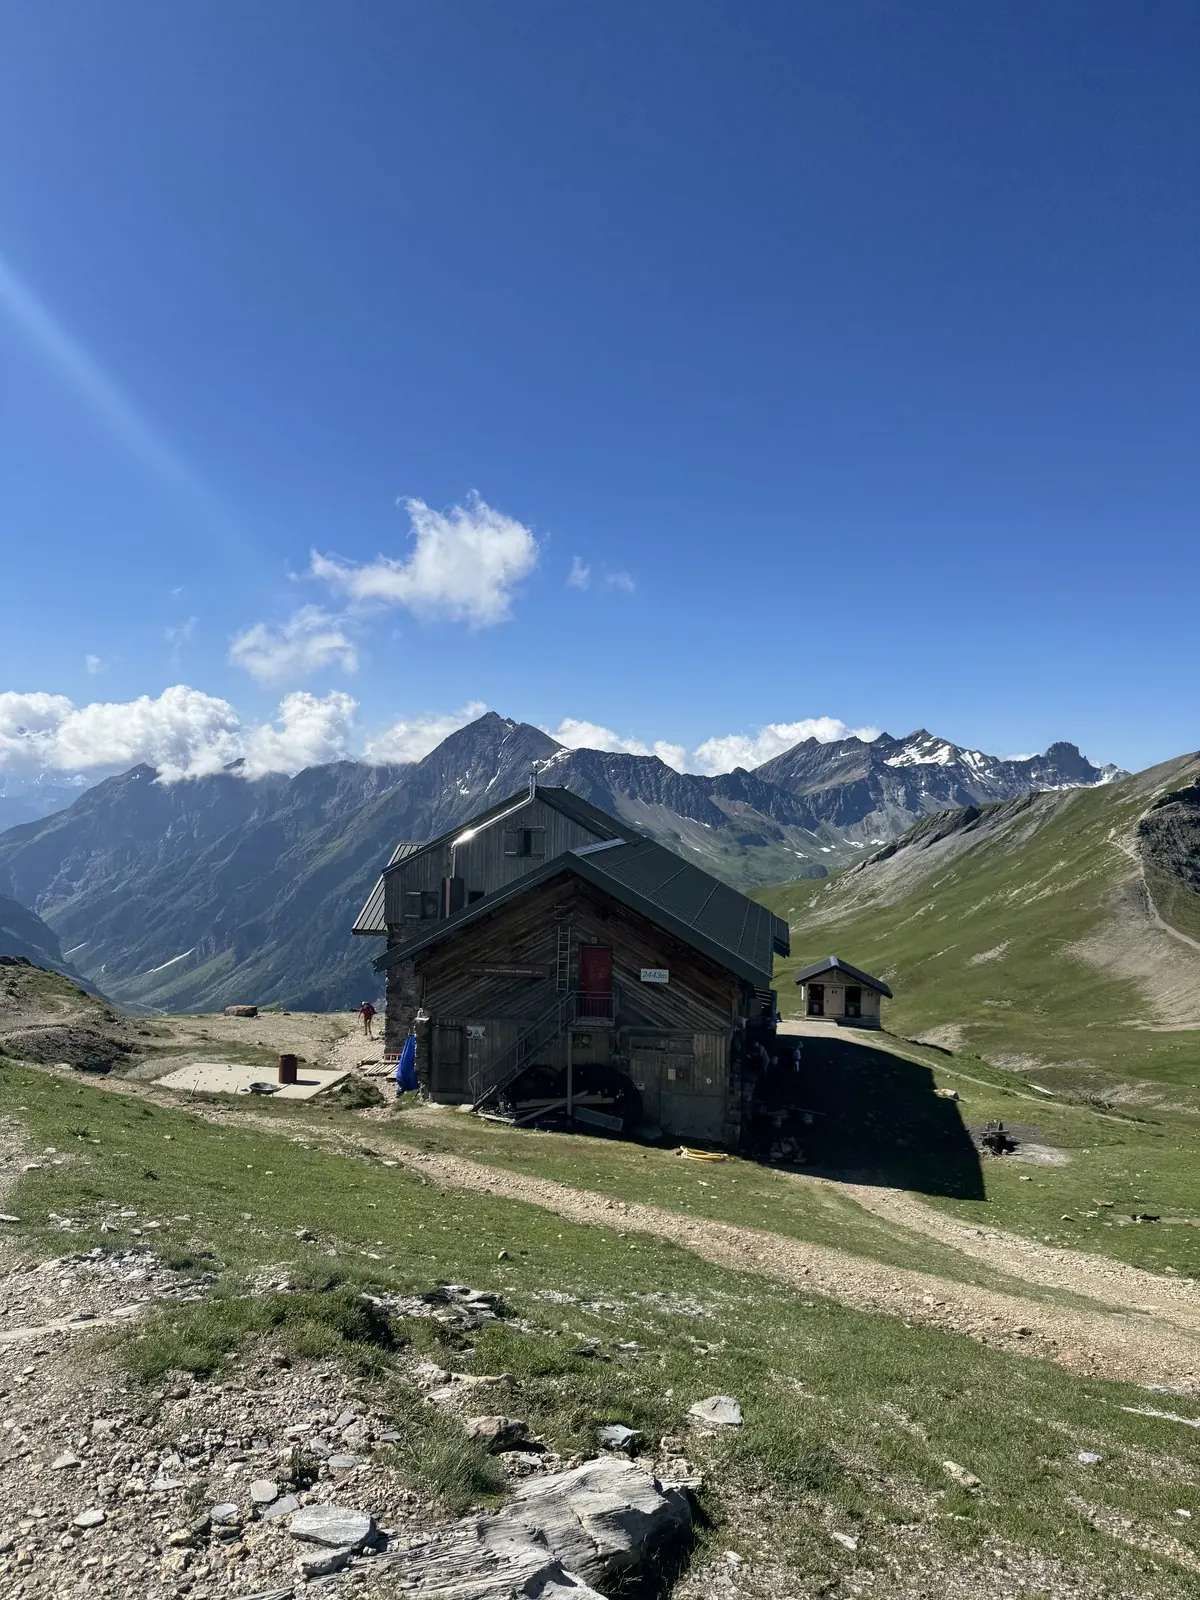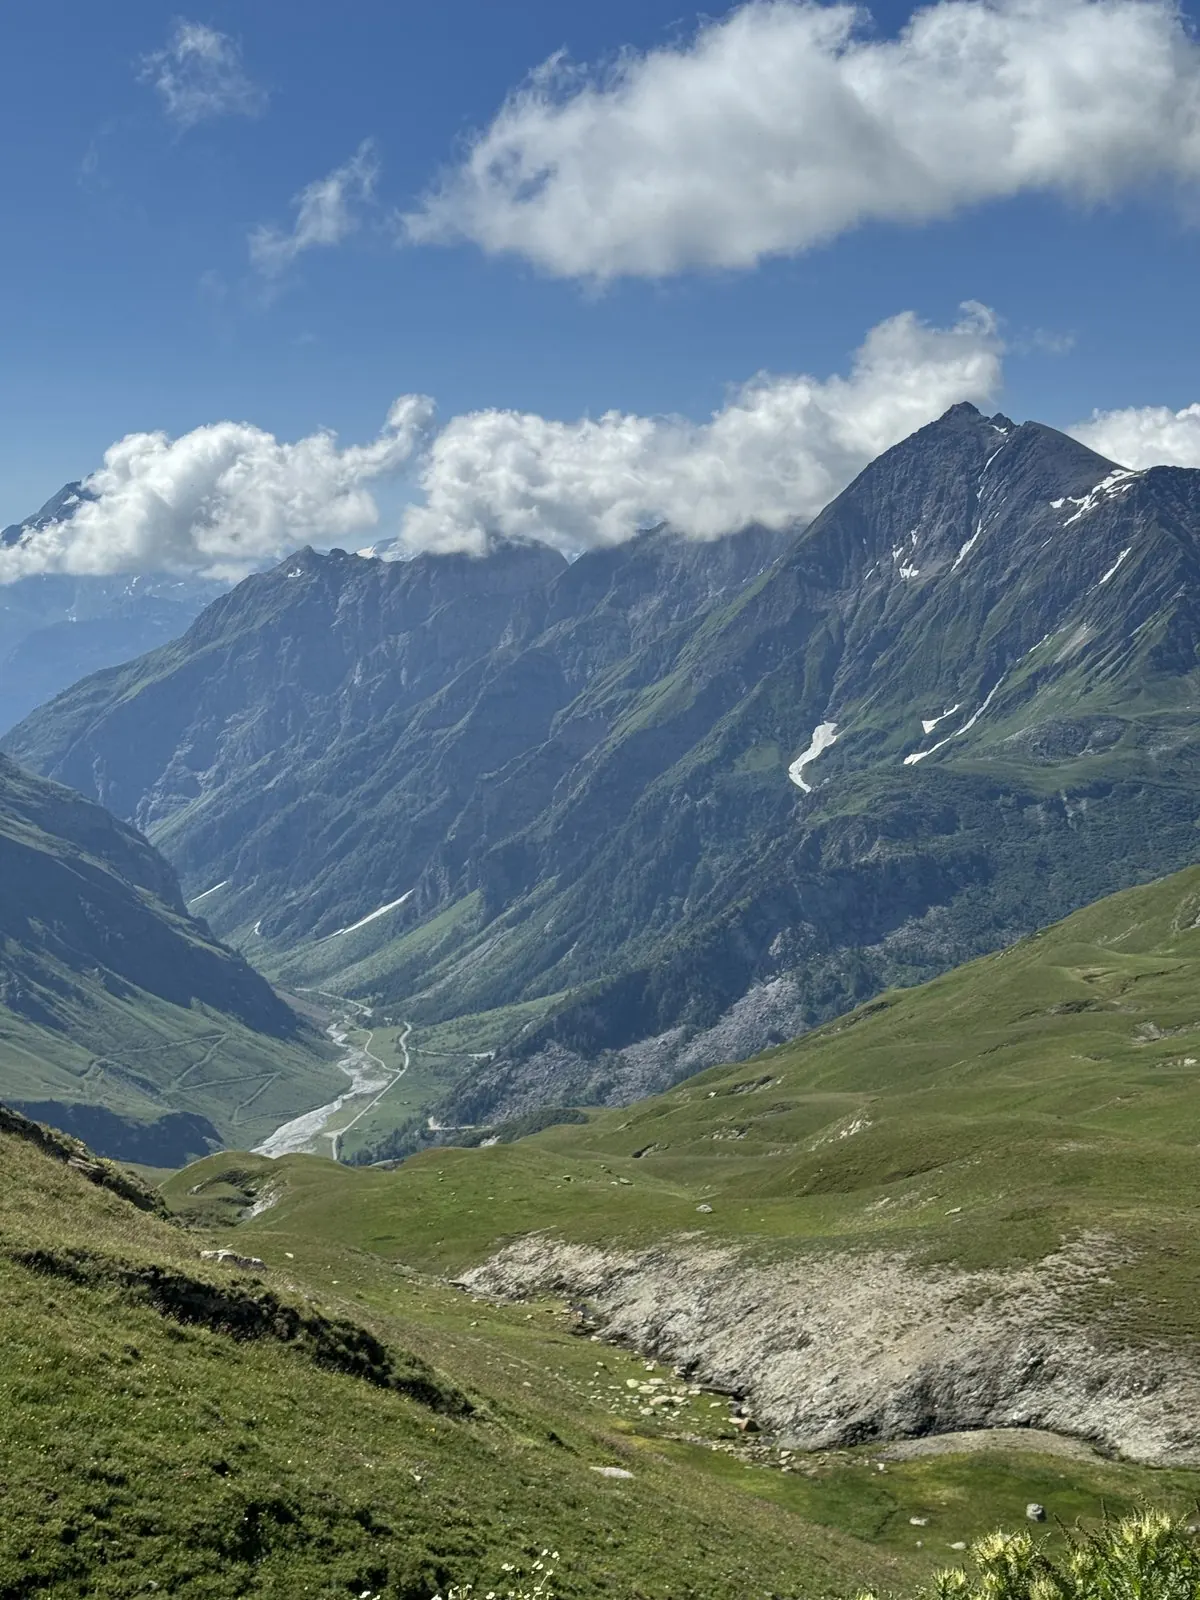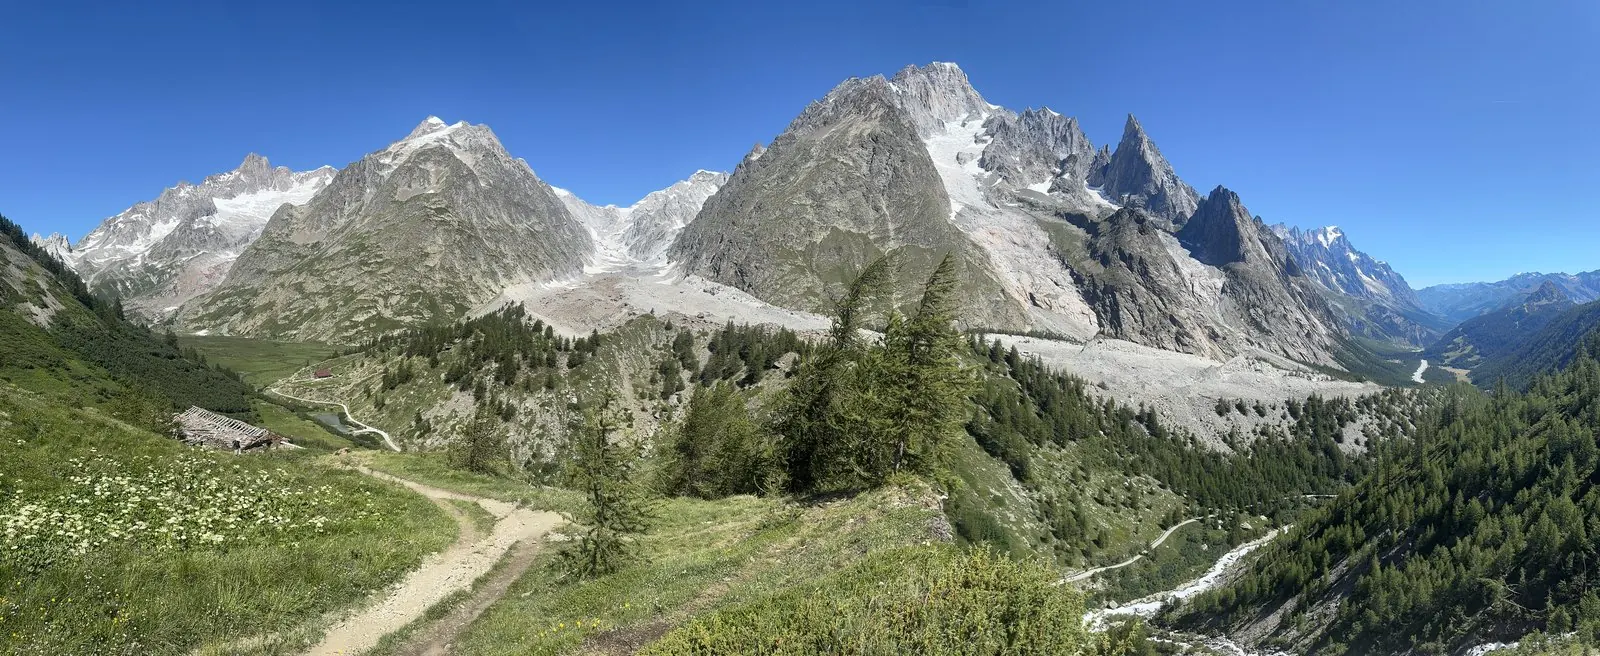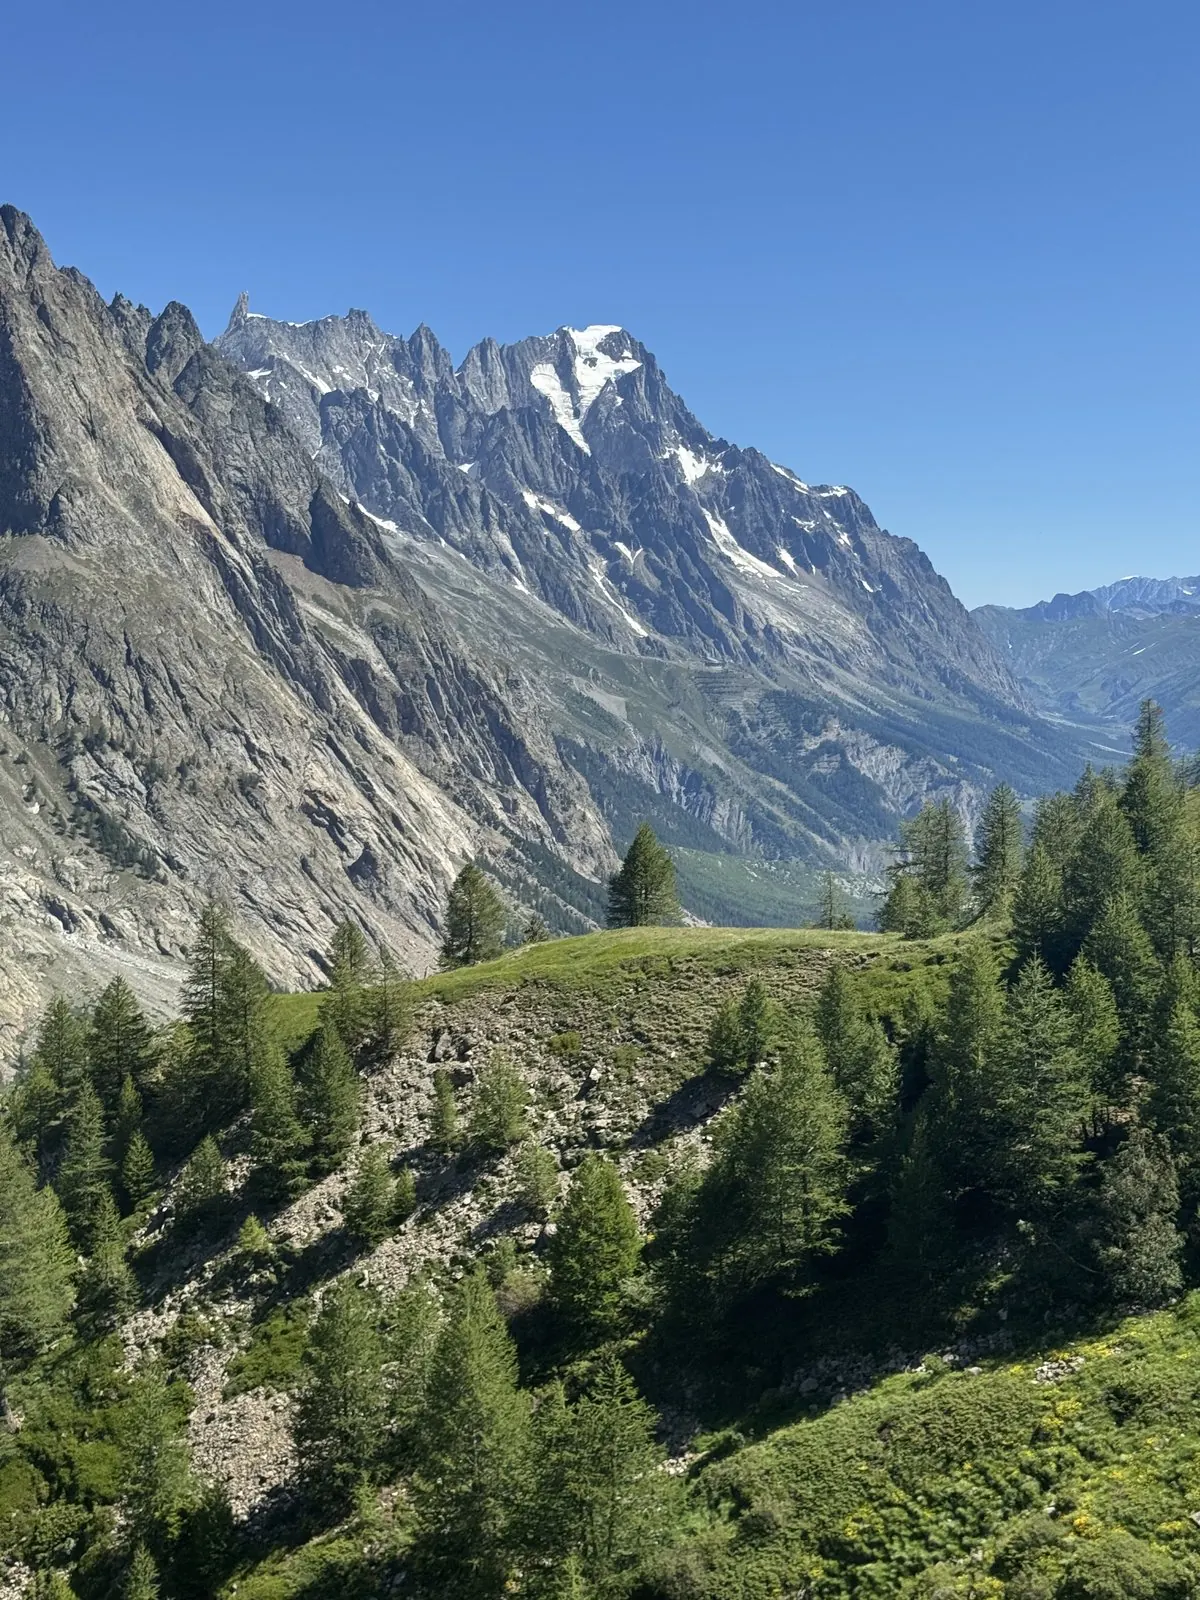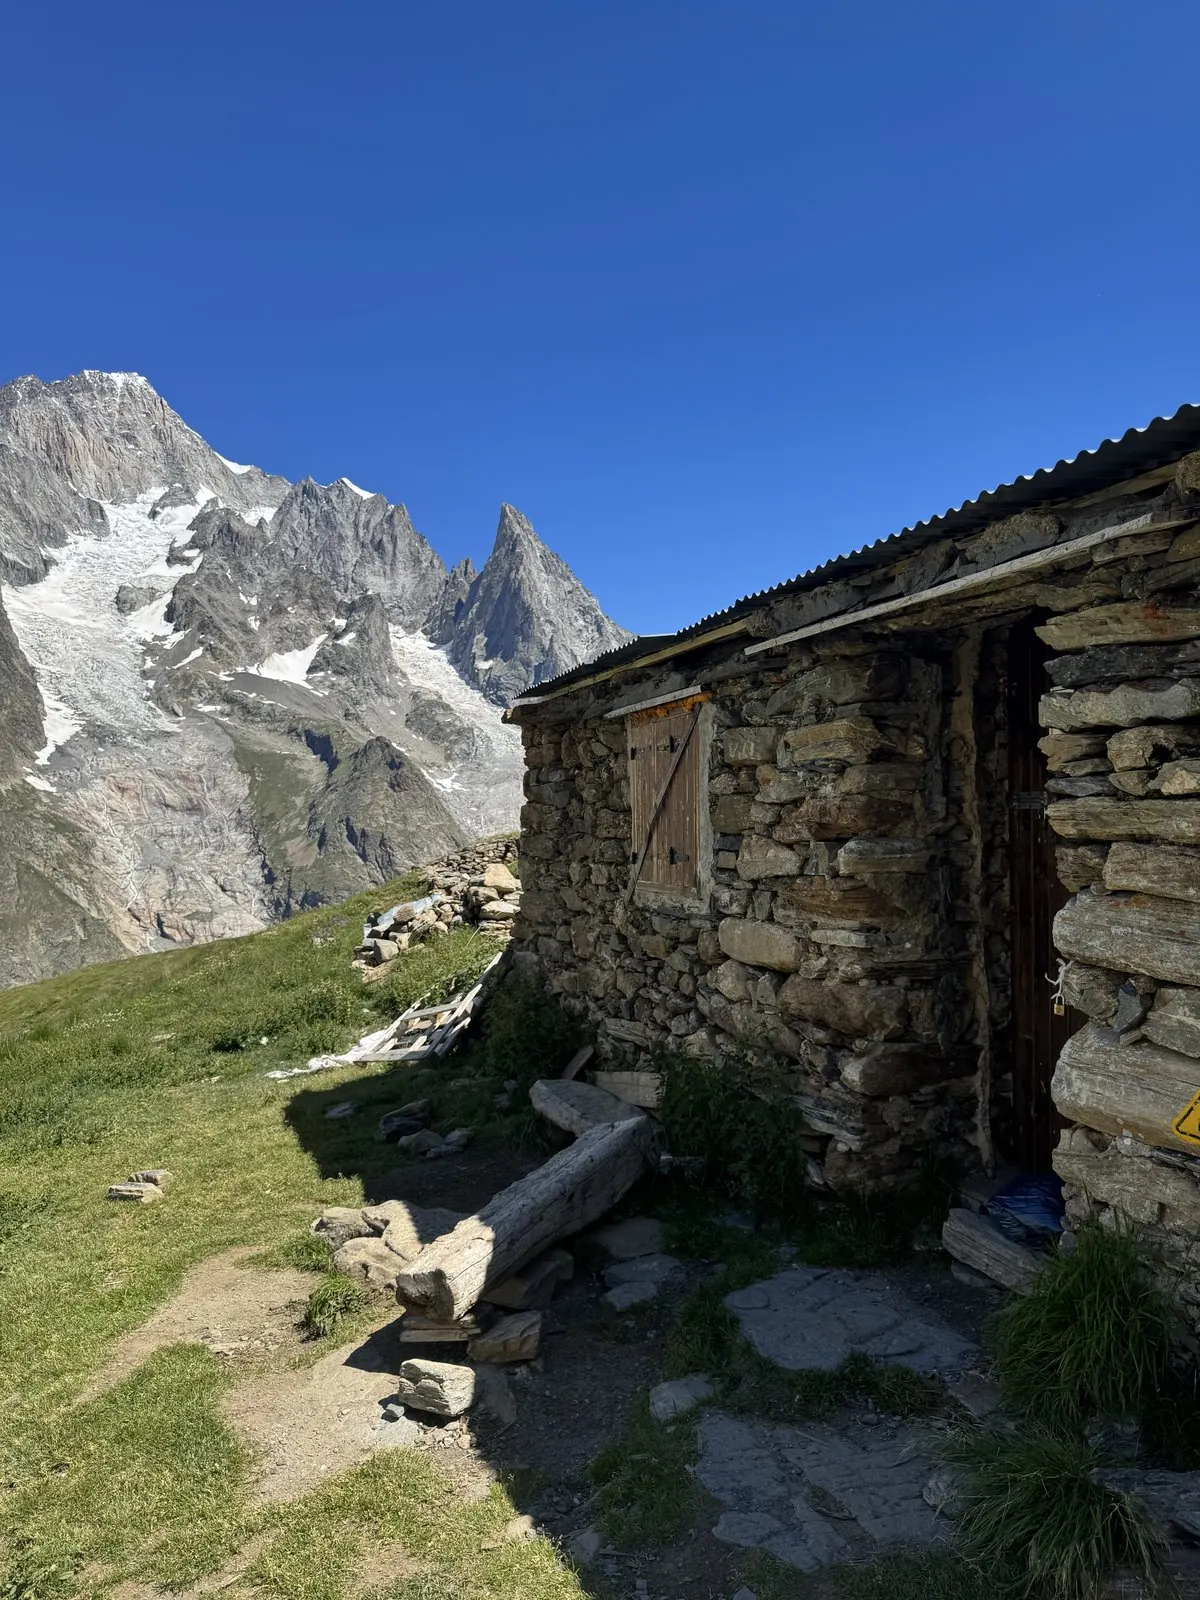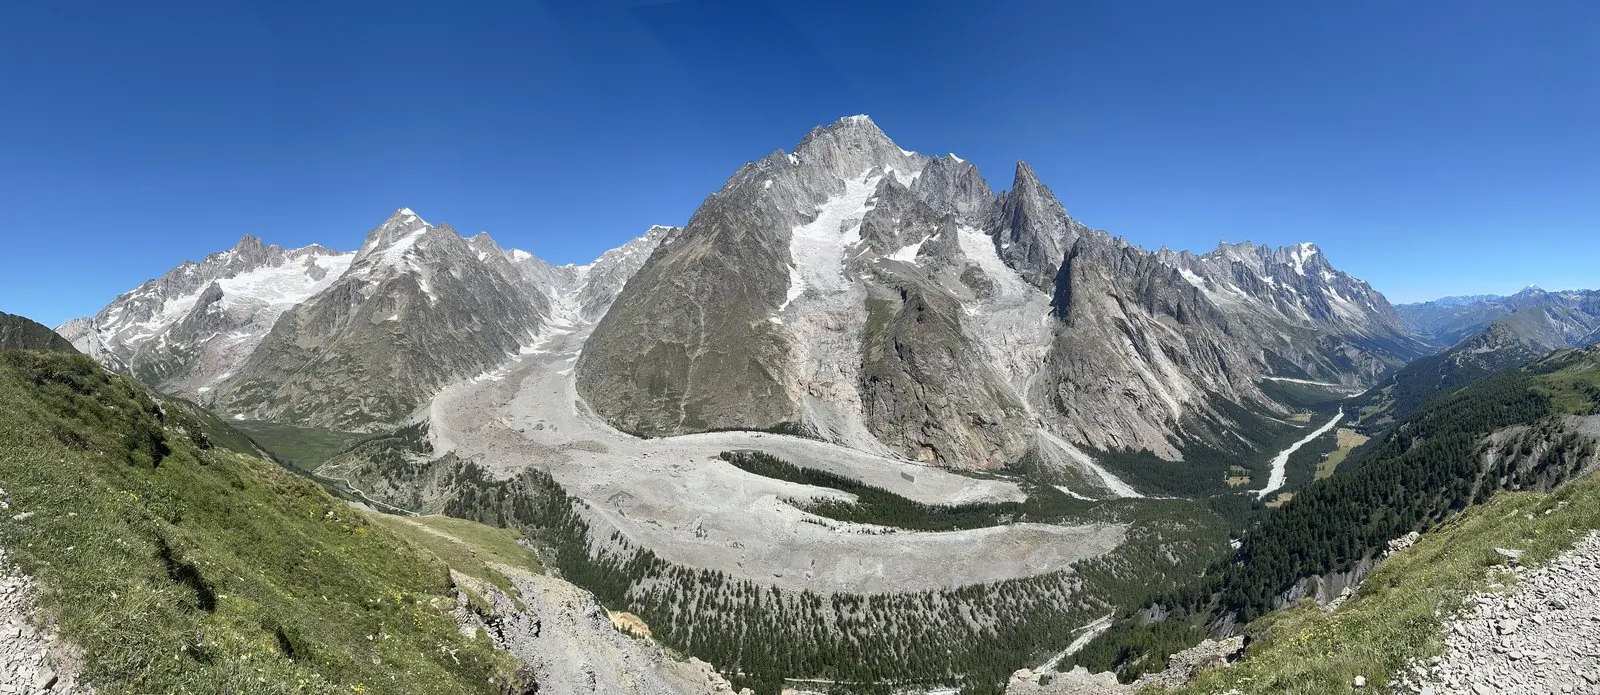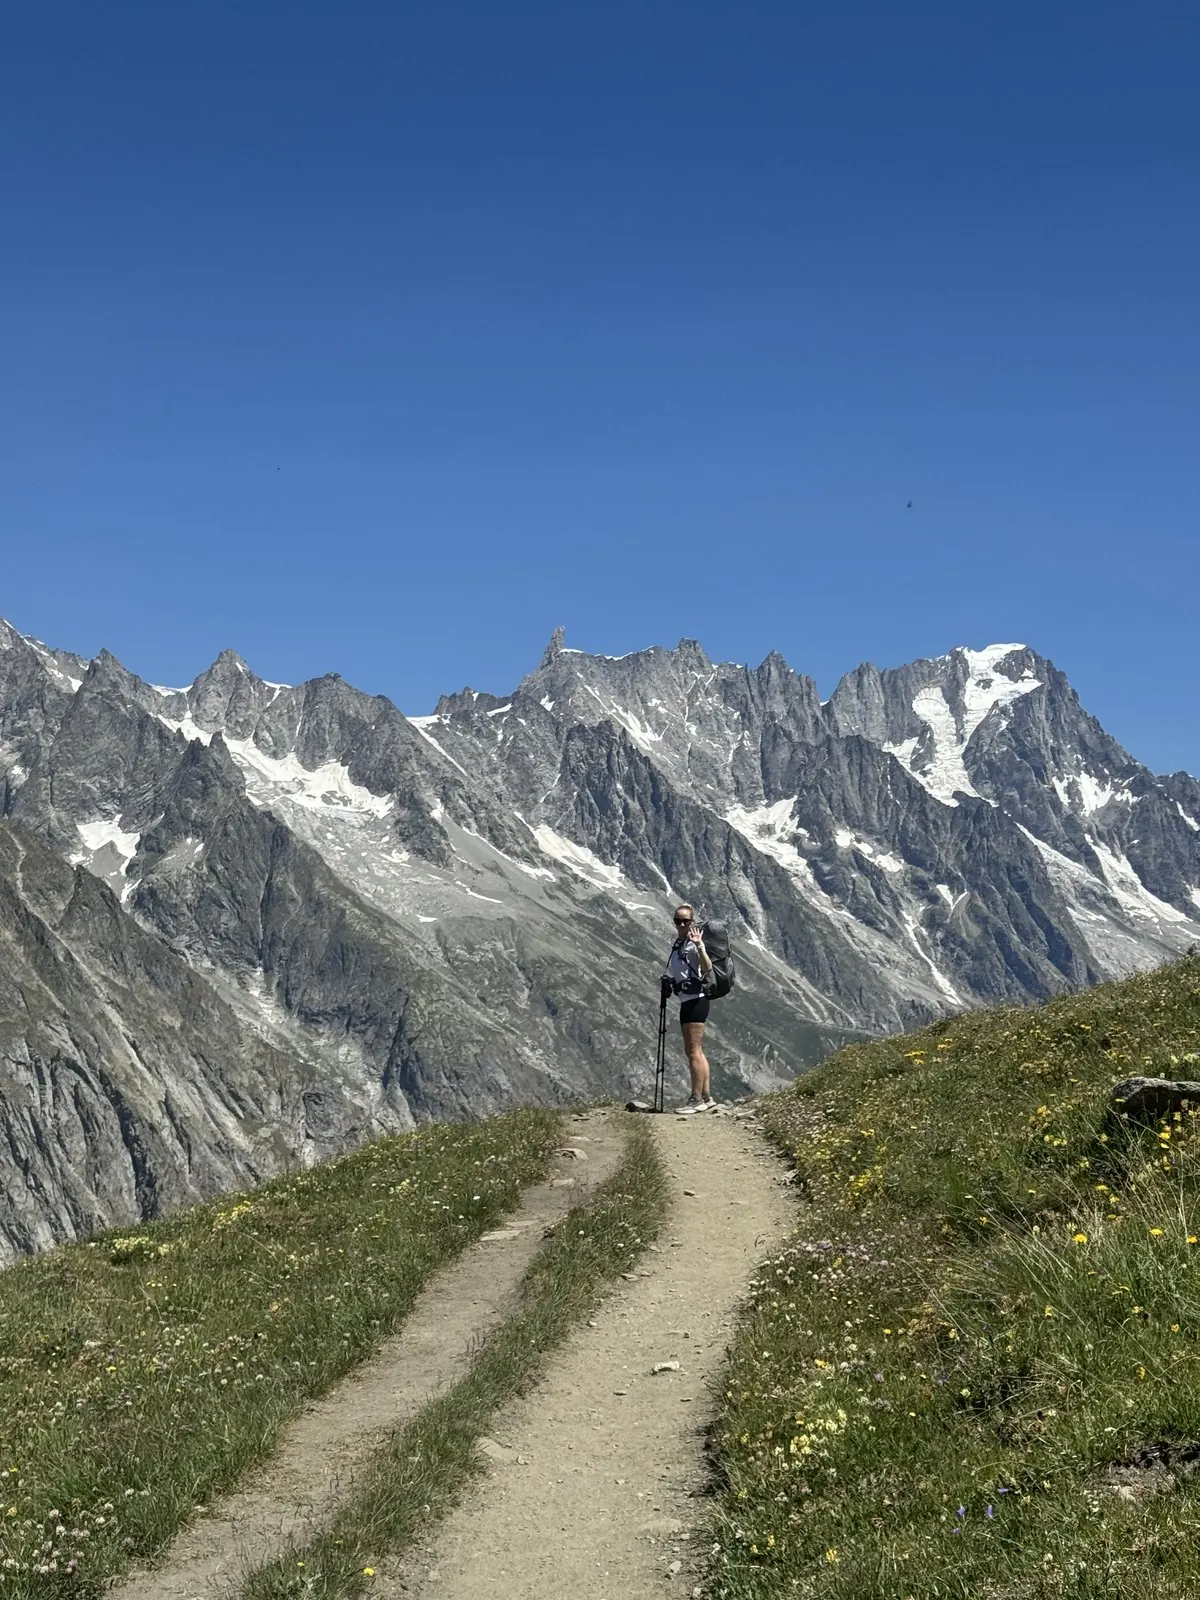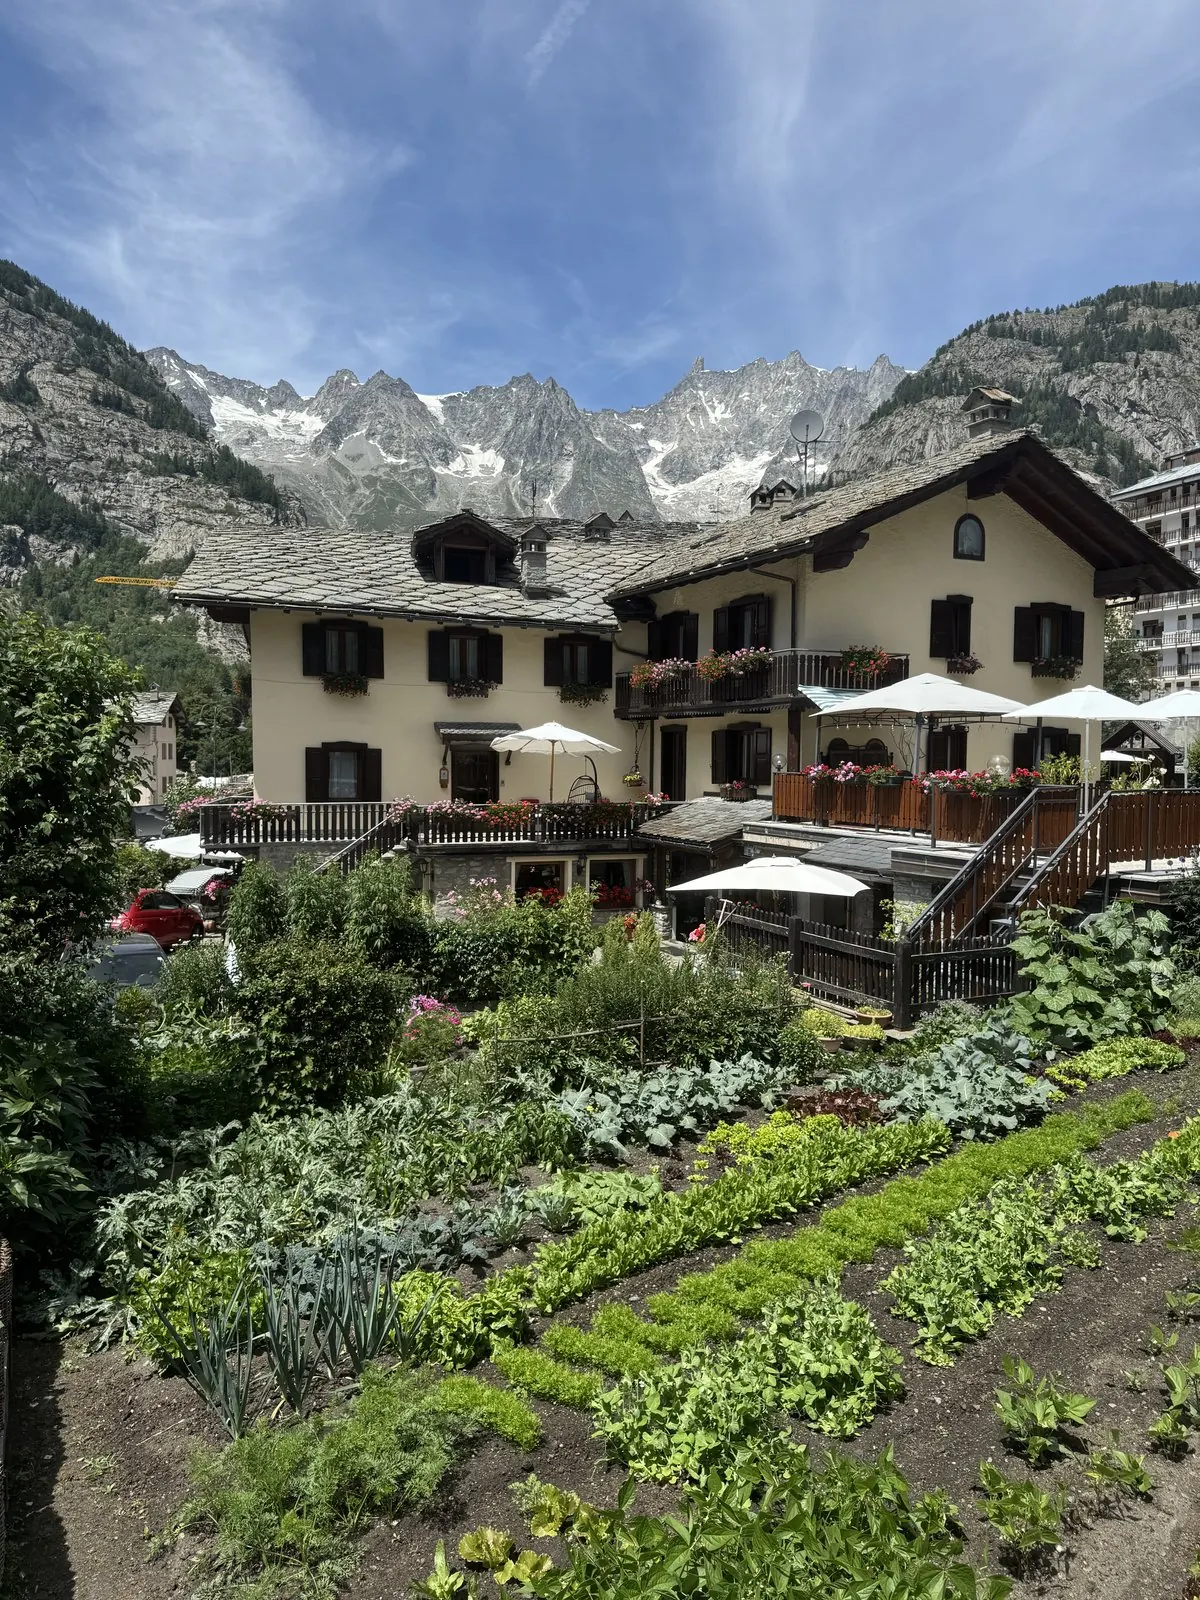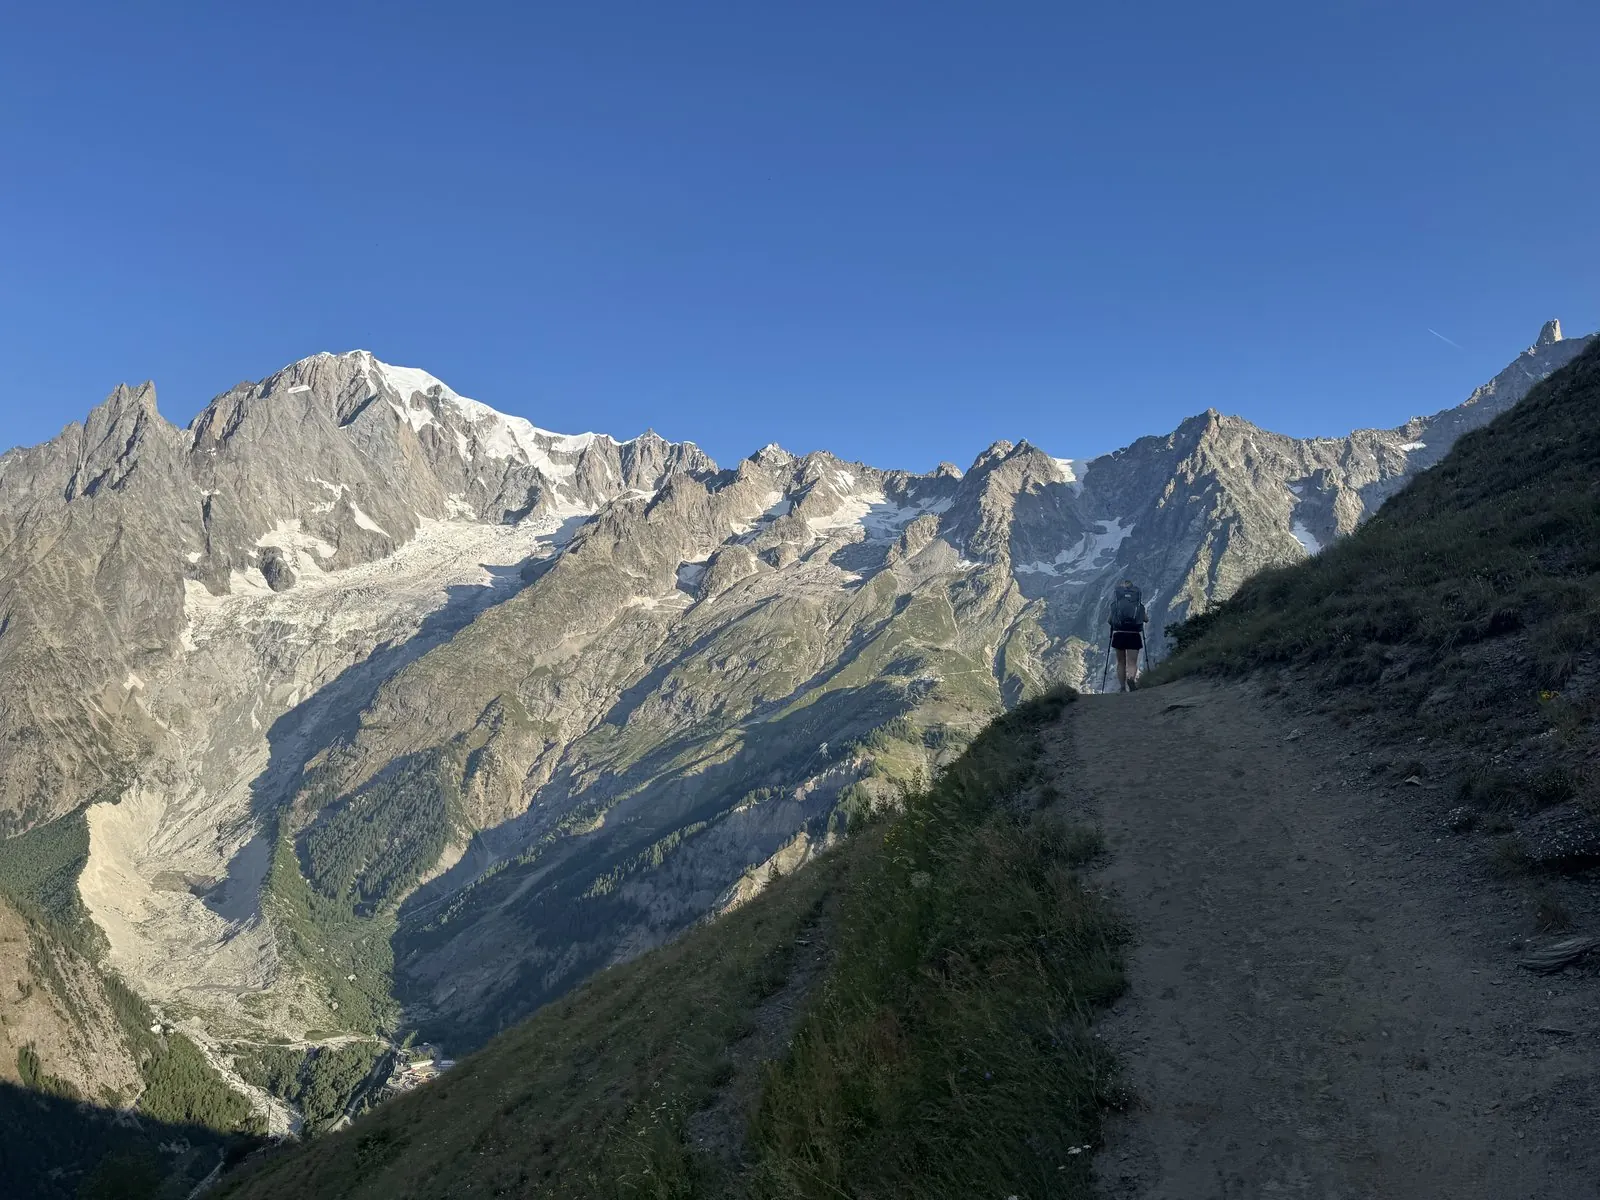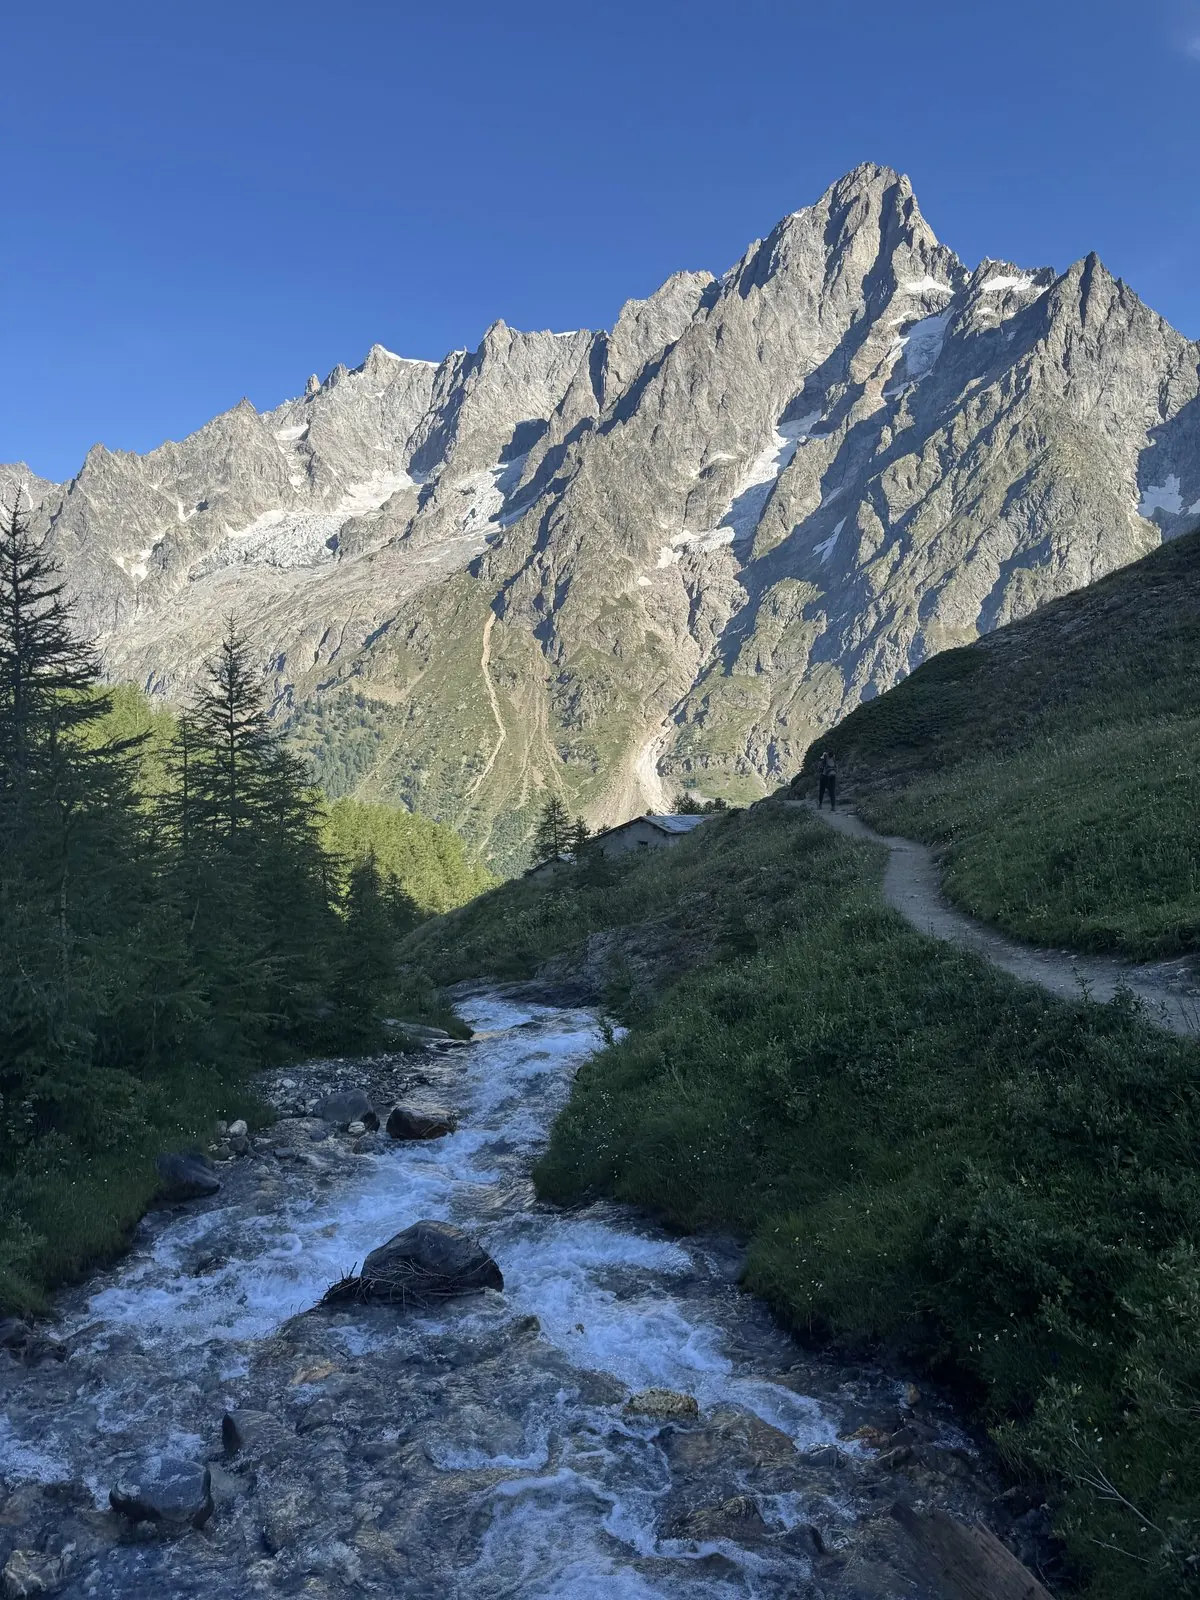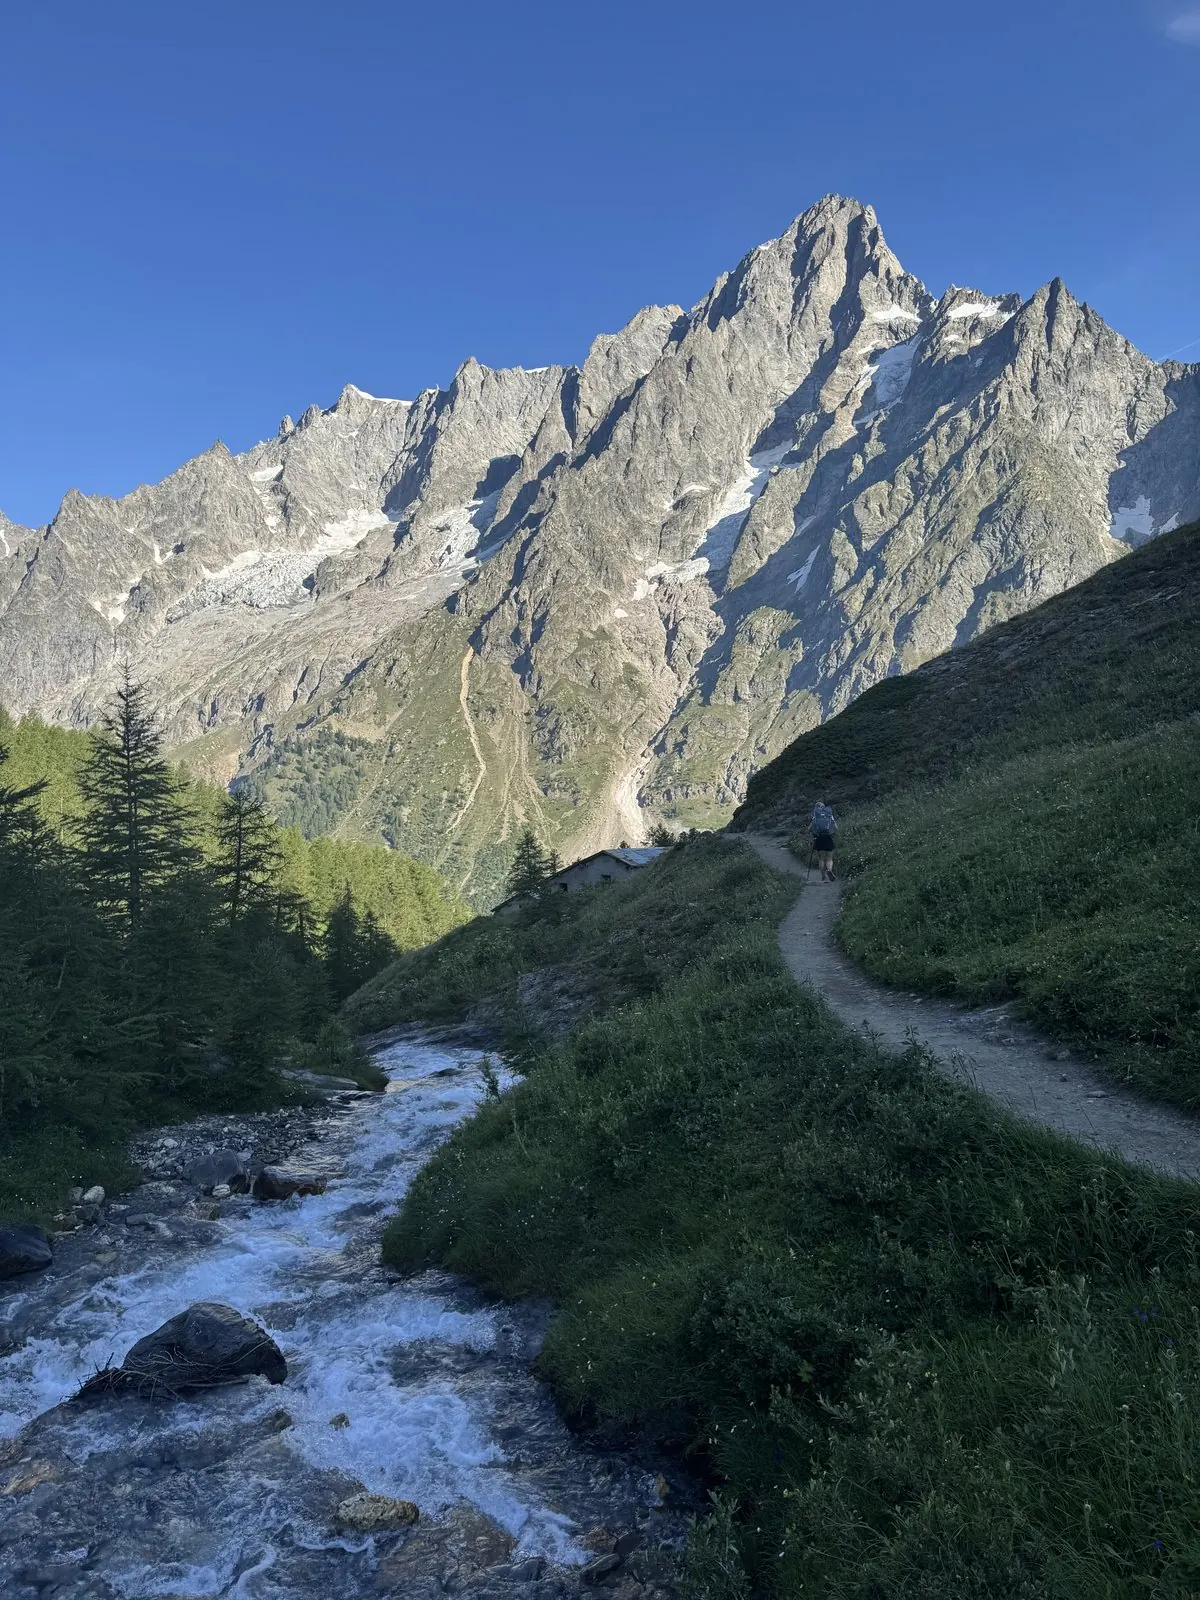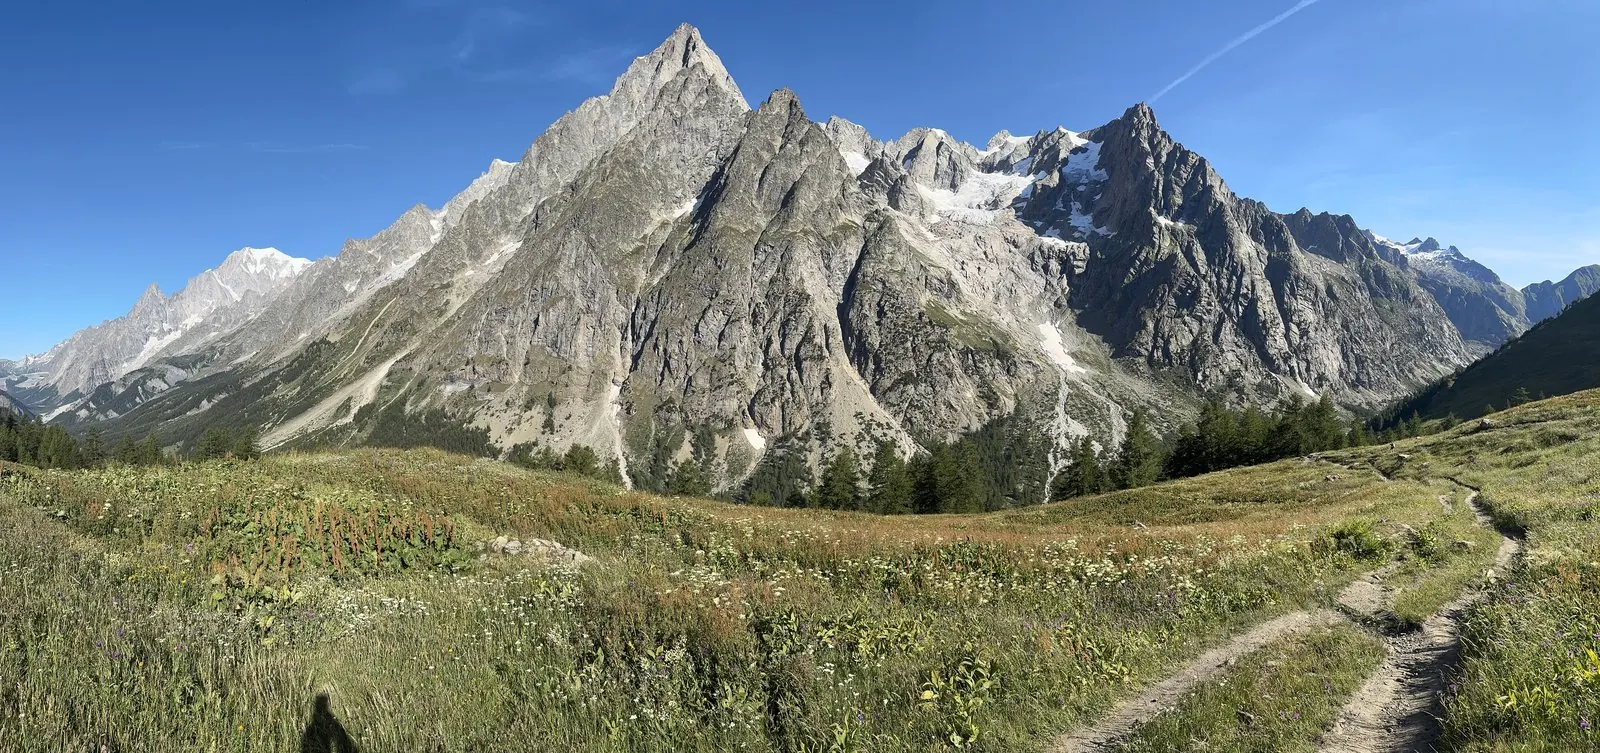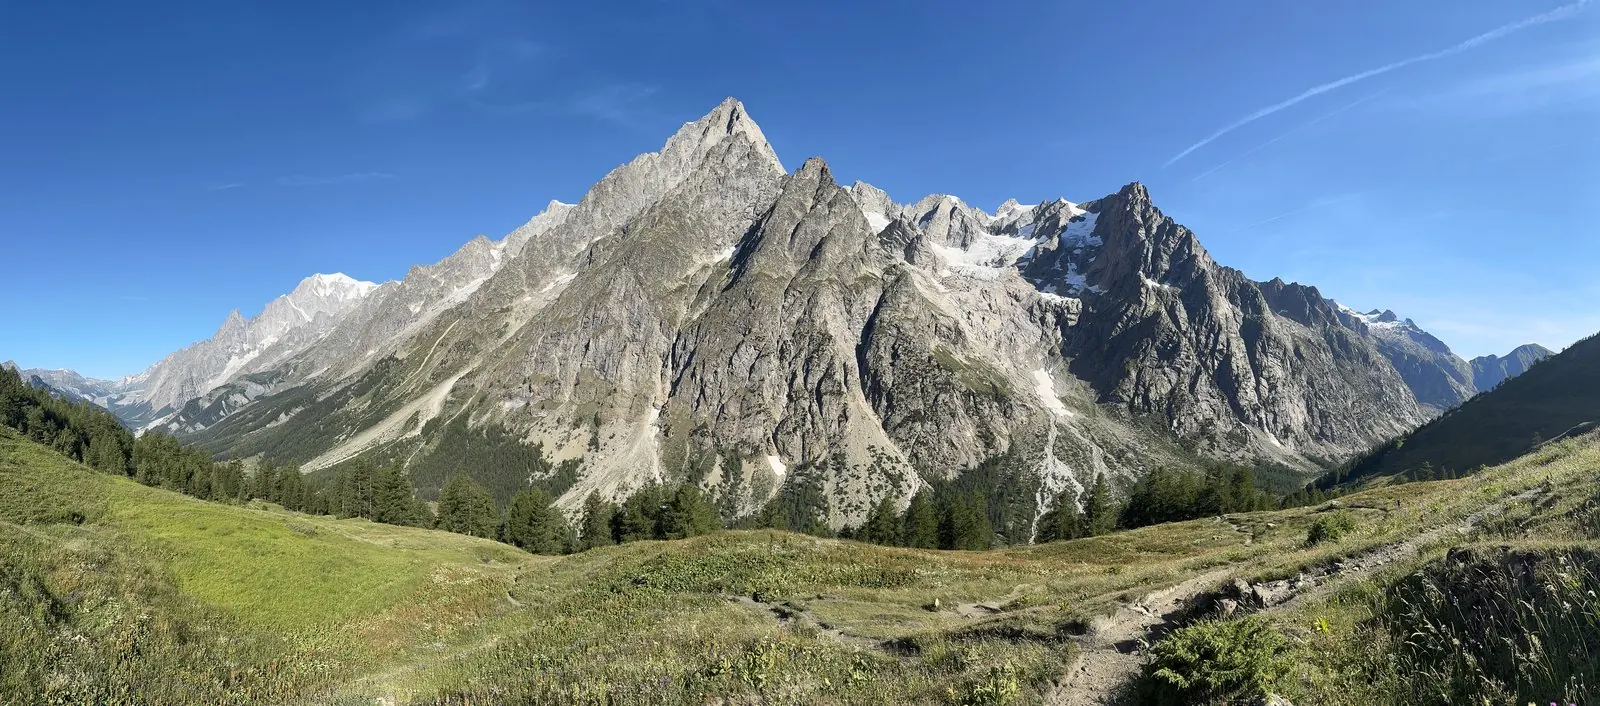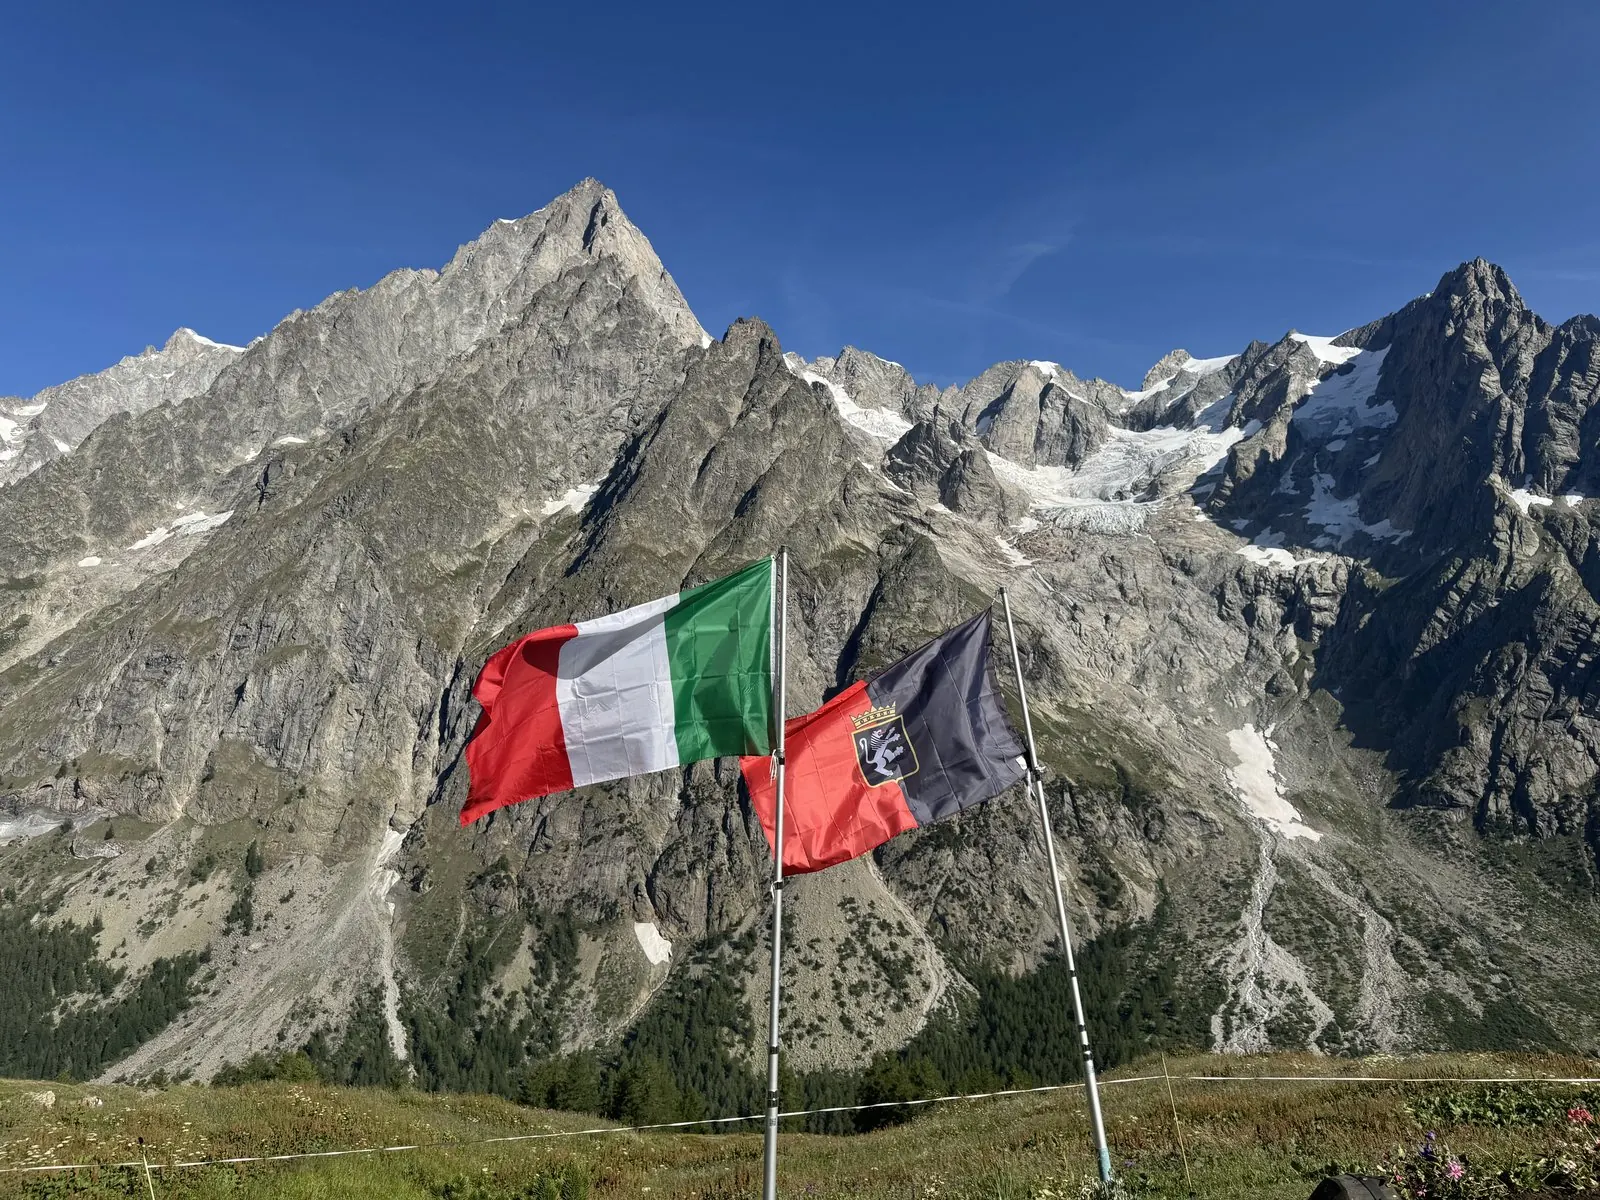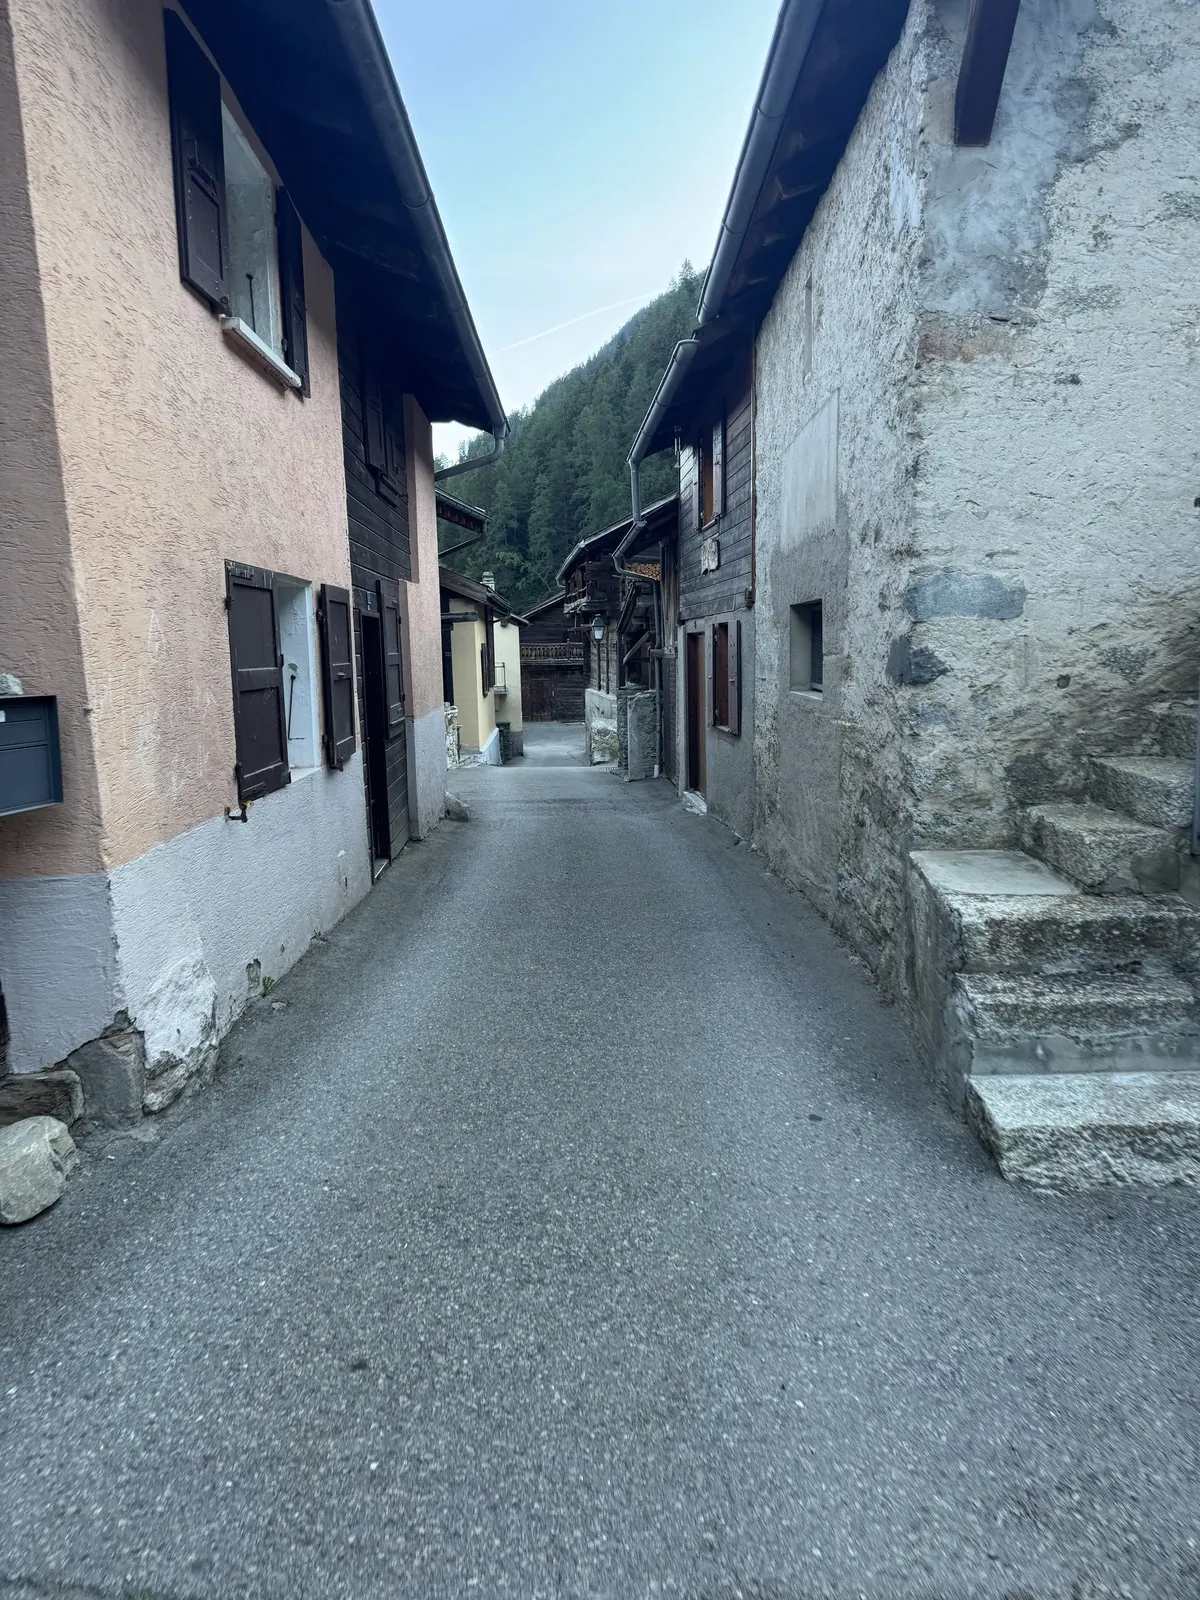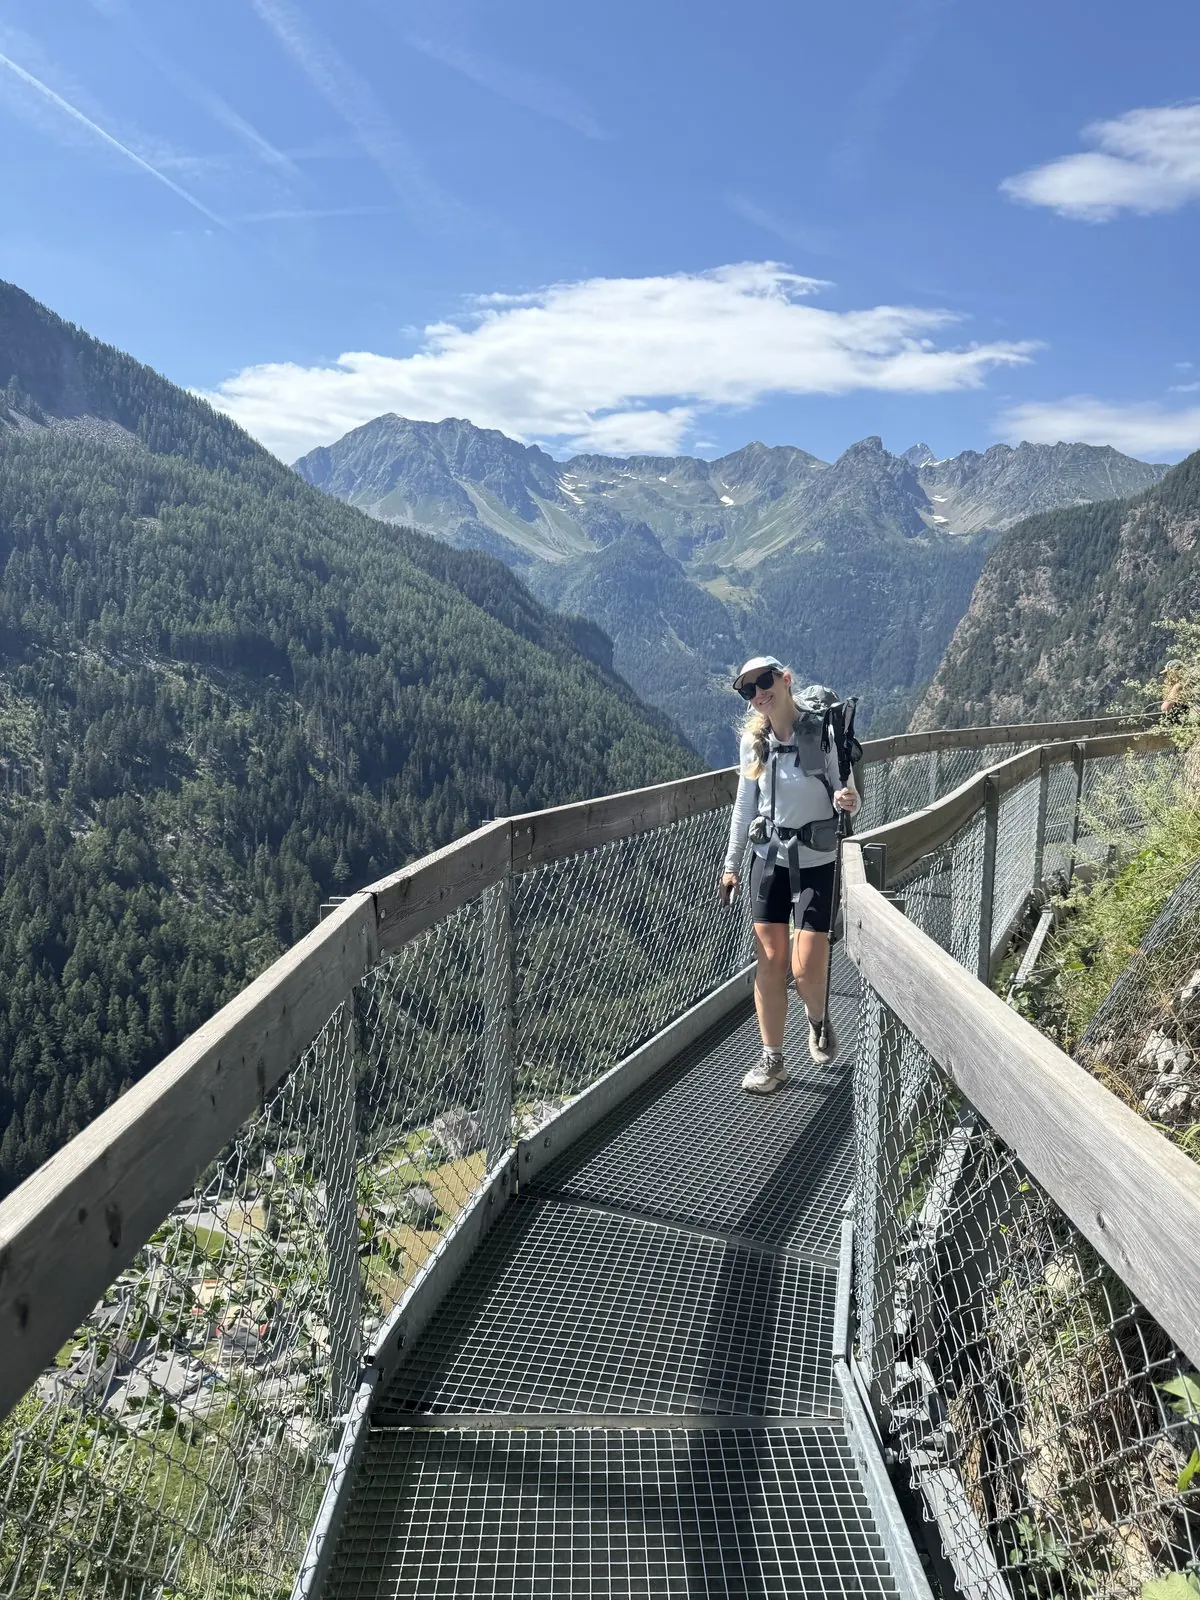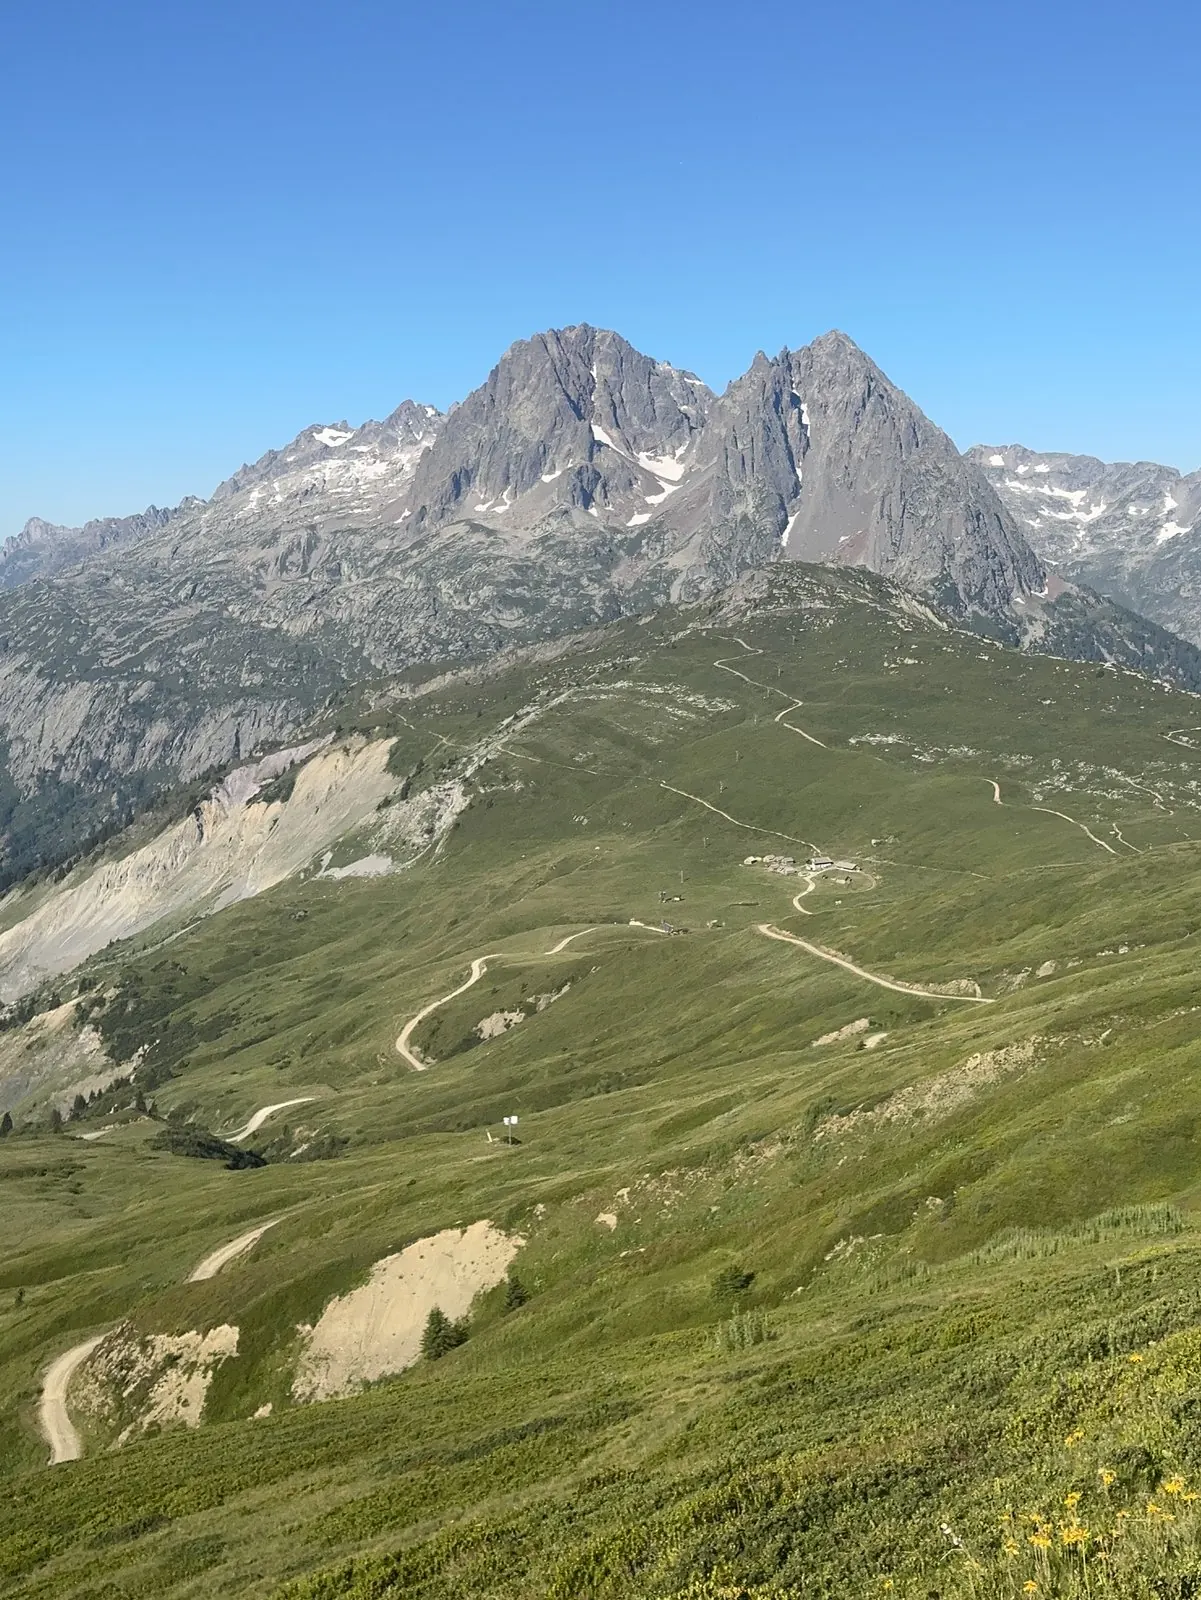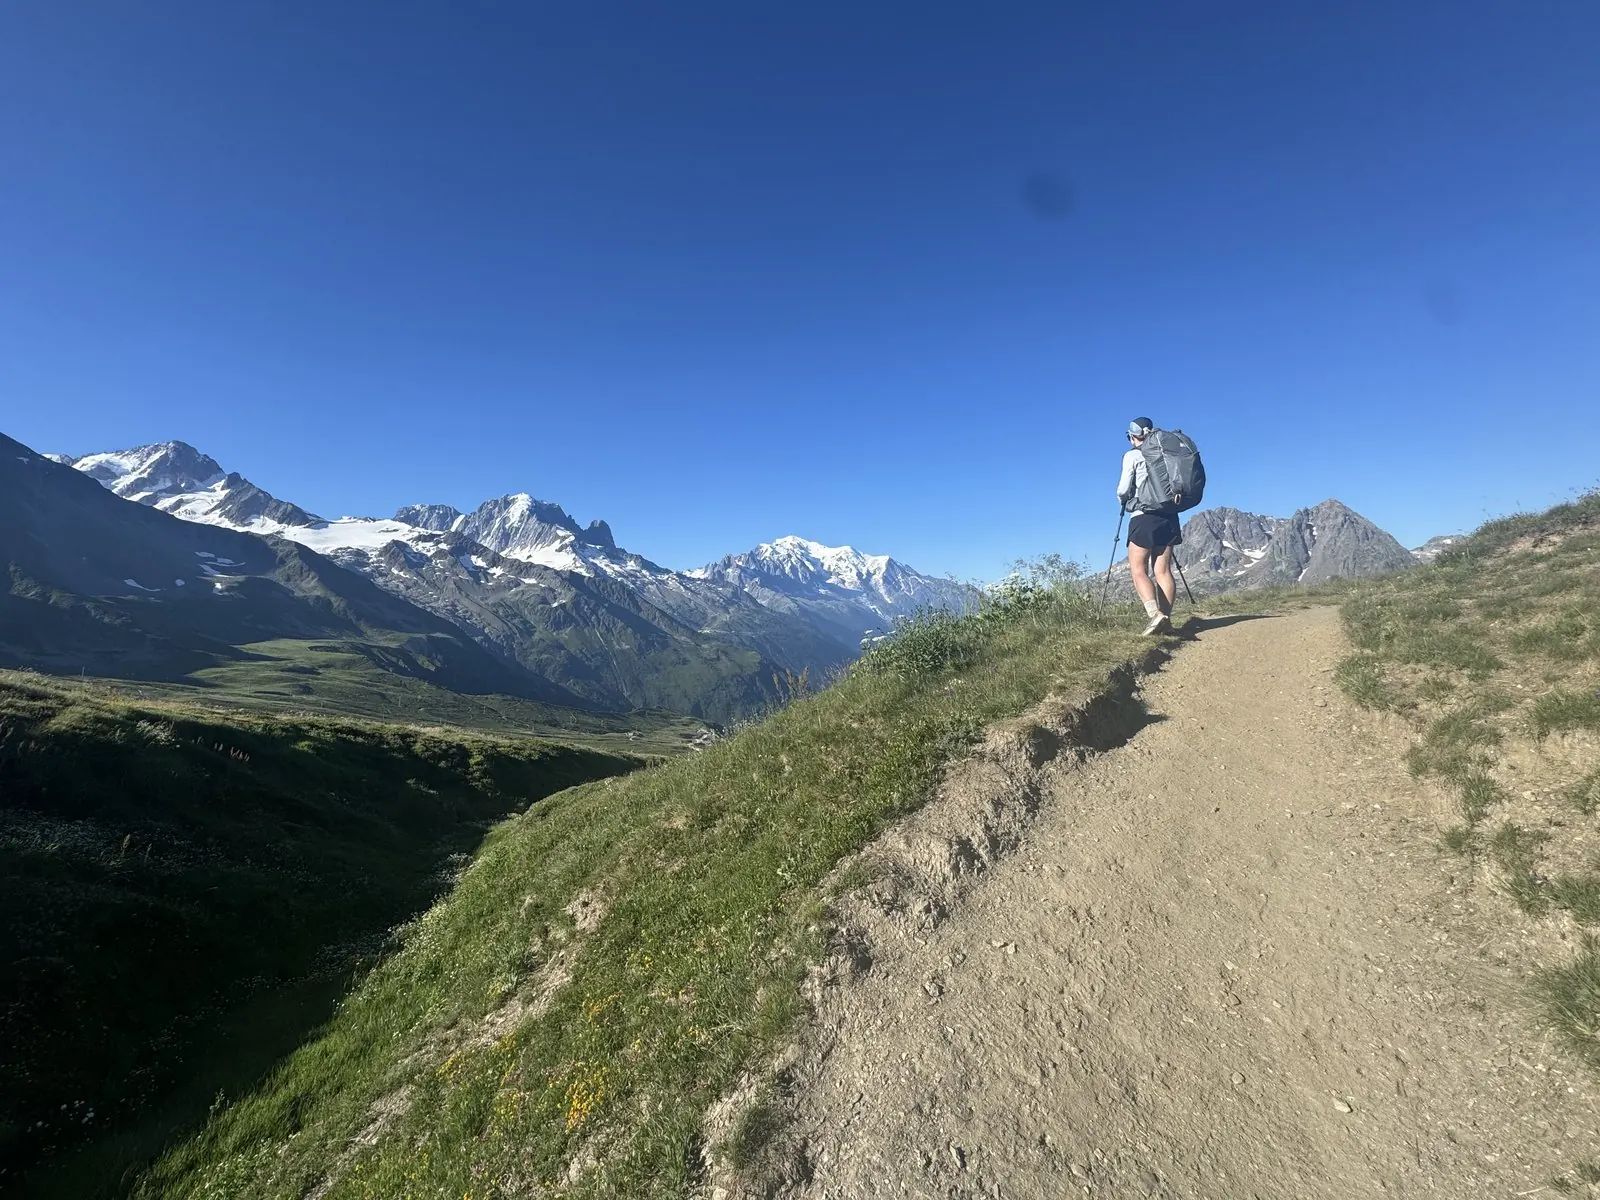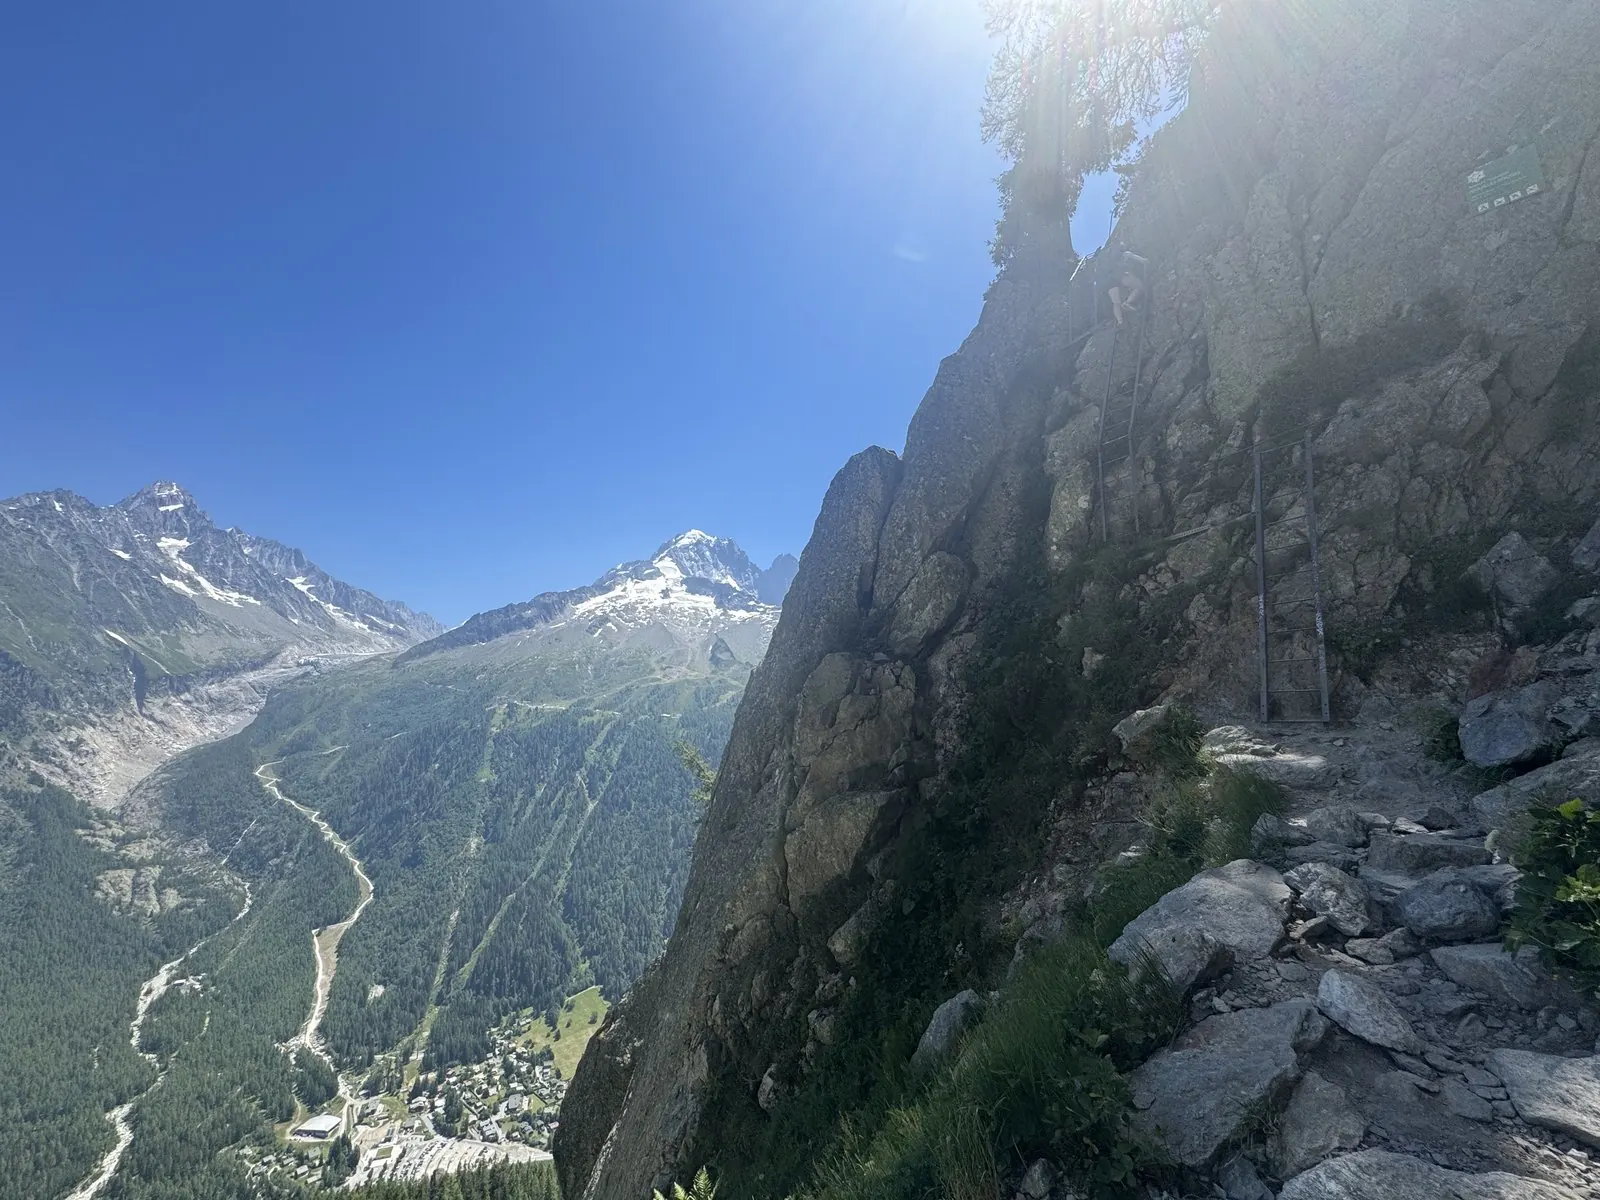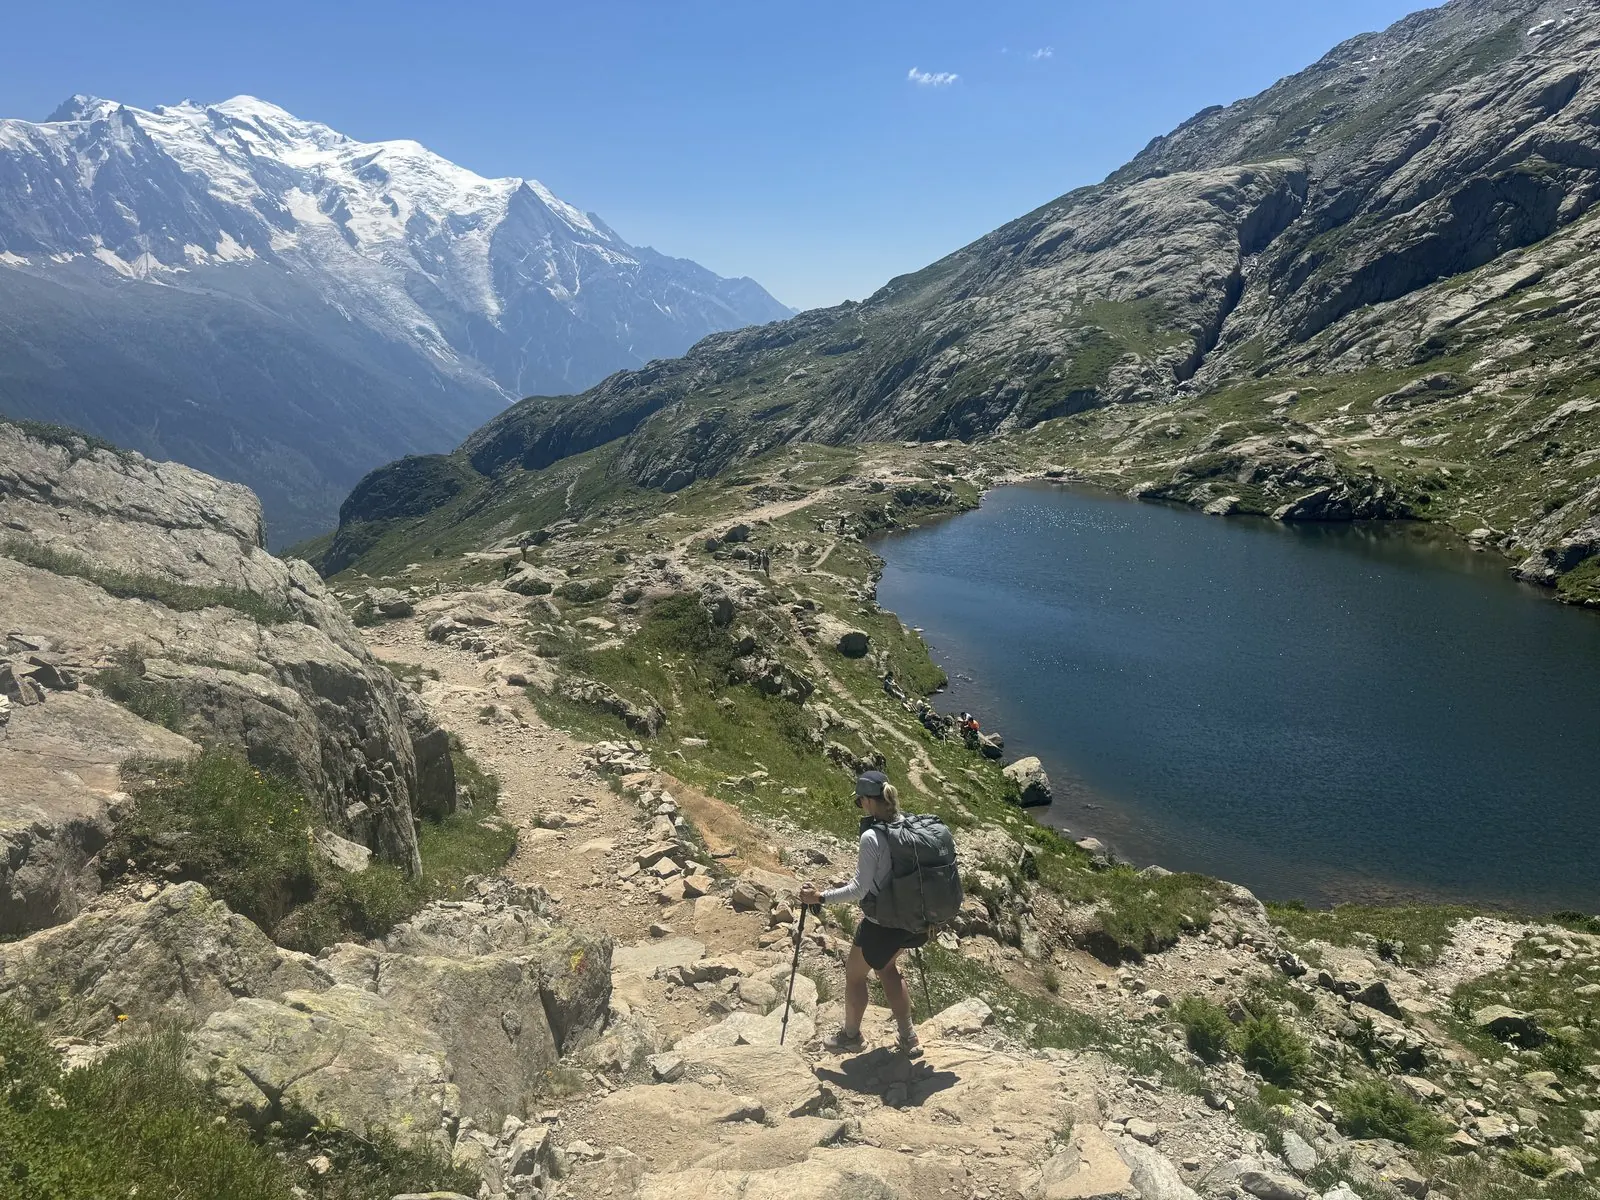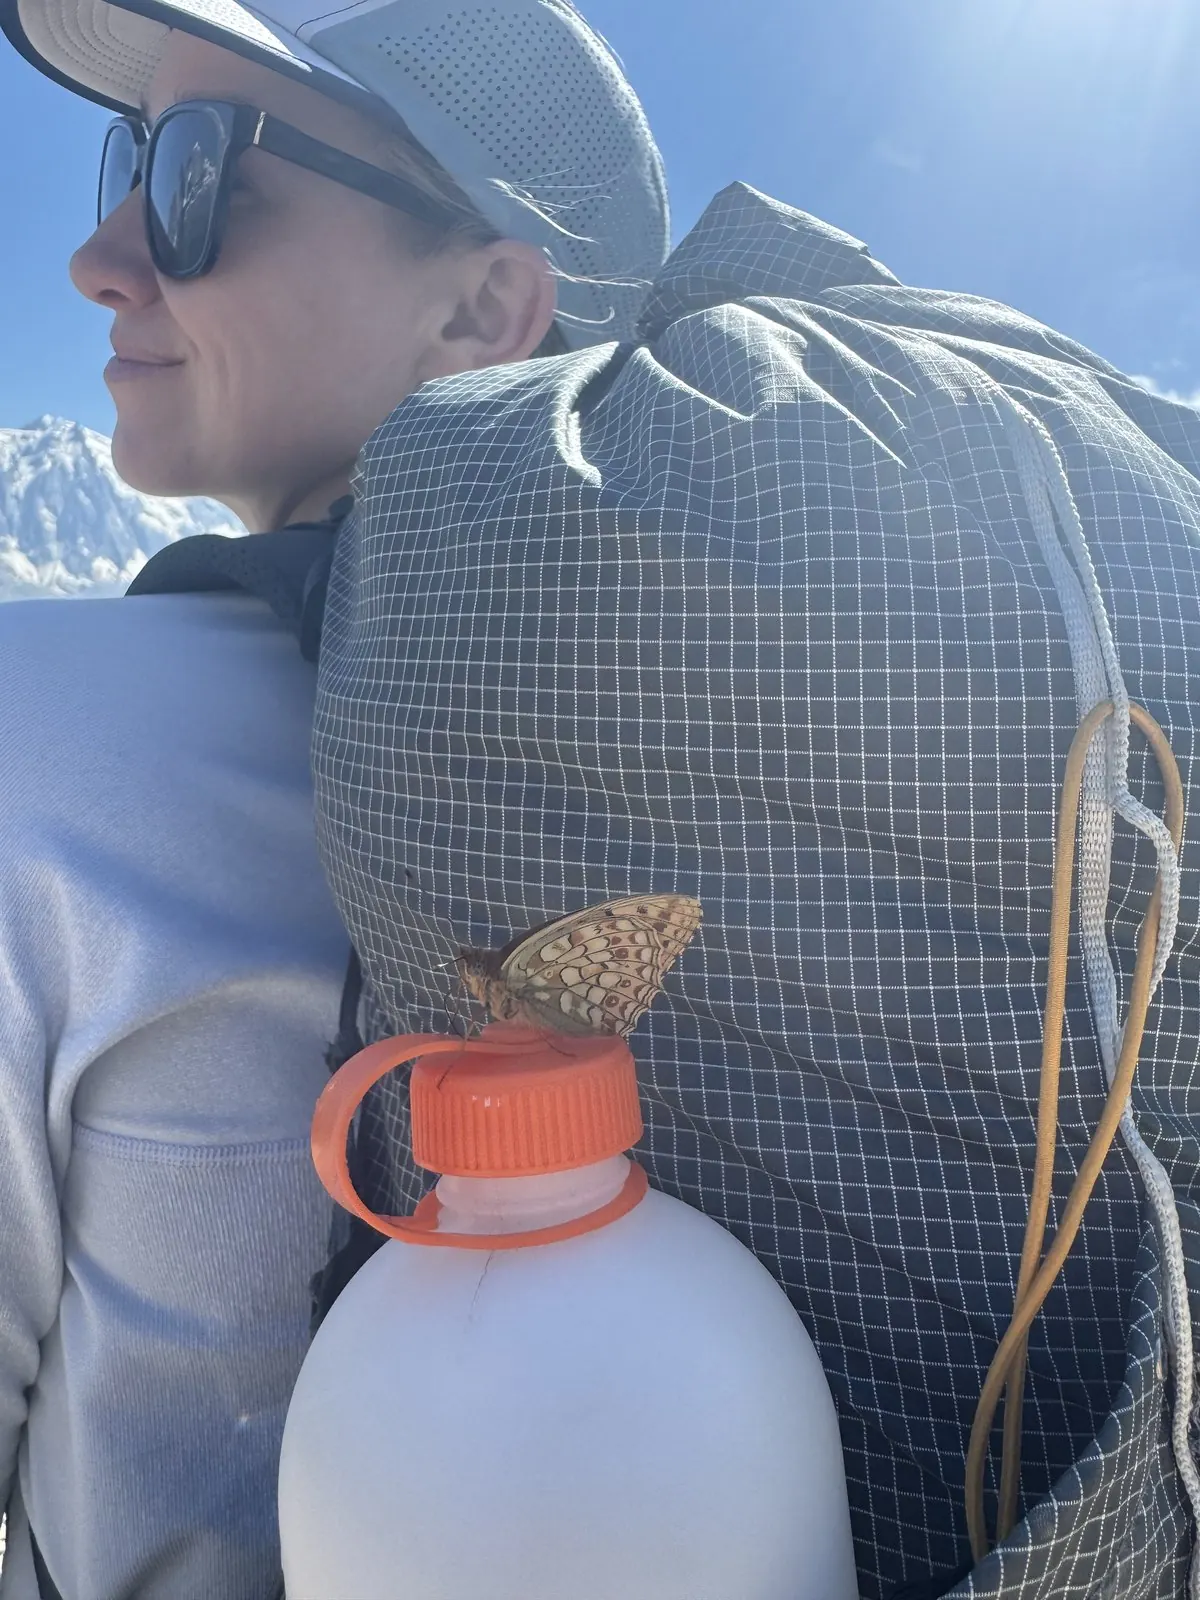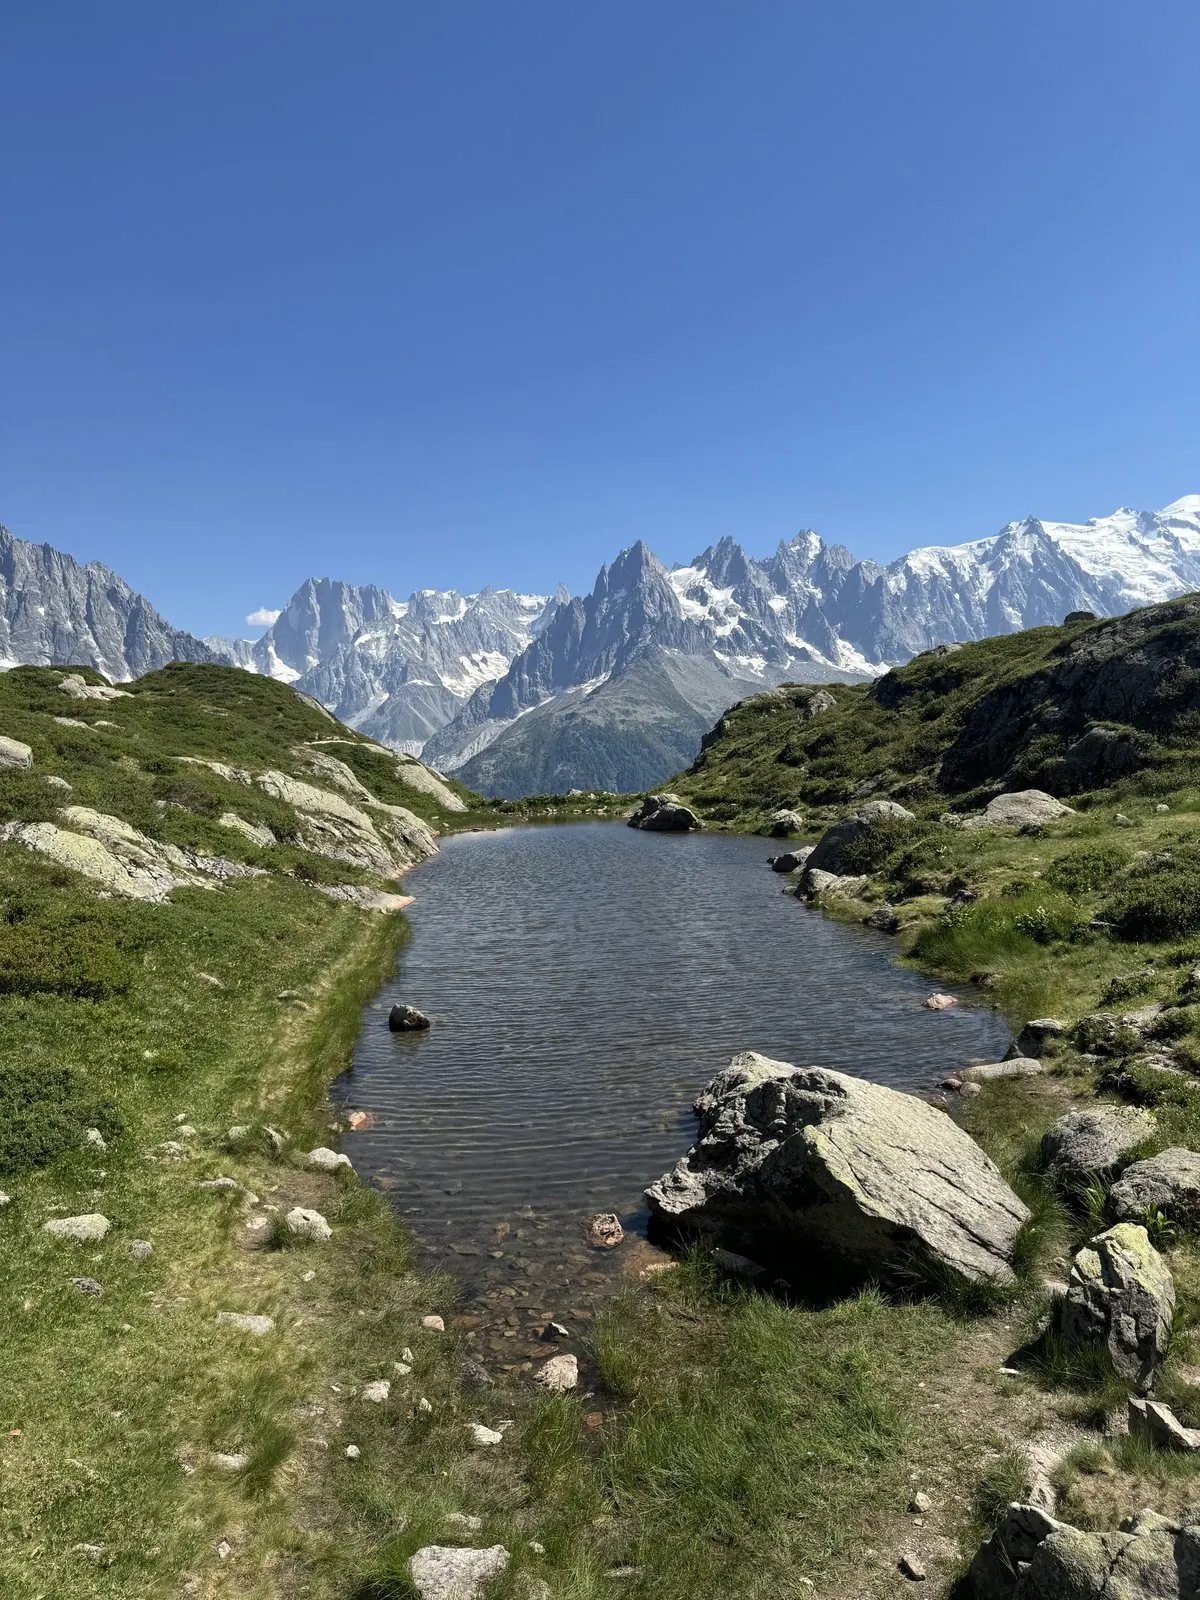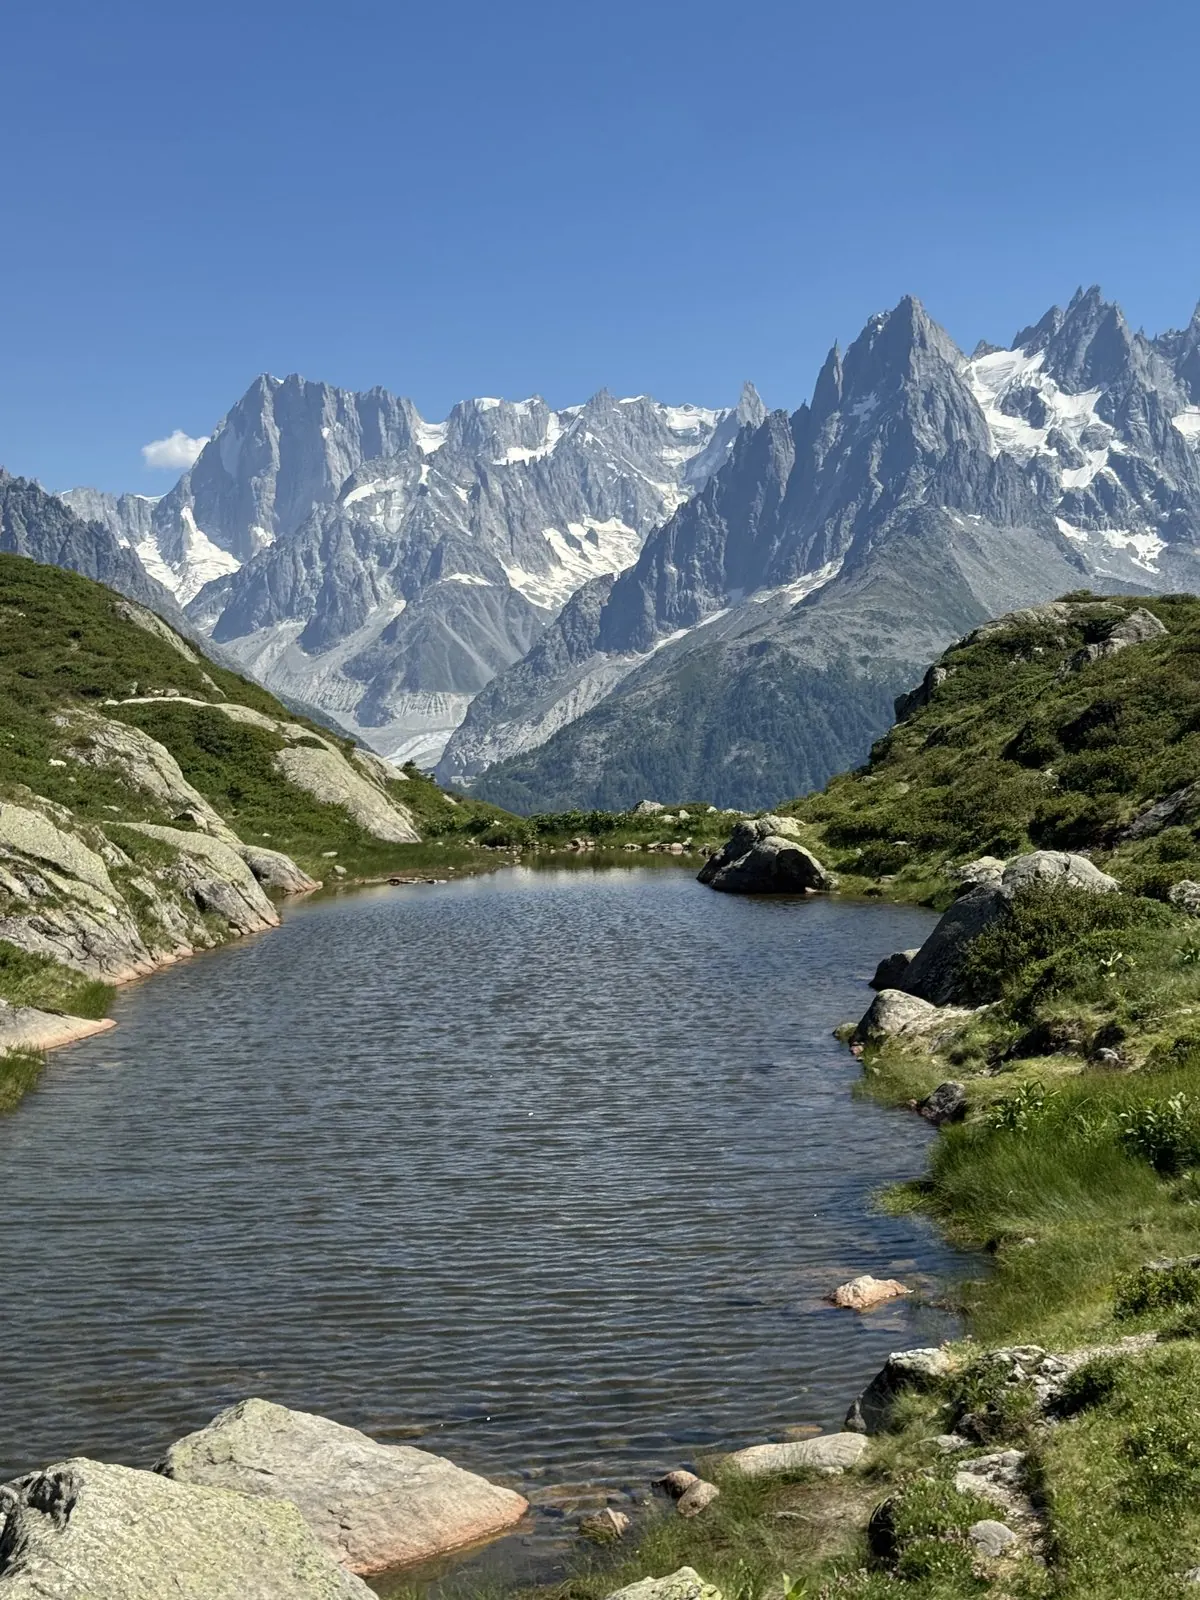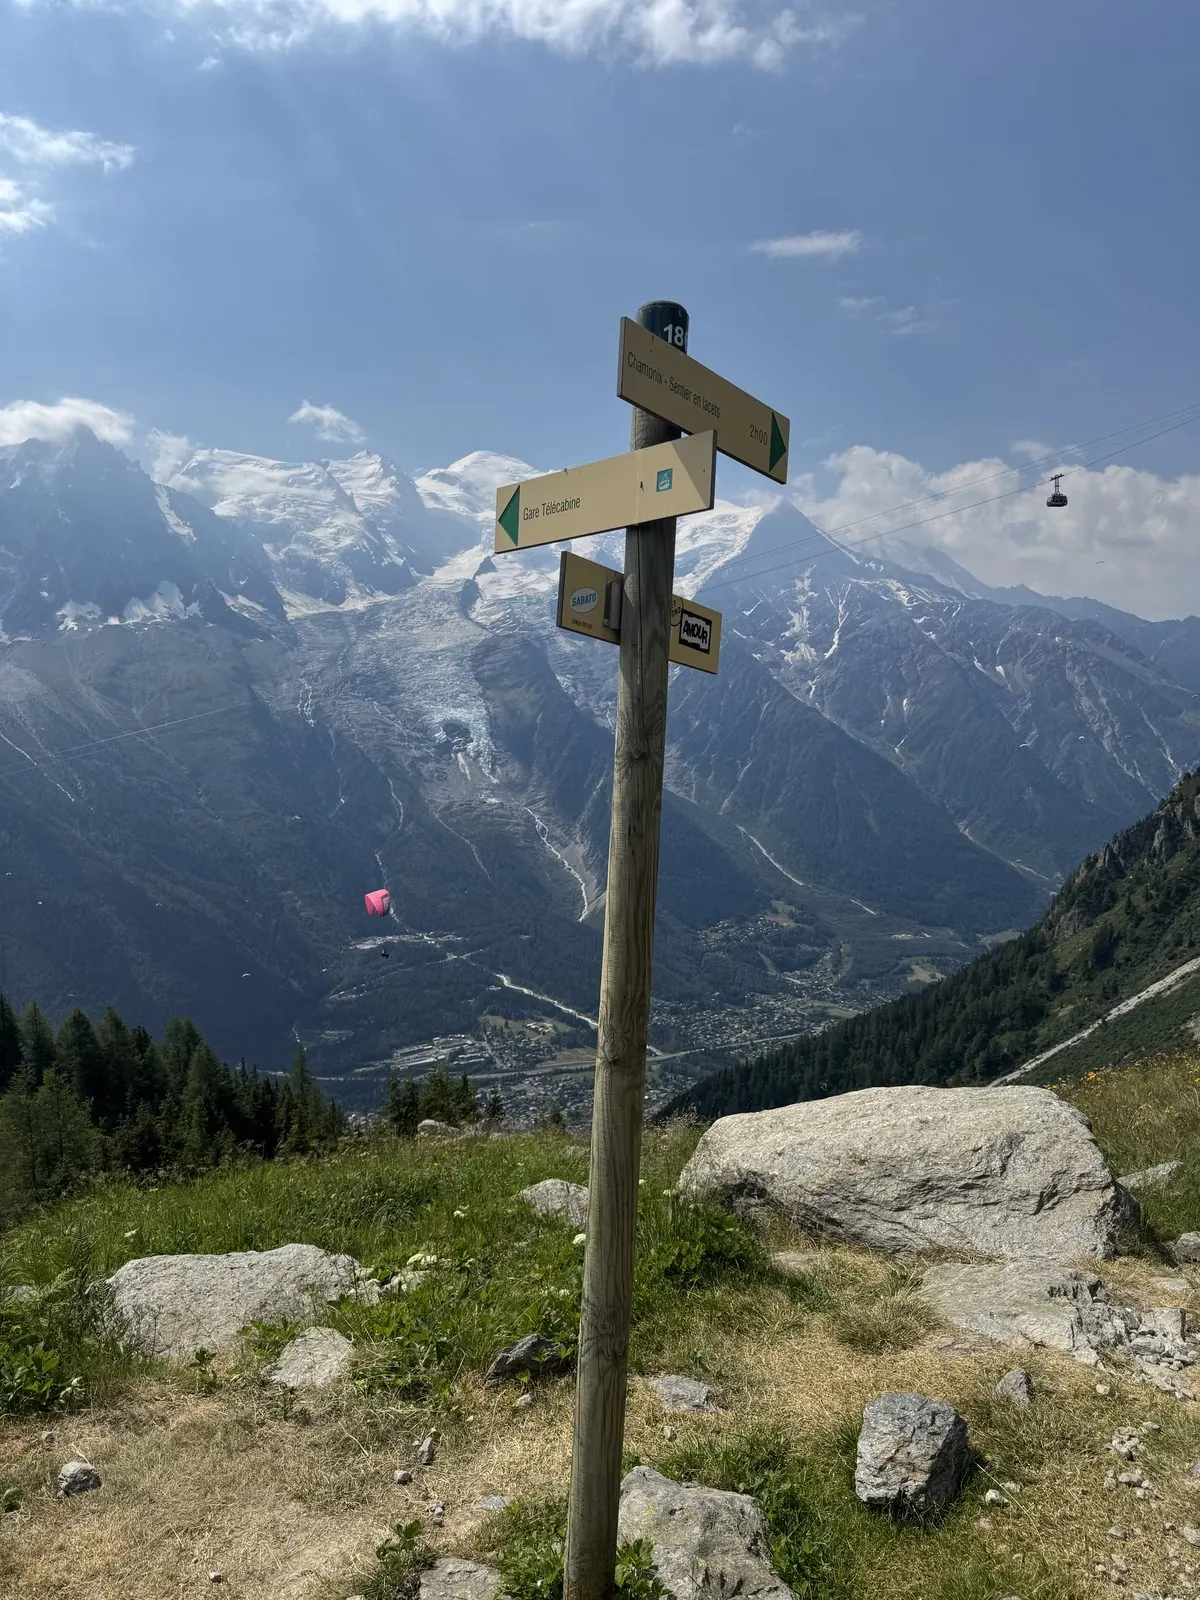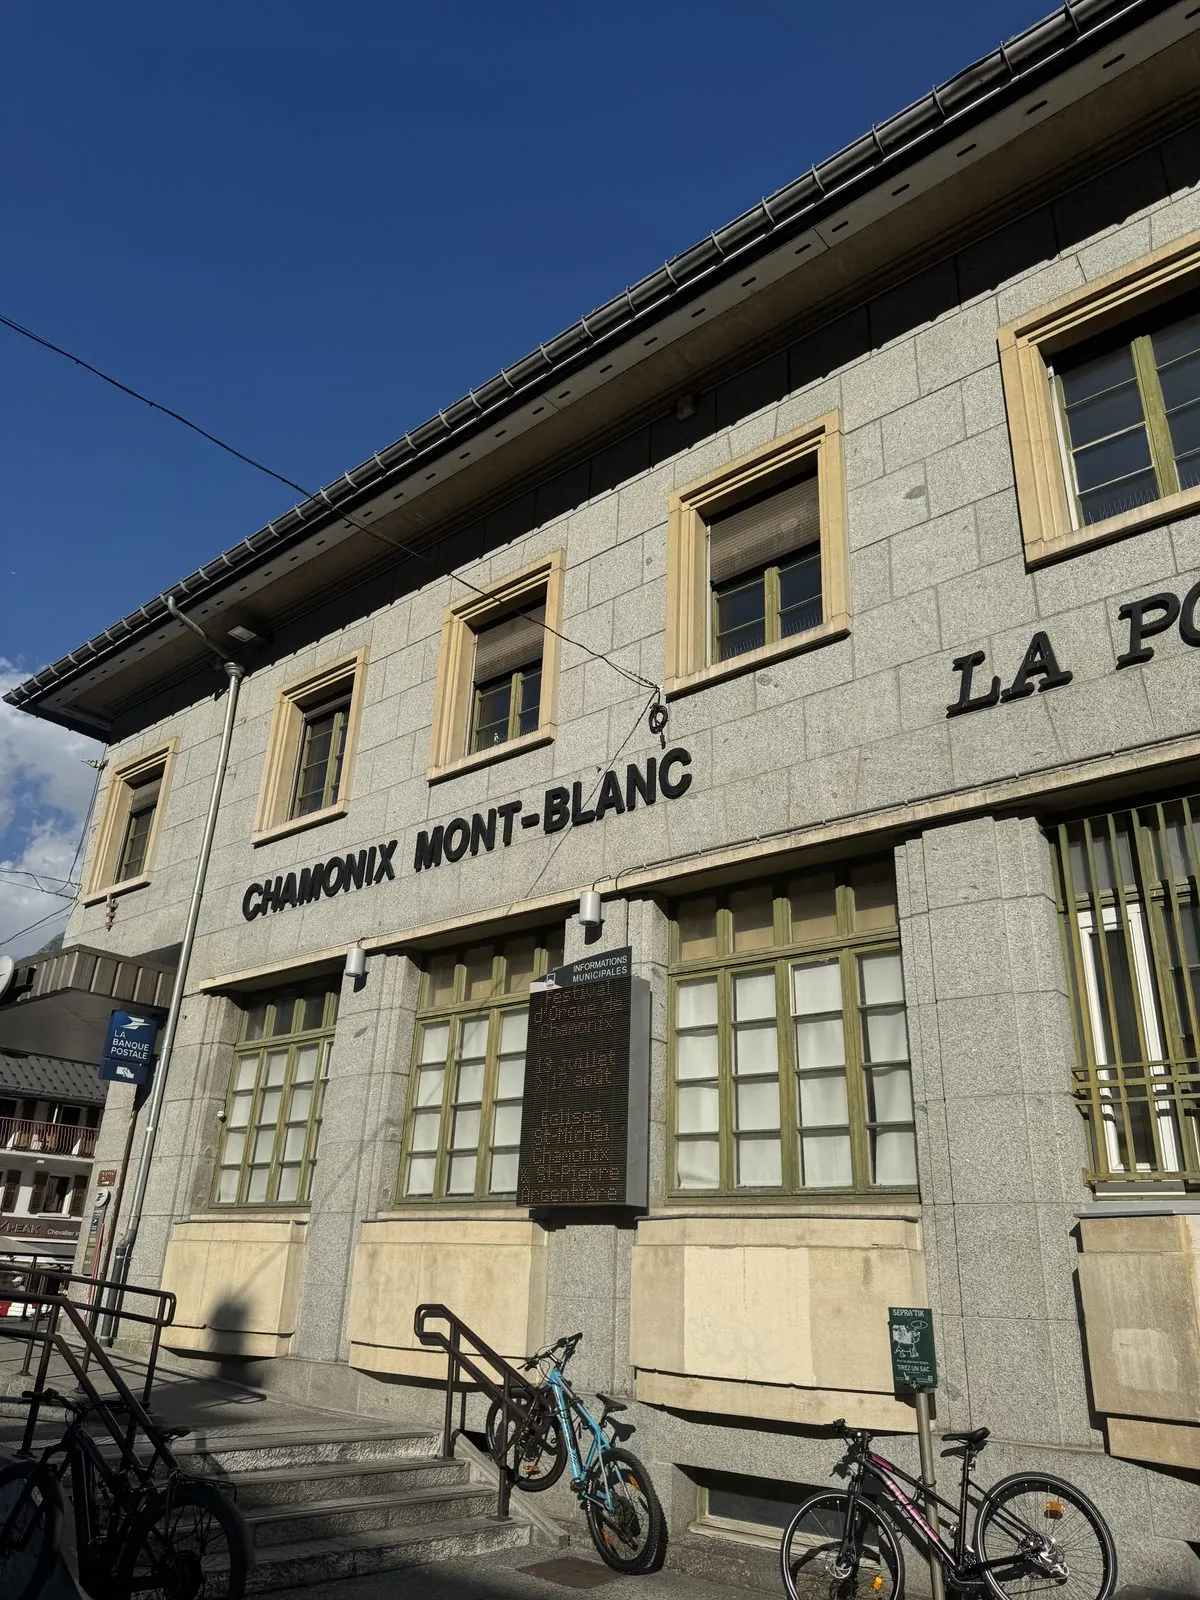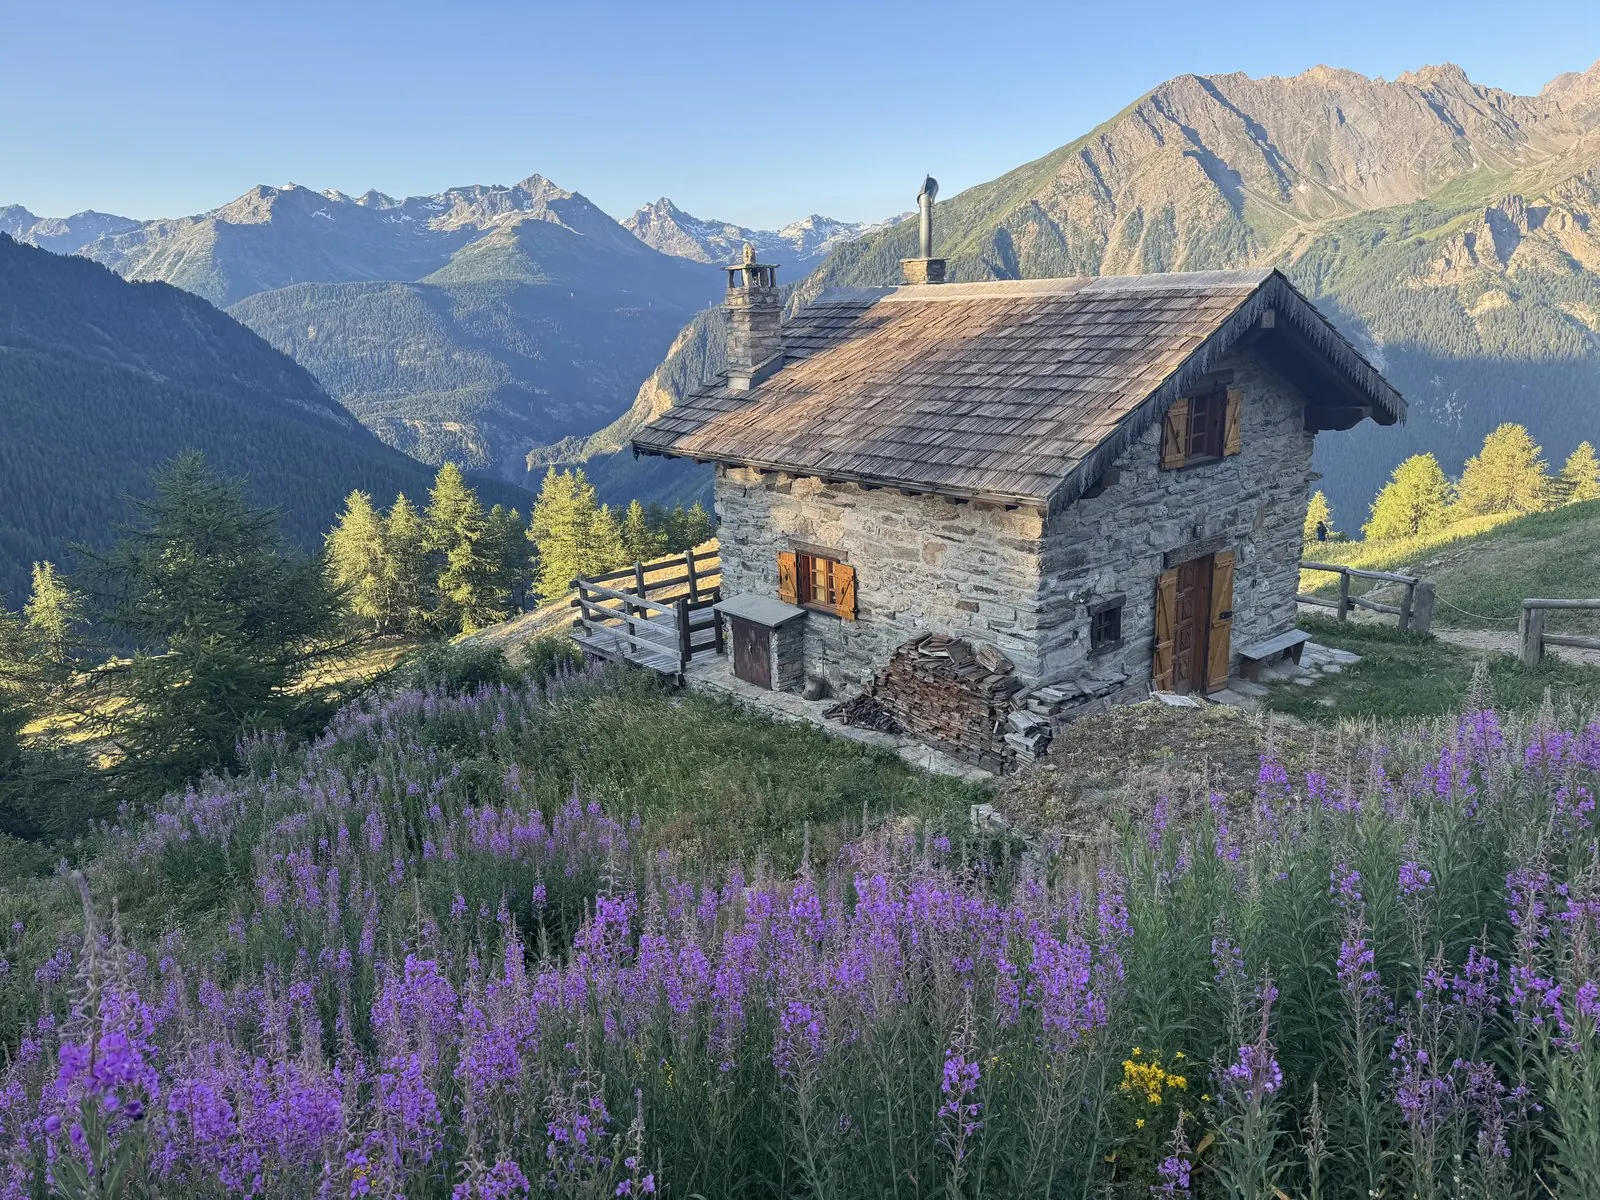
Tour du Mont Blanc

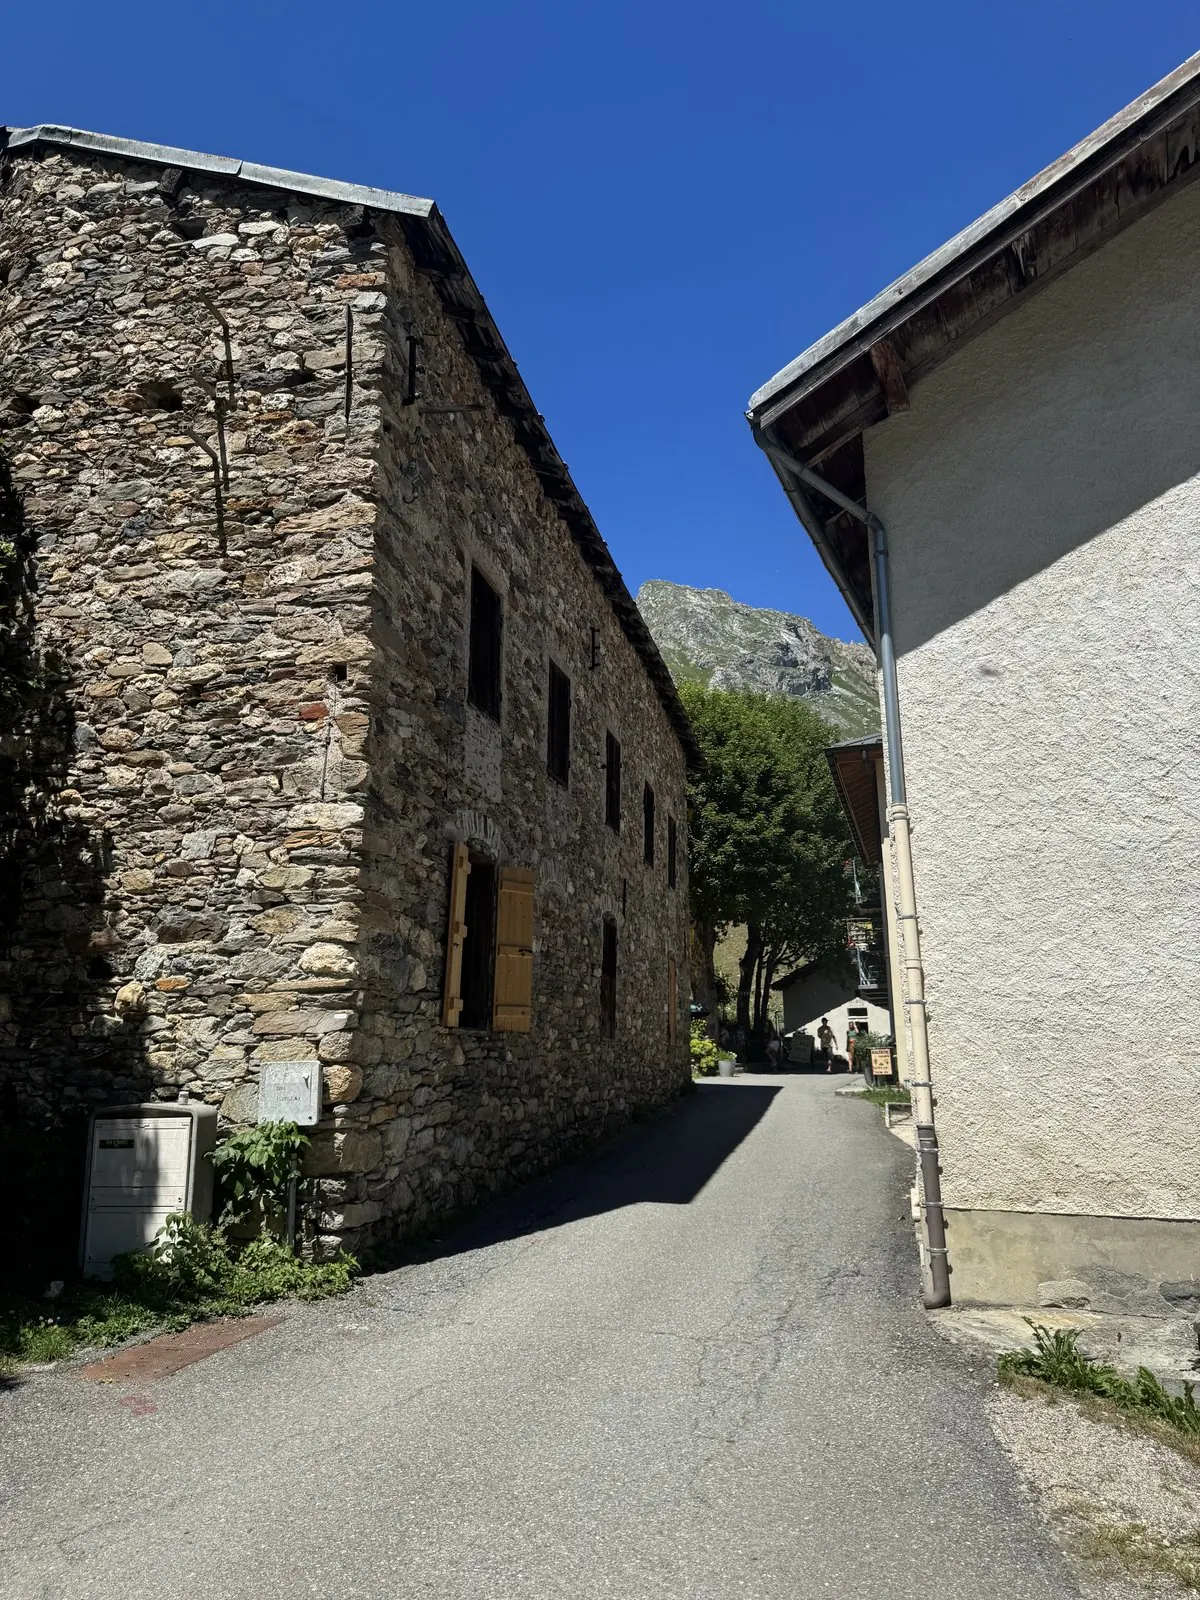
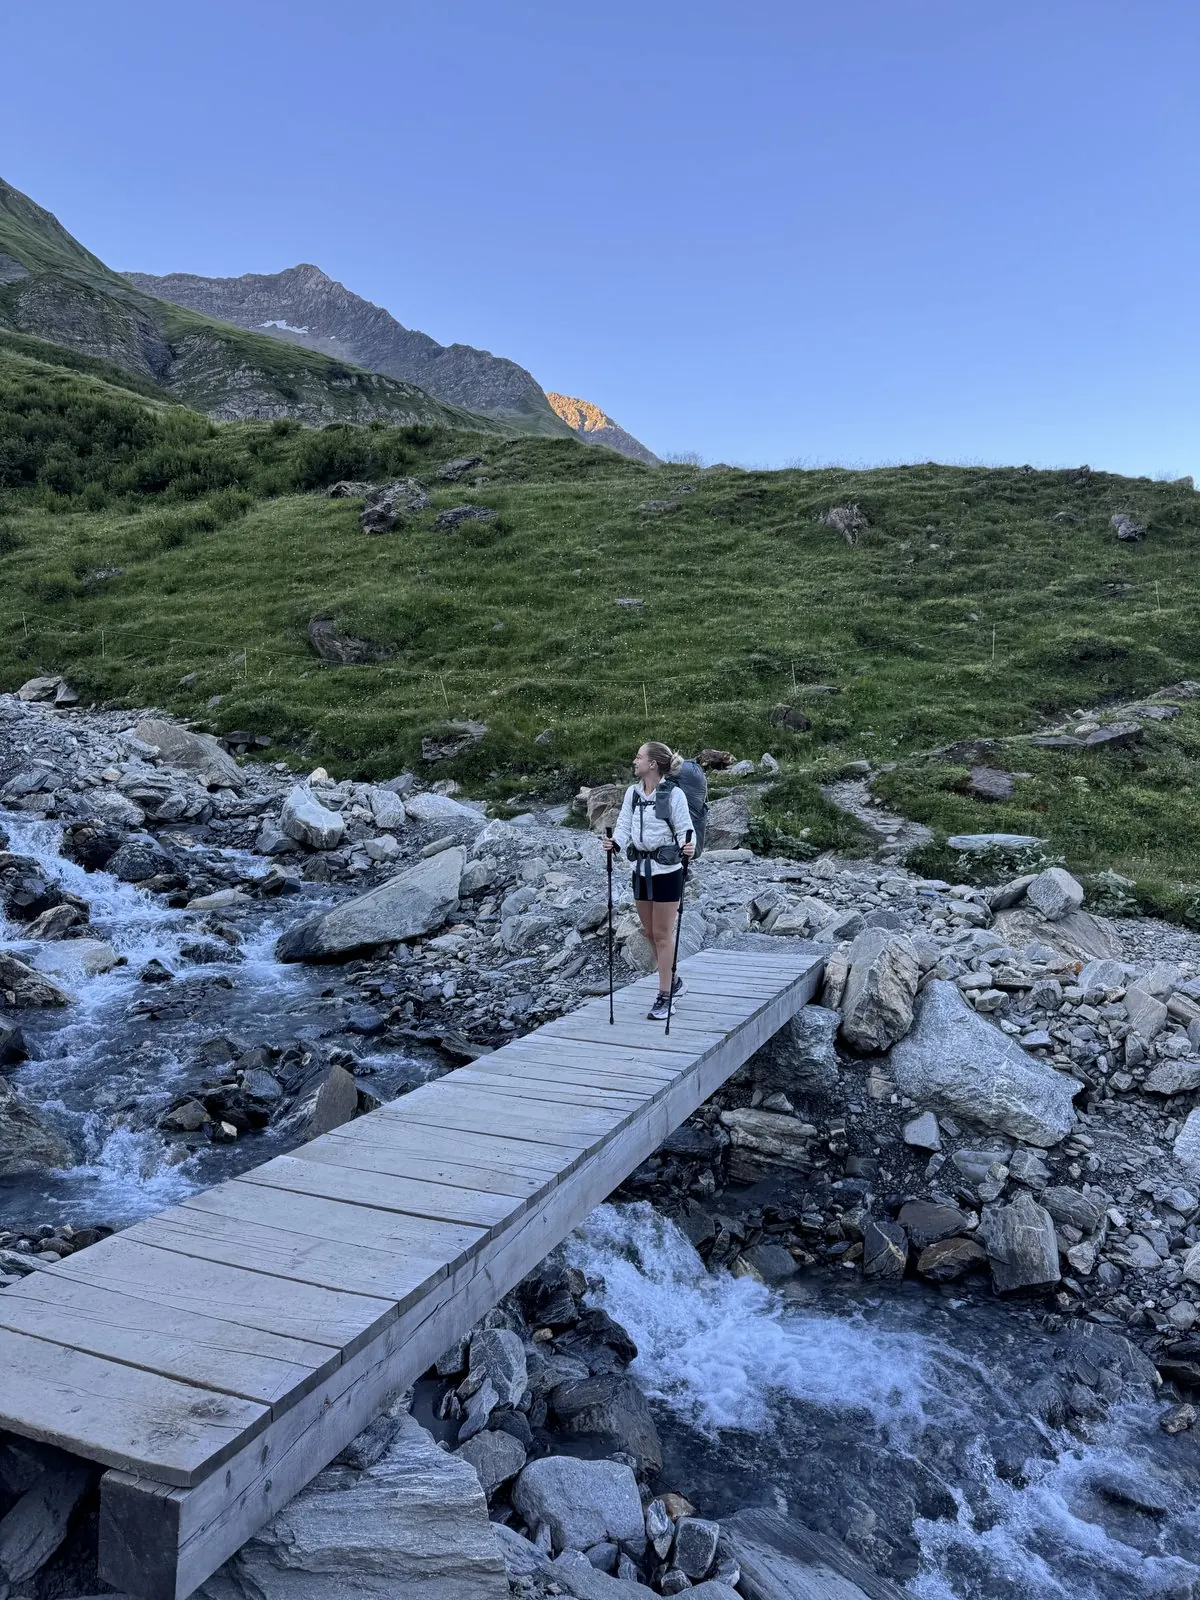
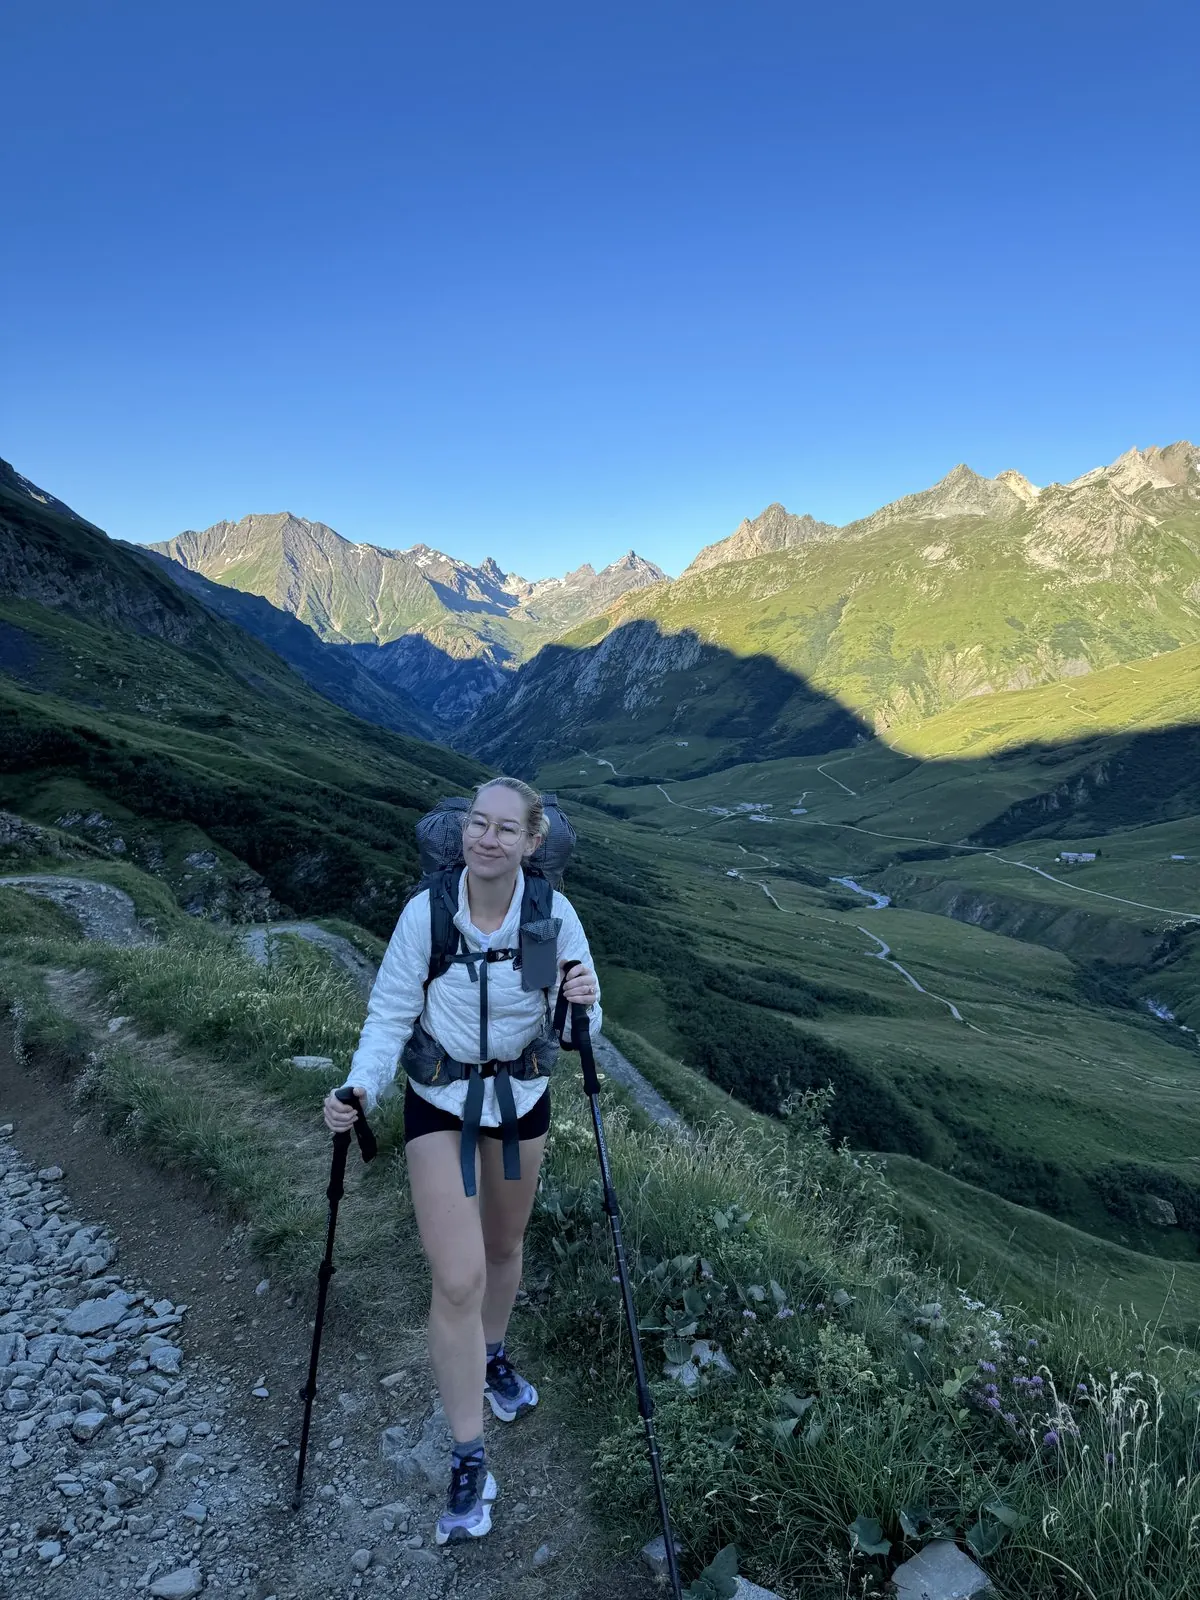
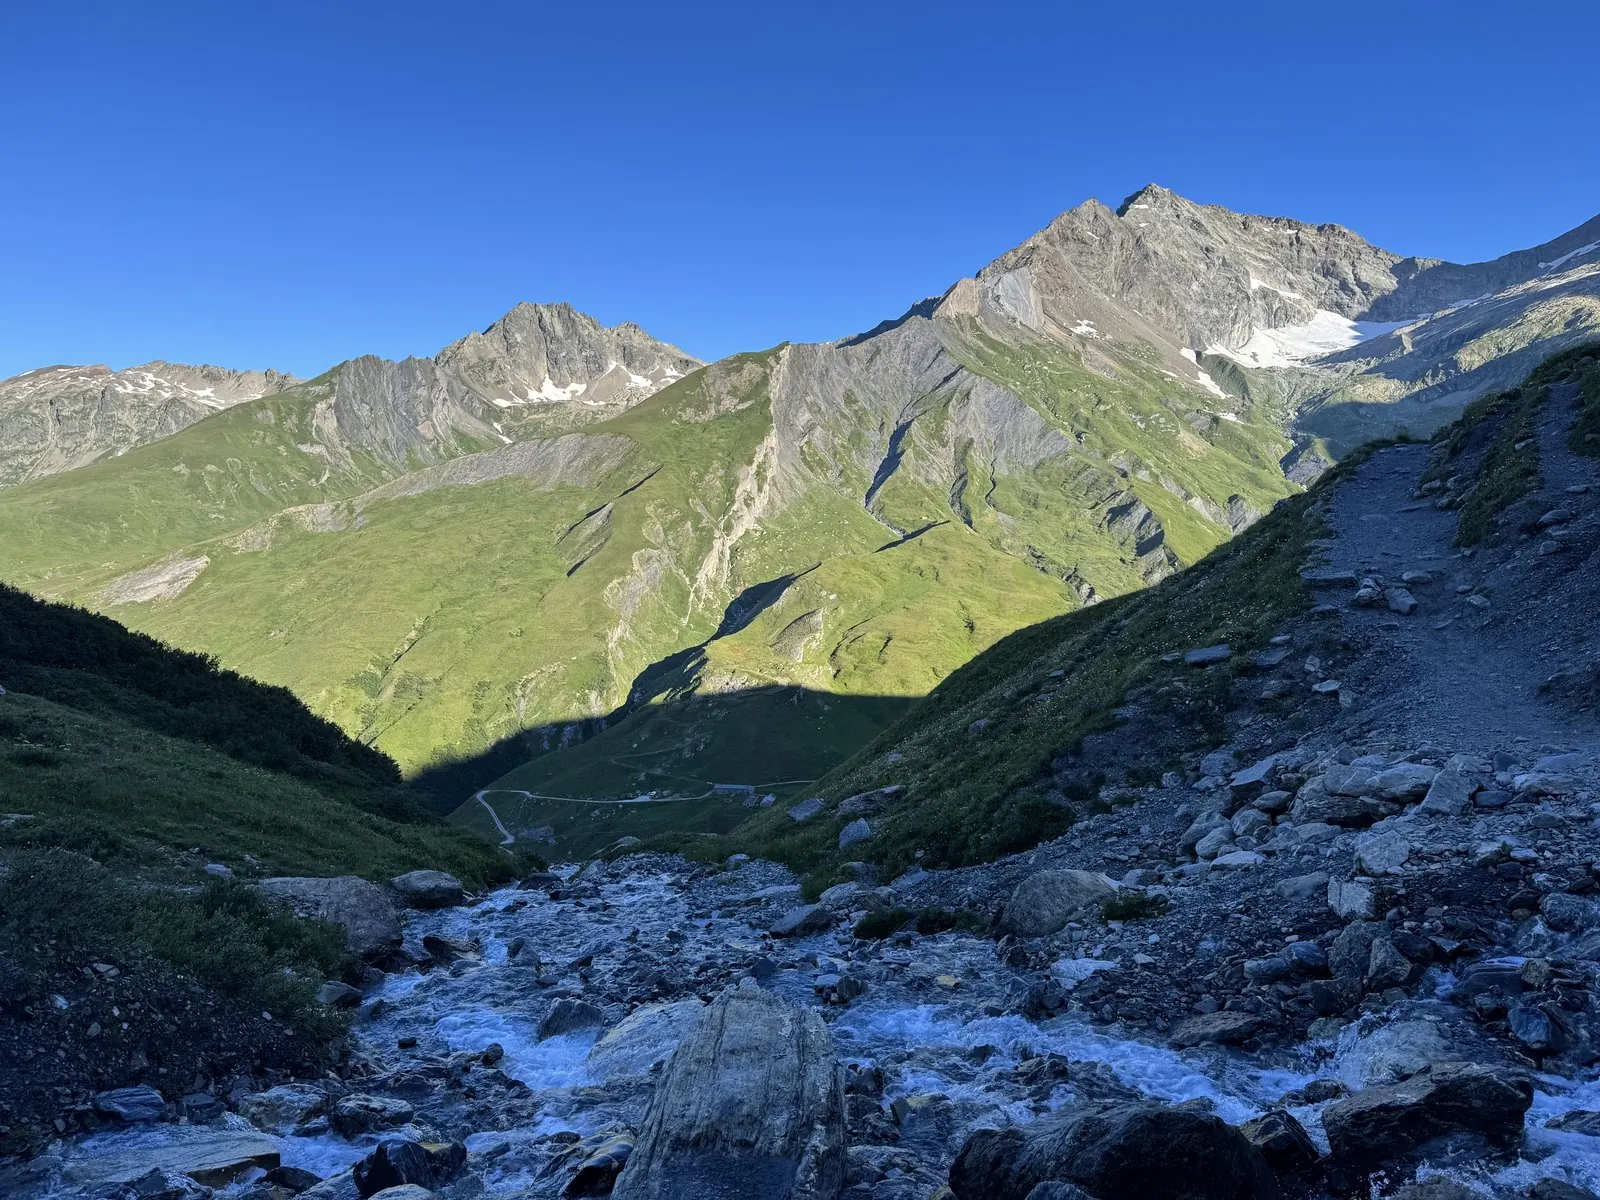
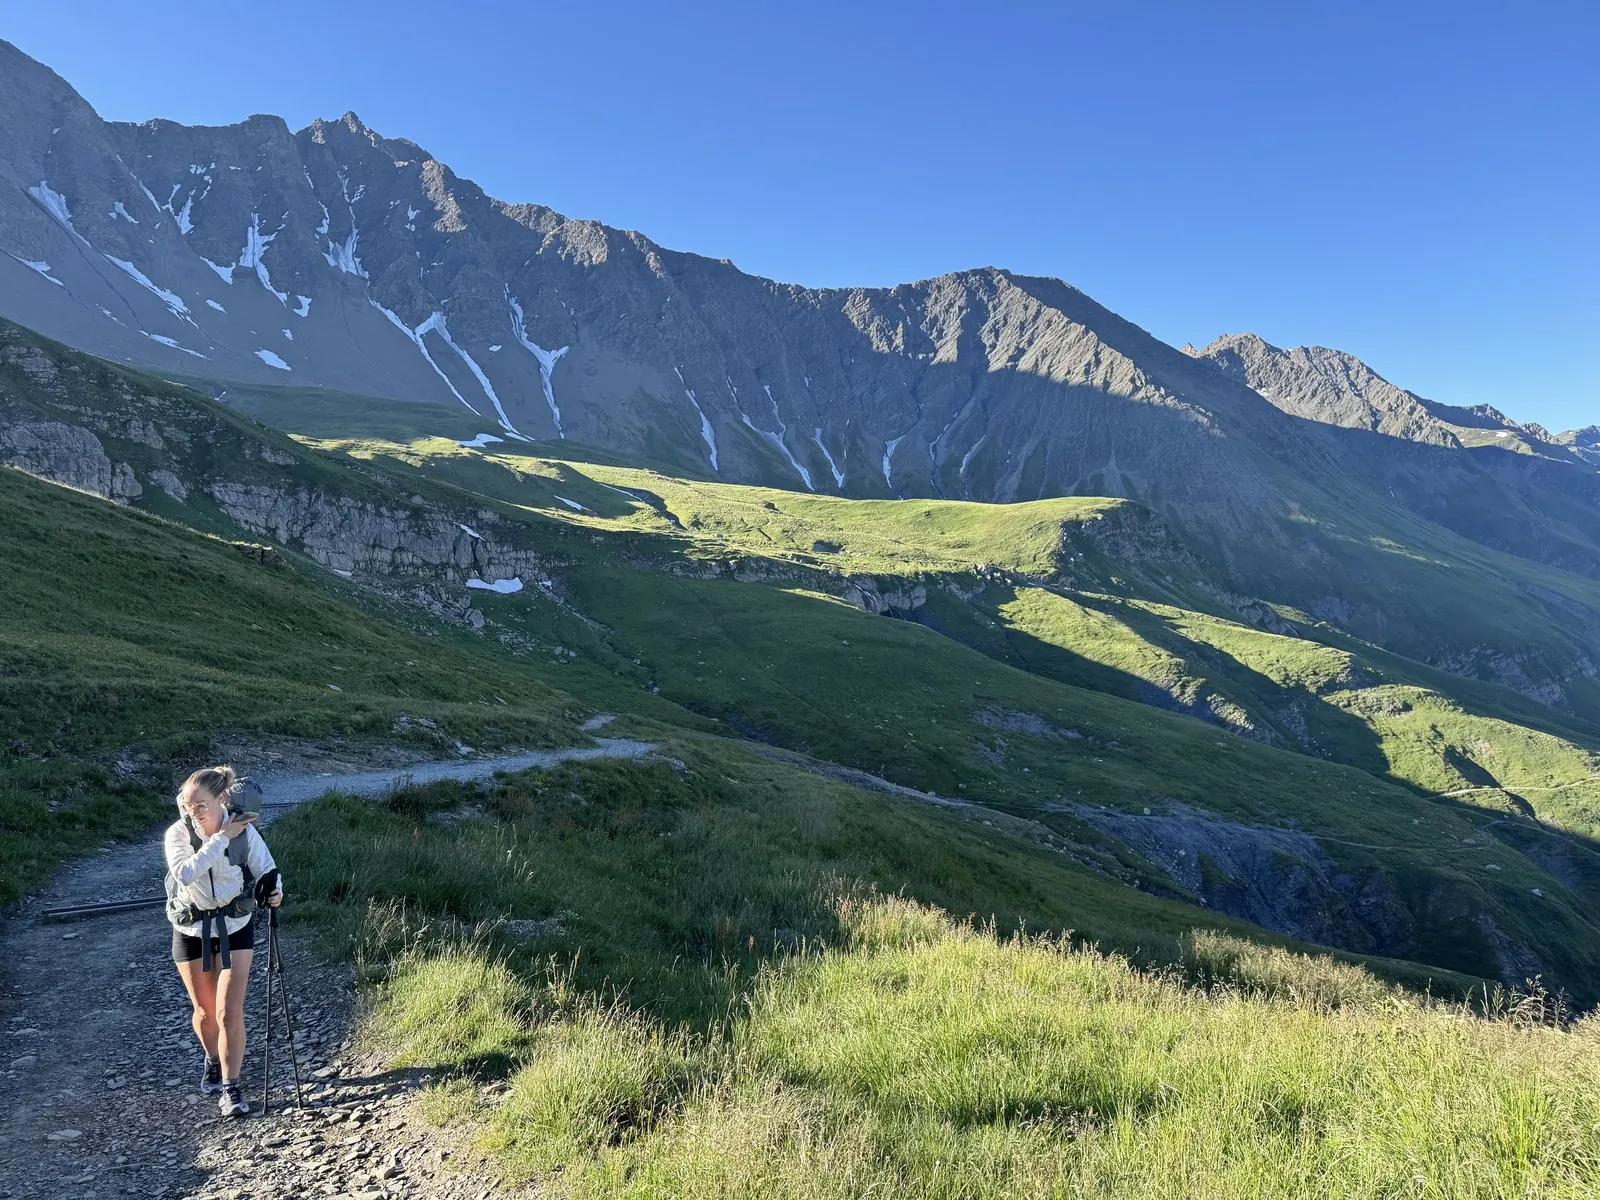
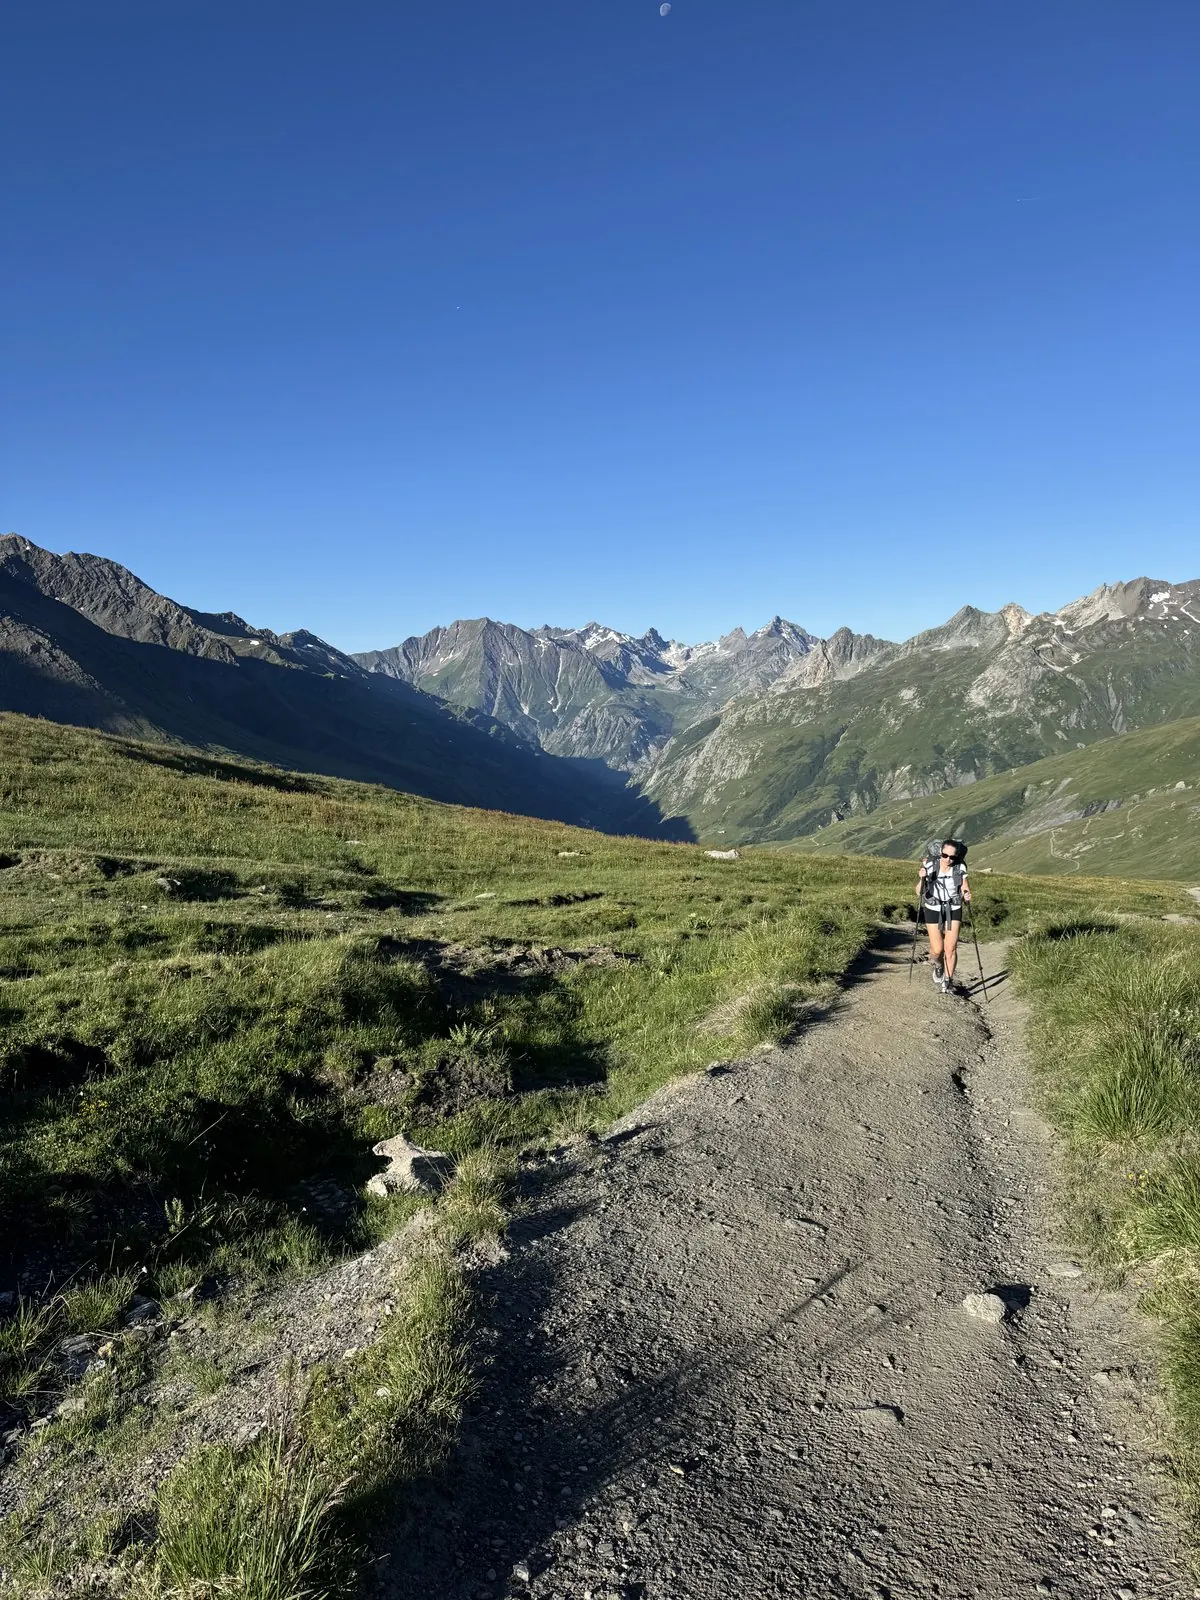
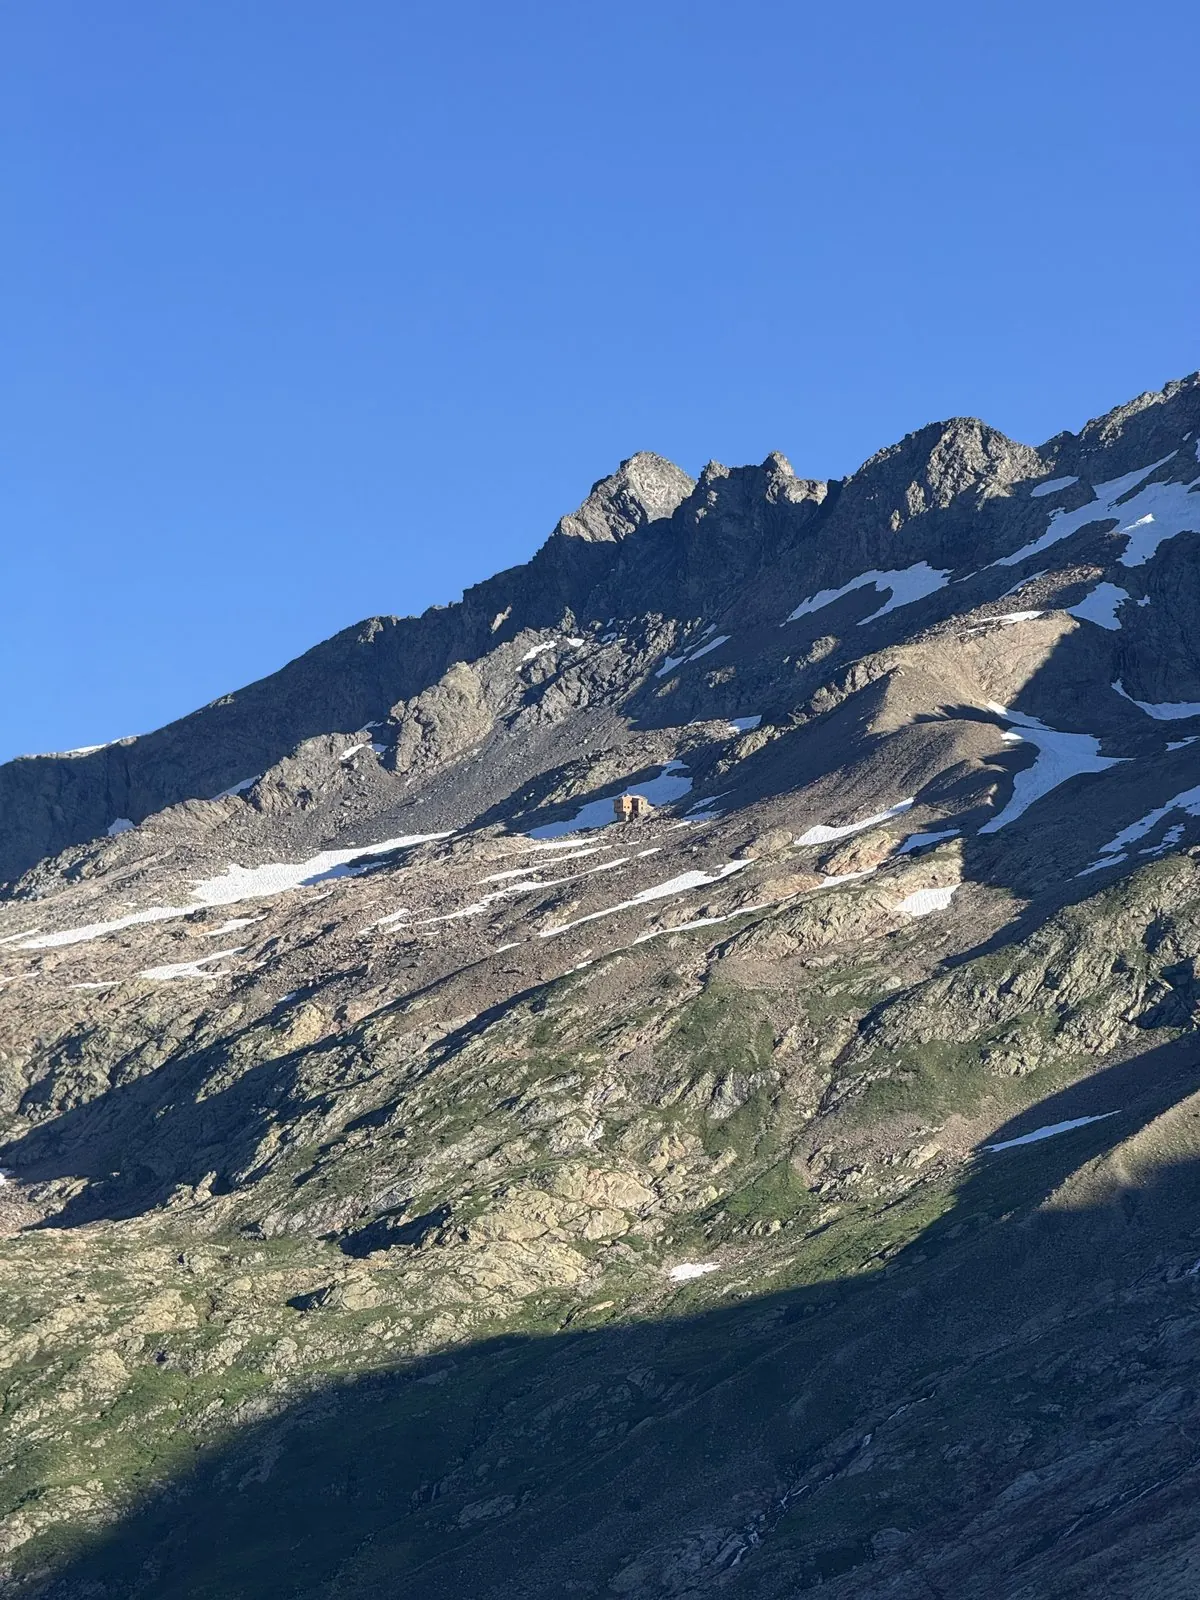
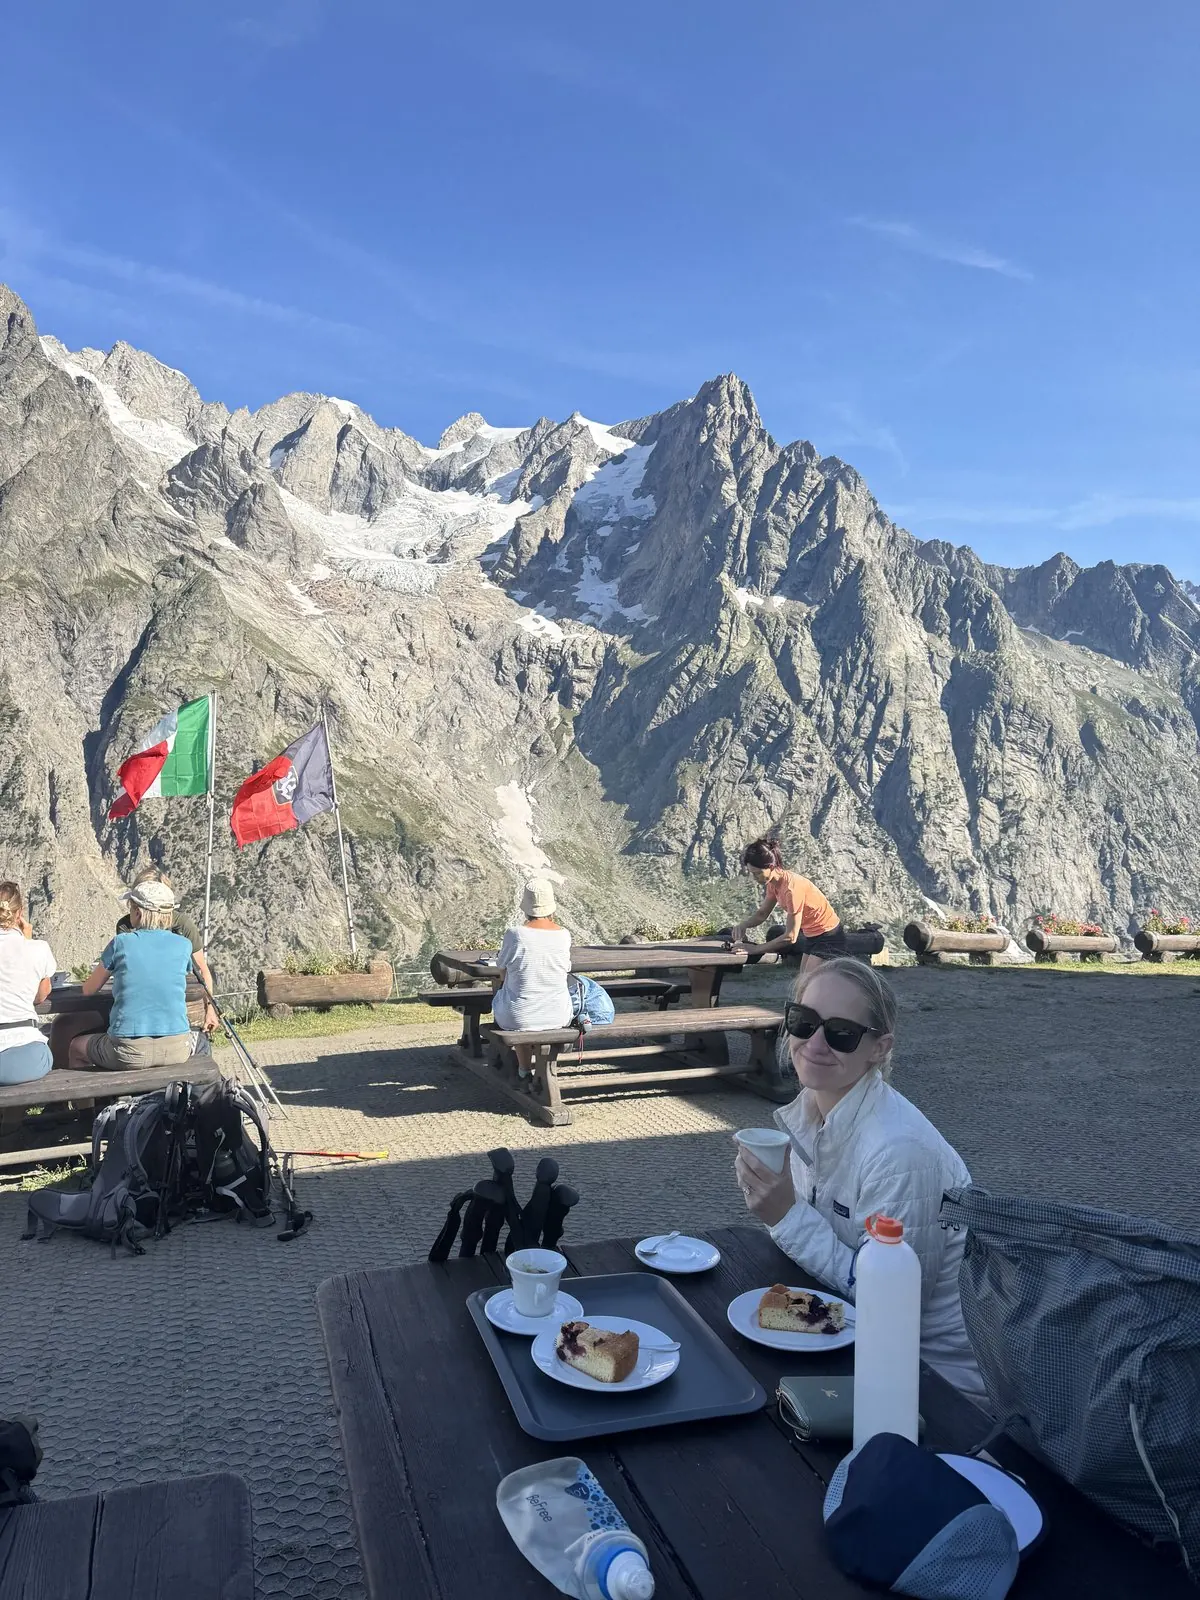
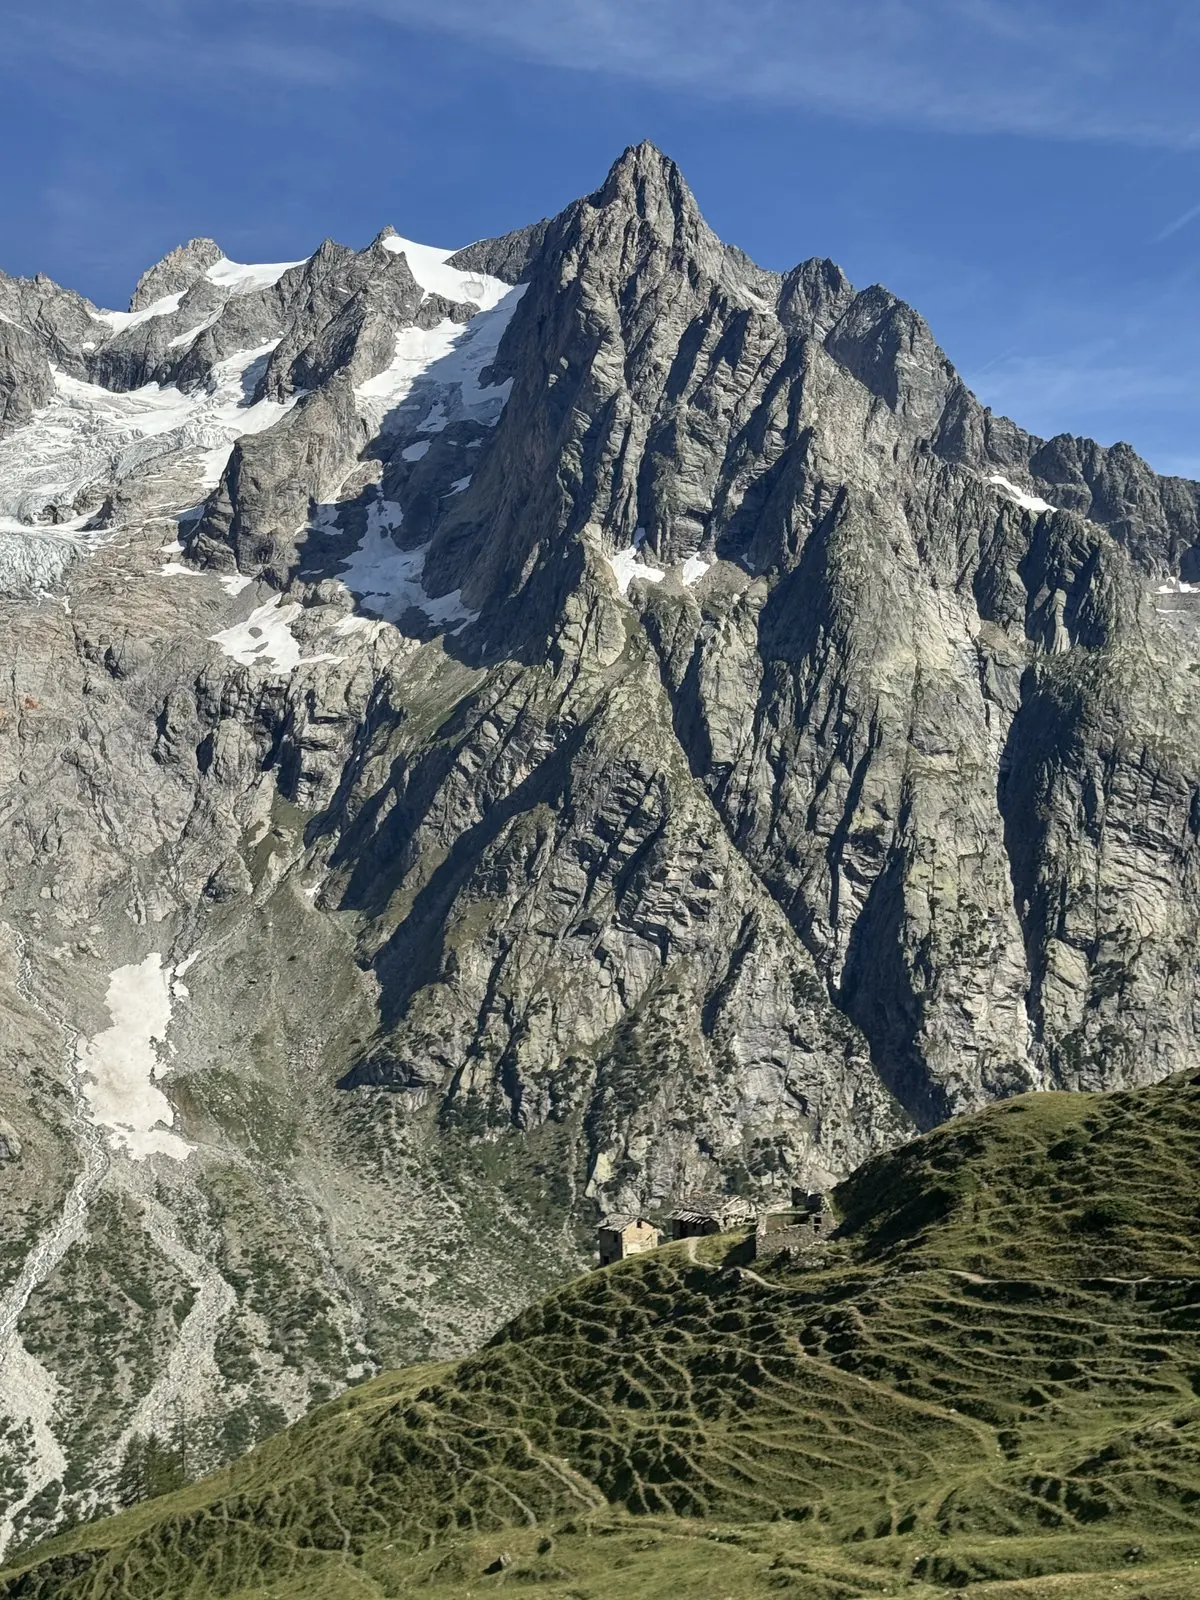
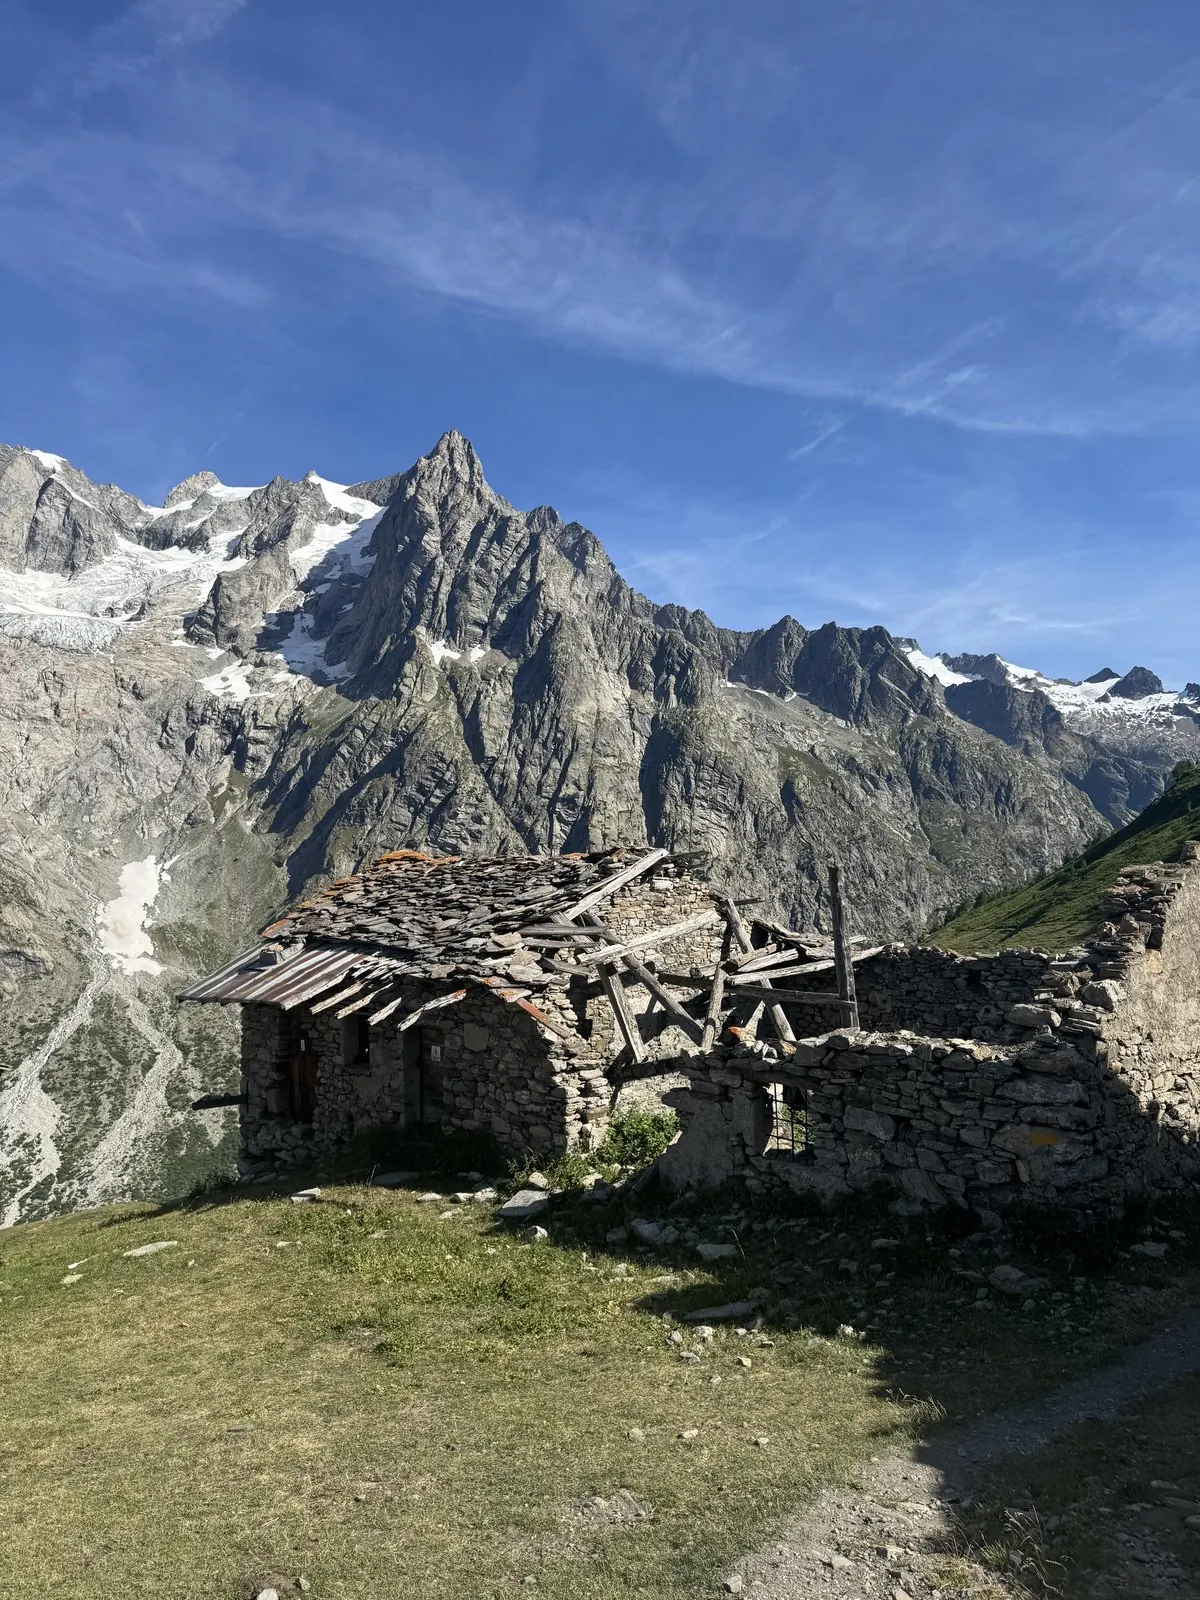
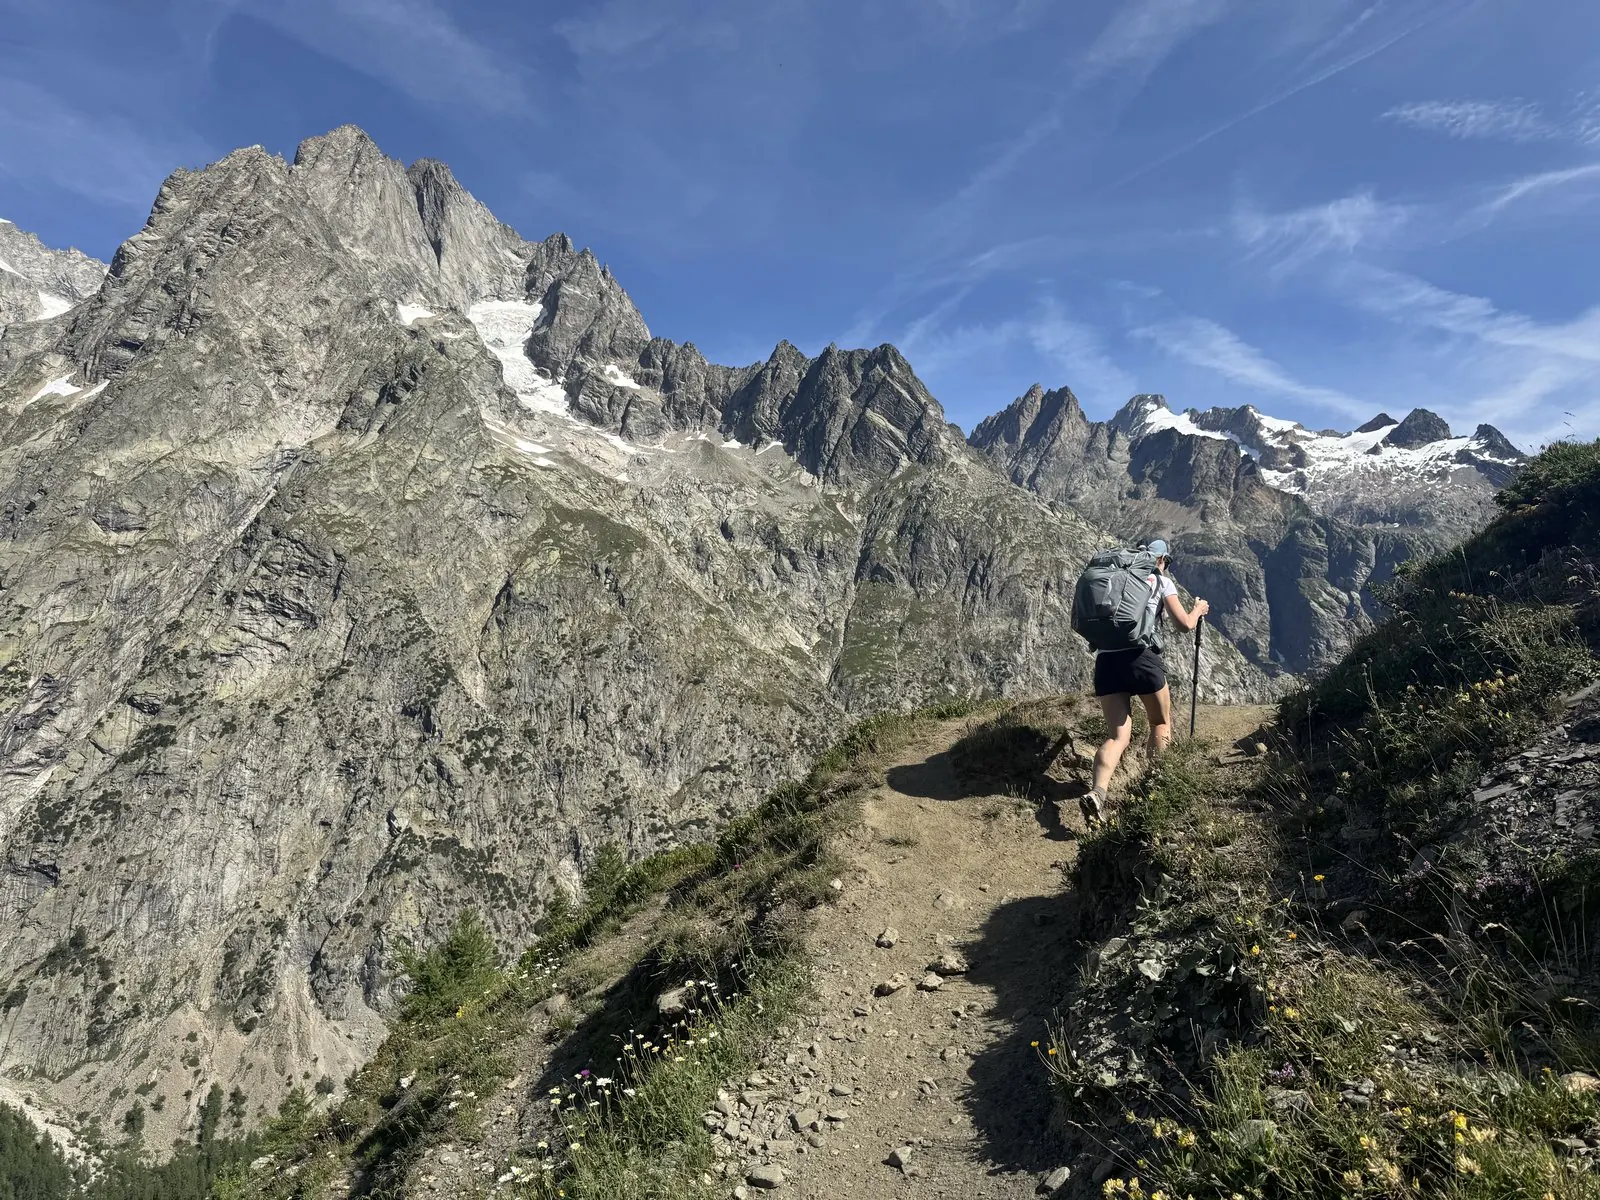
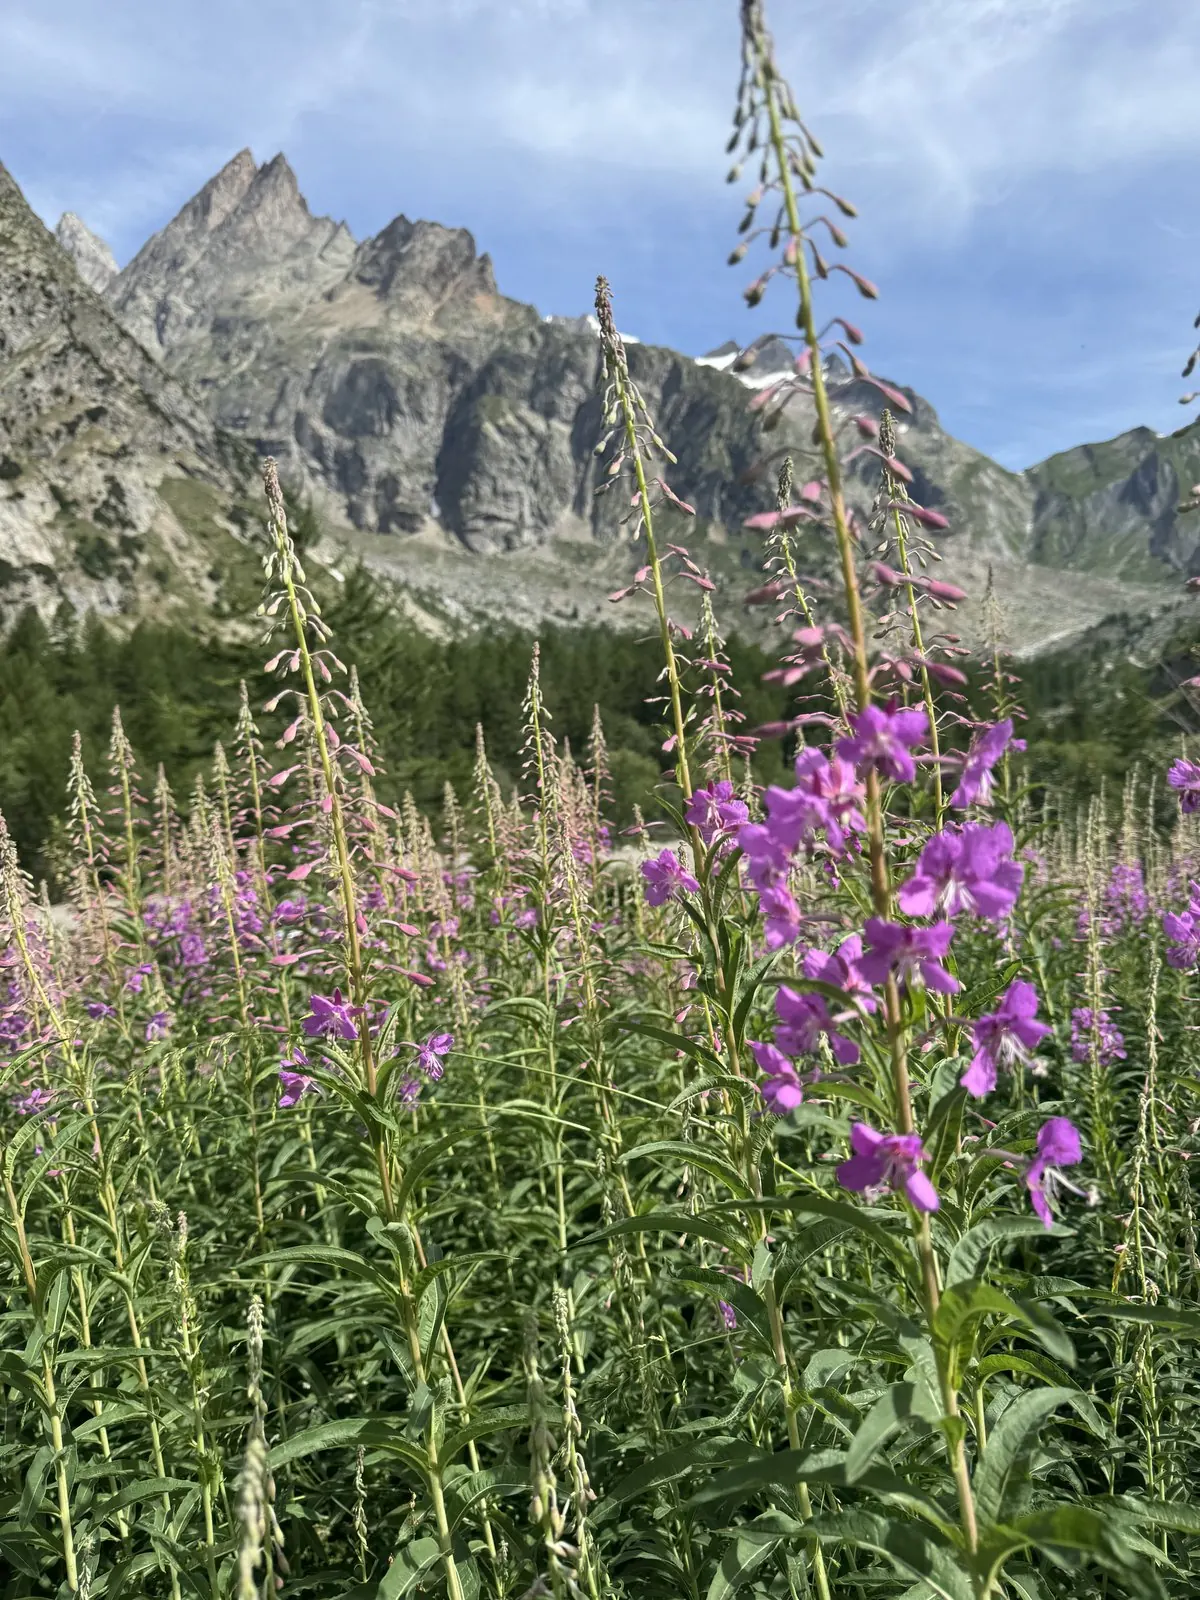
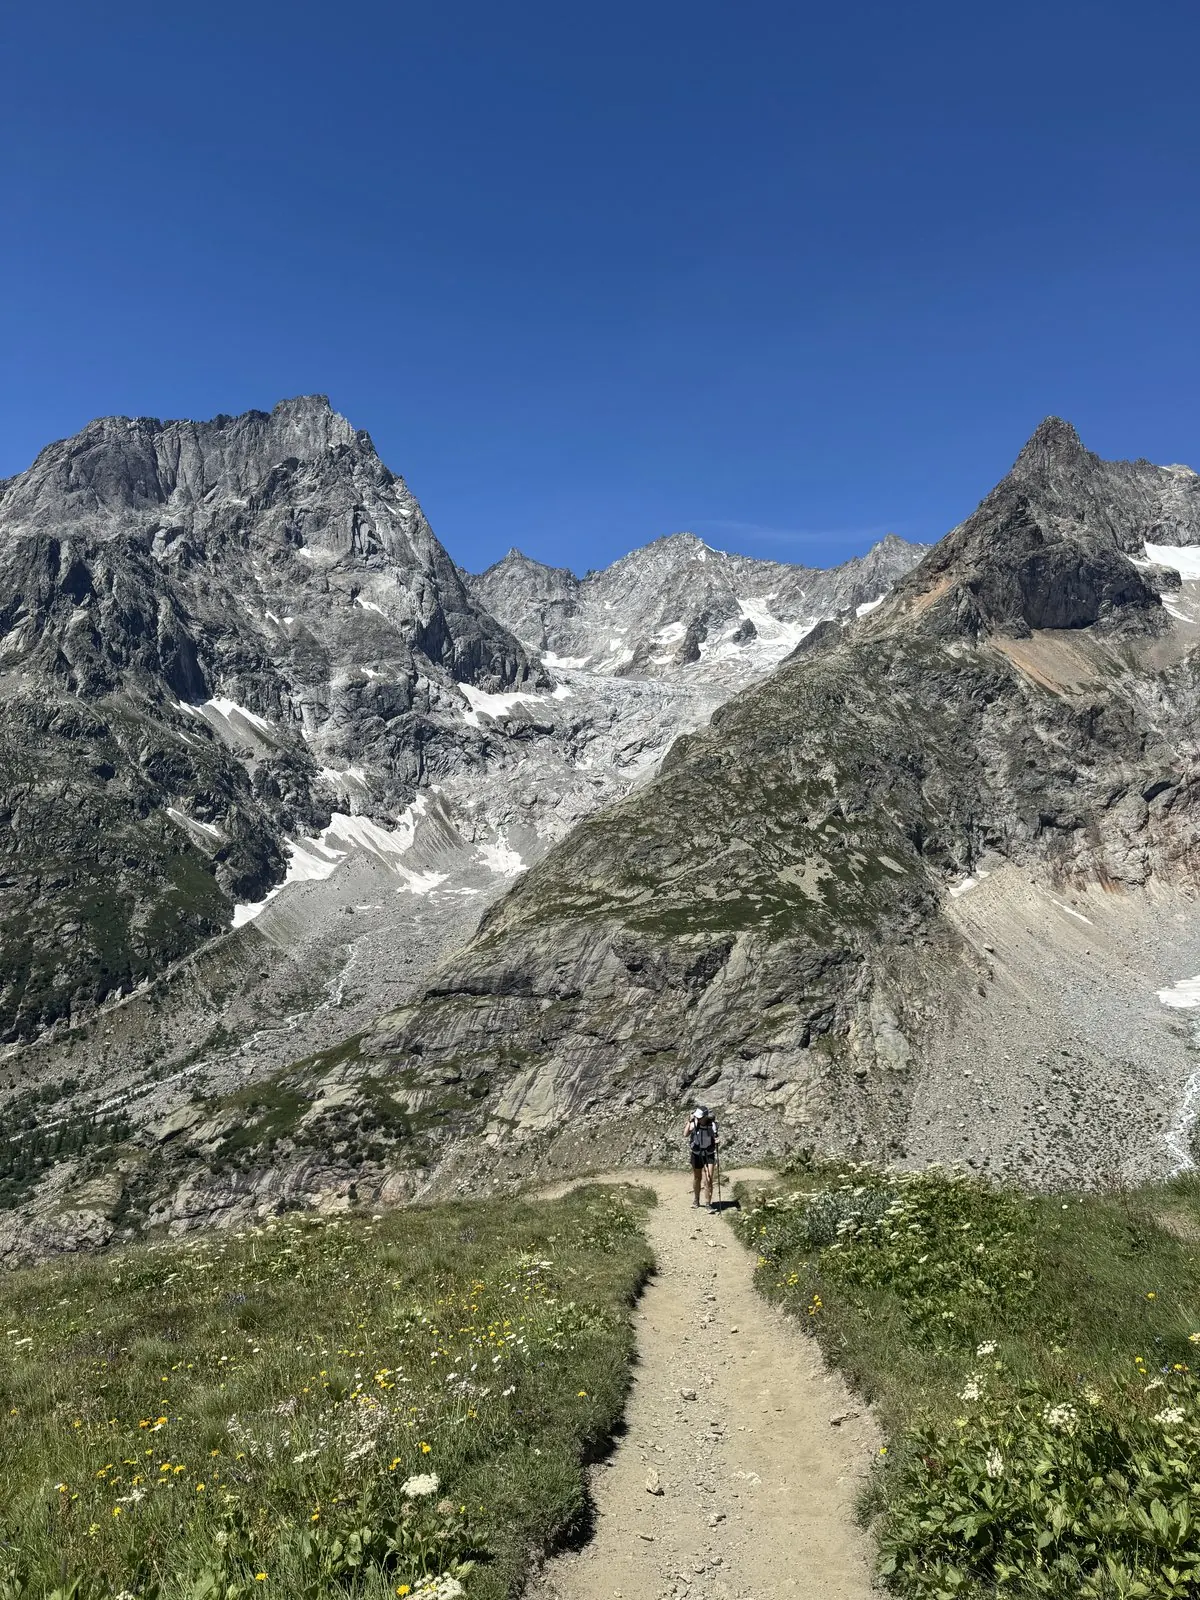
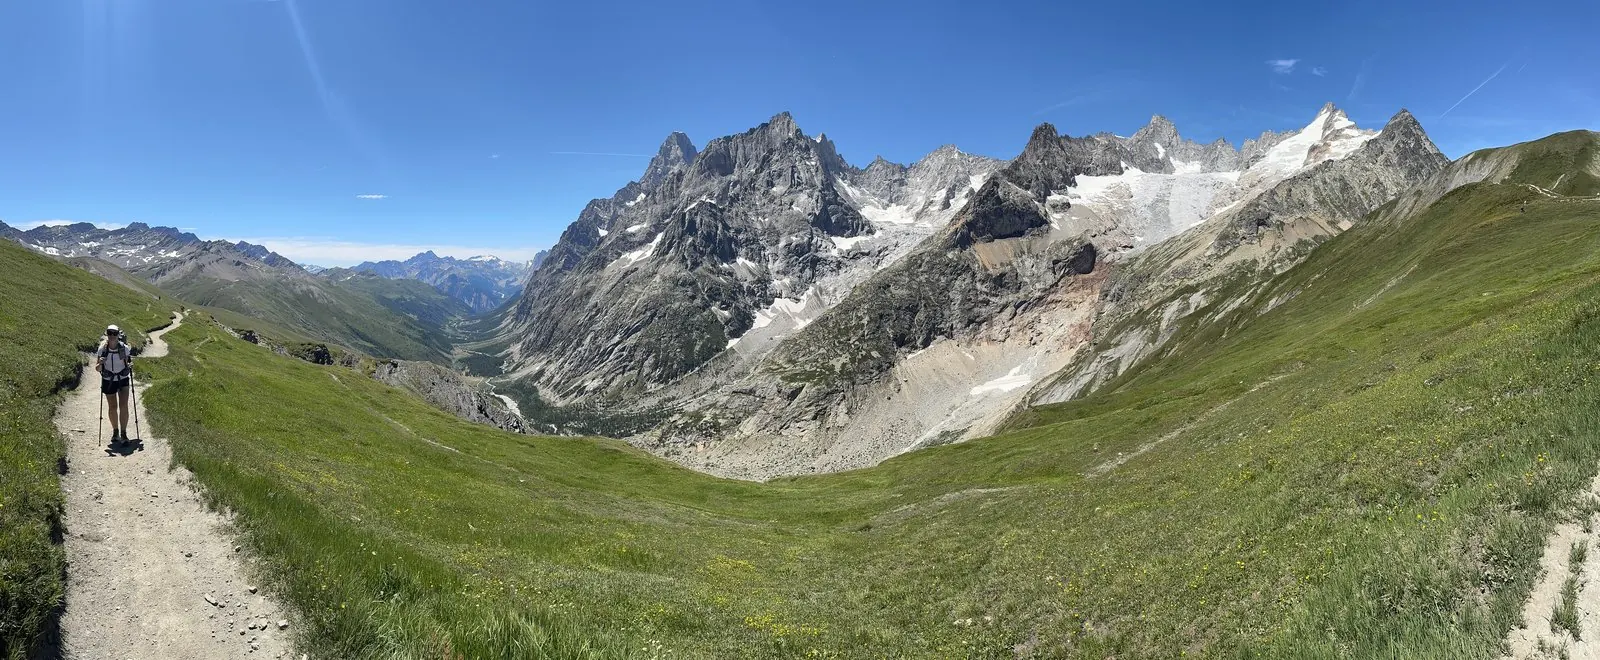
This month, Leilah and I finally completed a dream thru-hike across France, Italy, and Switzerland: the Tour du Mont Blanc. We’ve been planning this trip for years, so it felt surreal to finally be out on the trail.

Because we were camping and facing some long mileage, I opted to leave my camera gear behind and stick to my iPhone. Below is the 7-day breakdown of the segments we completed, coming in at a total of 97 miles (156 km) and over 33,000 feet (10,058 m) of elevation gain. The hot weather definitely added an extra layer of challenge.

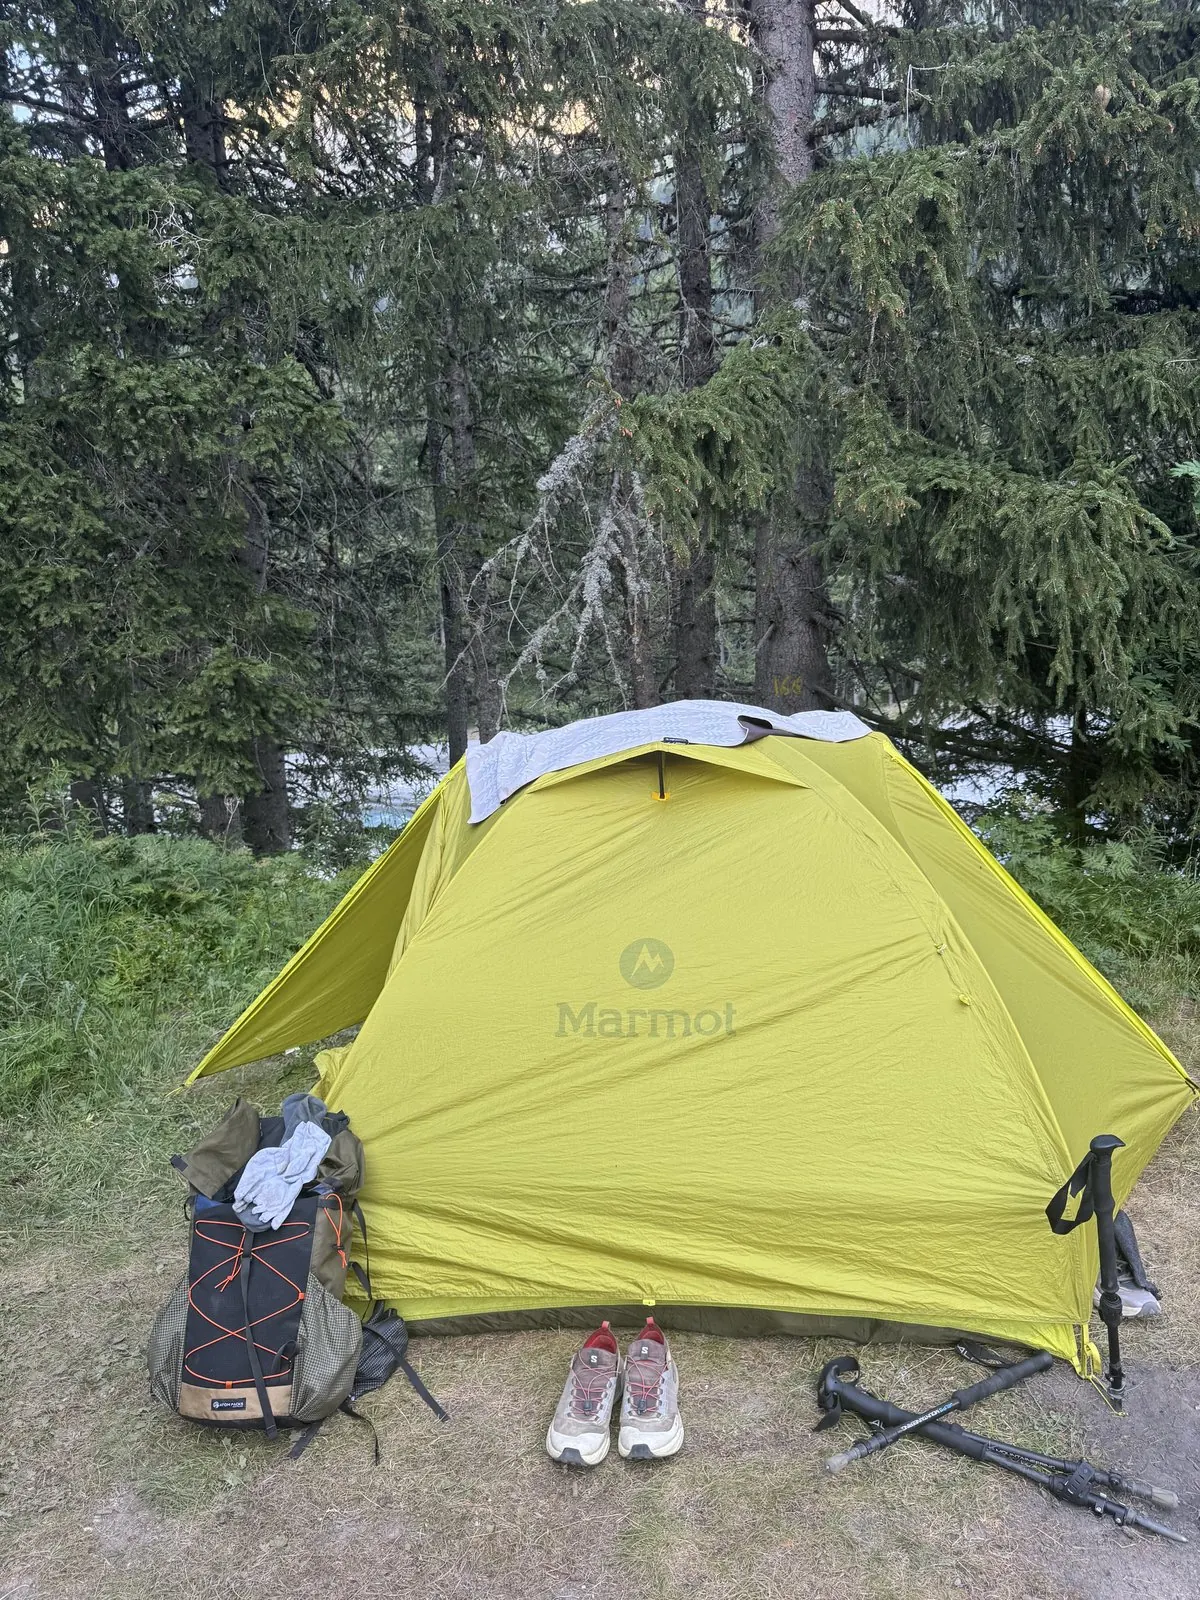
Our daily routine usually meant an early start, packing up camp by 5:30 AM and hitting the trail by 6:00 AM. The toughest stretch was definitely grinding through back-to-back 20 mile days with massive climbs. Aside from one night in Courmayeur, we spent the trip in our tent, often refueling with meals at the refuges and campsite restaurants along the way.

Overall, it was a once in a lifetime experience: difficult, deeply rewarding, and packed with stunning views. While I’d love to think we’ll return to tackle other variations of the trail someday, only time will tell.

Bonus: Right after wrapping up the TMB, we jumped straight over to Switzerland to complete five sections of the Via Alpina, bringing our grand total for the trip to 160 miles (257 km). I’ll be sharing those stories over the coming weeks, but for now, here is how our week on the Tour du Mont Blanc broke down!

Day 1: Les Houches to Les Contamines

Climbing out of Les Houches over the Col de Voza before dropping into the Val Montjoie to Les Contamines.
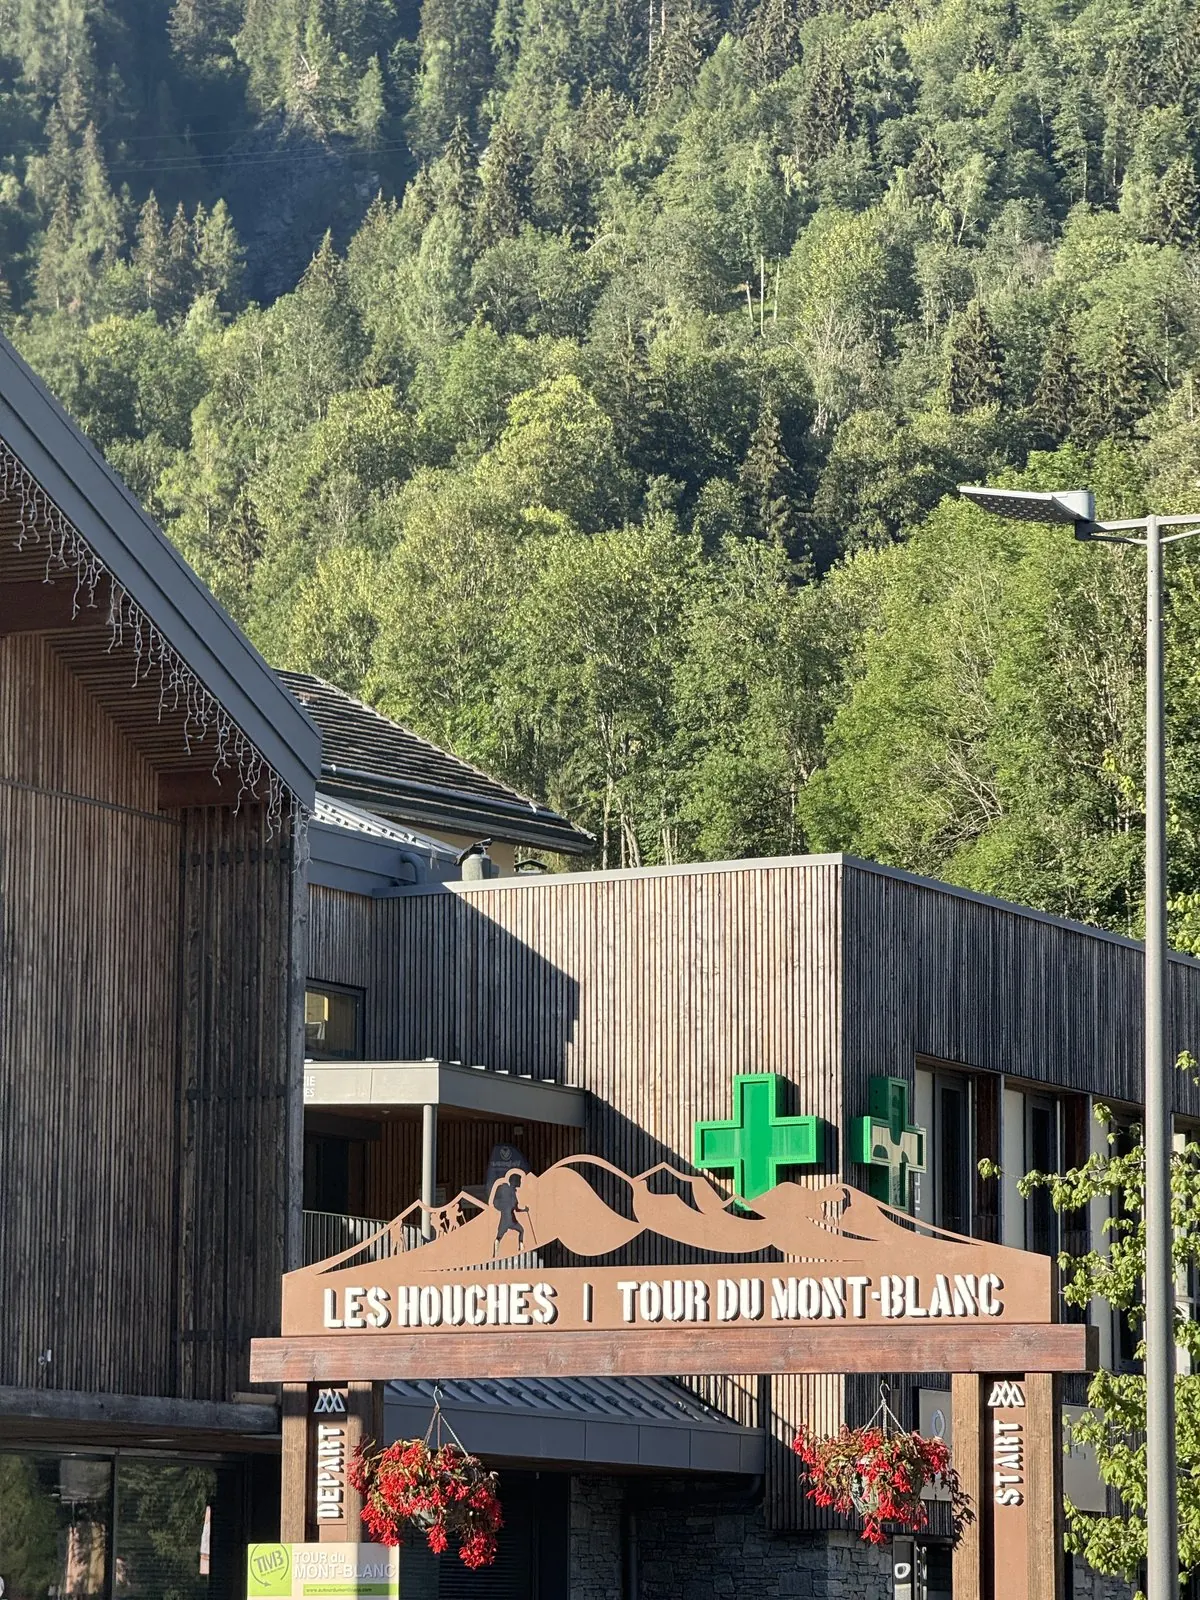
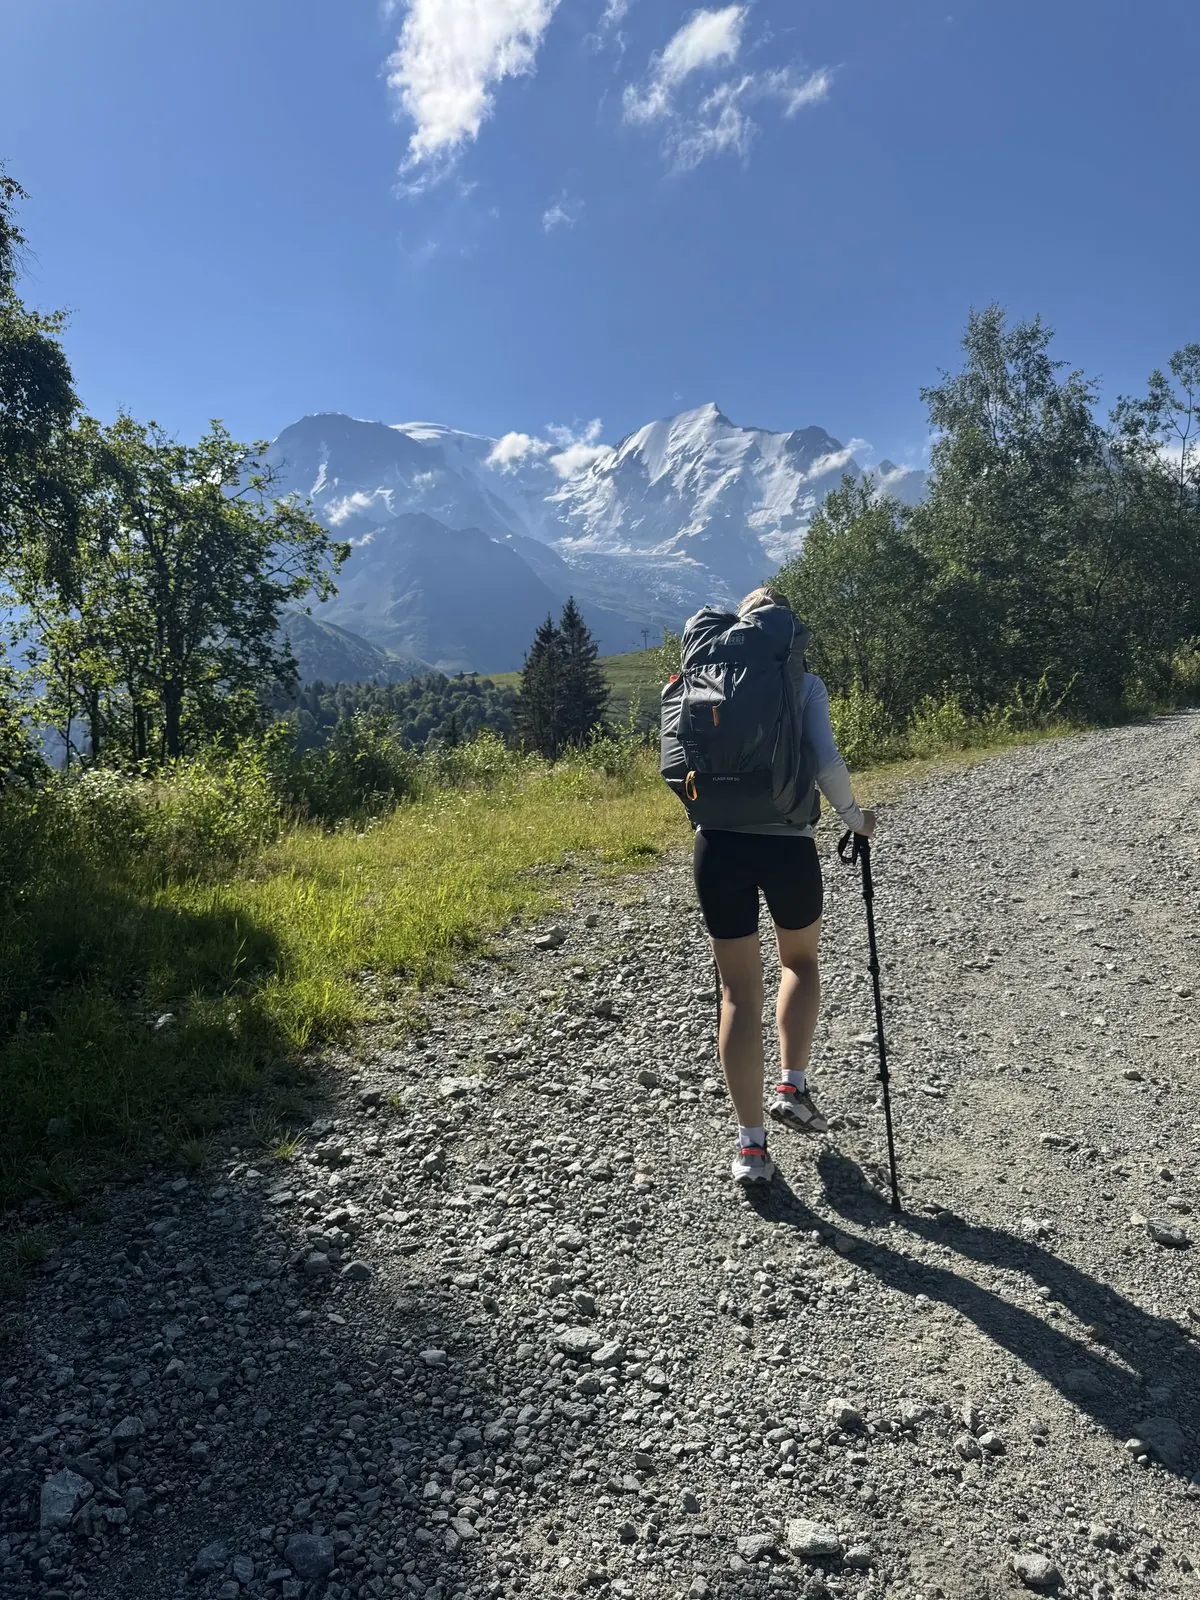
Day 1: Les Houches to Les Contamines -- photo 1
Day 1: Les Houches to Les Contamines -- photo 2 Day 1: Les Houches to Les Contamines -- photo 3 Day 1: Les Houches to Les Contamines -- photo 4 Day 1: Les Houches to Les Contamines -- photo 5

Day 2: Les Contamines to Les Chapieux

Over the Col du Bonhomme and Col de la Croix du Bonhomme to Les Chapieux.
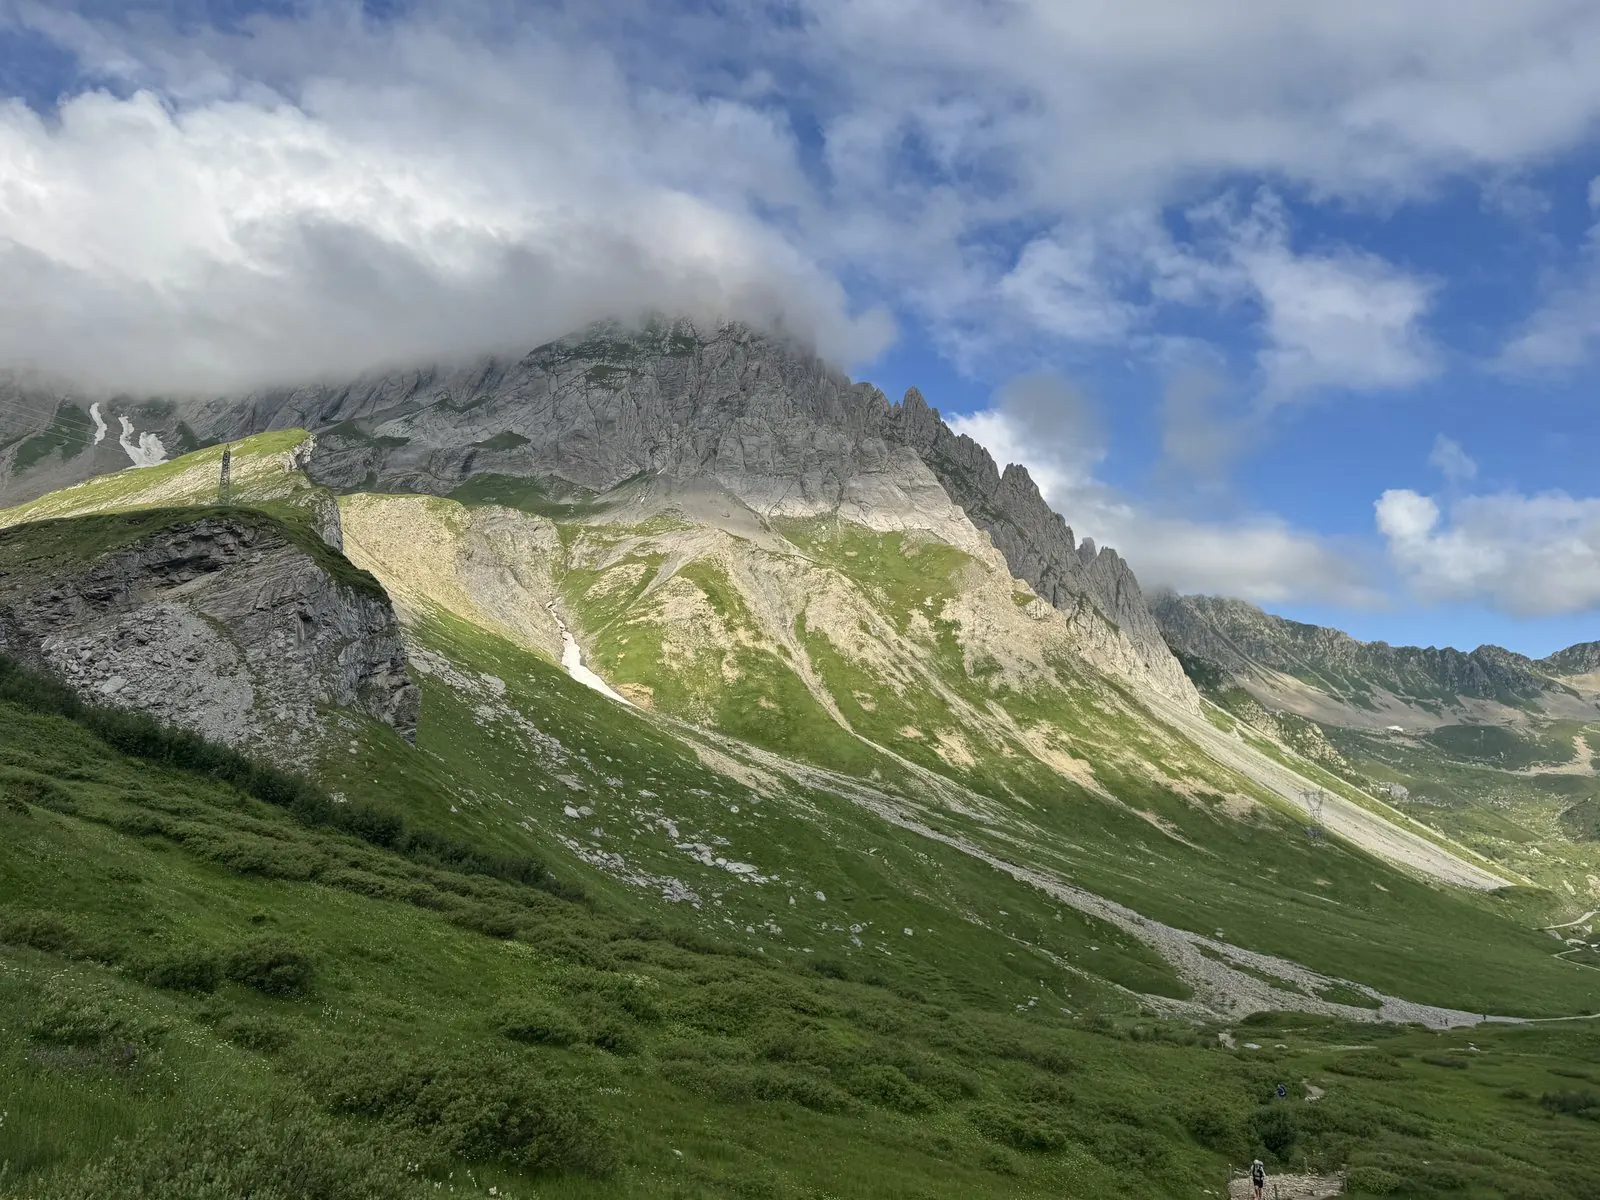
Day 2: Les Contamines to Les Chapieux -- photo 10
Day 2: Les Contamines to Les Chapieux -- photo 1 Day 2: Les Contamines to Les Chapieux -- photo 2 Day 2: Les Contamines to Les Chapieux -- photo 3 Day 2: Les Contamines to Les Chapieux -- photo 4 Day 2: Les Contamines to Les Chapieux -- photo 5 Day 2: Les Contamines to Les Chapieux -- photo 6 Day 2: Les Contamines to Les Chapieux -- photo 7 Day 2: Les Contamines to Les Chapieux -- photo 8 Day 2: Les Contamines to Les Chapieux -- photo 9 Day 2: Les Contamines to Les Chapieux -- photo 11 Day 2: Les Contamines to Les Chapieux -- photo 12 Day 2: Les Contamines to Les Chapieux -- photo 13 Day 2: Les Contamines to Les Chapieux -- photo 14 Day 2: Les Contamines to Les Chapieux -- photo 15 Day 2: Les Contamines to Les Chapieux -- photo 16 Day 2: Les Contamines to Les Chapieux -- photo 17 Day 2: Les Contamines to Les Chapieux -- photo 18 Day 2: Les Contamines to Les Chapieux -- photo 19

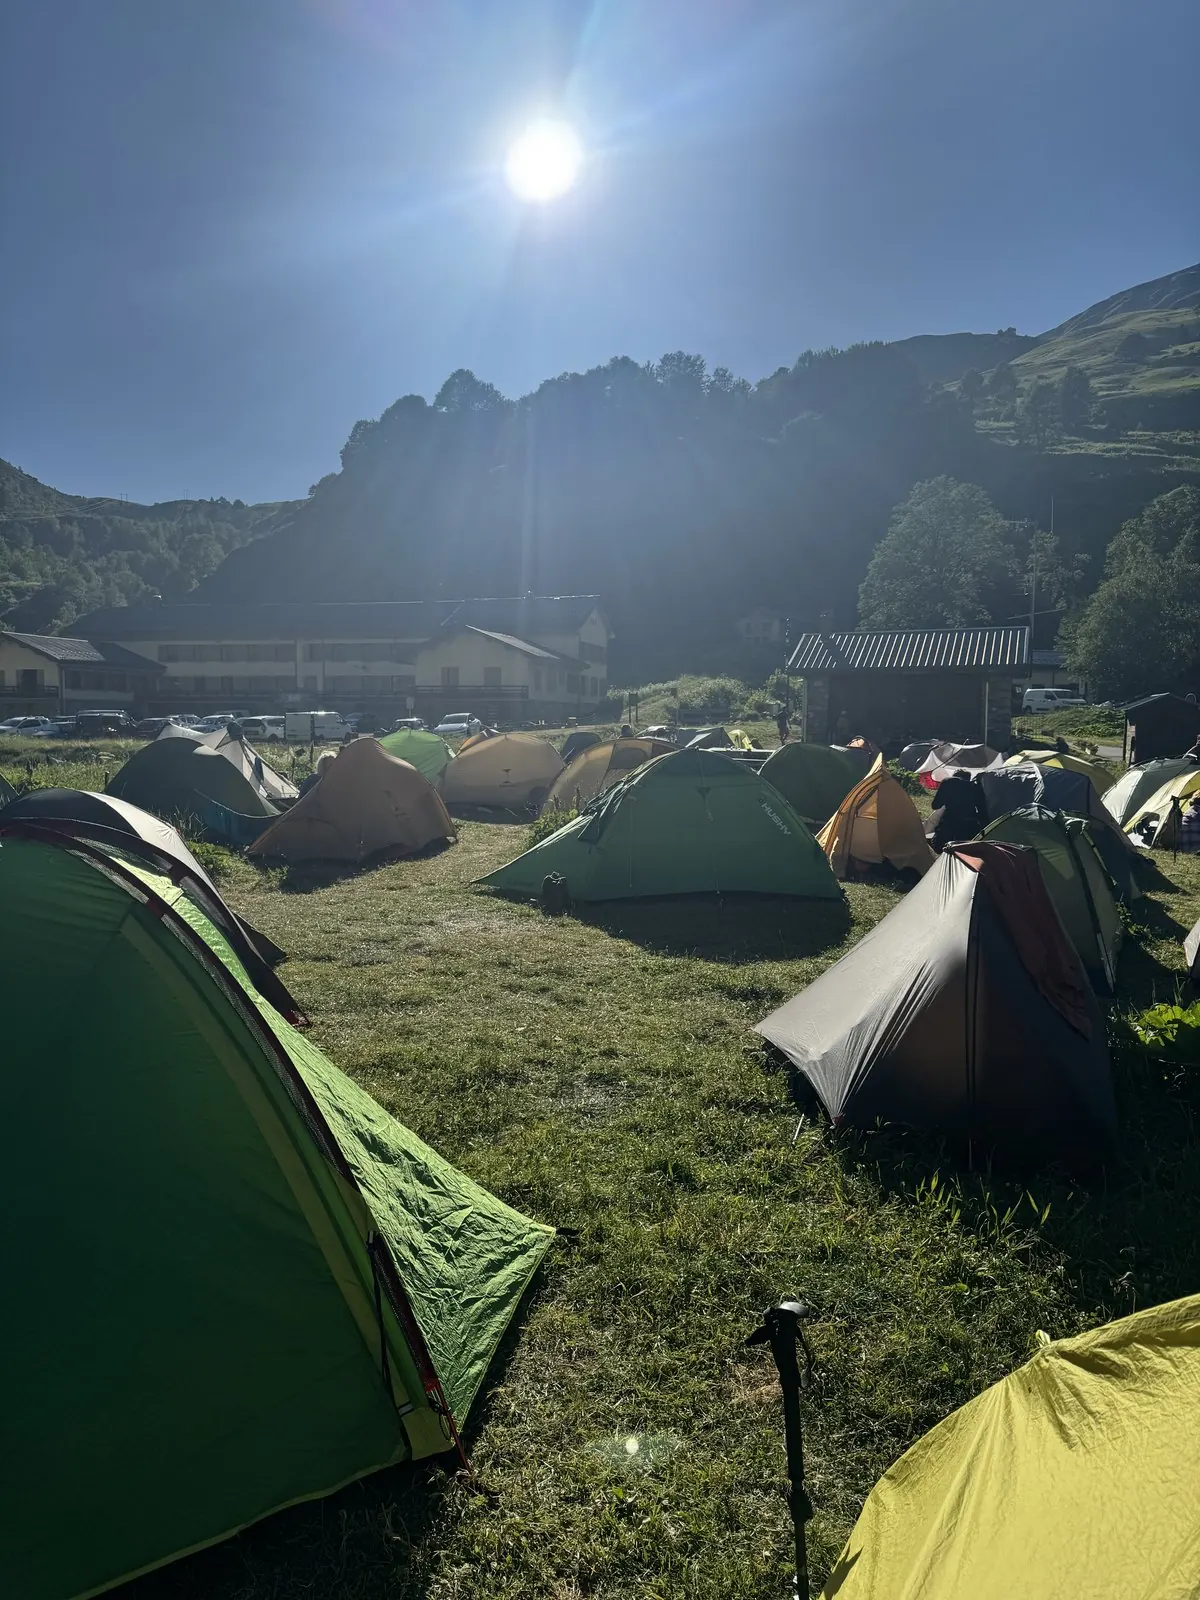
Day 3: Les Chapieux to Courmayeur

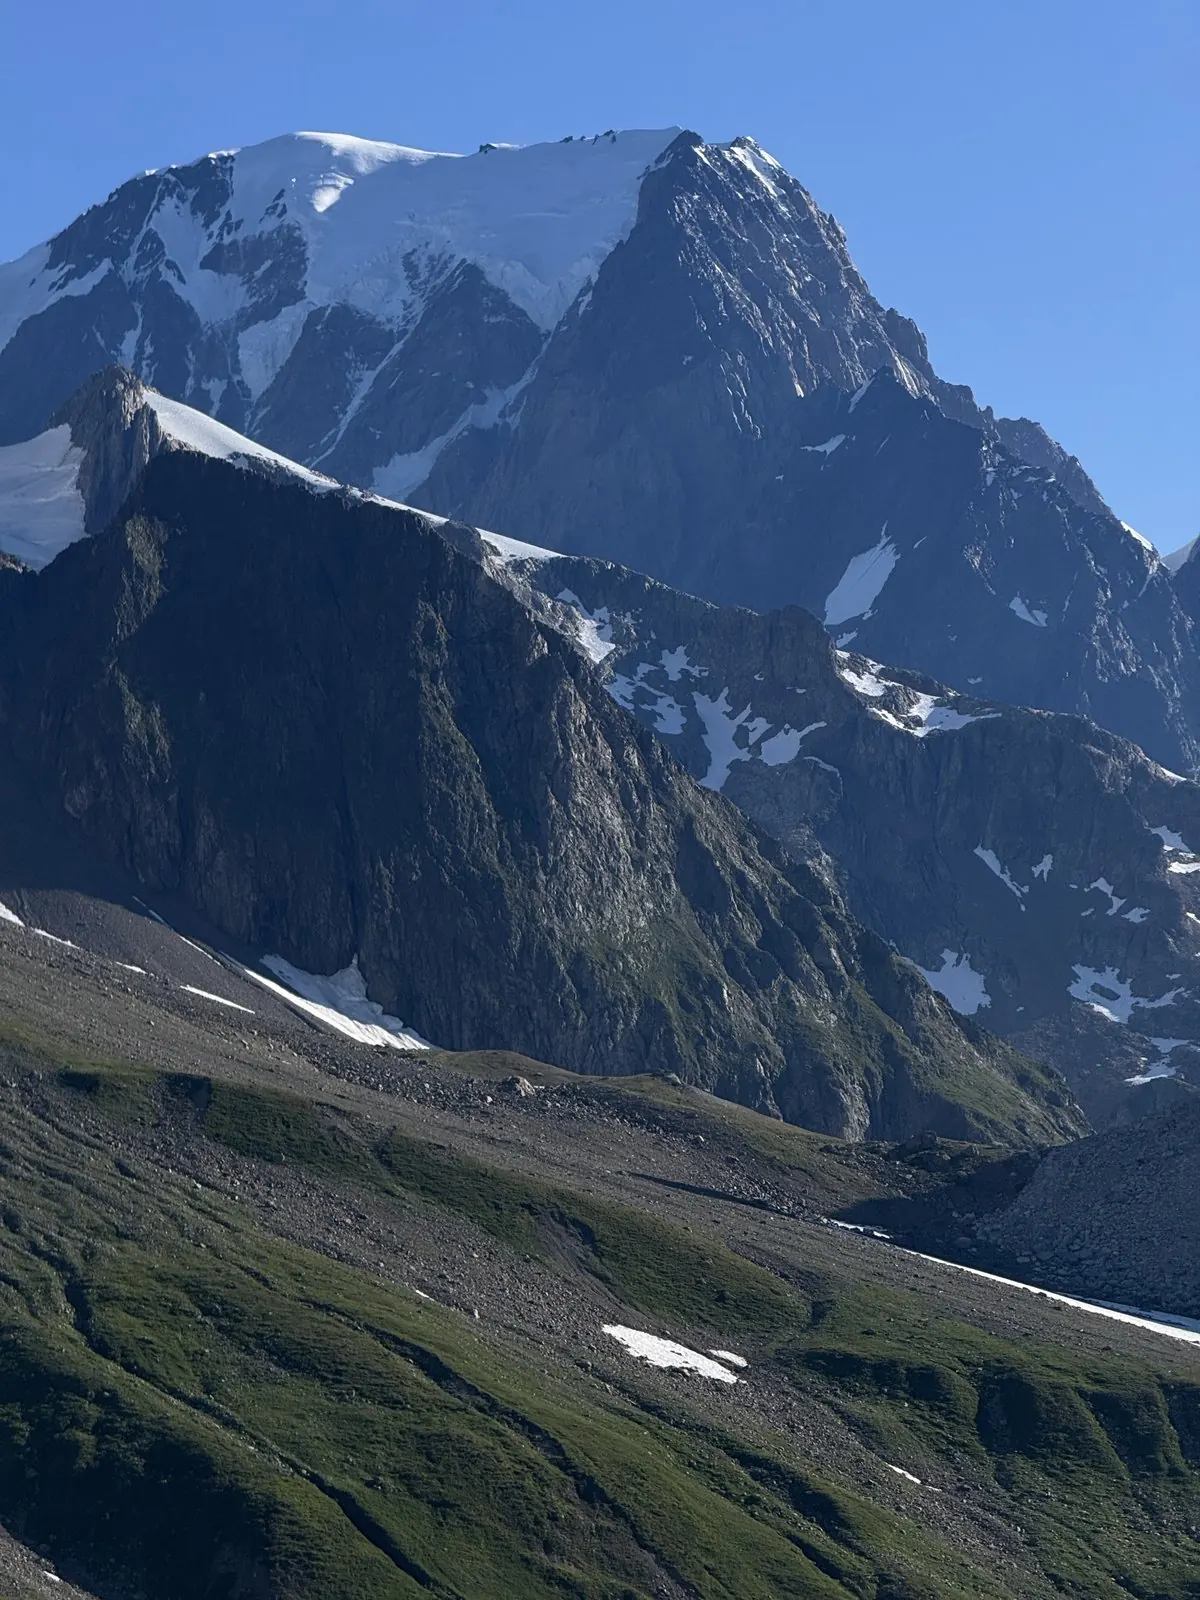
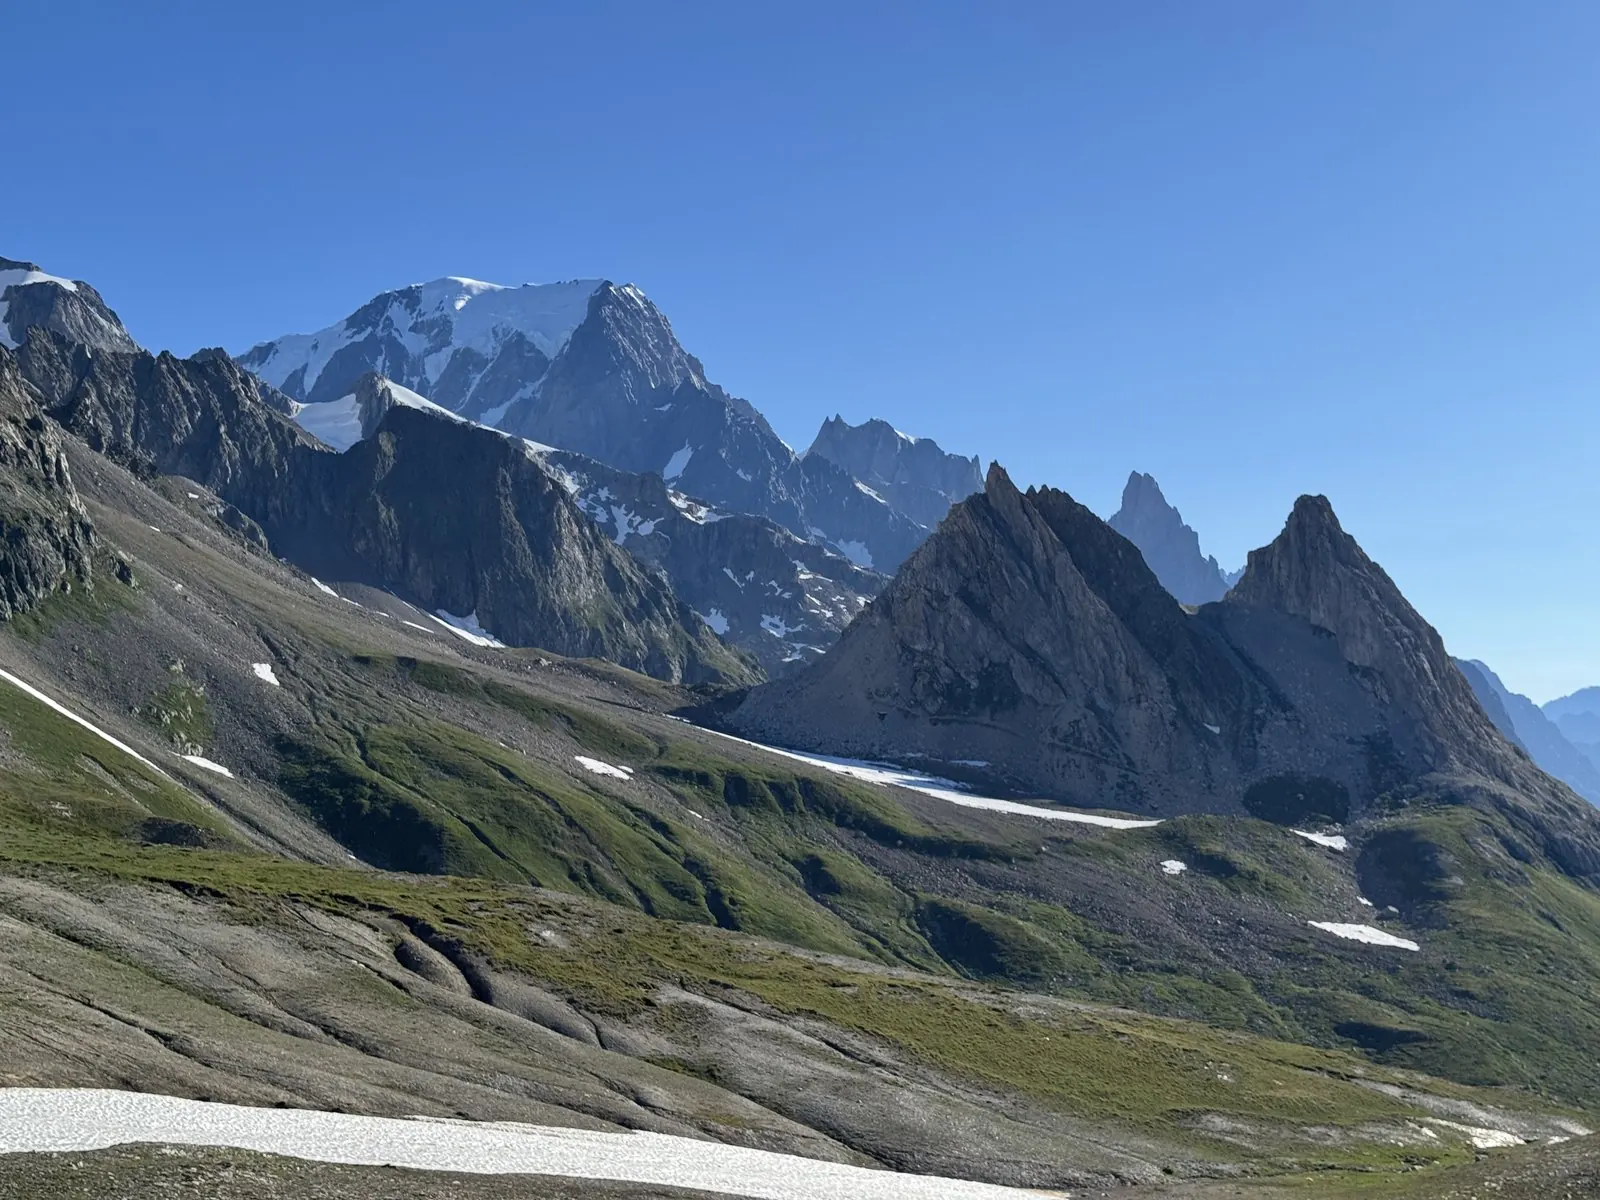
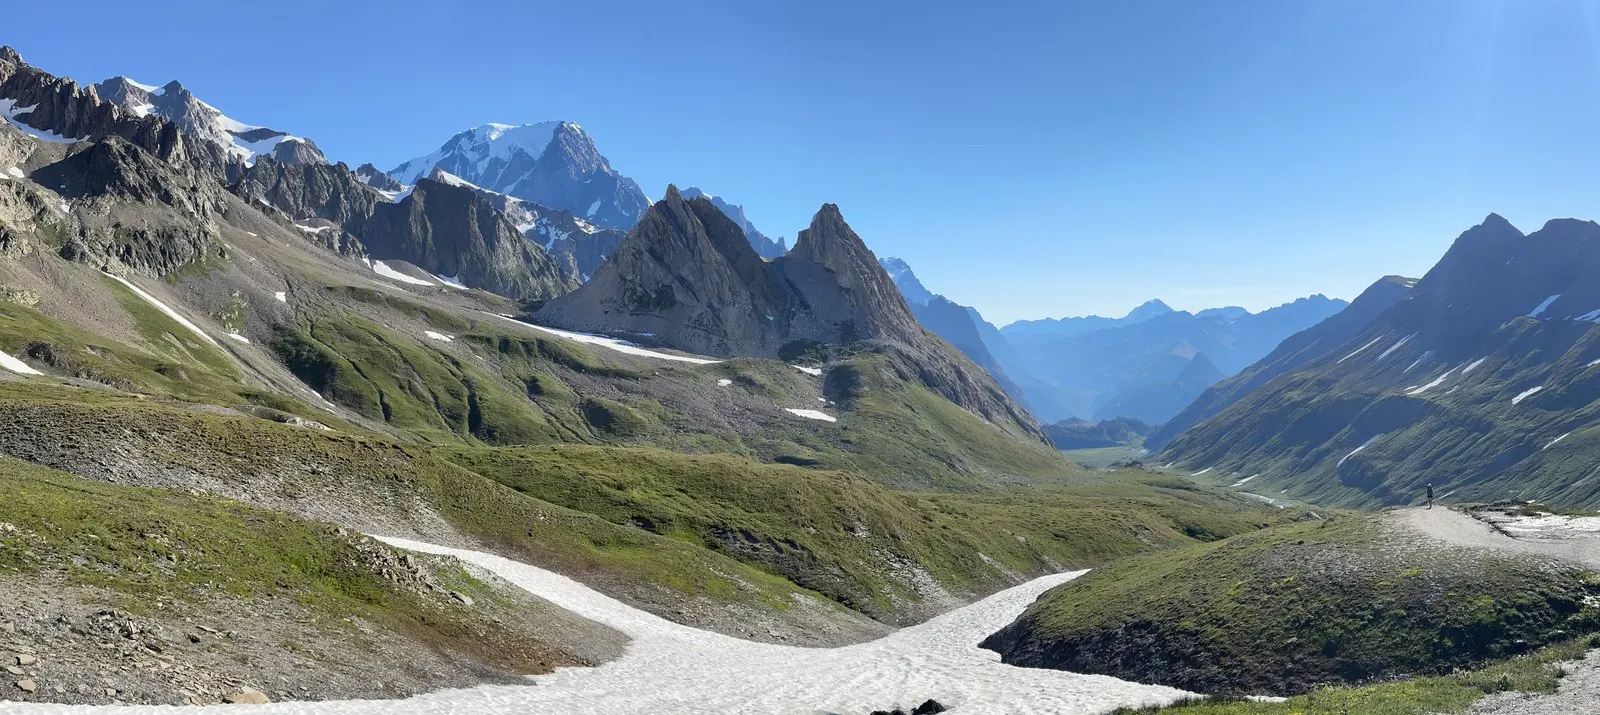
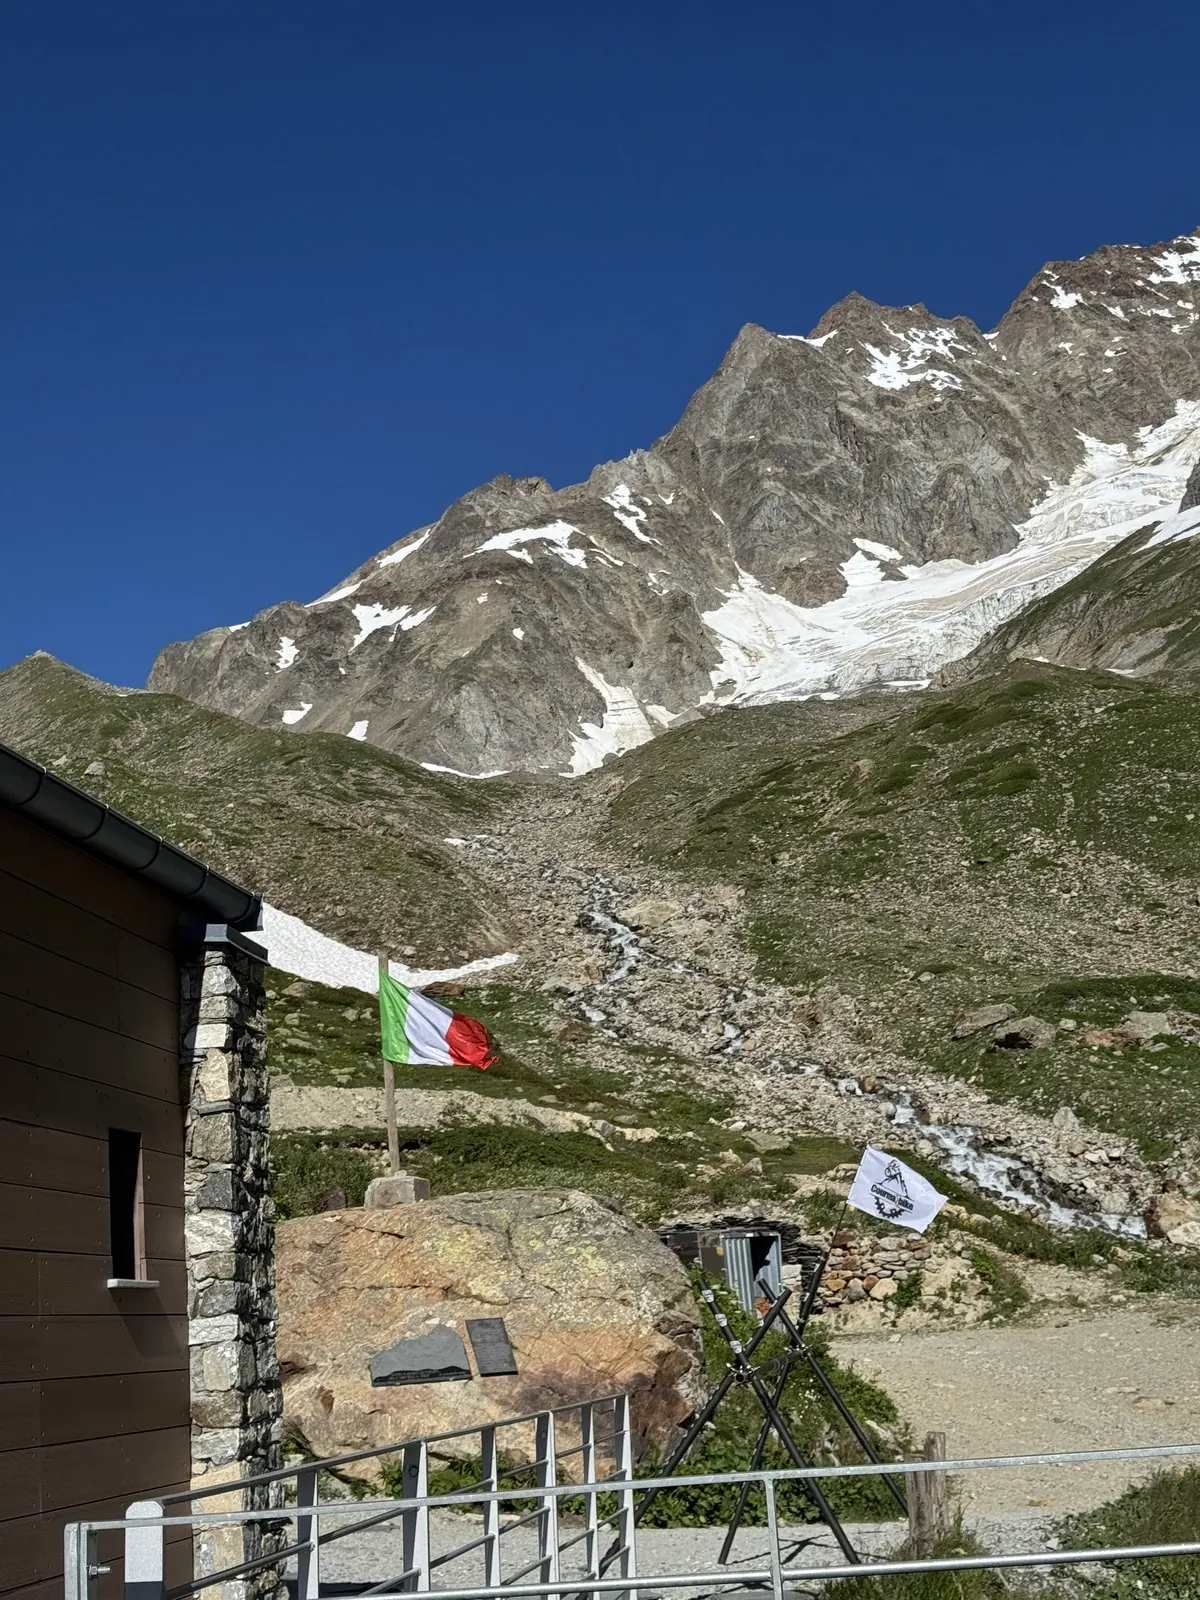
Crossing the Col de la Seigne into Italy, with the massif's Italian side leading down to Courmayeur.
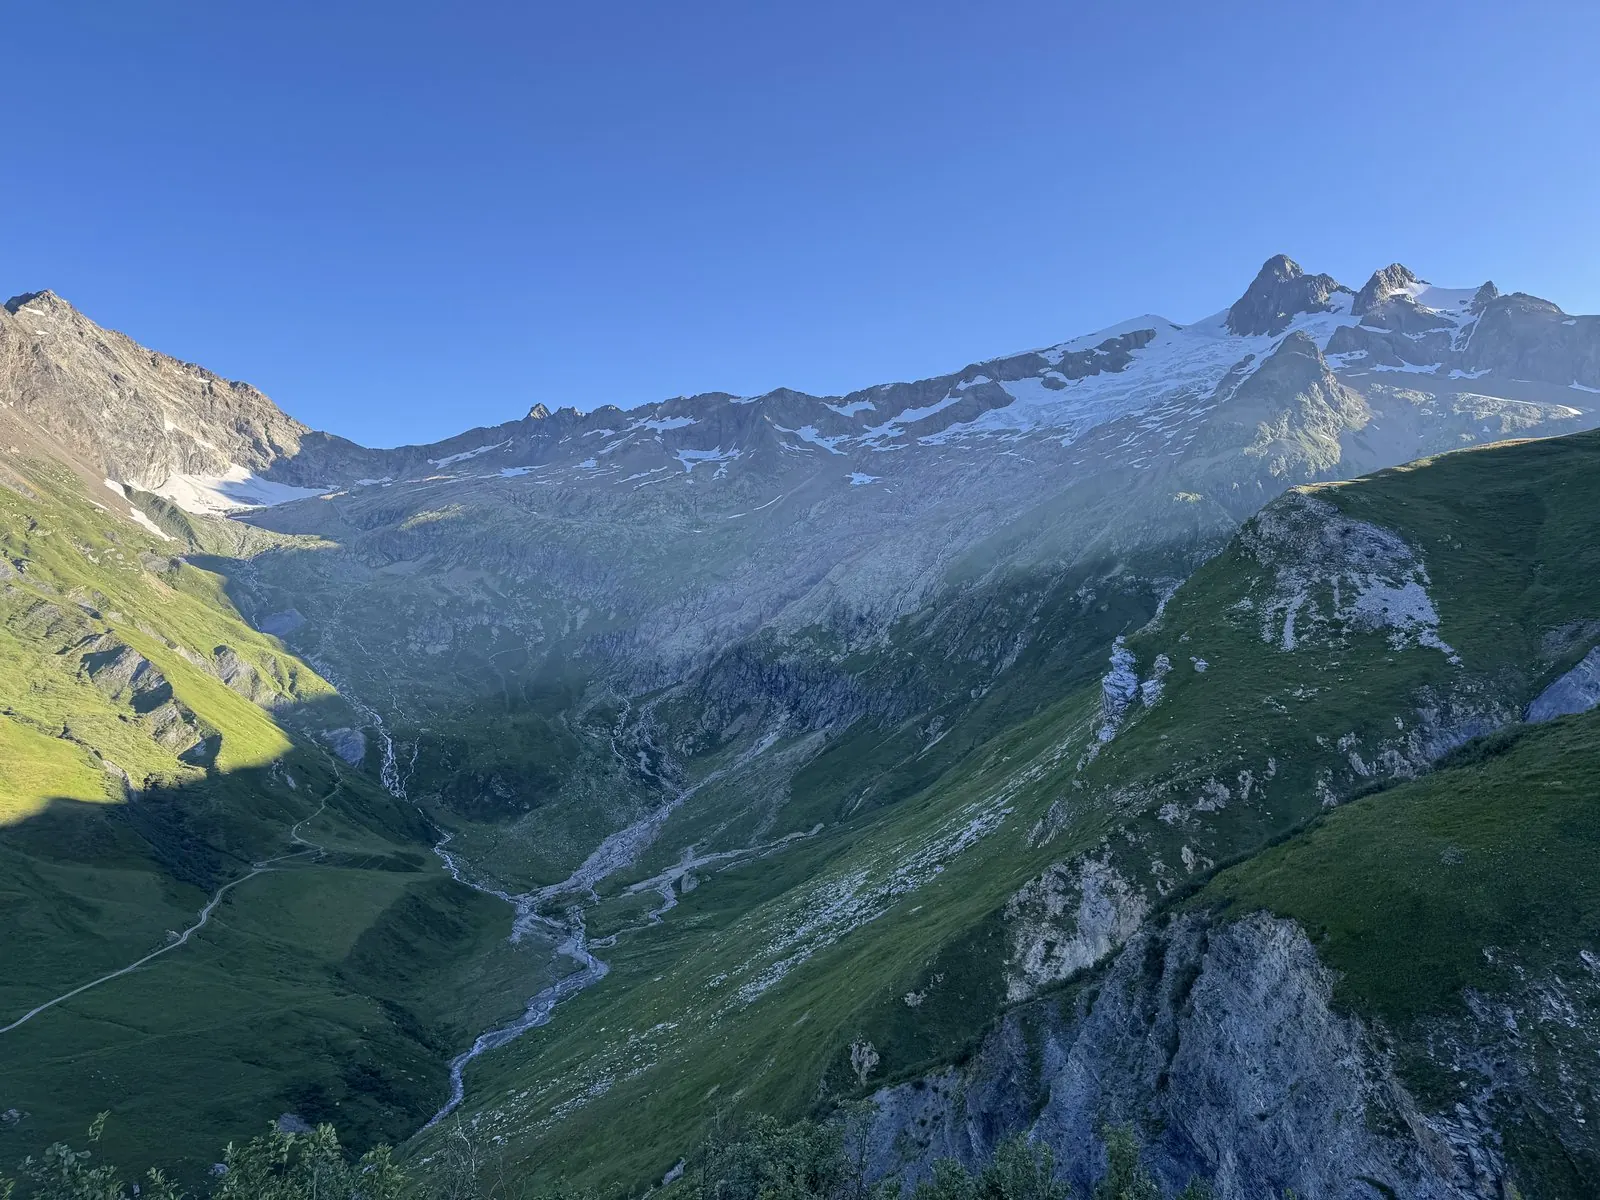
Day 3: Les Chapieux to Courmayeur -- photo 5
Day 3: Les Chapieux to Courmayeur -- photo 1 Day 3: Les Chapieux to Courmayeur -- photo 2 Day 3: Les Chapieux to Courmayeur -- photo 3 Day 3: Les Chapieux to Courmayeur -- photo 4 Day 3: Les Chapieux to Courmayeur -- photo 6 Day 3: Les Chapieux to Courmayeur -- photo 7 Day 3: Les Chapieux to Courmayeur -- photo 8 Day 3: Les Chapieux to Courmayeur -- photo 9 Day 3: Les Chapieux to Courmayeur -- photo 10 Day 3: Les Chapieux to Courmayeur -- photo 11 Day 3: Les Chapieux to Courmayeur -- photo 12 Day 3: Les Chapieux to Courmayeur -- photo 13 Day 3: Les Chapieux to Courmayeur -- photo 14 Day 3: Les Chapieux to Courmayeur -- photo 15 Day 3: Les Chapieux to Courmayeur -- photo 16 Day 3: Les Chapieux to Courmayeur -- photo 17 Day 3: Les Chapieux to Courmayeur -- photo 18 Day 3: Les Chapieux to Courmayeur -- photo 19

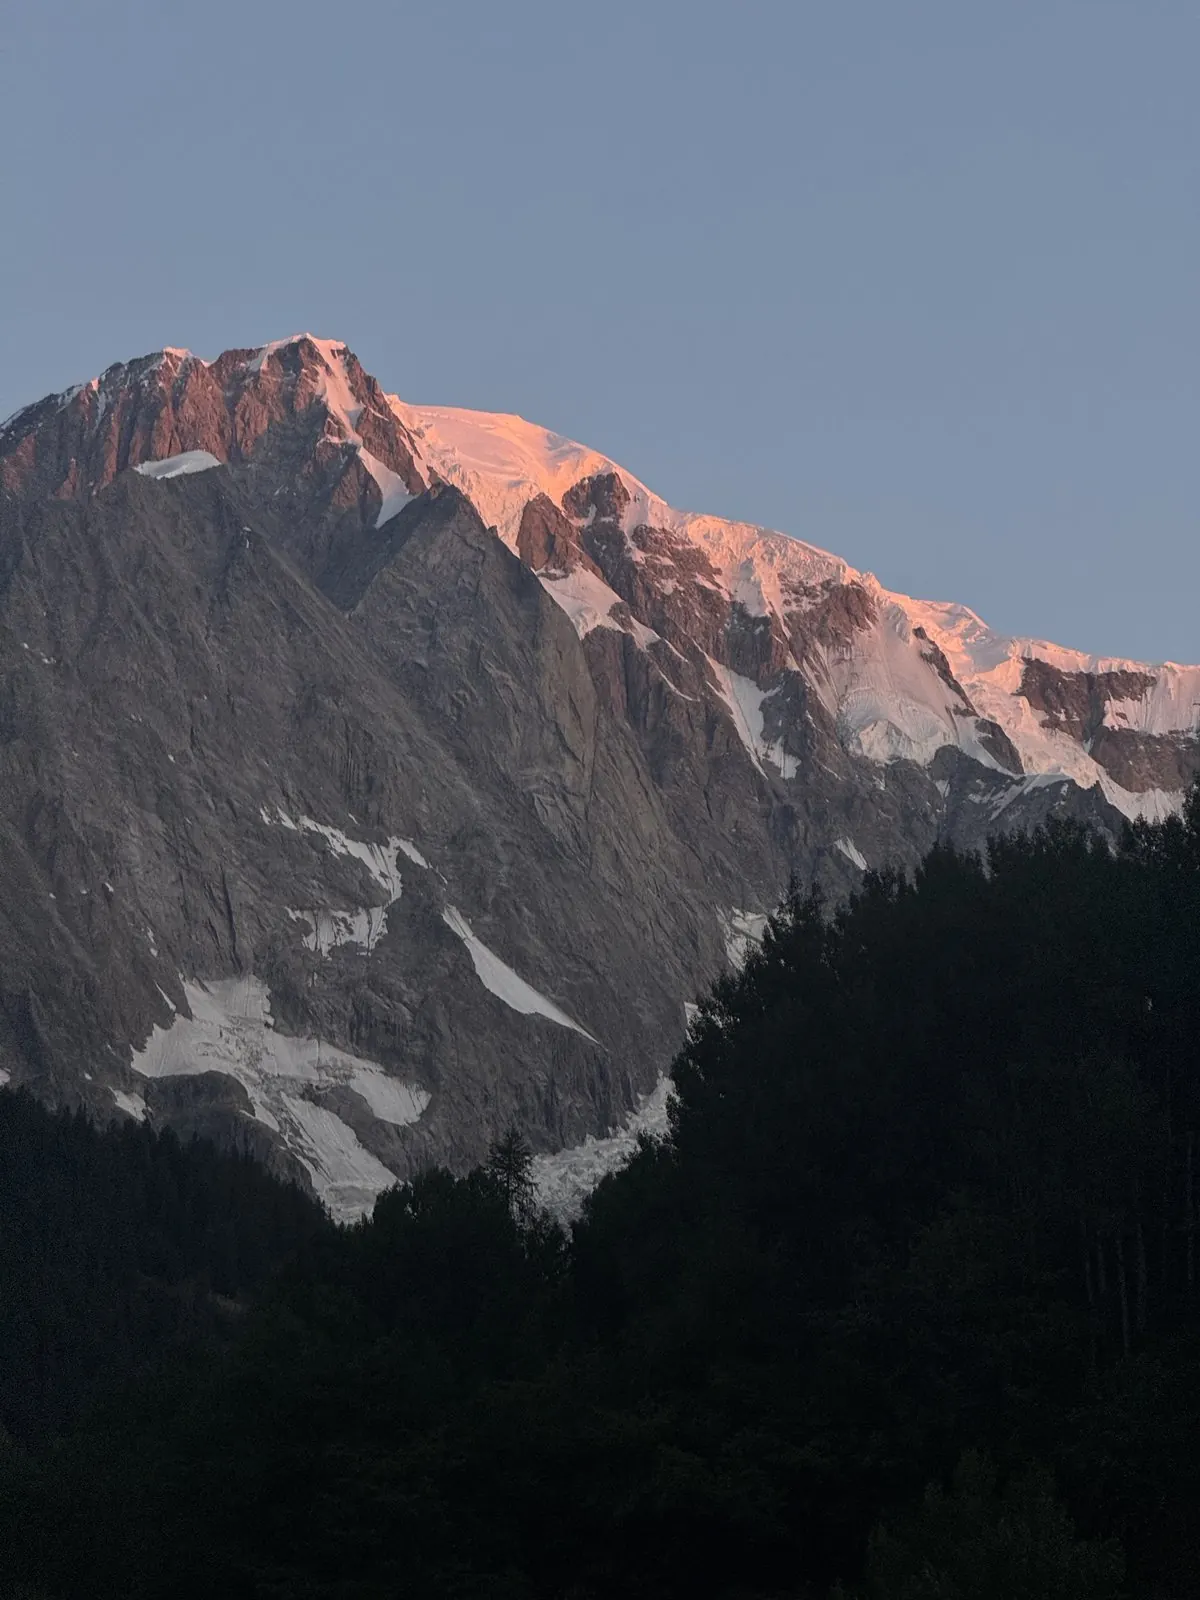
Day 4: Courmayeur to La Fouly

Through the Val Ferret and over the Grand Col Ferret into Switzerland.
Day 4: Courmayeur to La Fouly -- photo 2
Day 4: Courmayeur to La Fouly -- photo 1 Day 4: Courmayeur to La Fouly -- photo 3 Day 4: Courmayeur to La Fouly -- photo 4 Day 4: Courmayeur to La Fouly -- photo 5 Day 4: Courmayeur to La Fouly -- photo 6 Day 4: Courmayeur to La Fouly -- photo 7 Day 4: Courmayeur to La Fouly -- photo 8 Day 4: Courmayeur to La Fouly -- photo 9 Day 4: Courmayeur to La Fouly -- photo 10 Day 4: Courmayeur to La Fouly -- photo 11 Day 4: Courmayeur to La Fouly -- photo 12 Day 4: Courmayeur to La Fouly -- photo 13 Day 4: Courmayeur to La Fouly -- photo 14 Day 4: Courmayeur to La Fouly -- photo 15

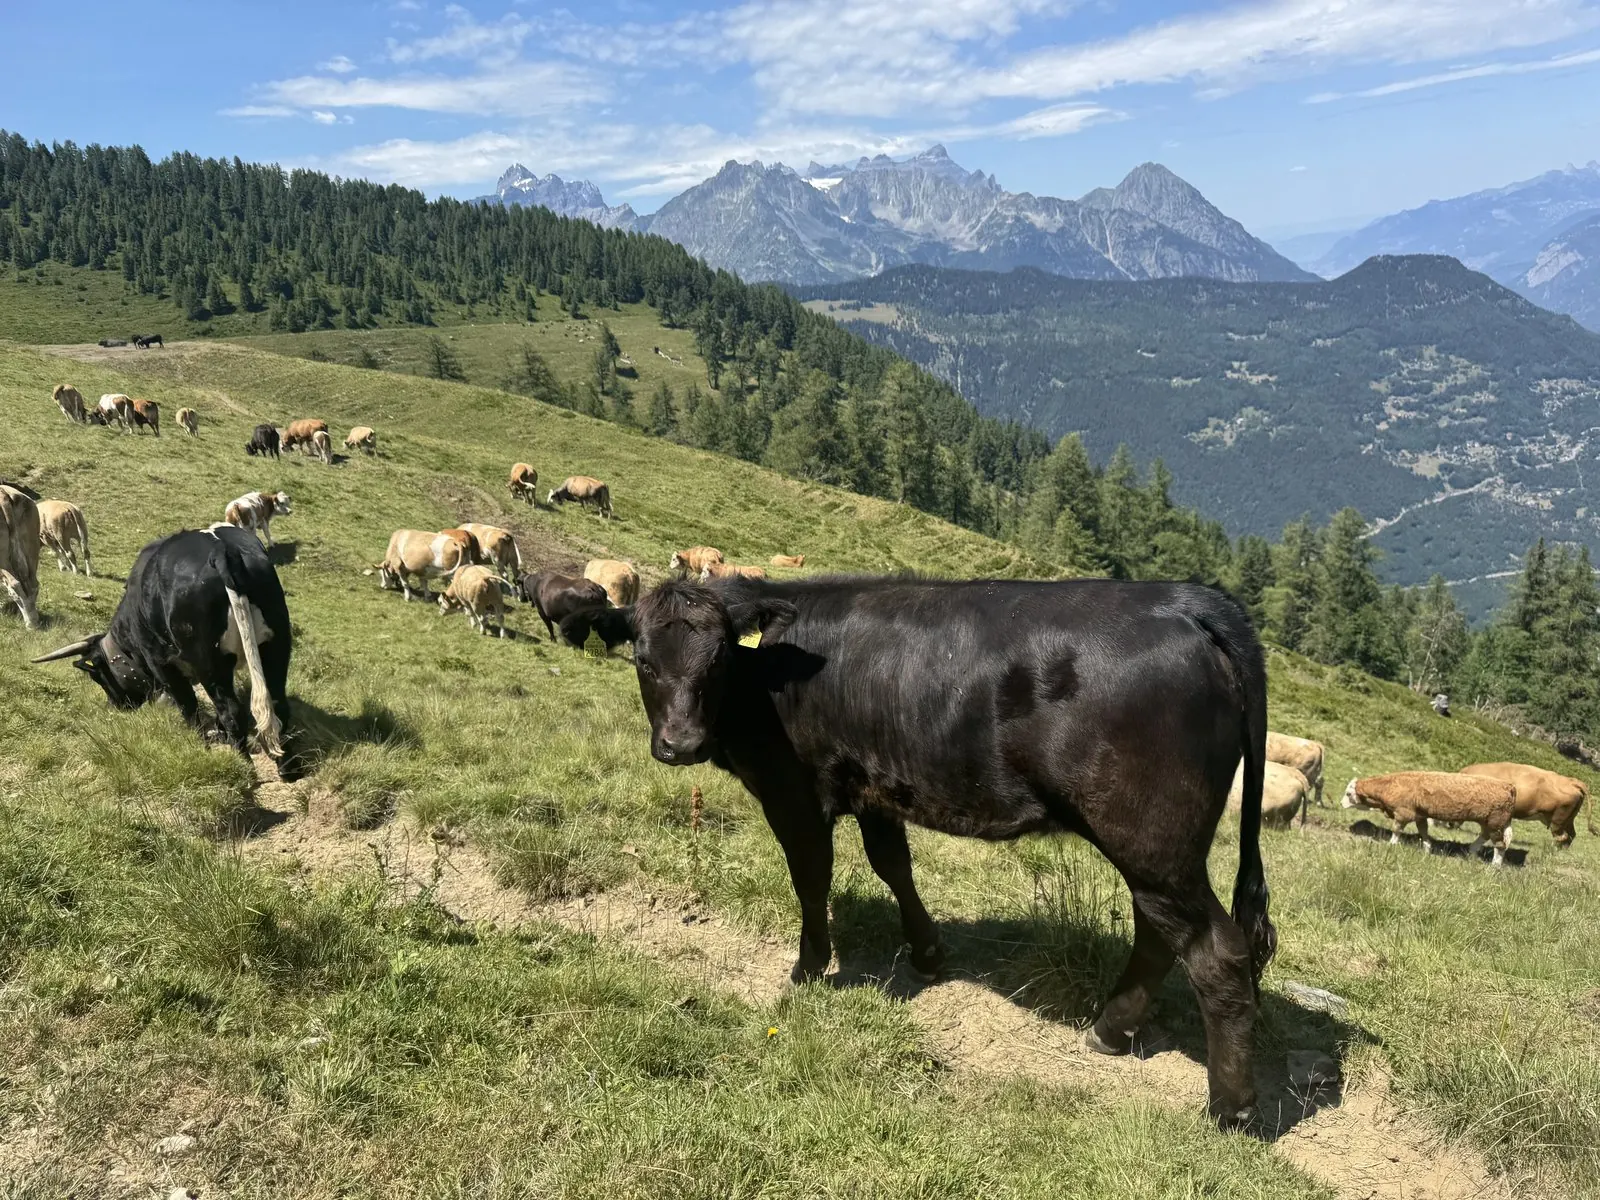
Day 5: La Fouly to Trient

Via Champex-Lac and over the ridge to Trient.
Day 5: La Fouly to Trient -- photo 3
Day 5: La Fouly to Trient -- photo 1 Day 5: La Fouly to Trient -- photo 2 Day 5: La Fouly to Trient -- photo 4

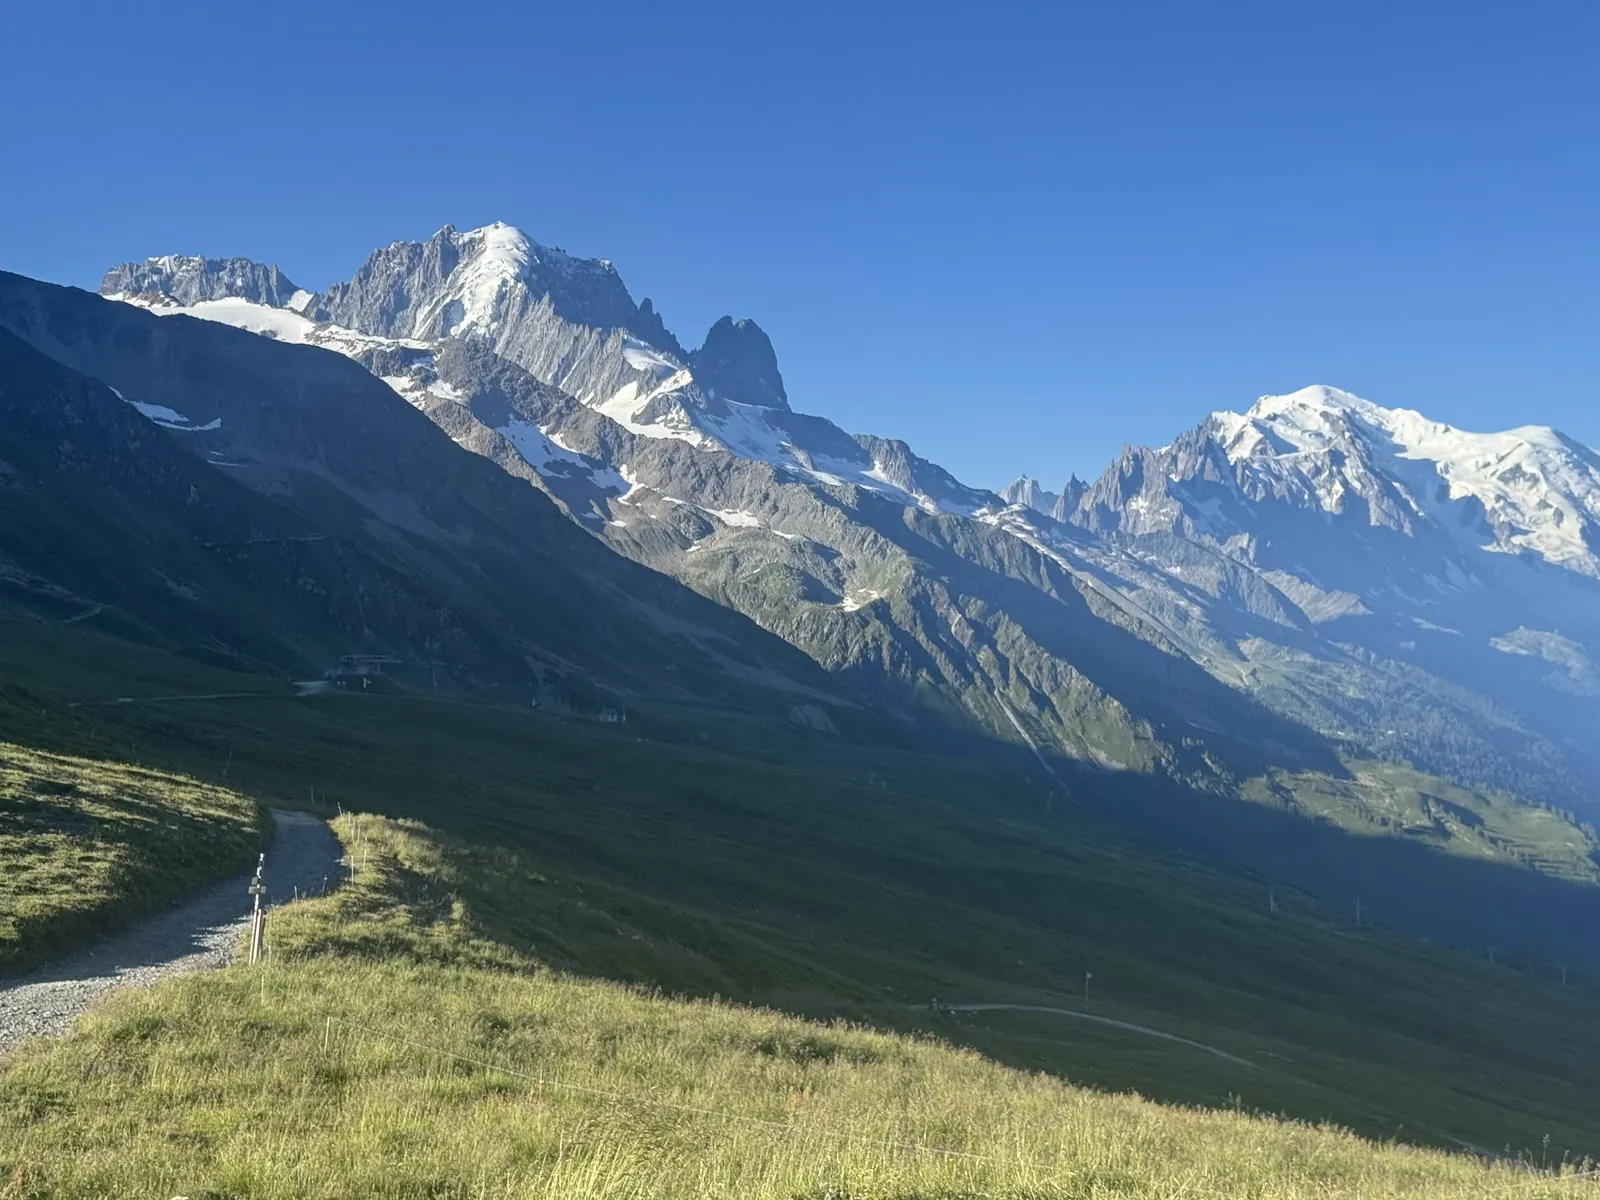
Day 6: Trient to Les Praz

Over the Col de Balme, back into France, down toward Les Praz.
Day 6: Trient to Les Praz -- photo 1
Day 6: Trient to Les Praz -- photo 2 Day 6: Trient to Les Praz -- photo 3 Day 6: Trient to Les Praz -- photo 4 Day 6: Trient to Les Praz -- photo 5 Day 6: Trient to Les Praz -- photo 6 Day 6: Trient to Les Praz -- photo 7 Day 6: Trient to Les Praz -- photo 8

Day 7: Les Praz to Chamonix

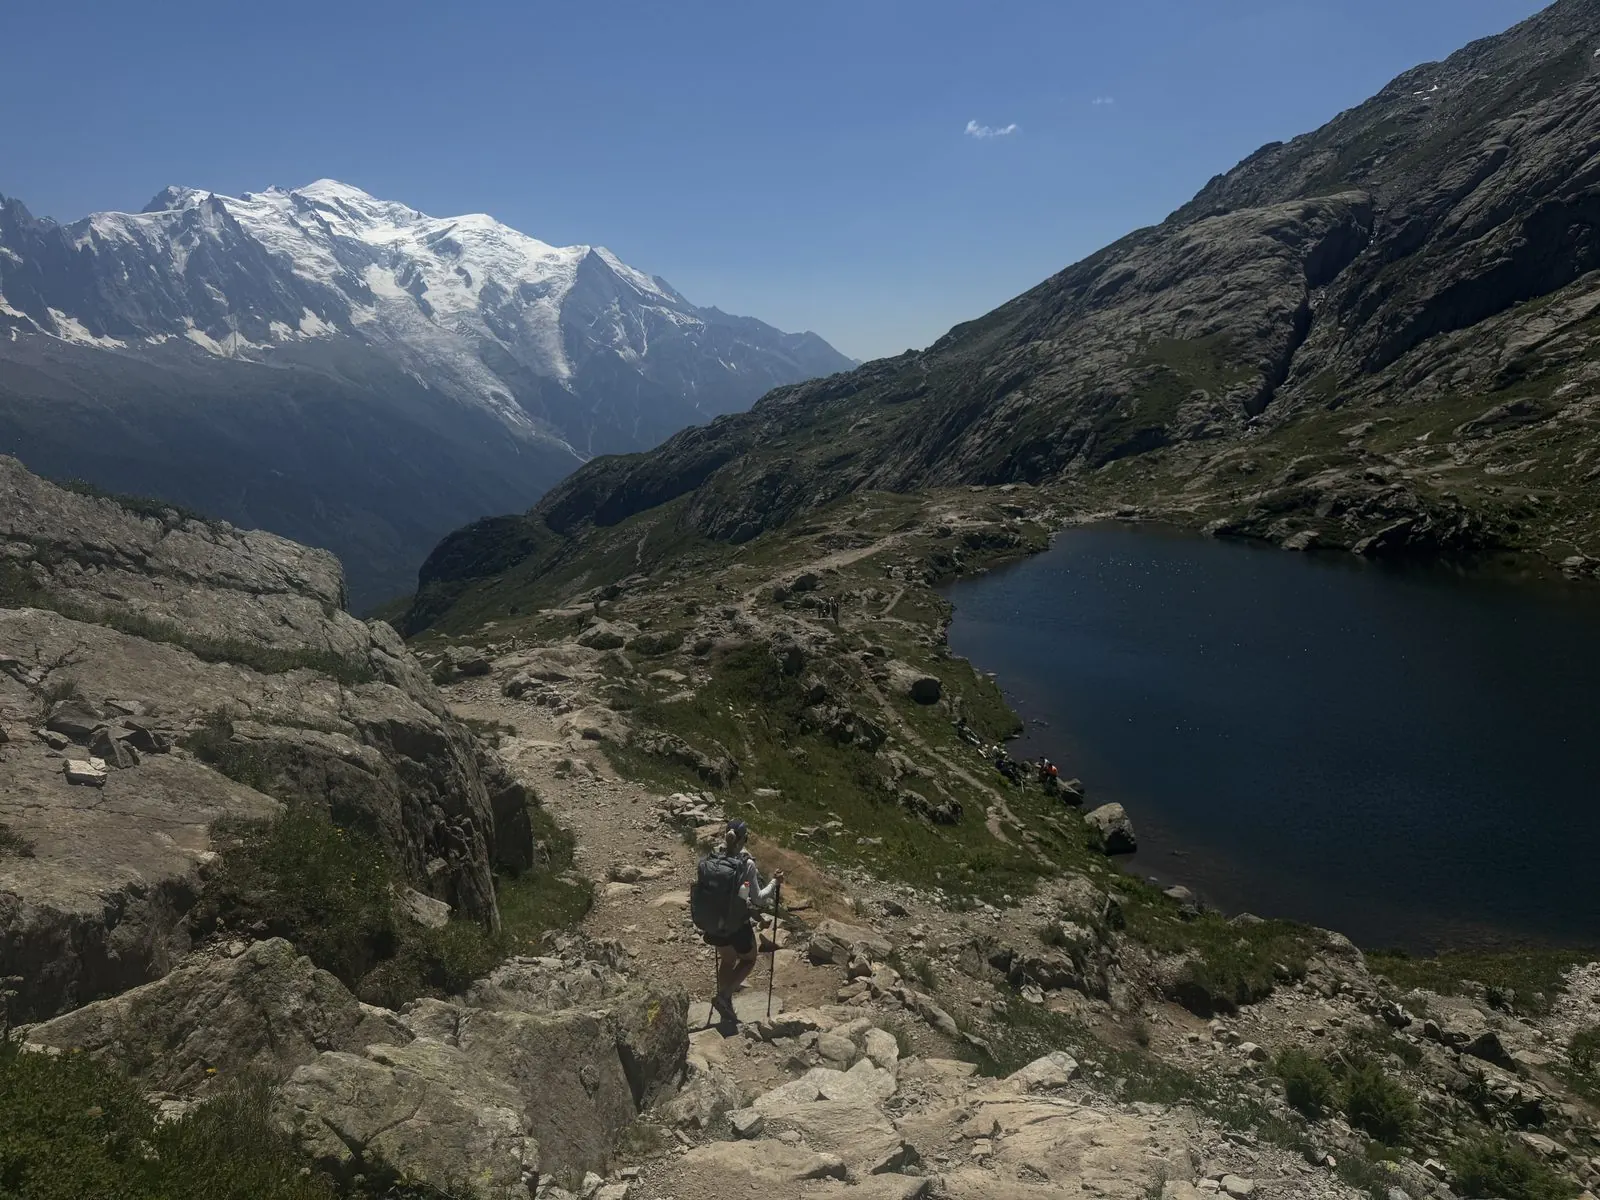
A short final stretch into Chamonix, closing the loop.
Day 7: Les Praz to Chamonix -- photo 2
Day 7: Les Praz to Chamonix -- photo 1 Day 7: Les Praz to Chamonix -- photo 3