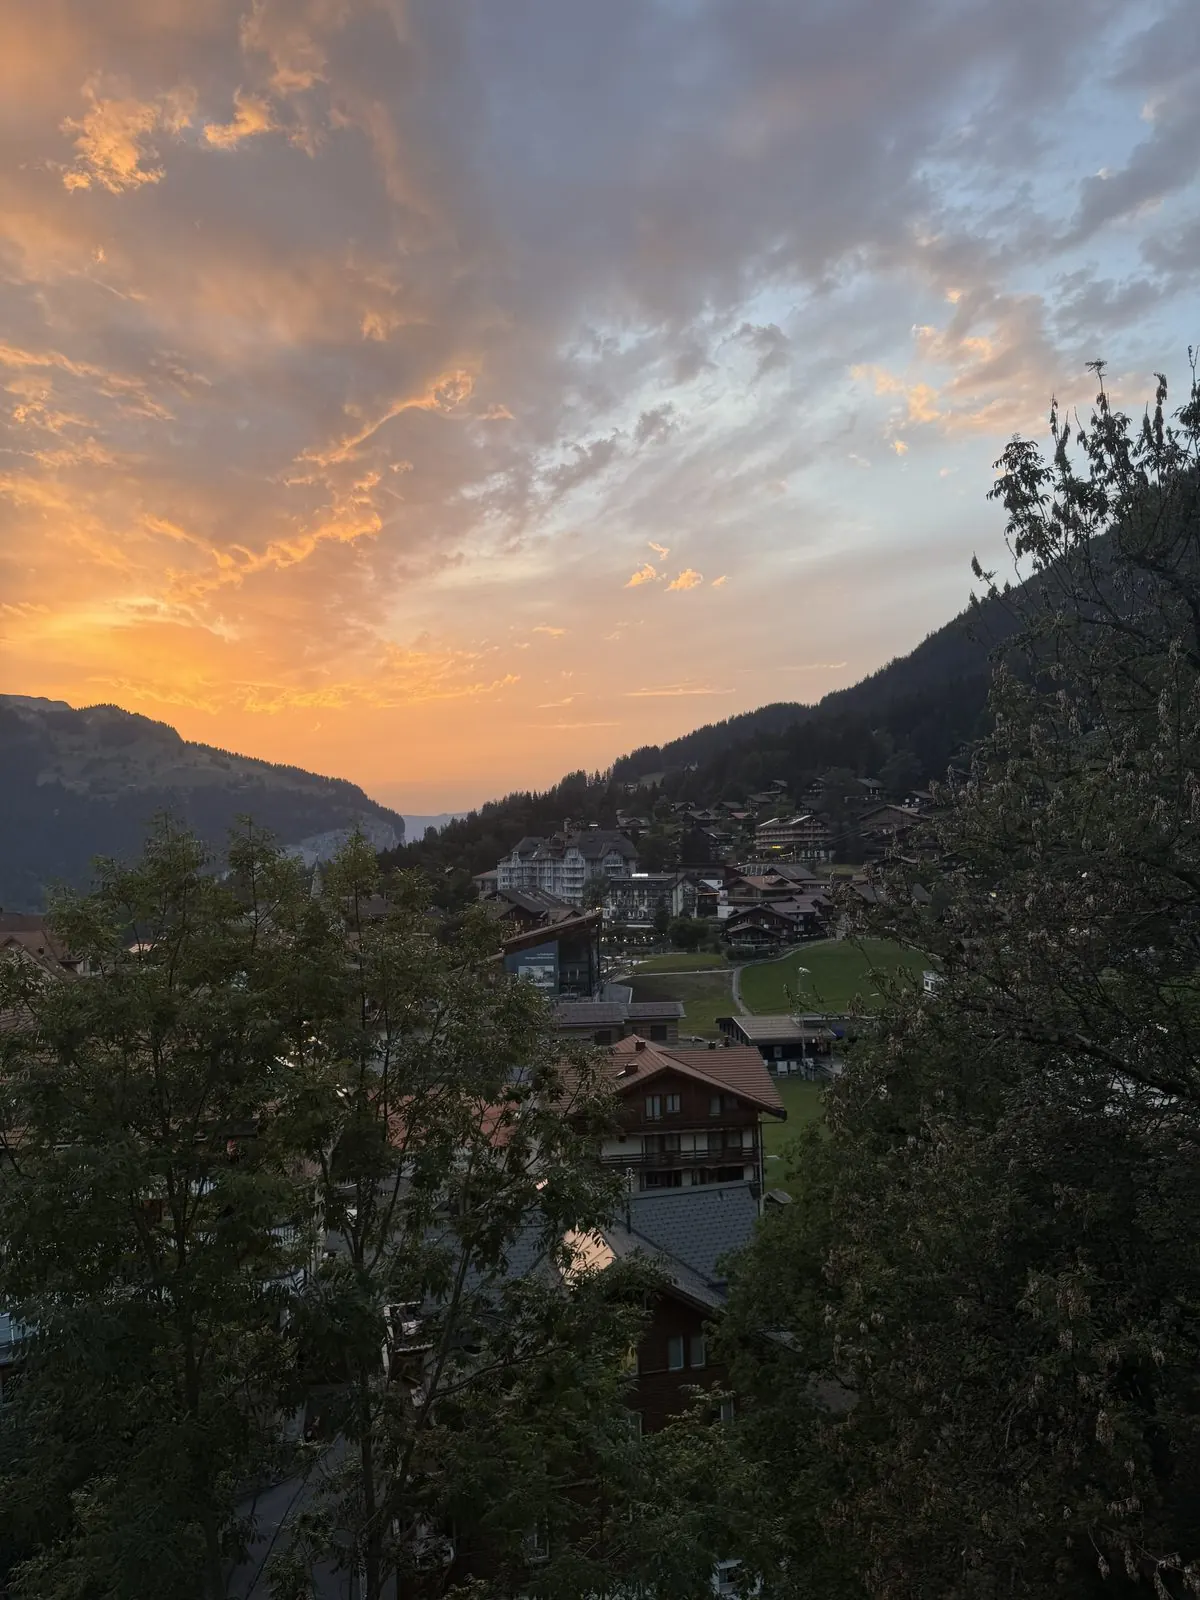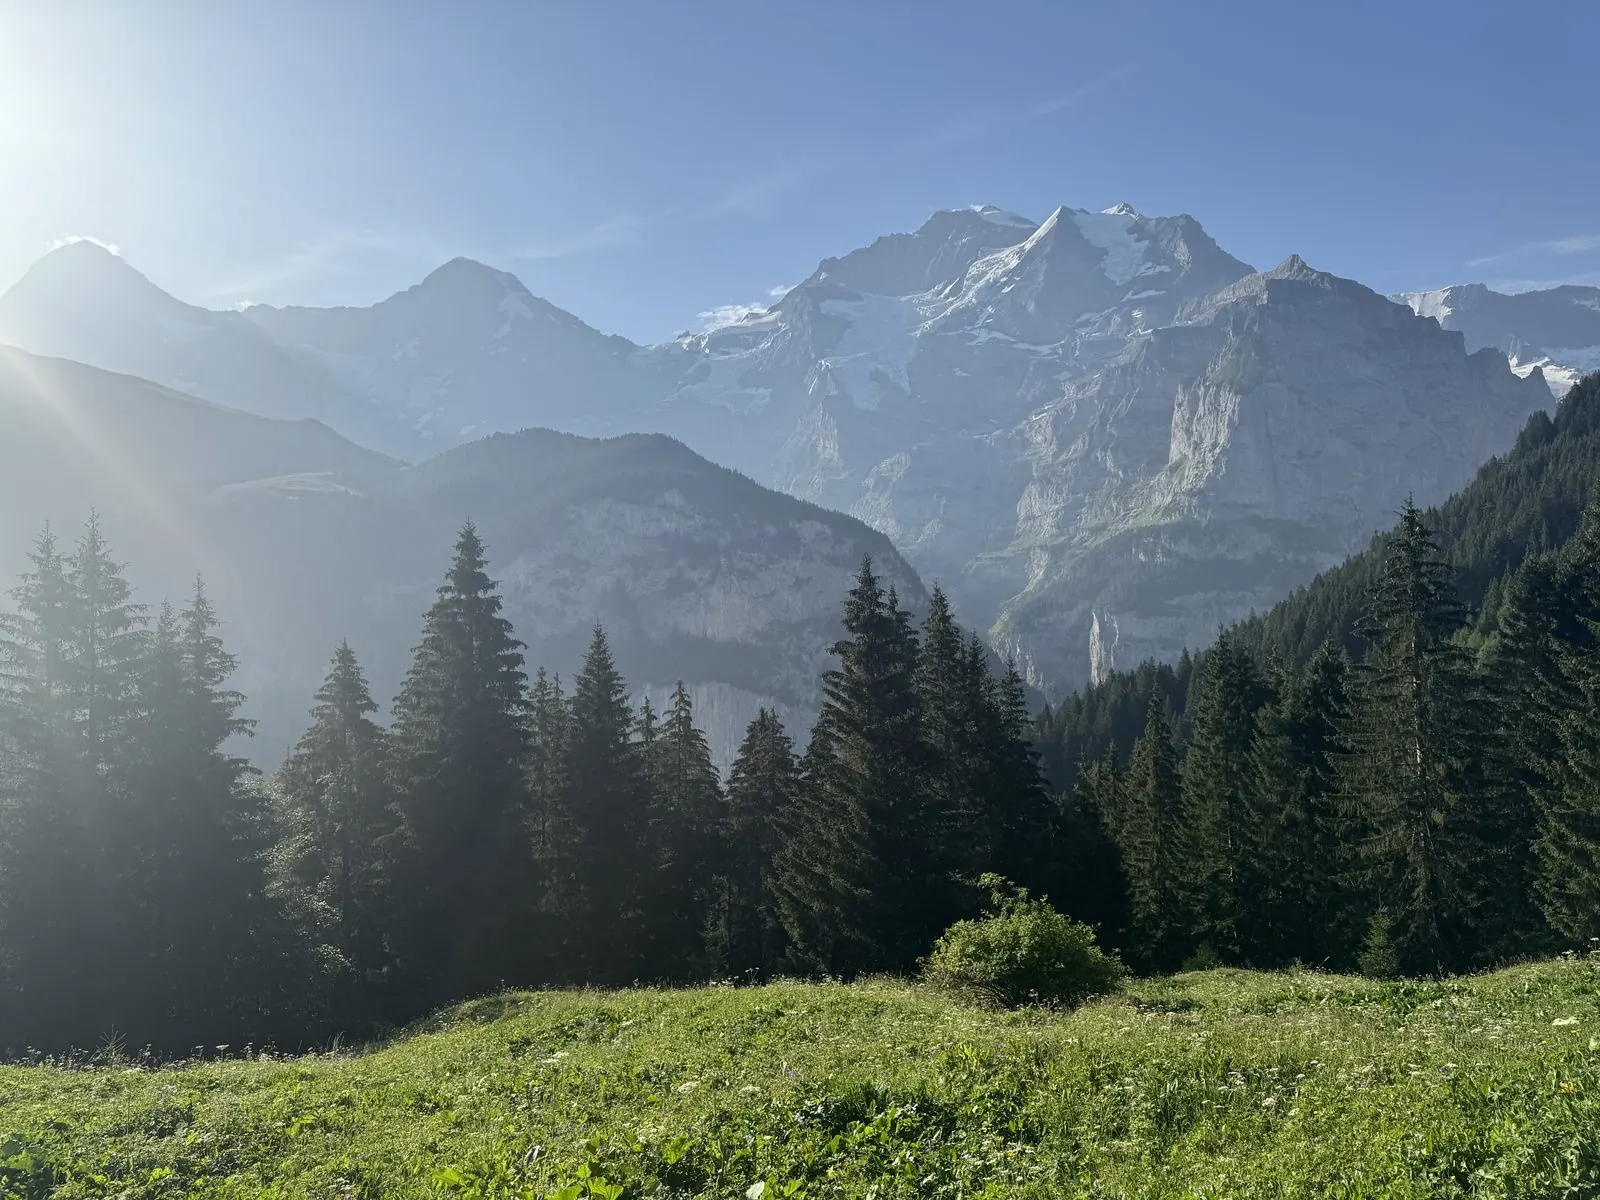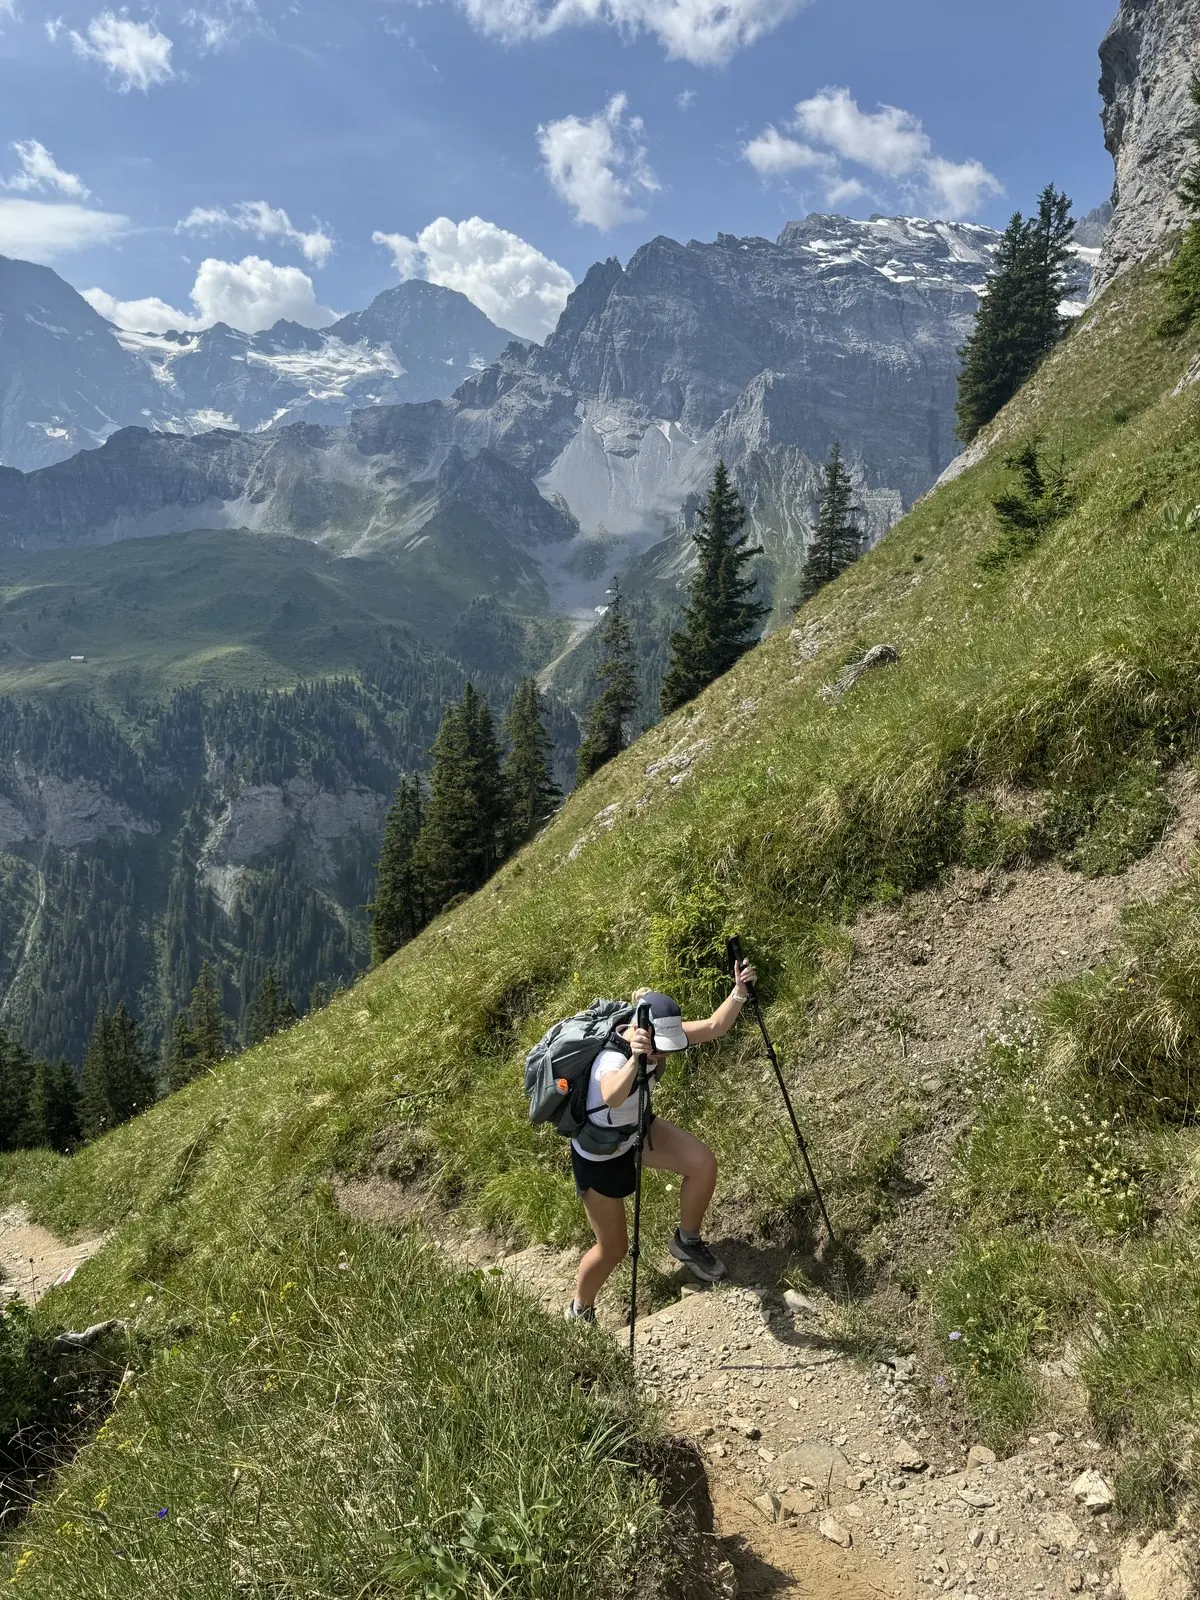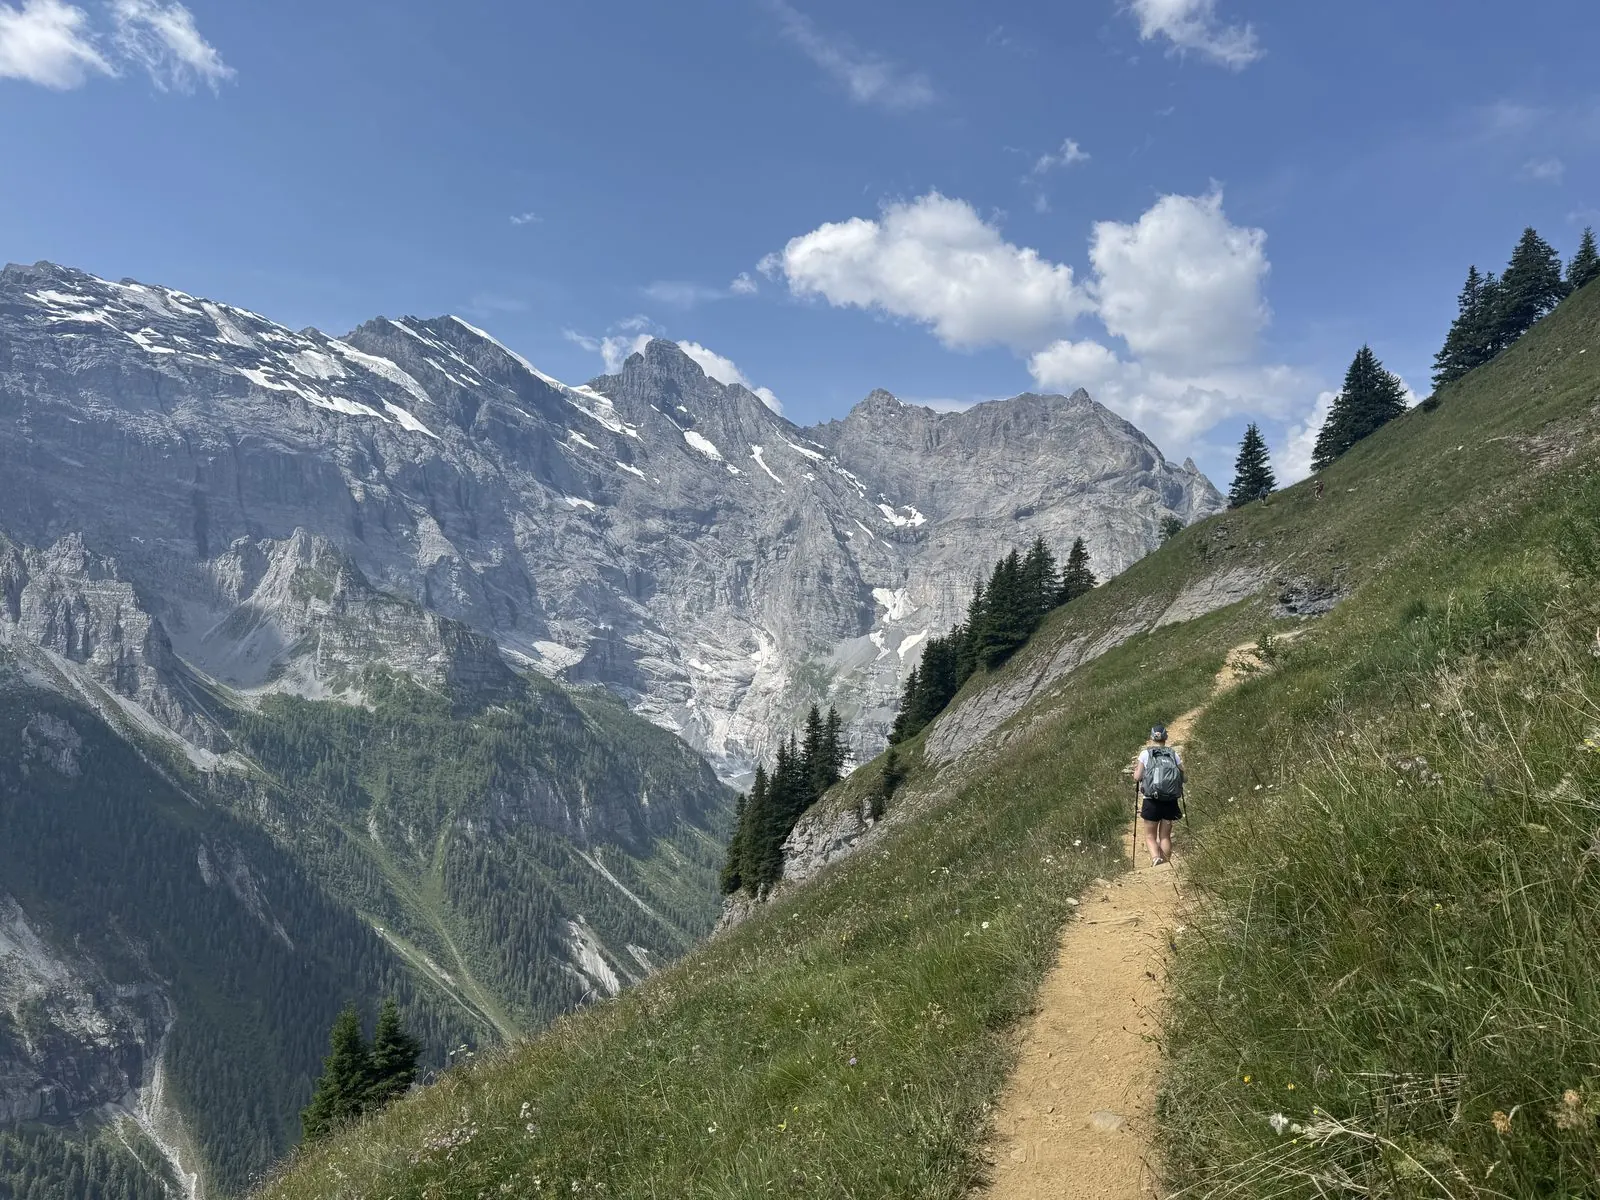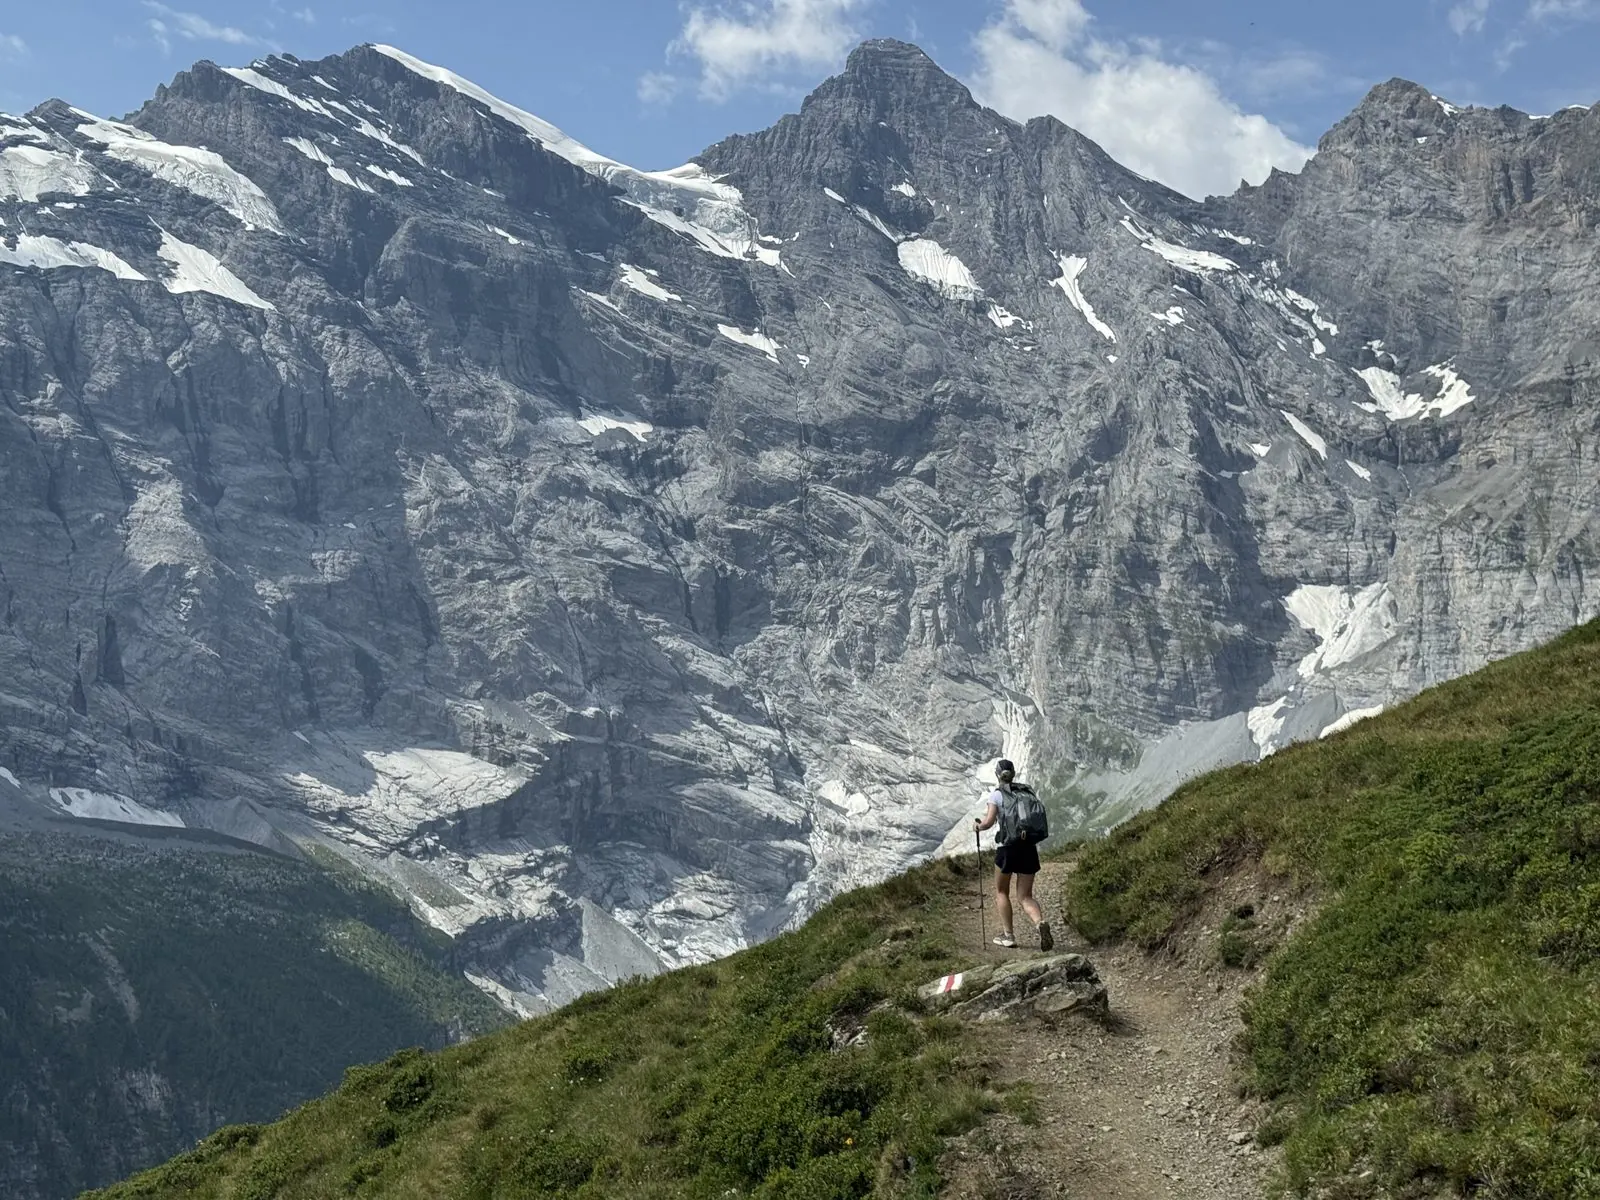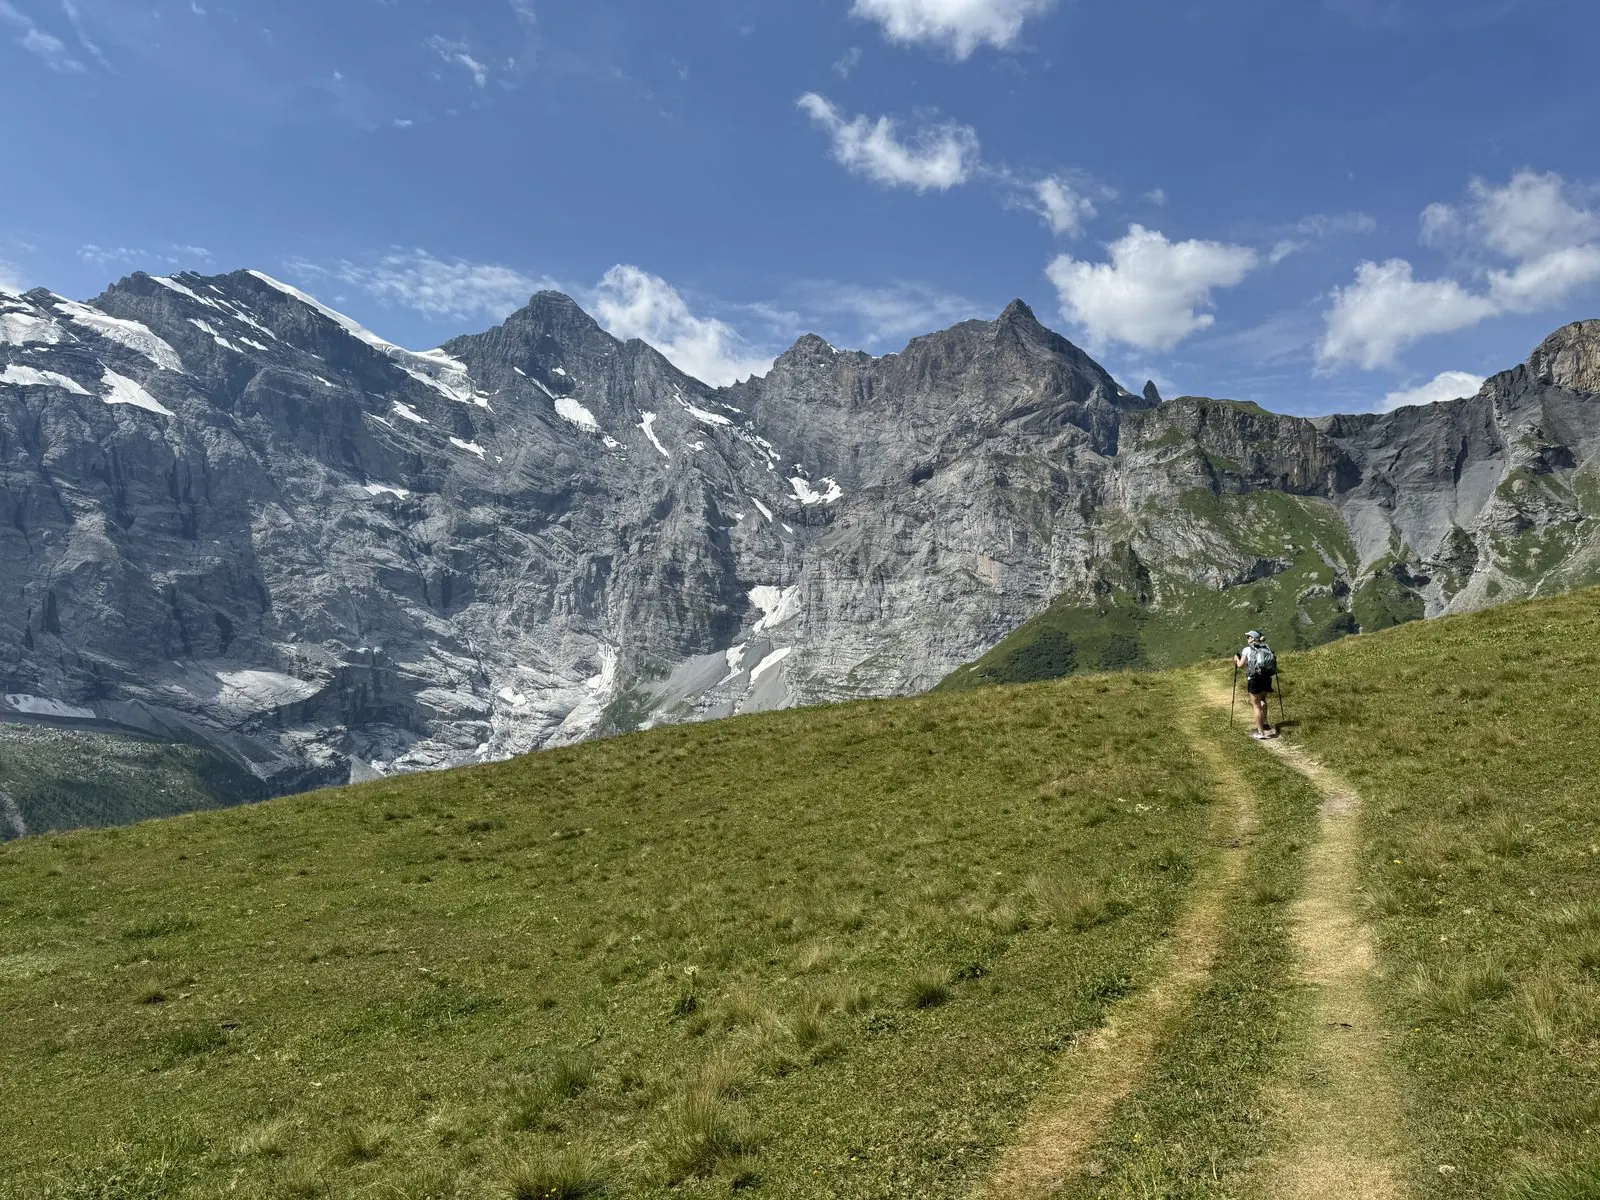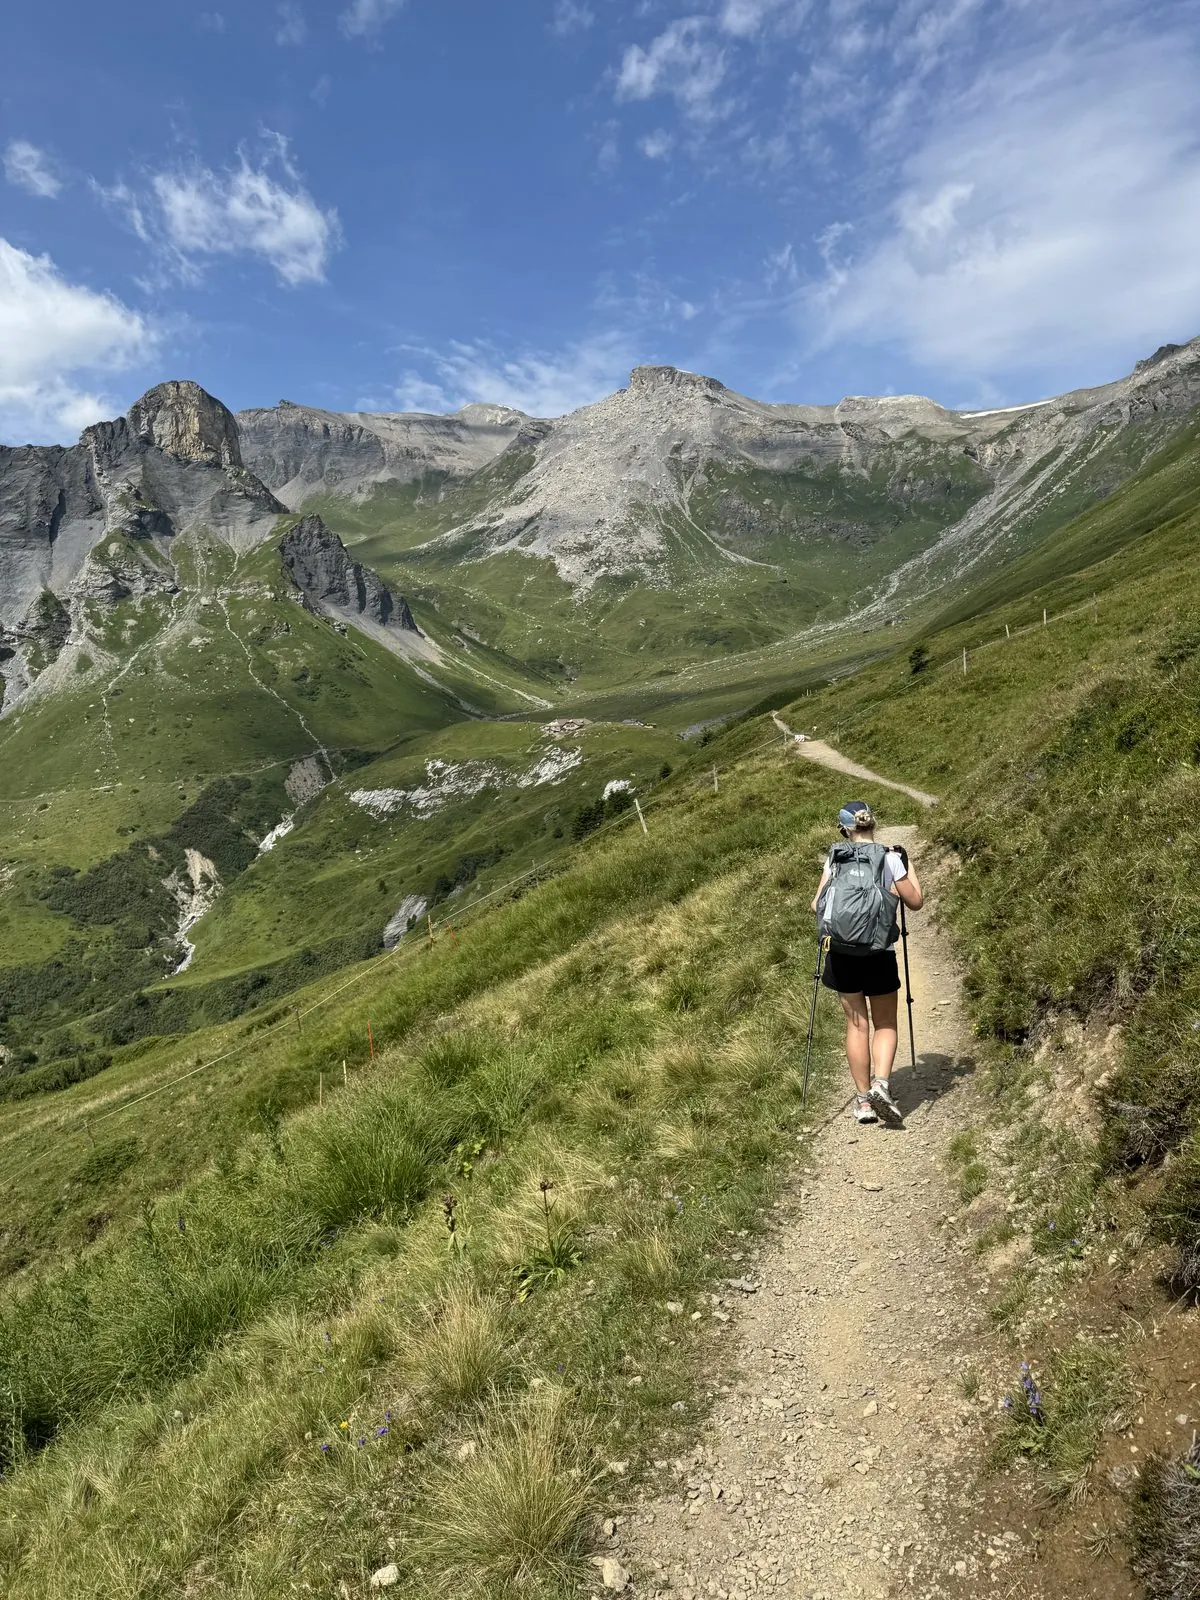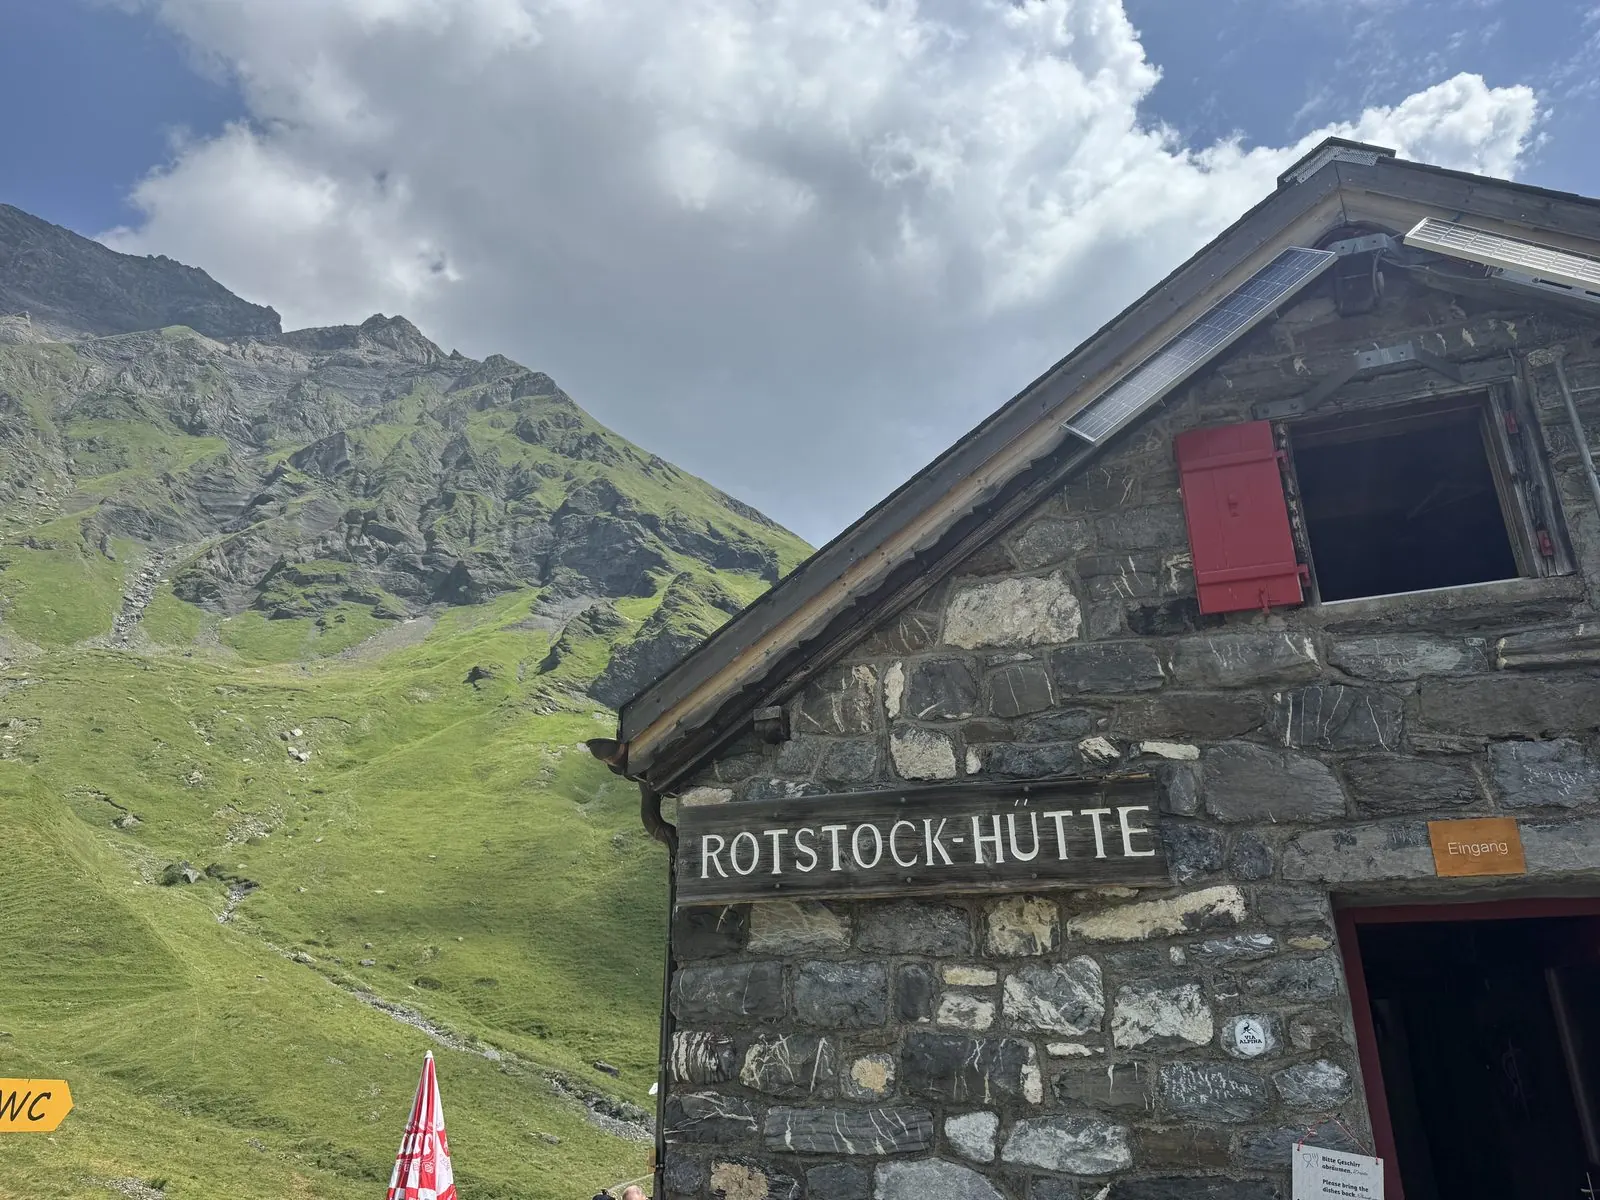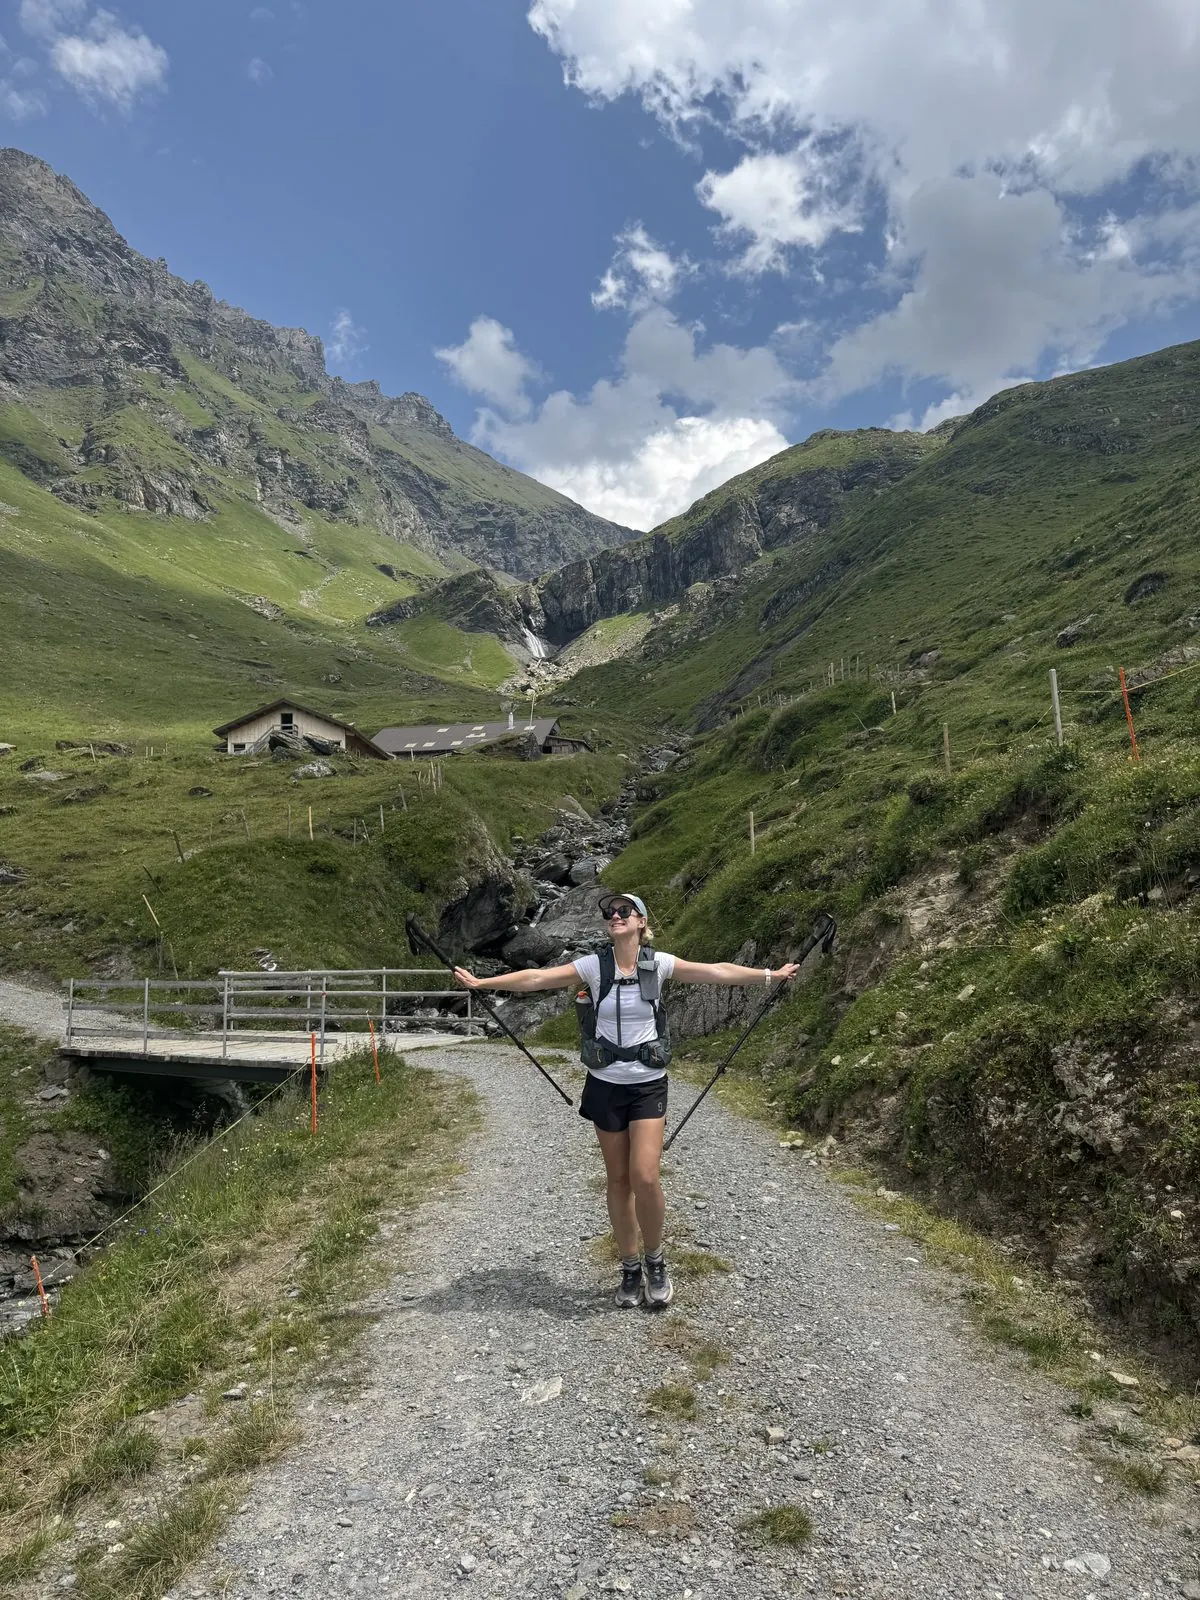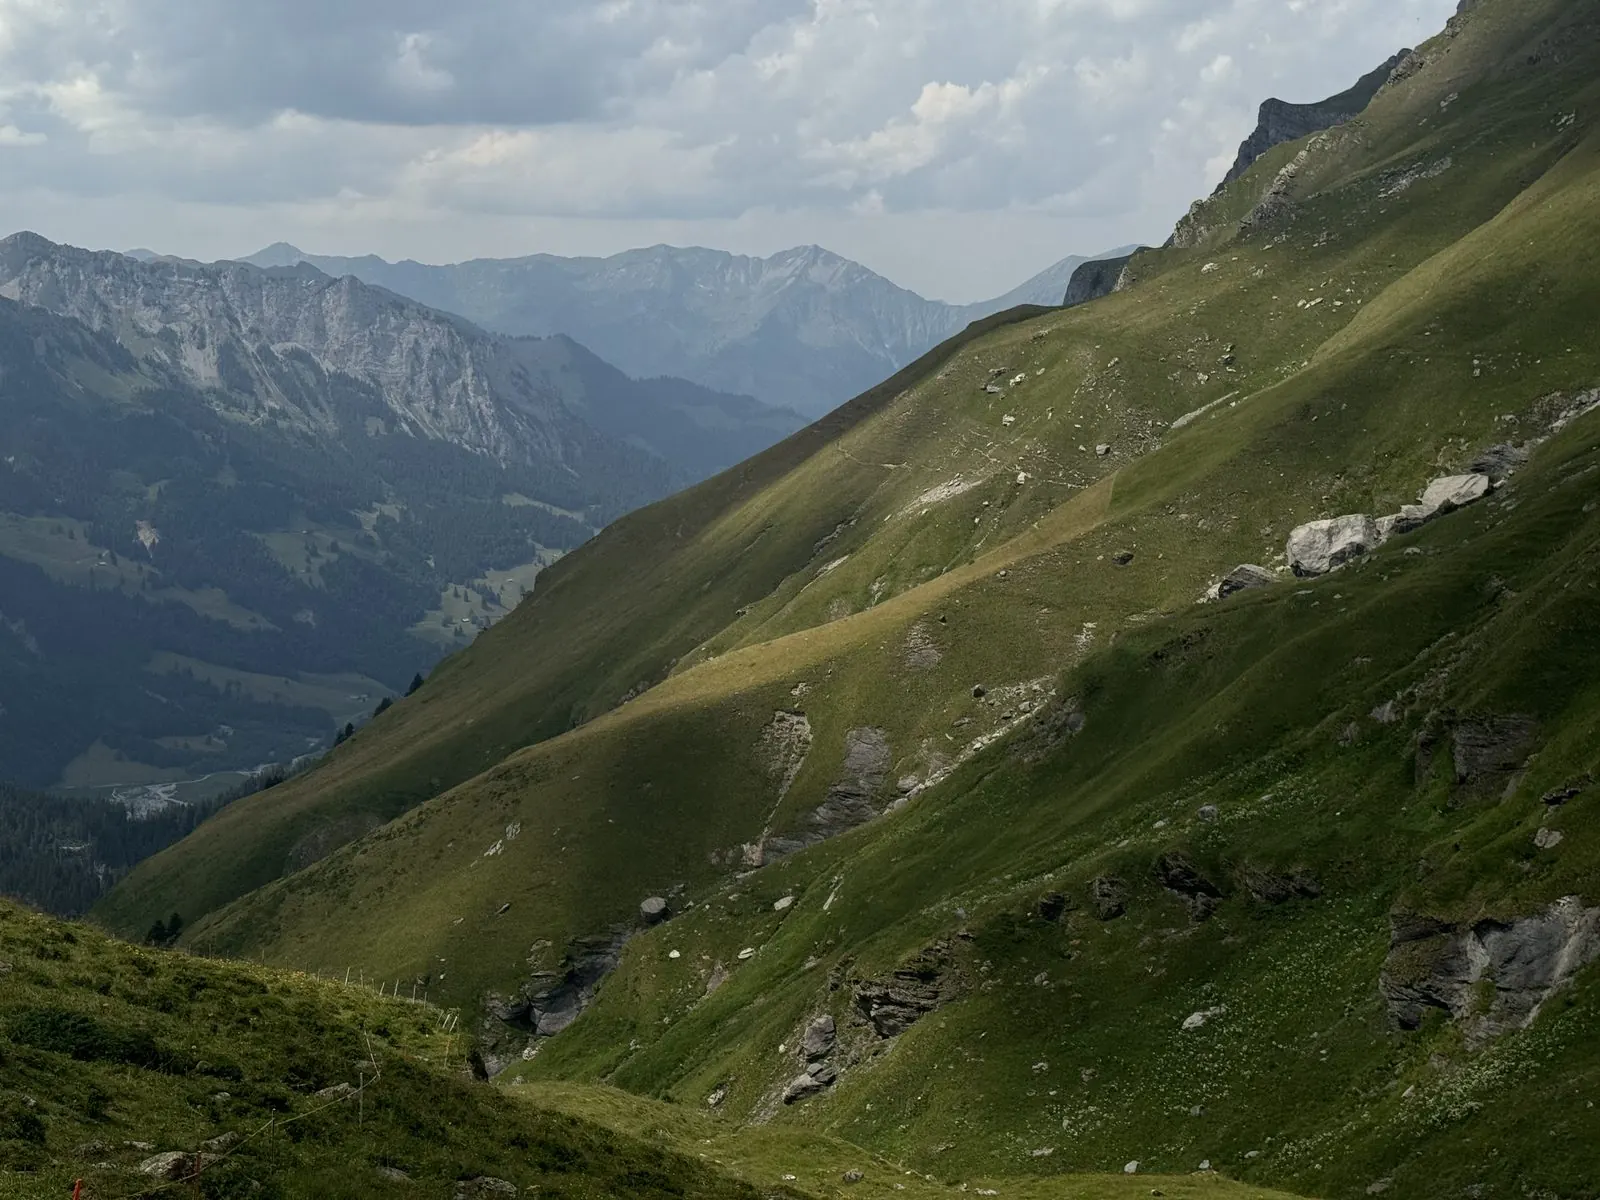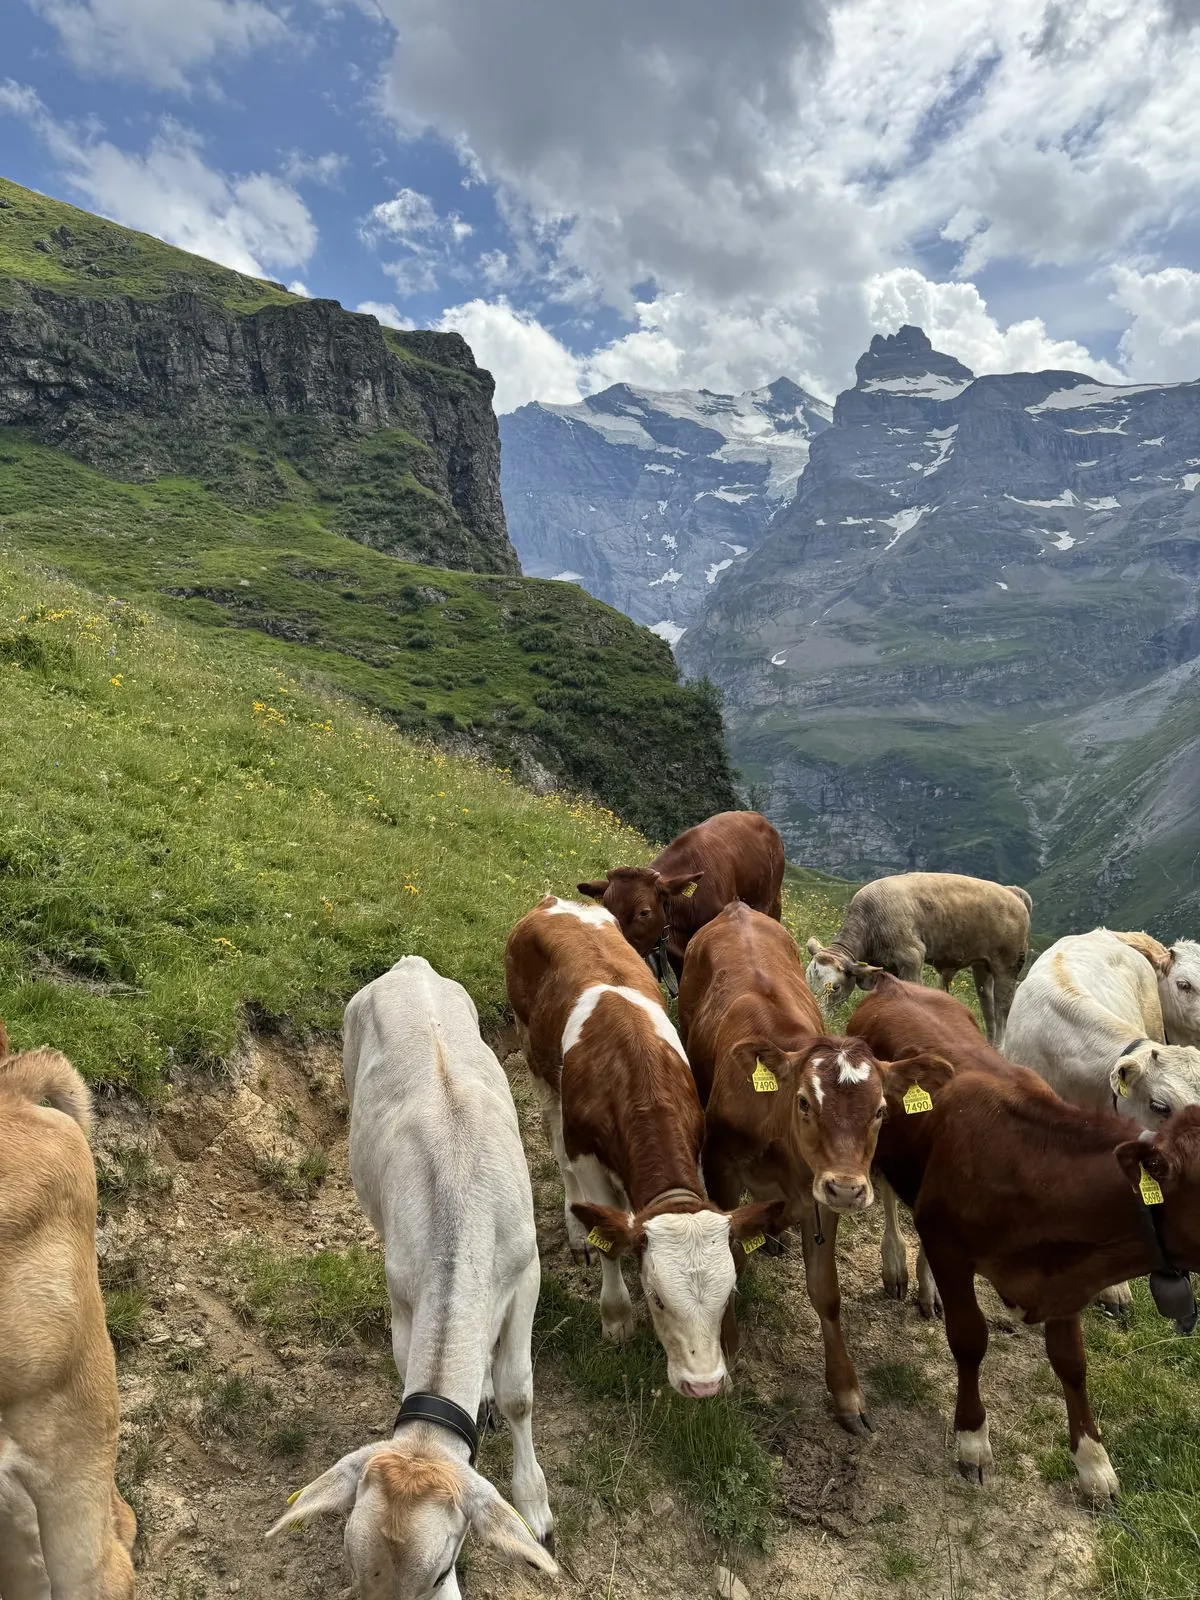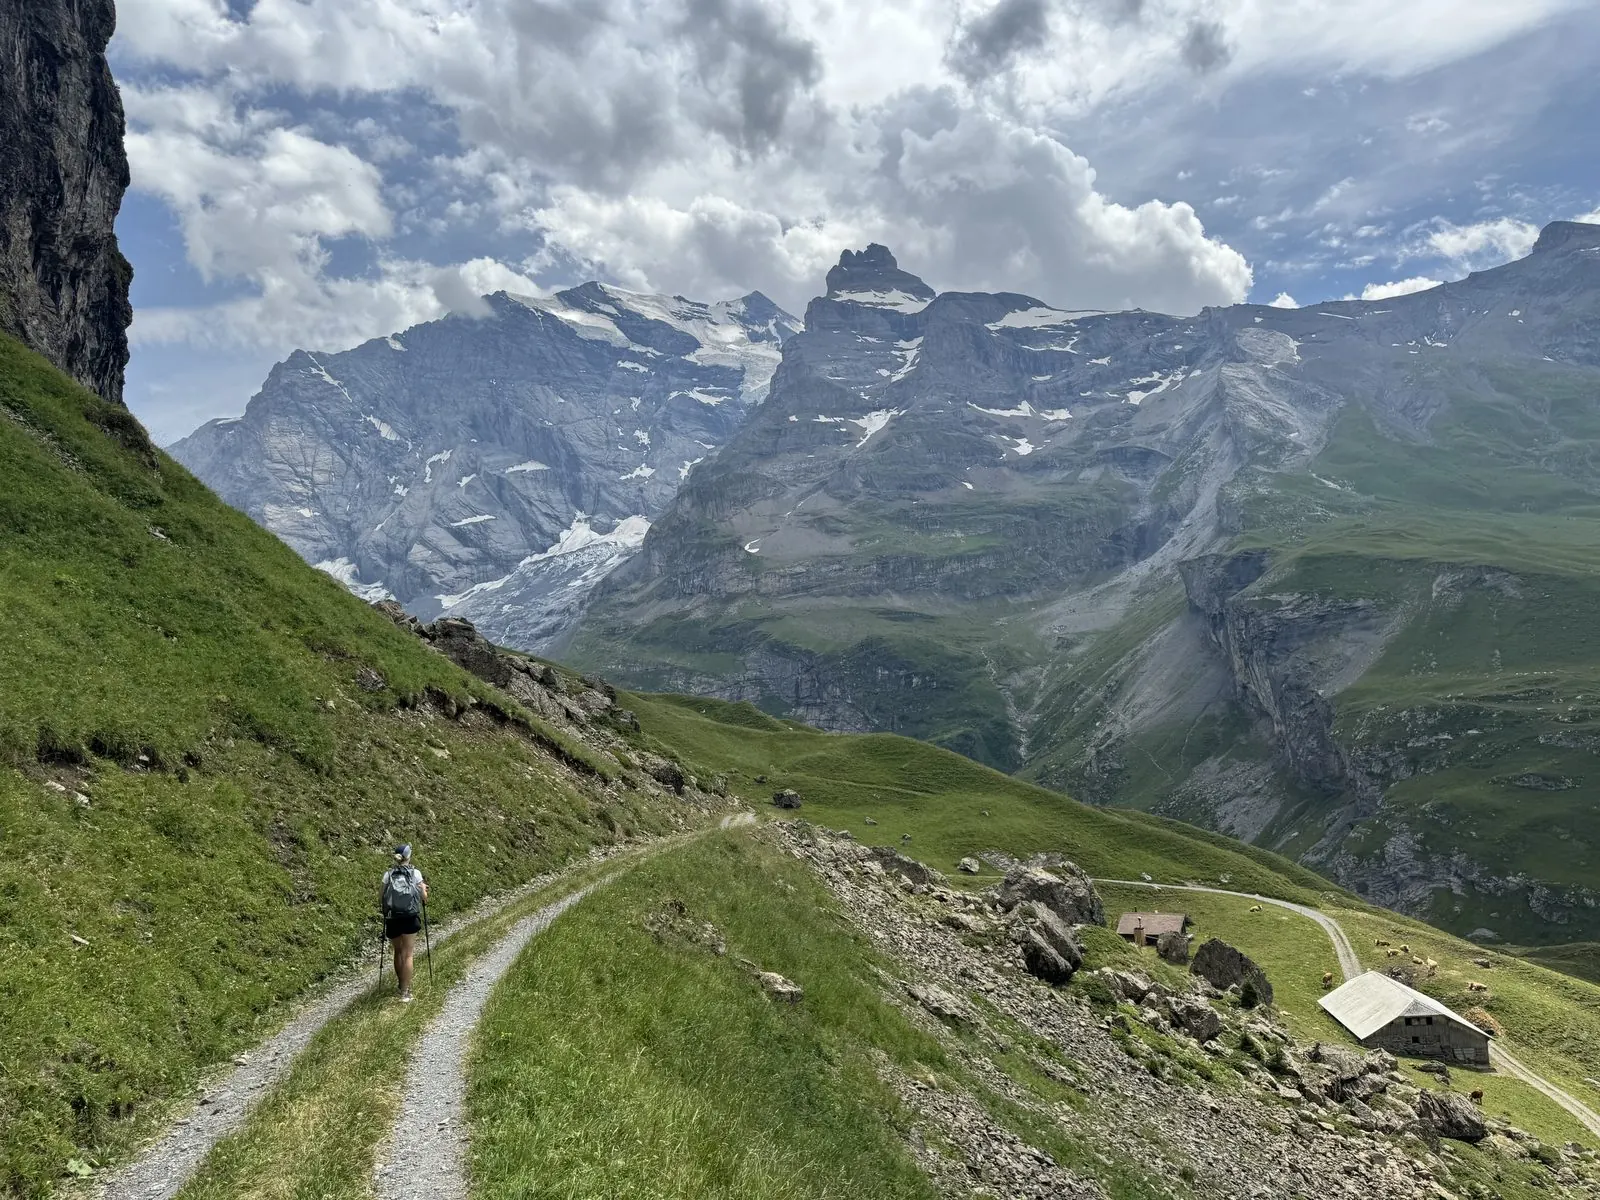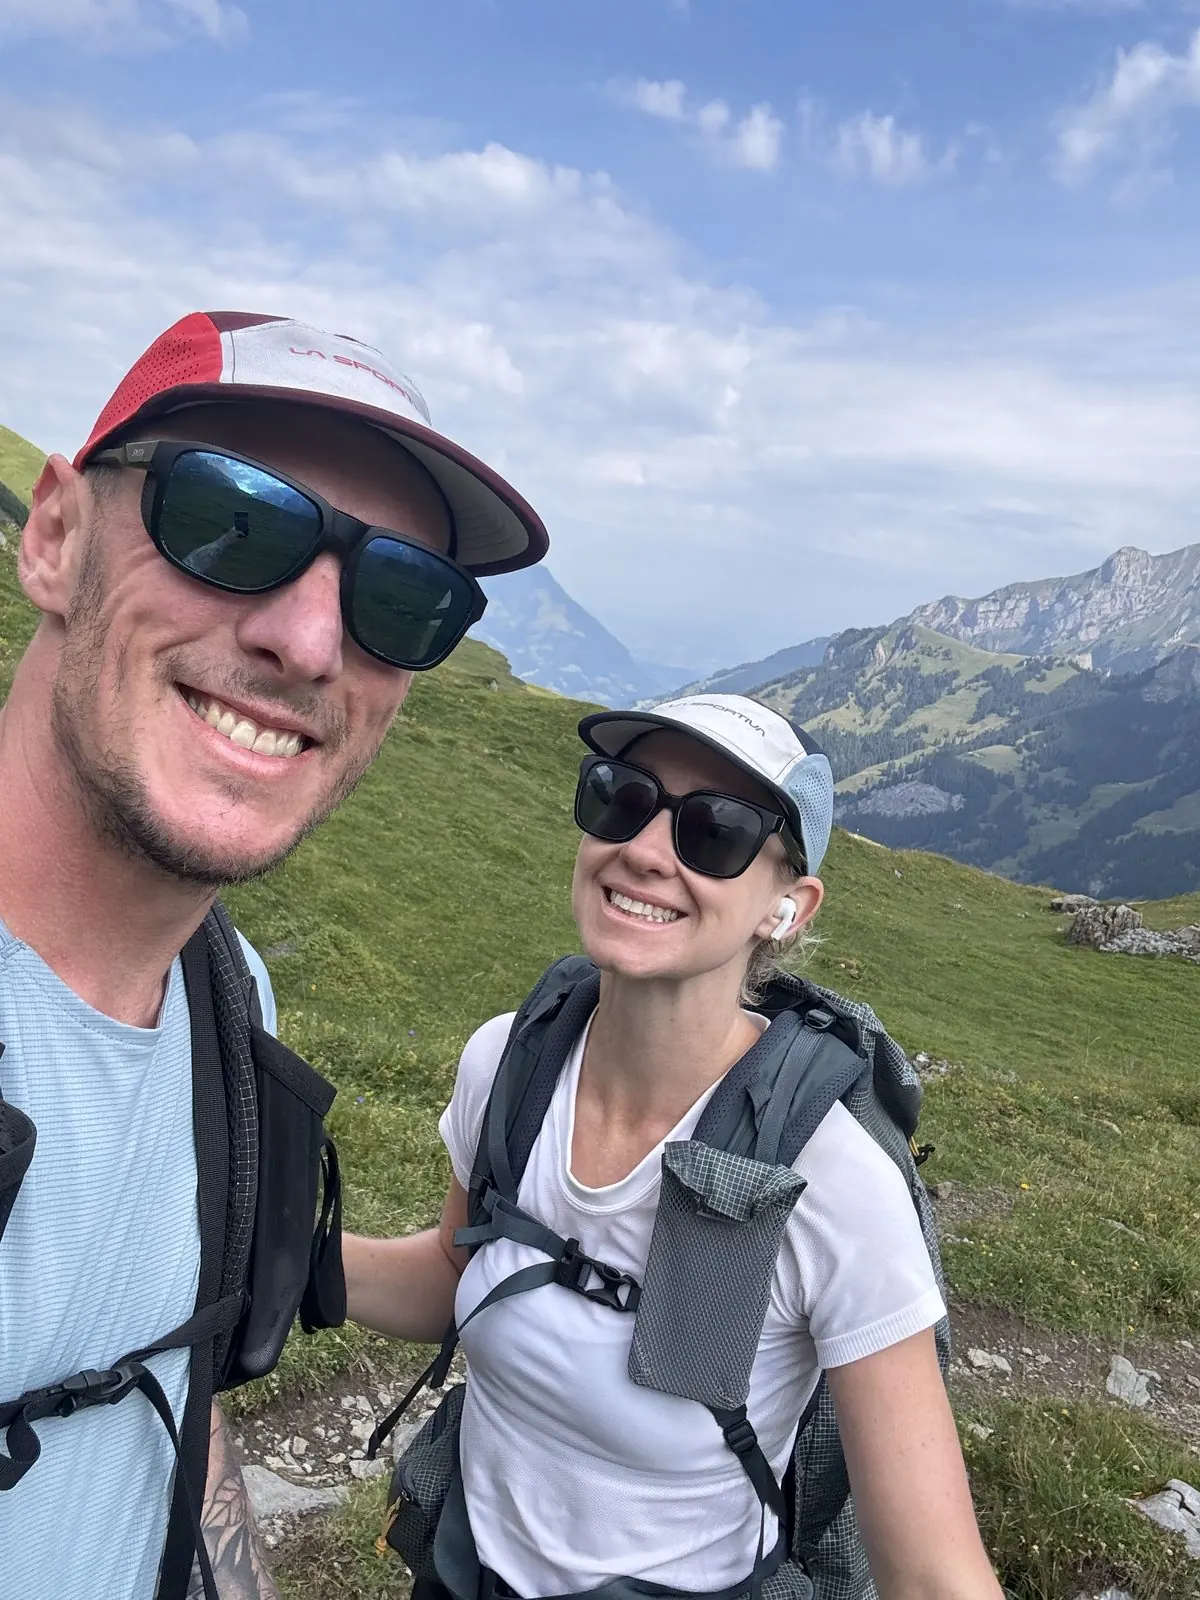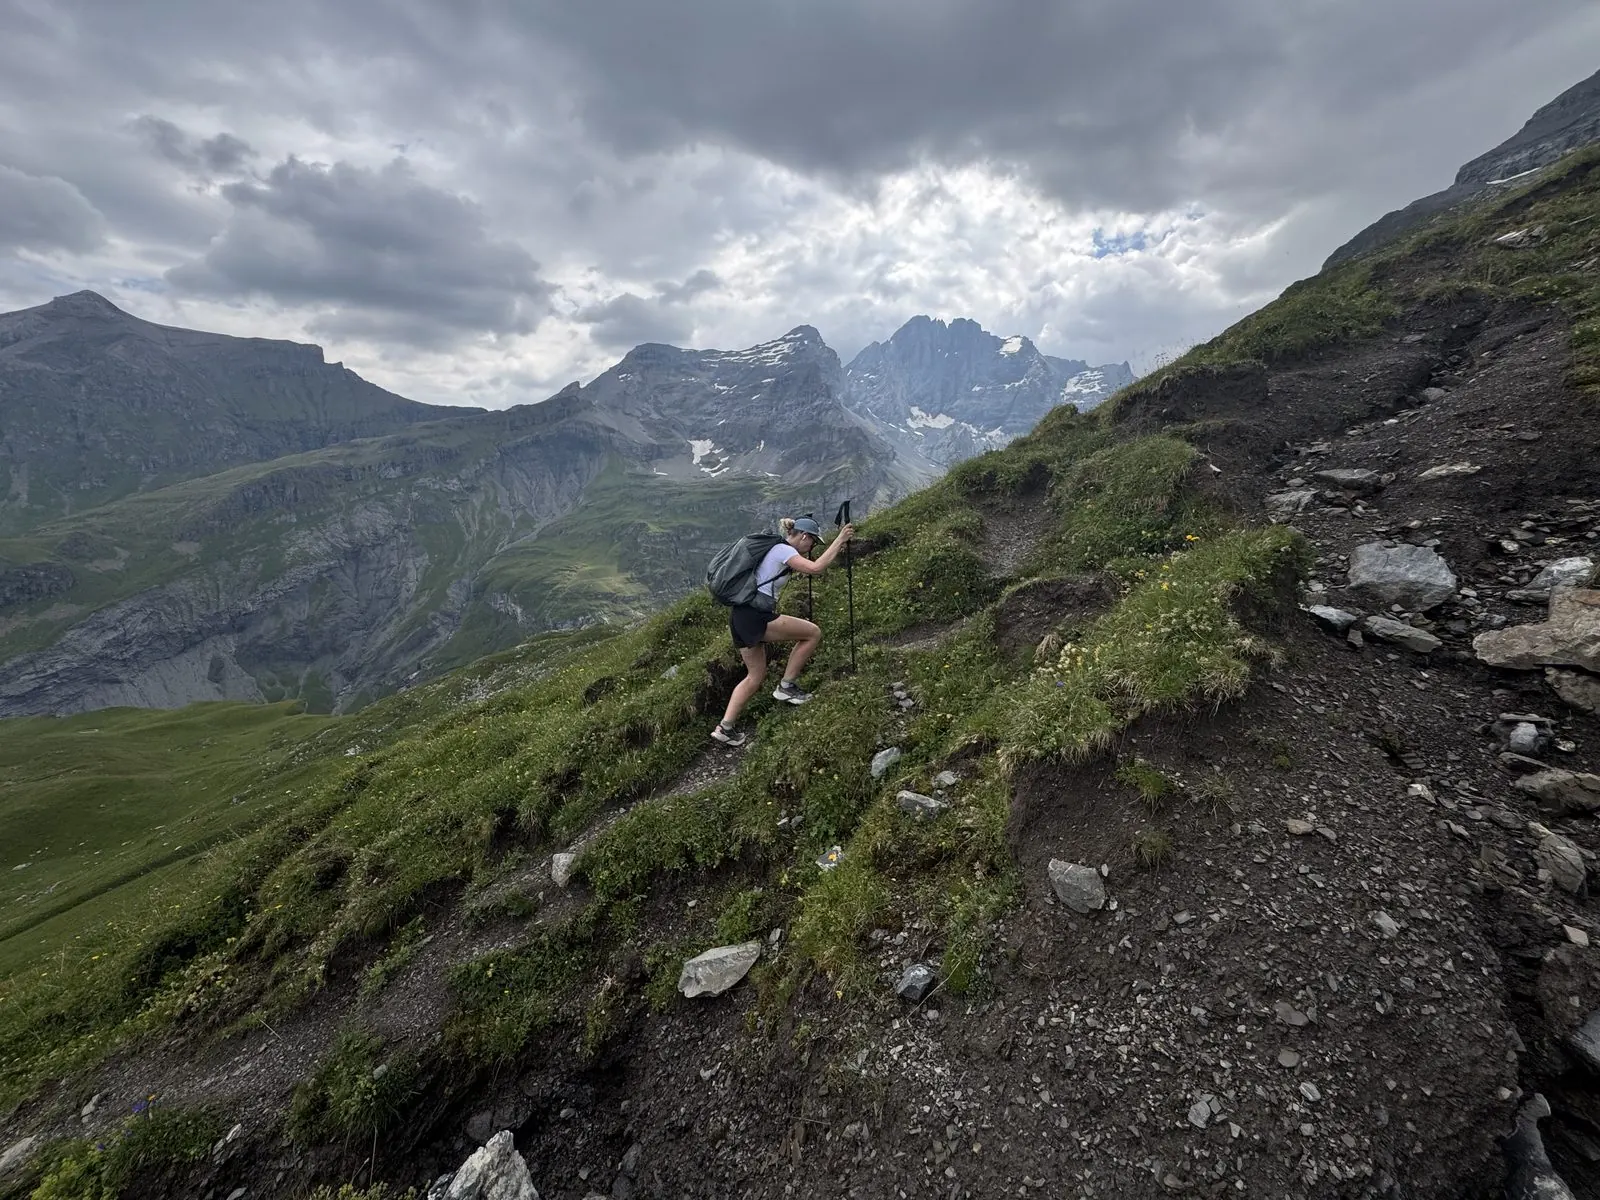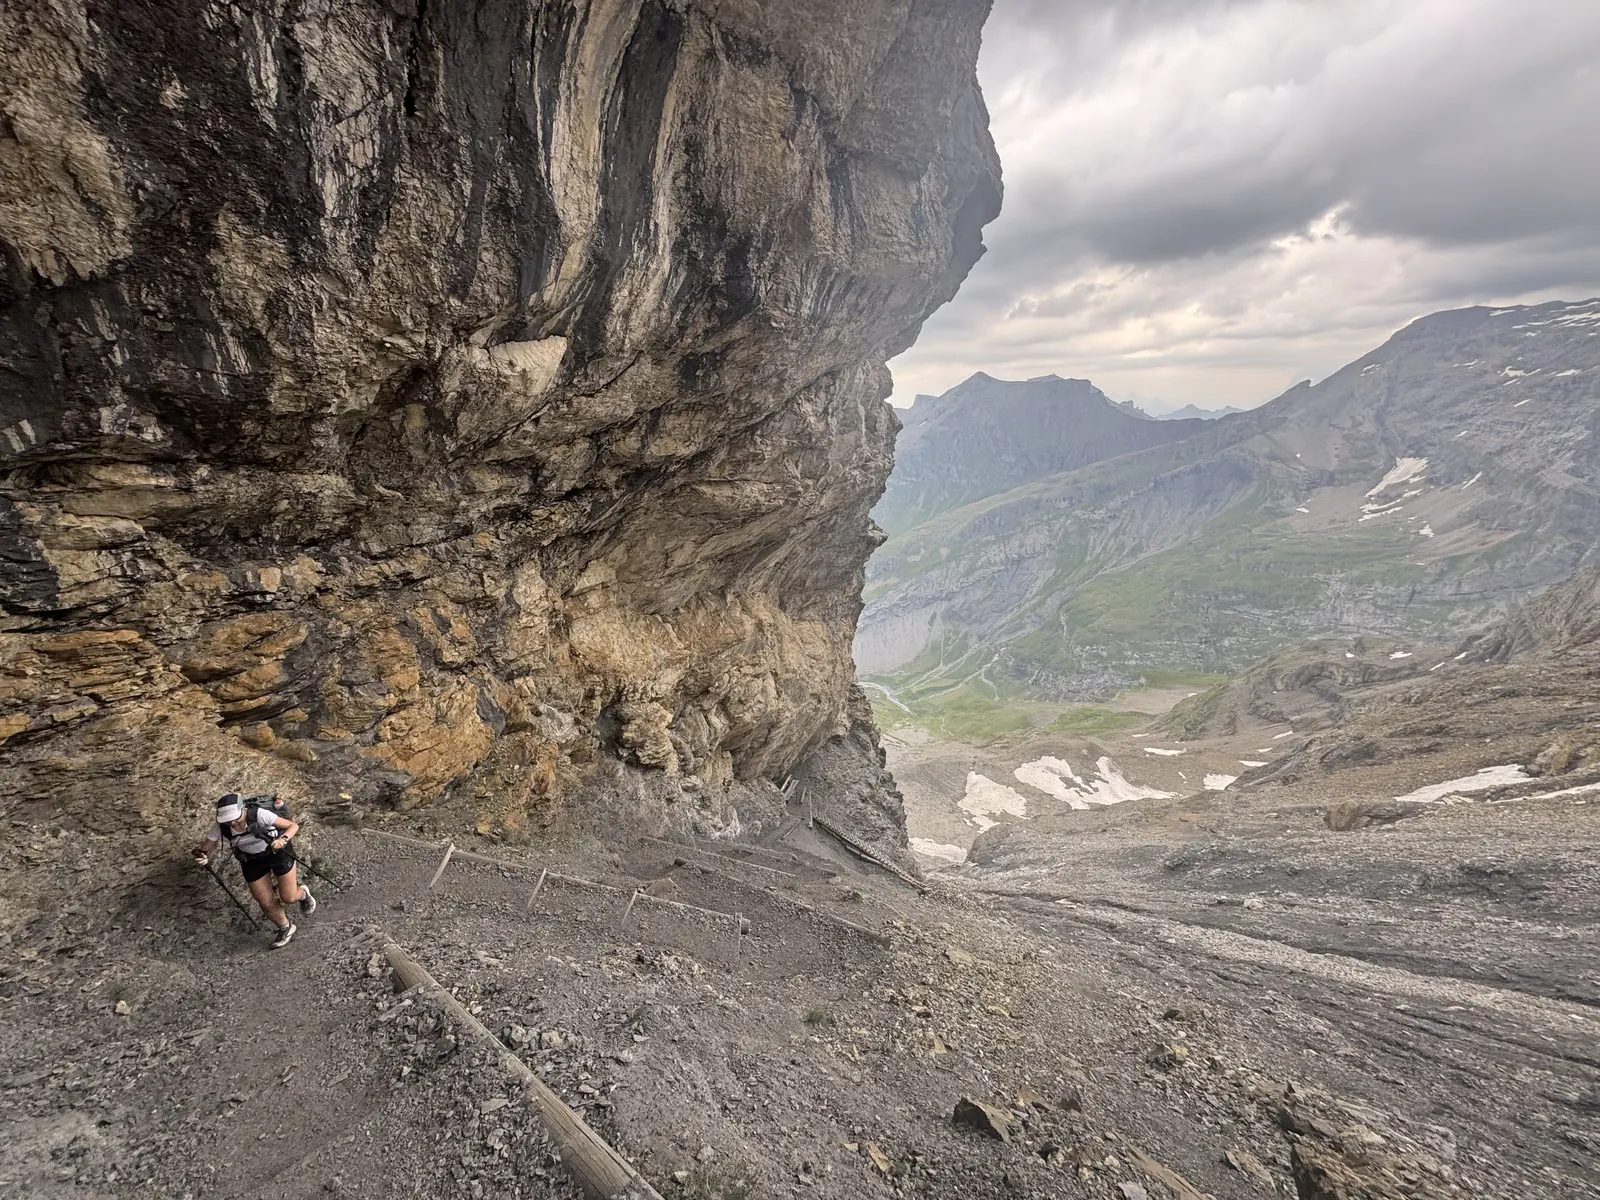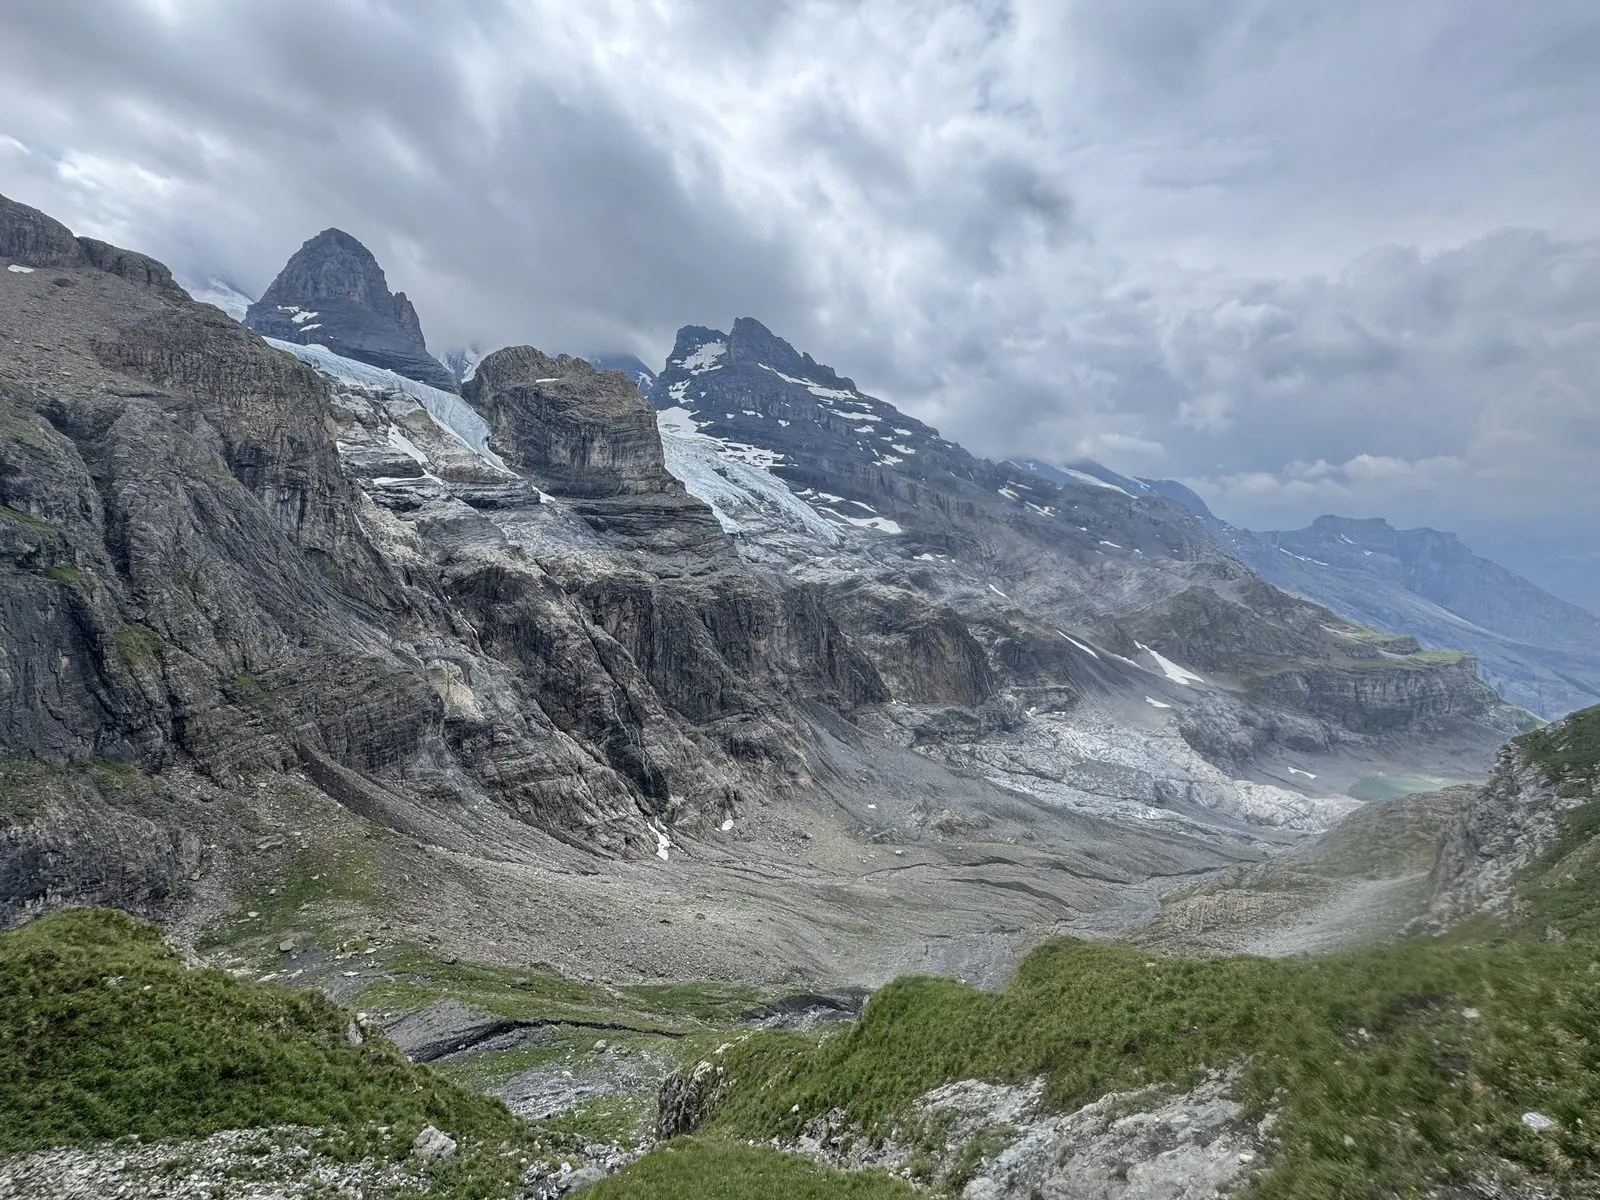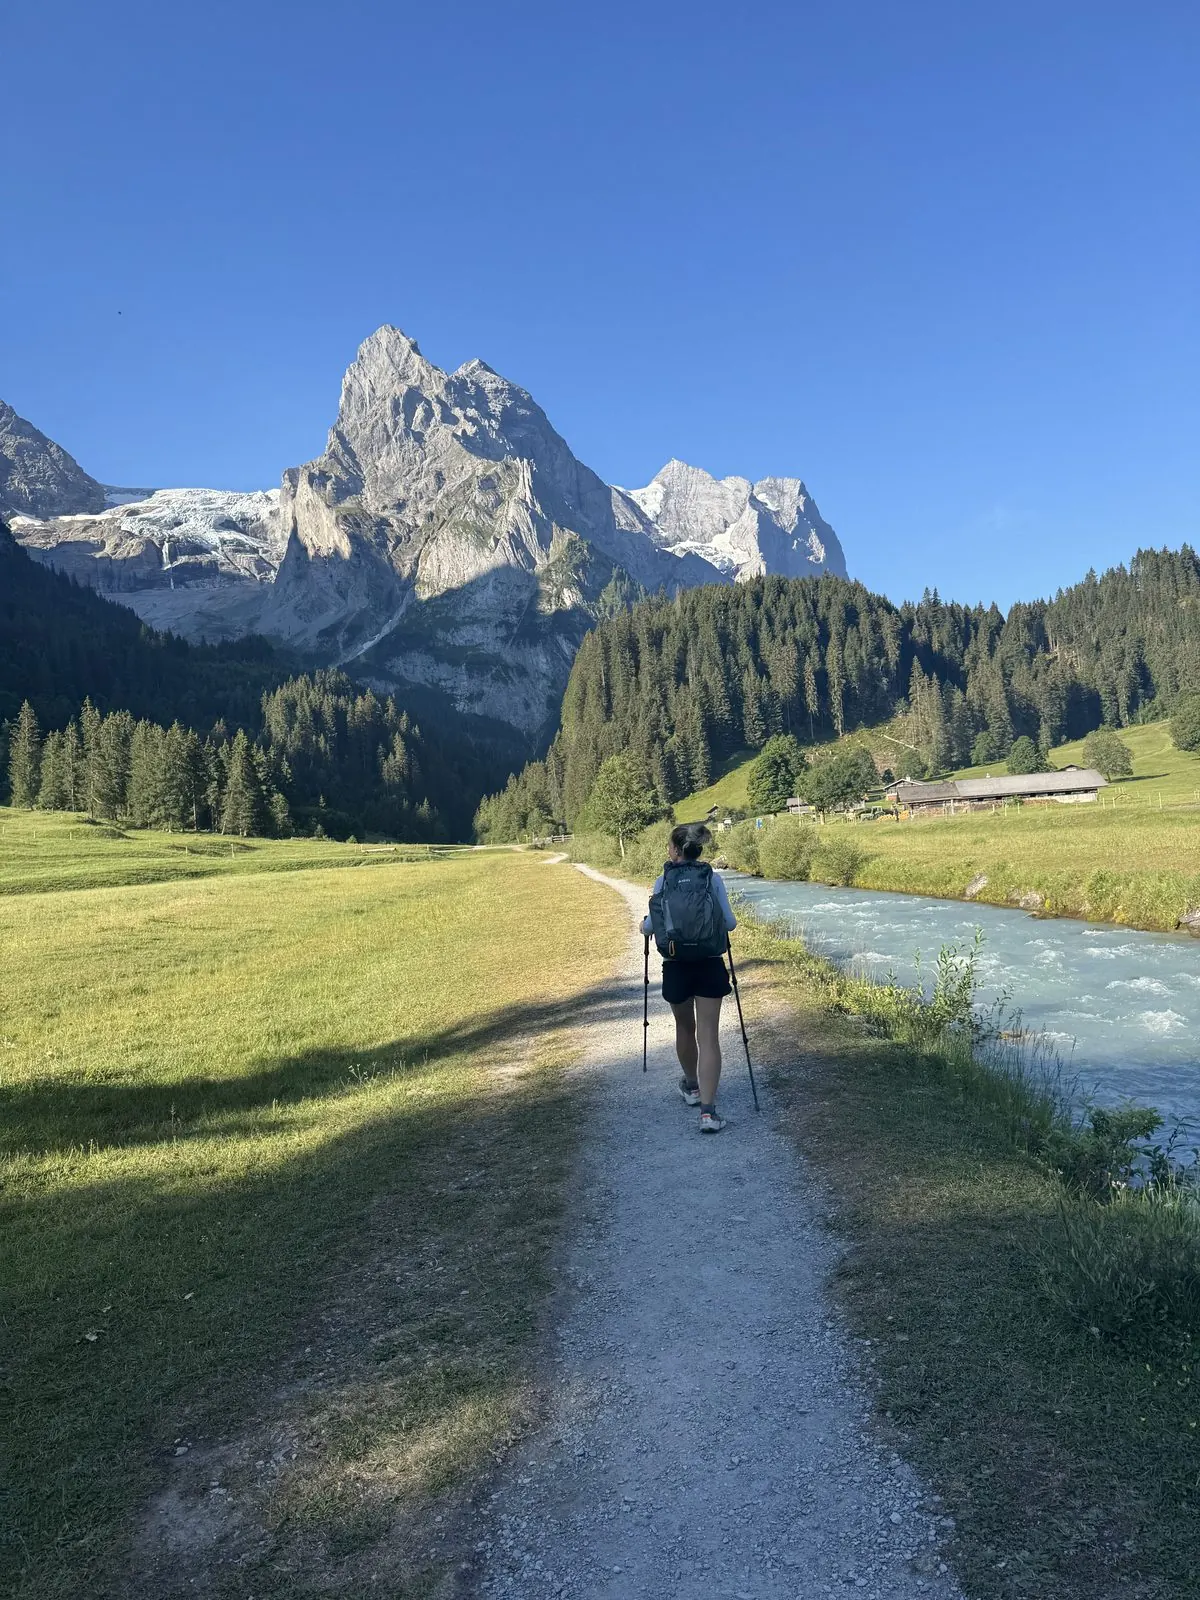
Via Alpina

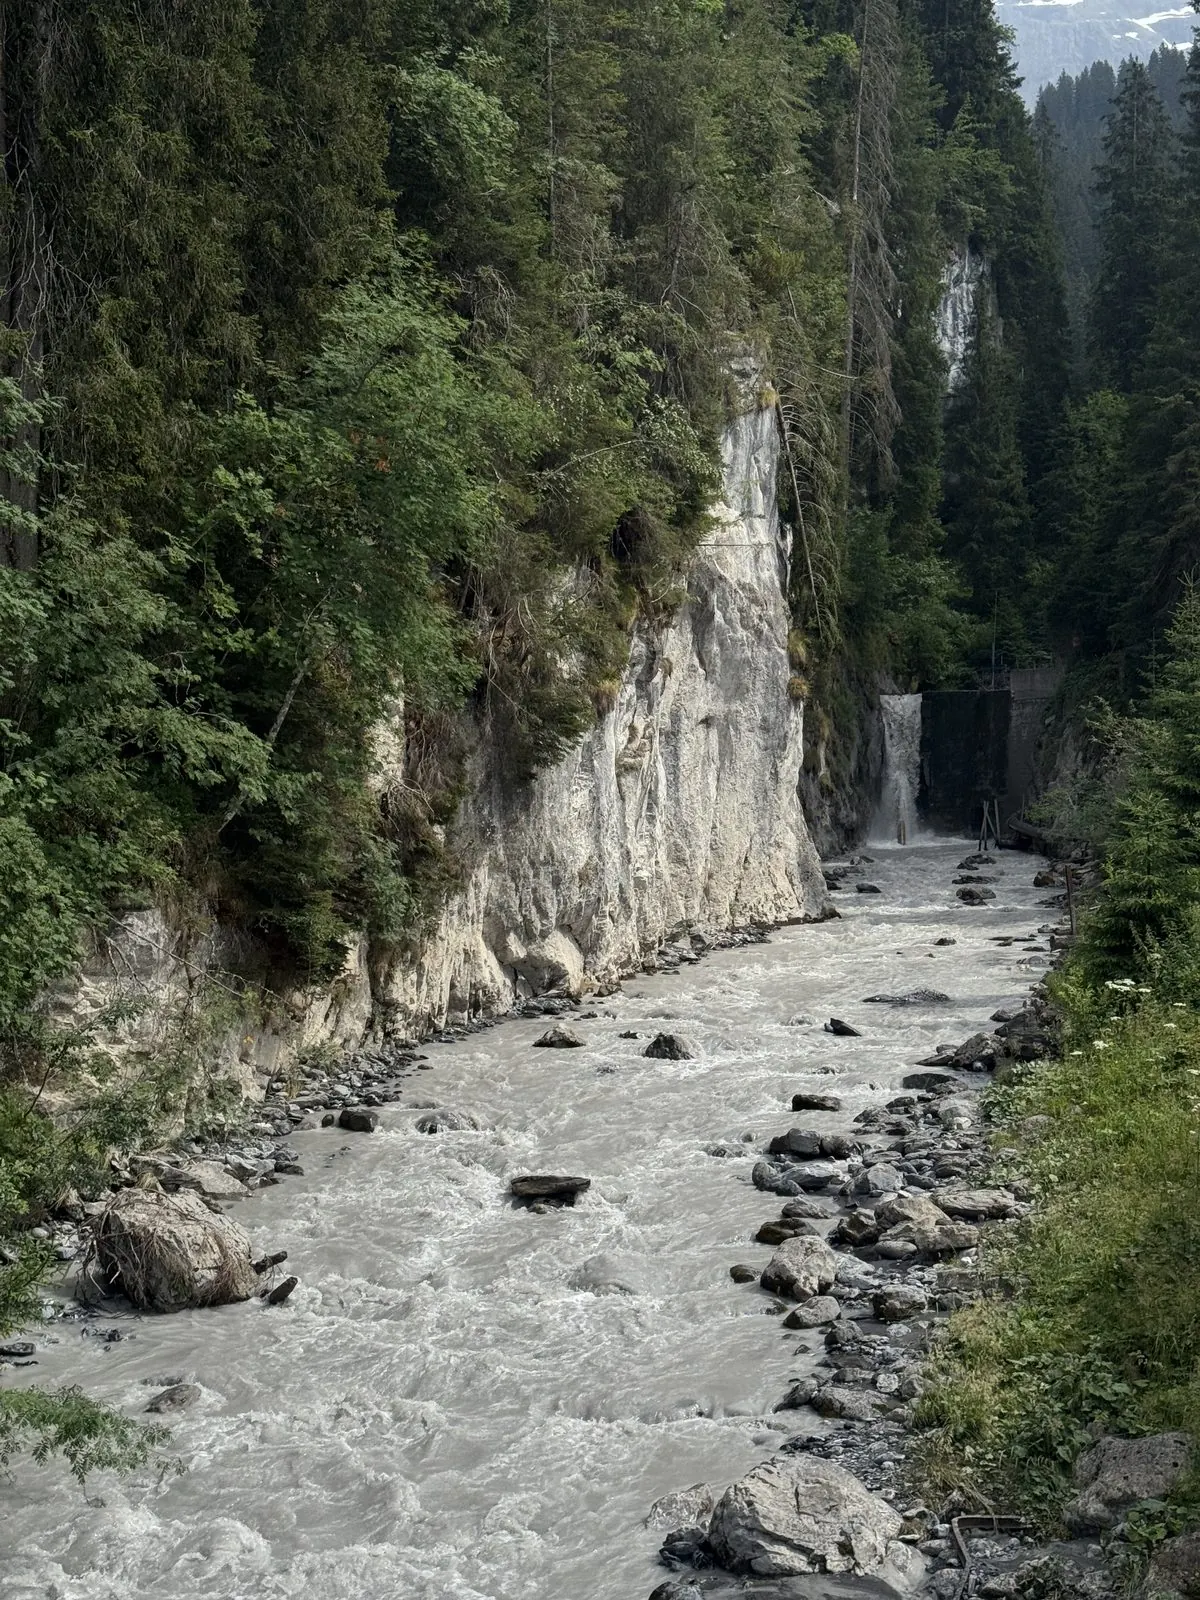
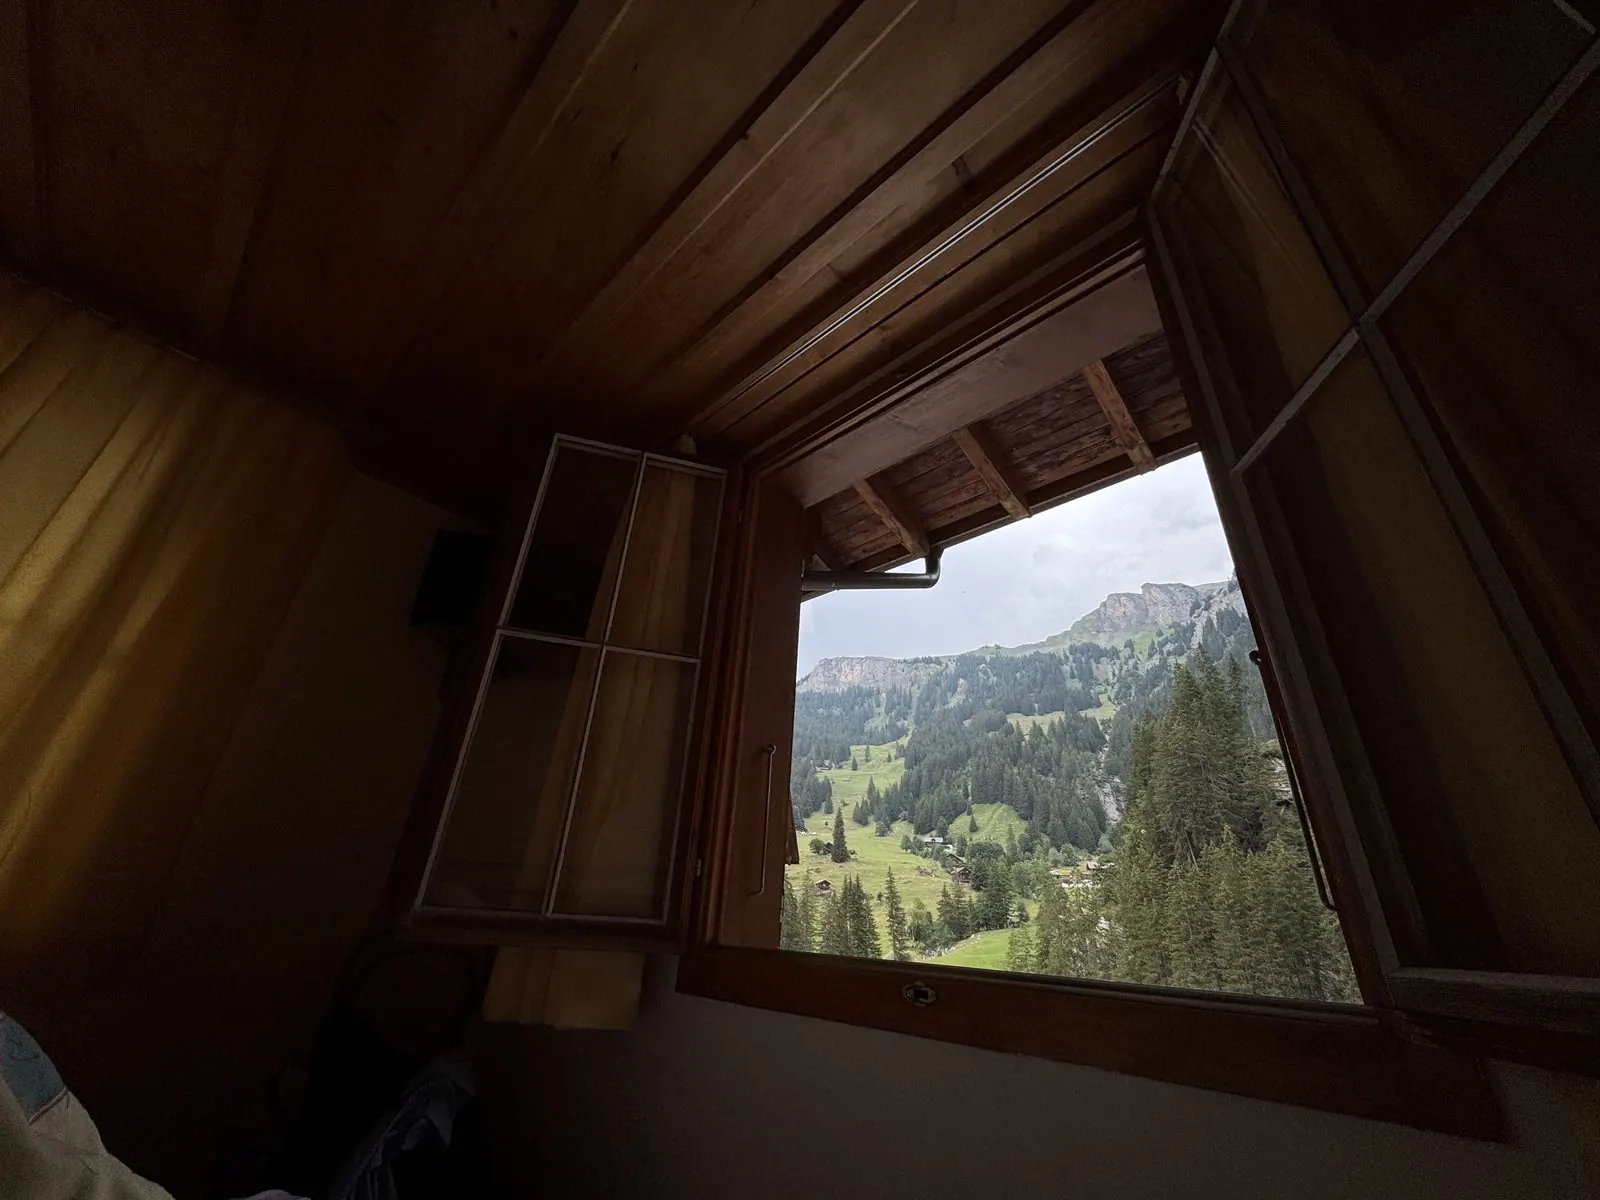
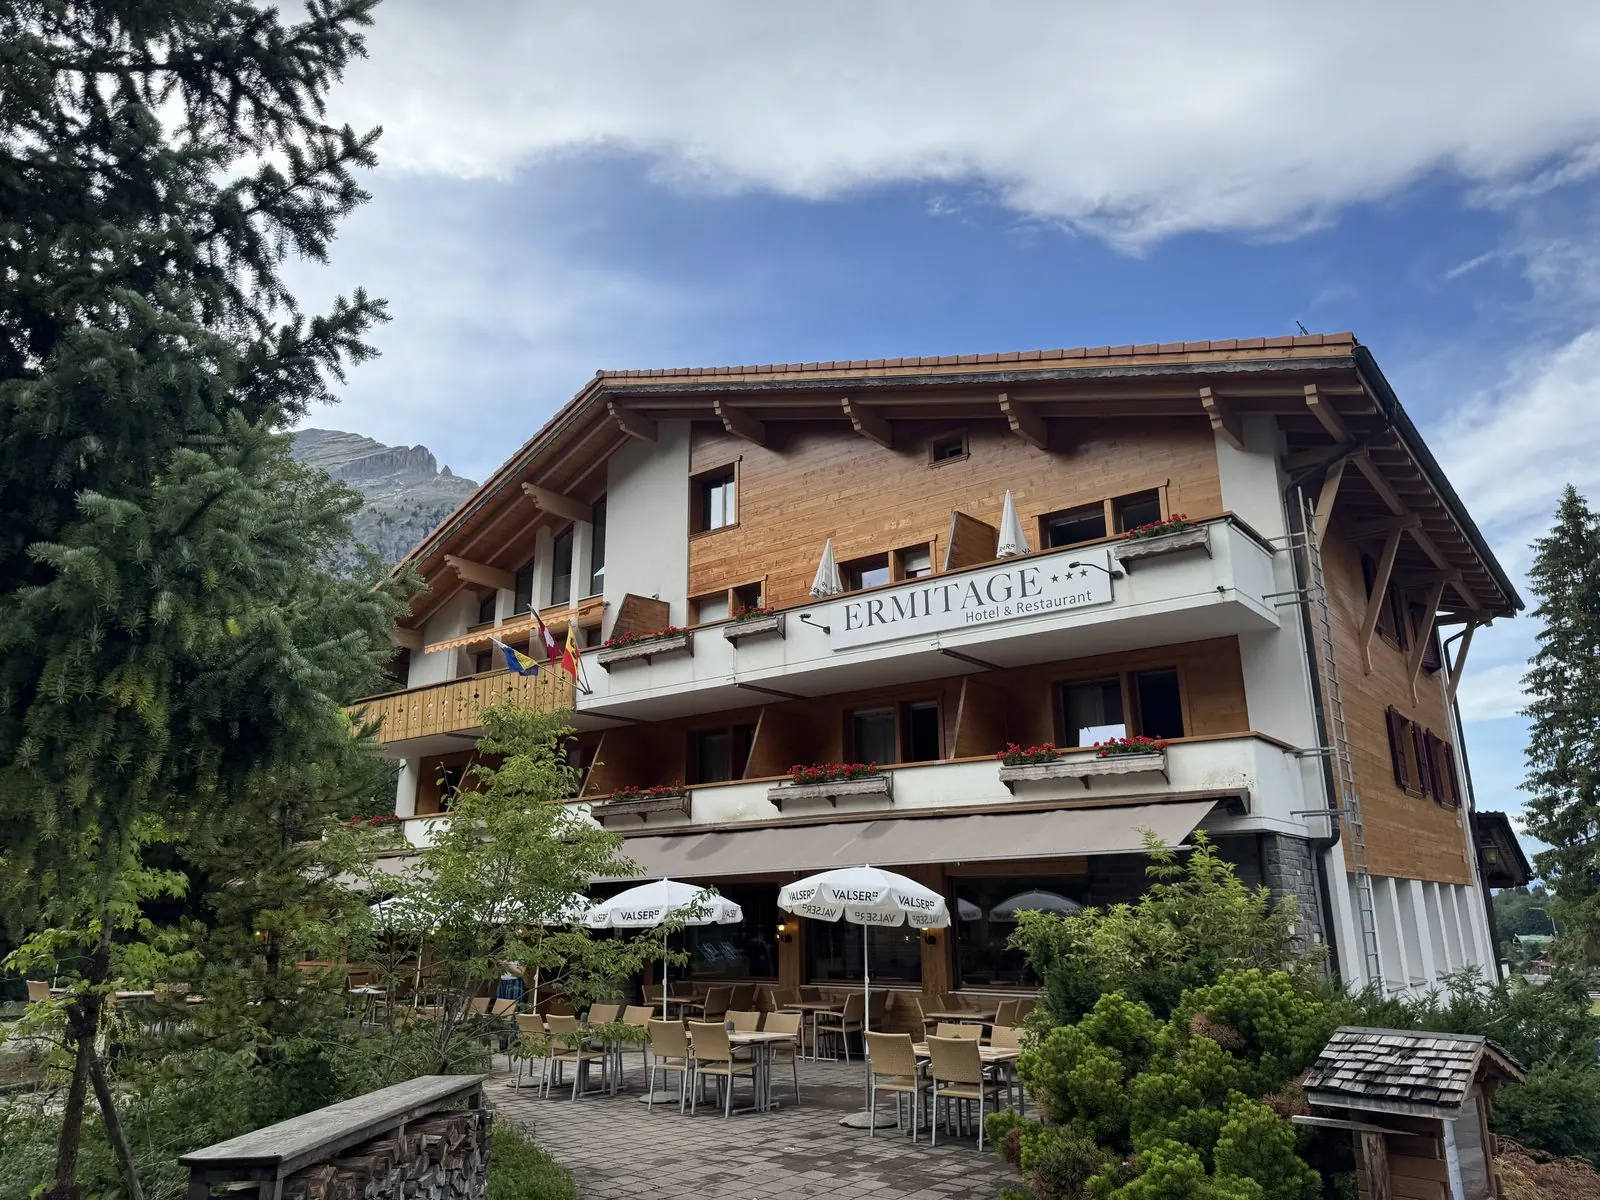
As promised in the last post, here is the story of the five days we spent linking up sections of the Swiss Via Alpina (the Alpine Pass Route) immediately after finishing the Tour du Mont Blanc. Unlike the TMB, this route runs hotel-to-hotel through classic Bernese Oberland villages, so we traded the tent for real beds most nights.

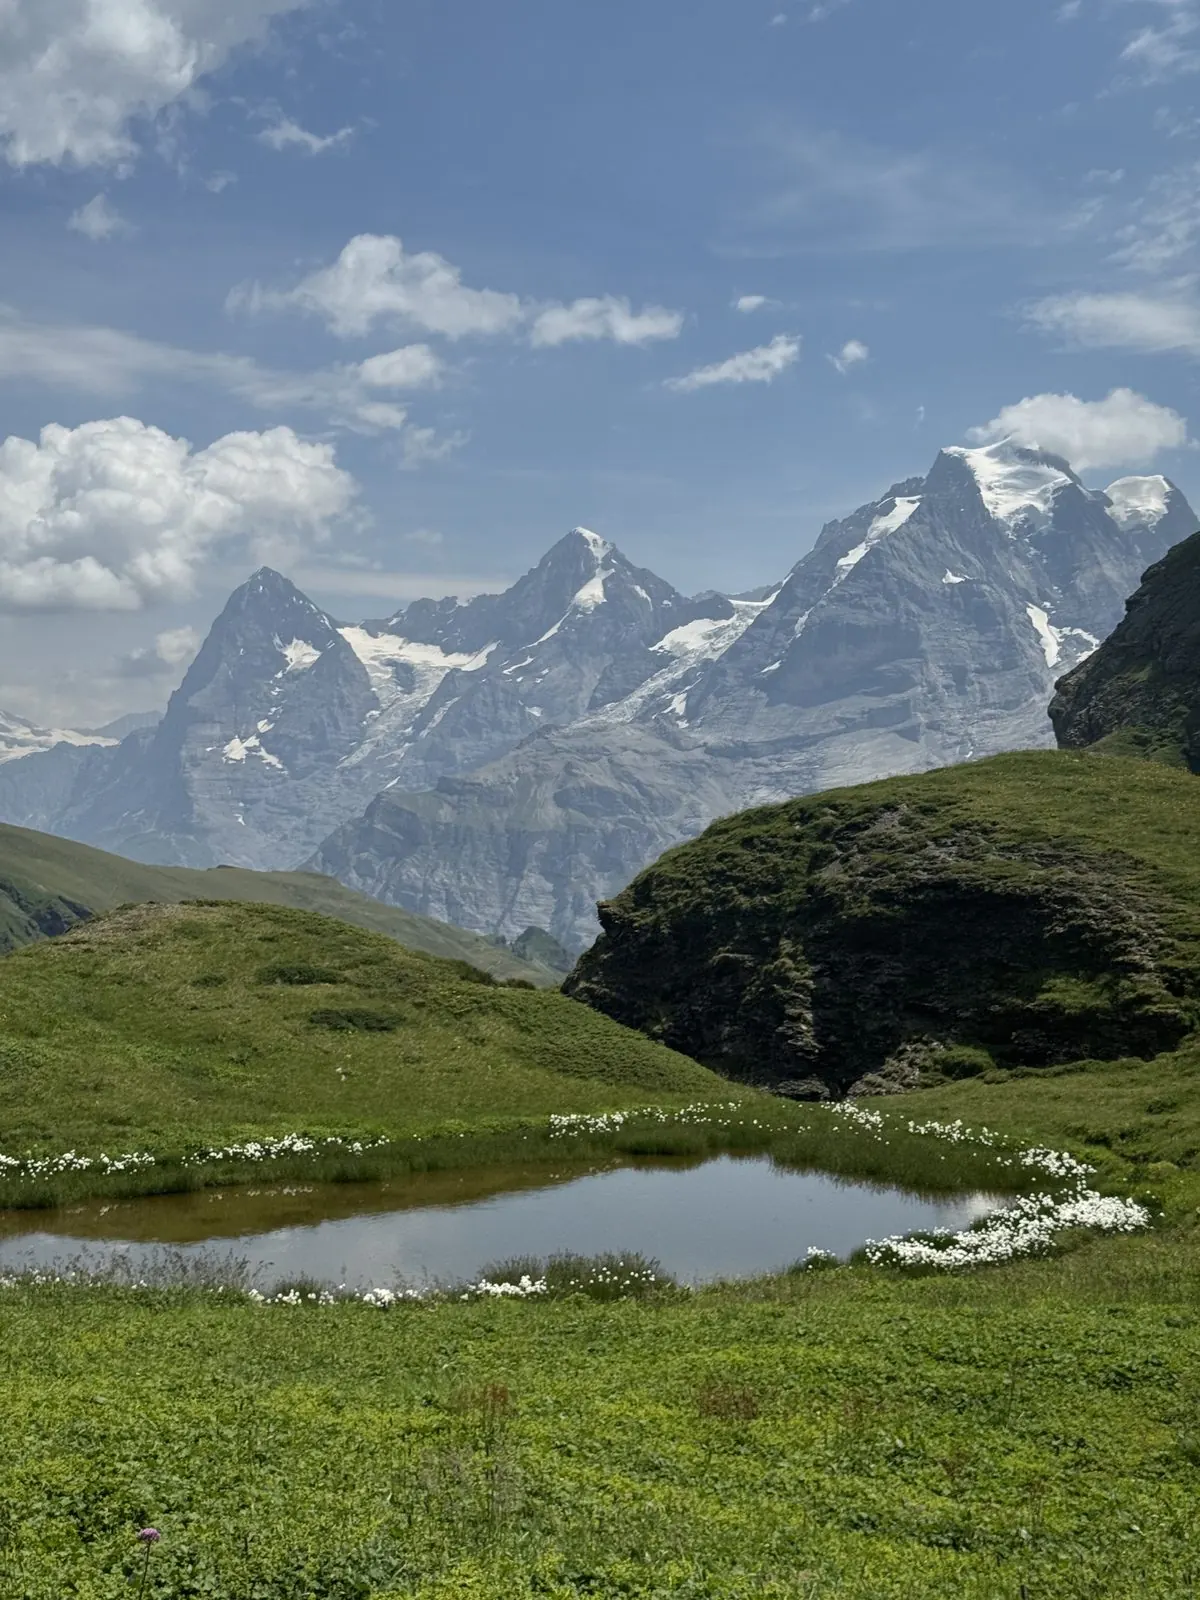
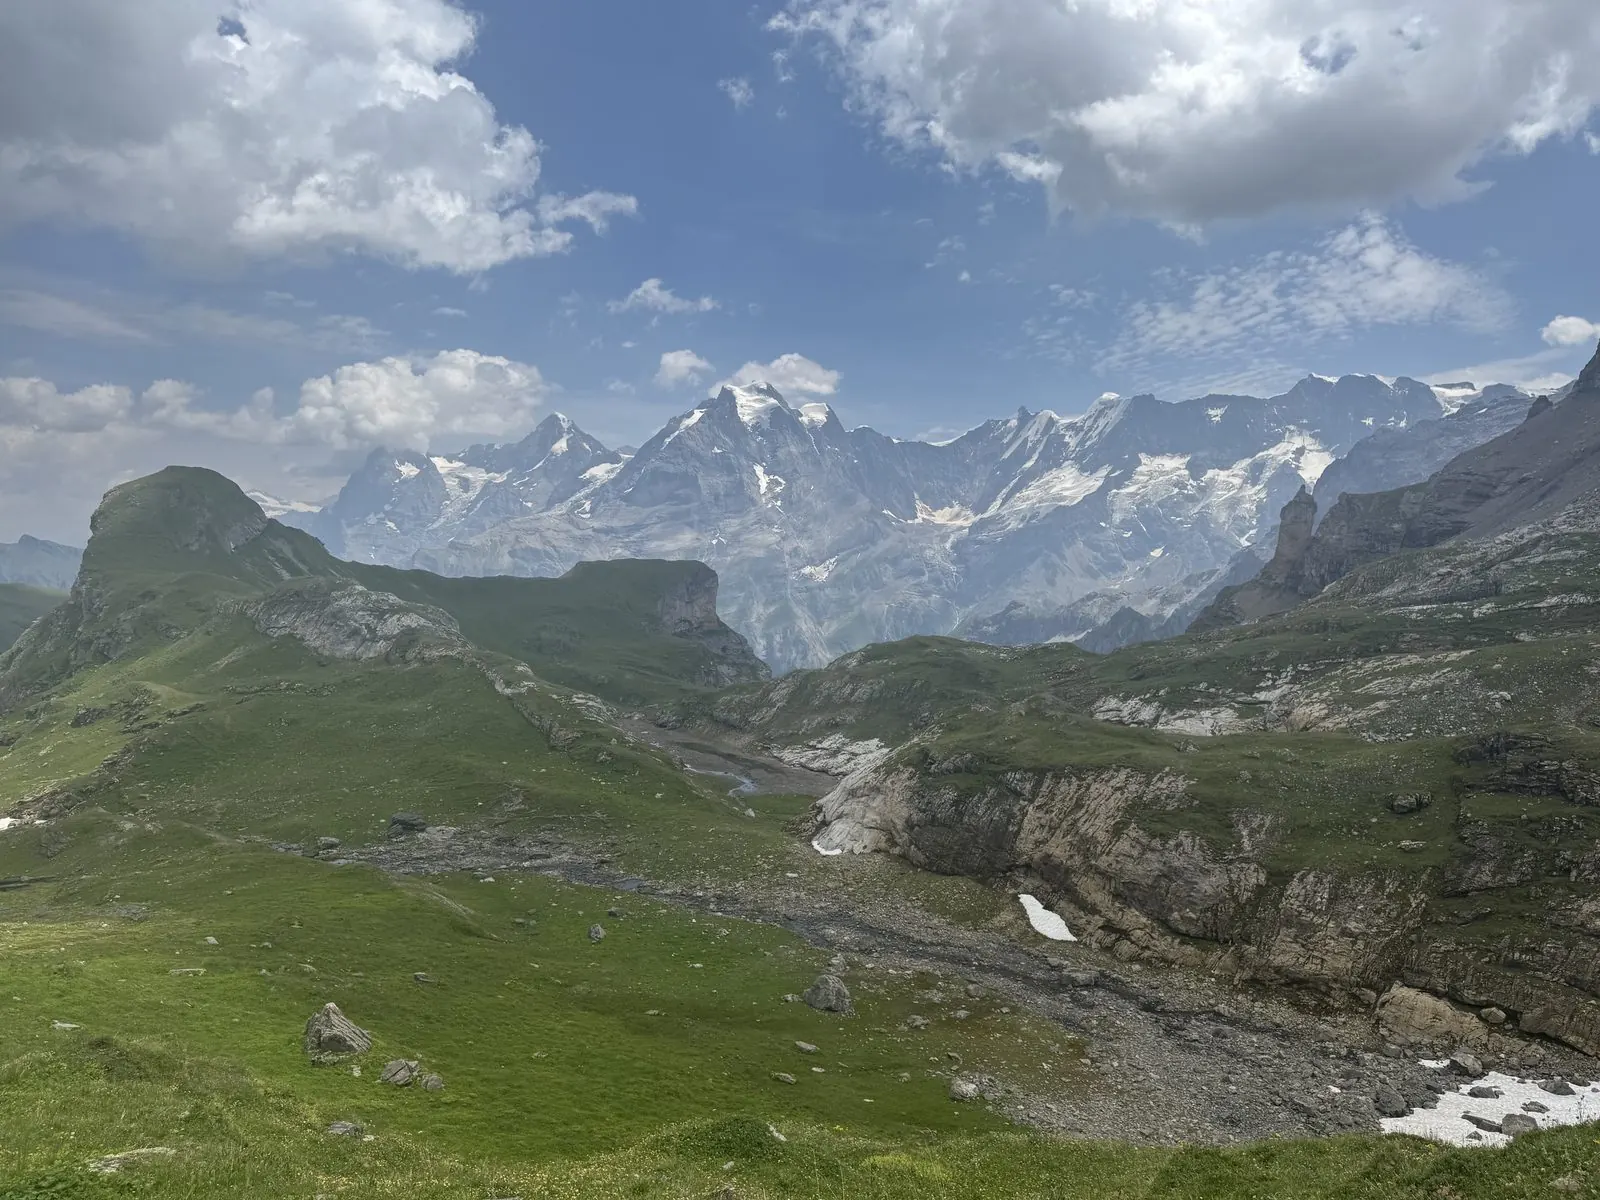
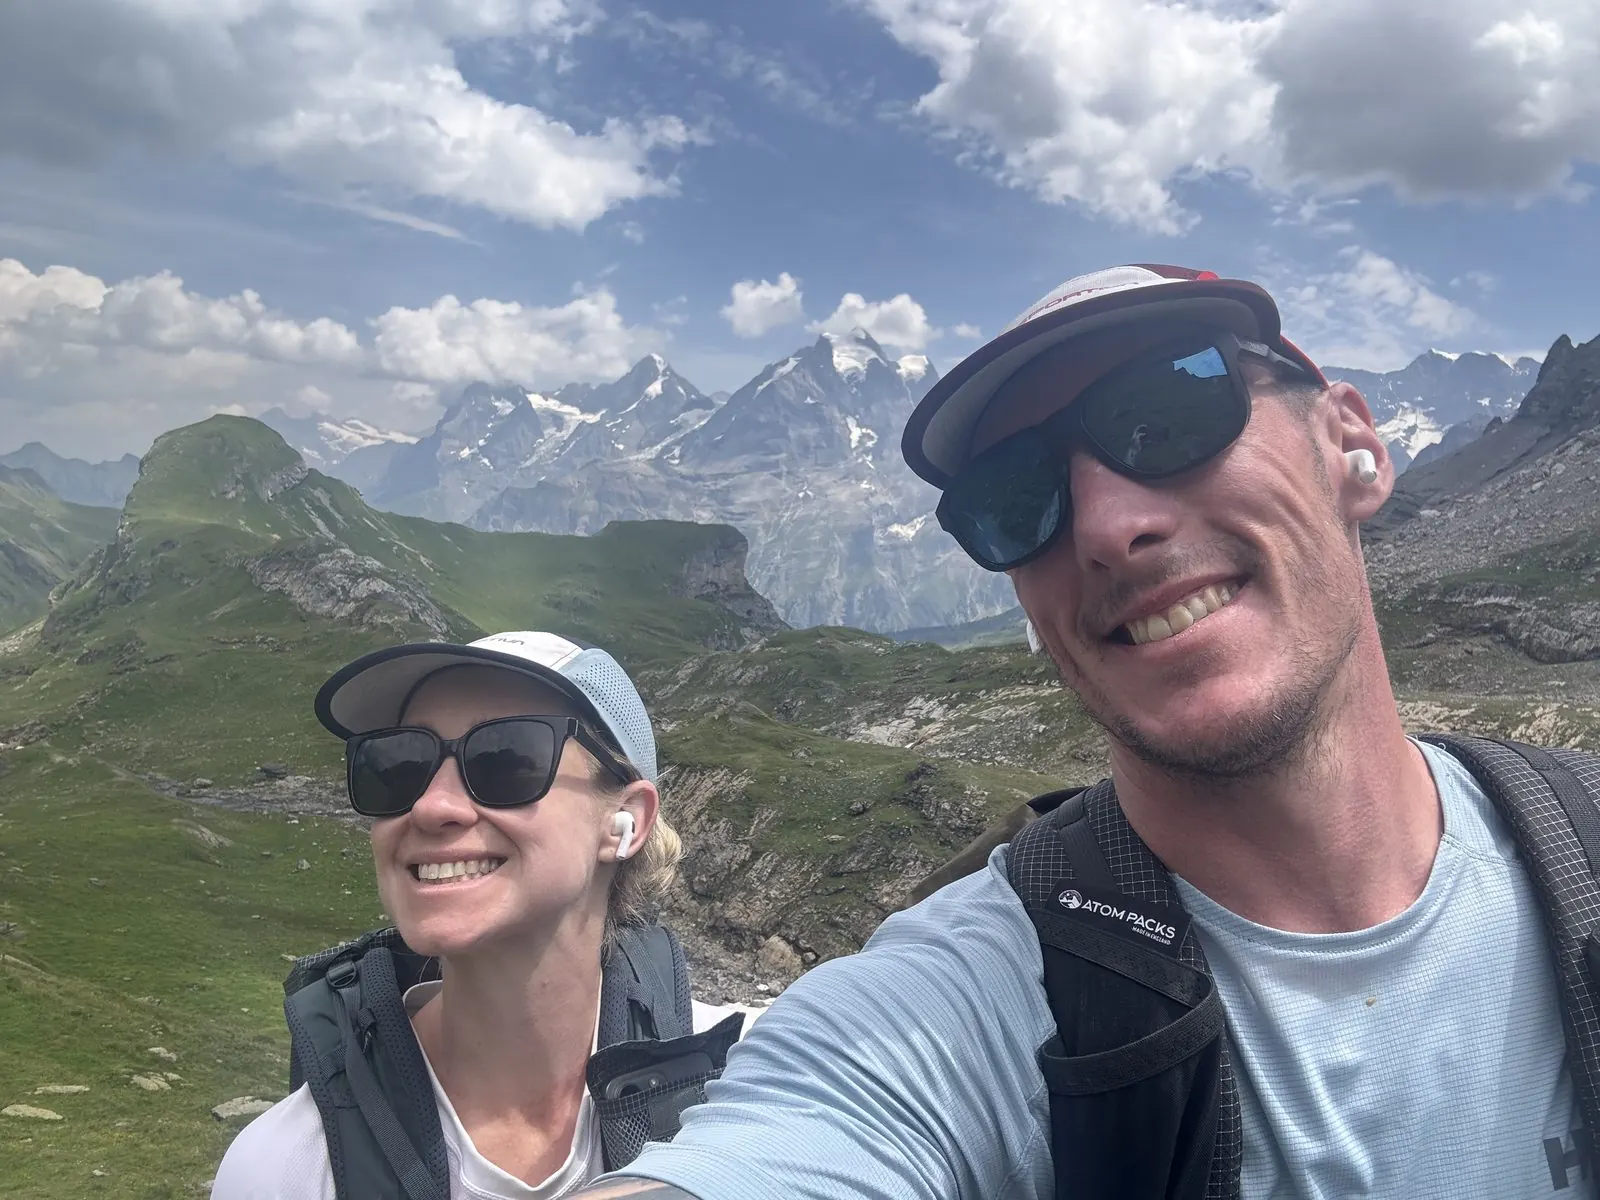
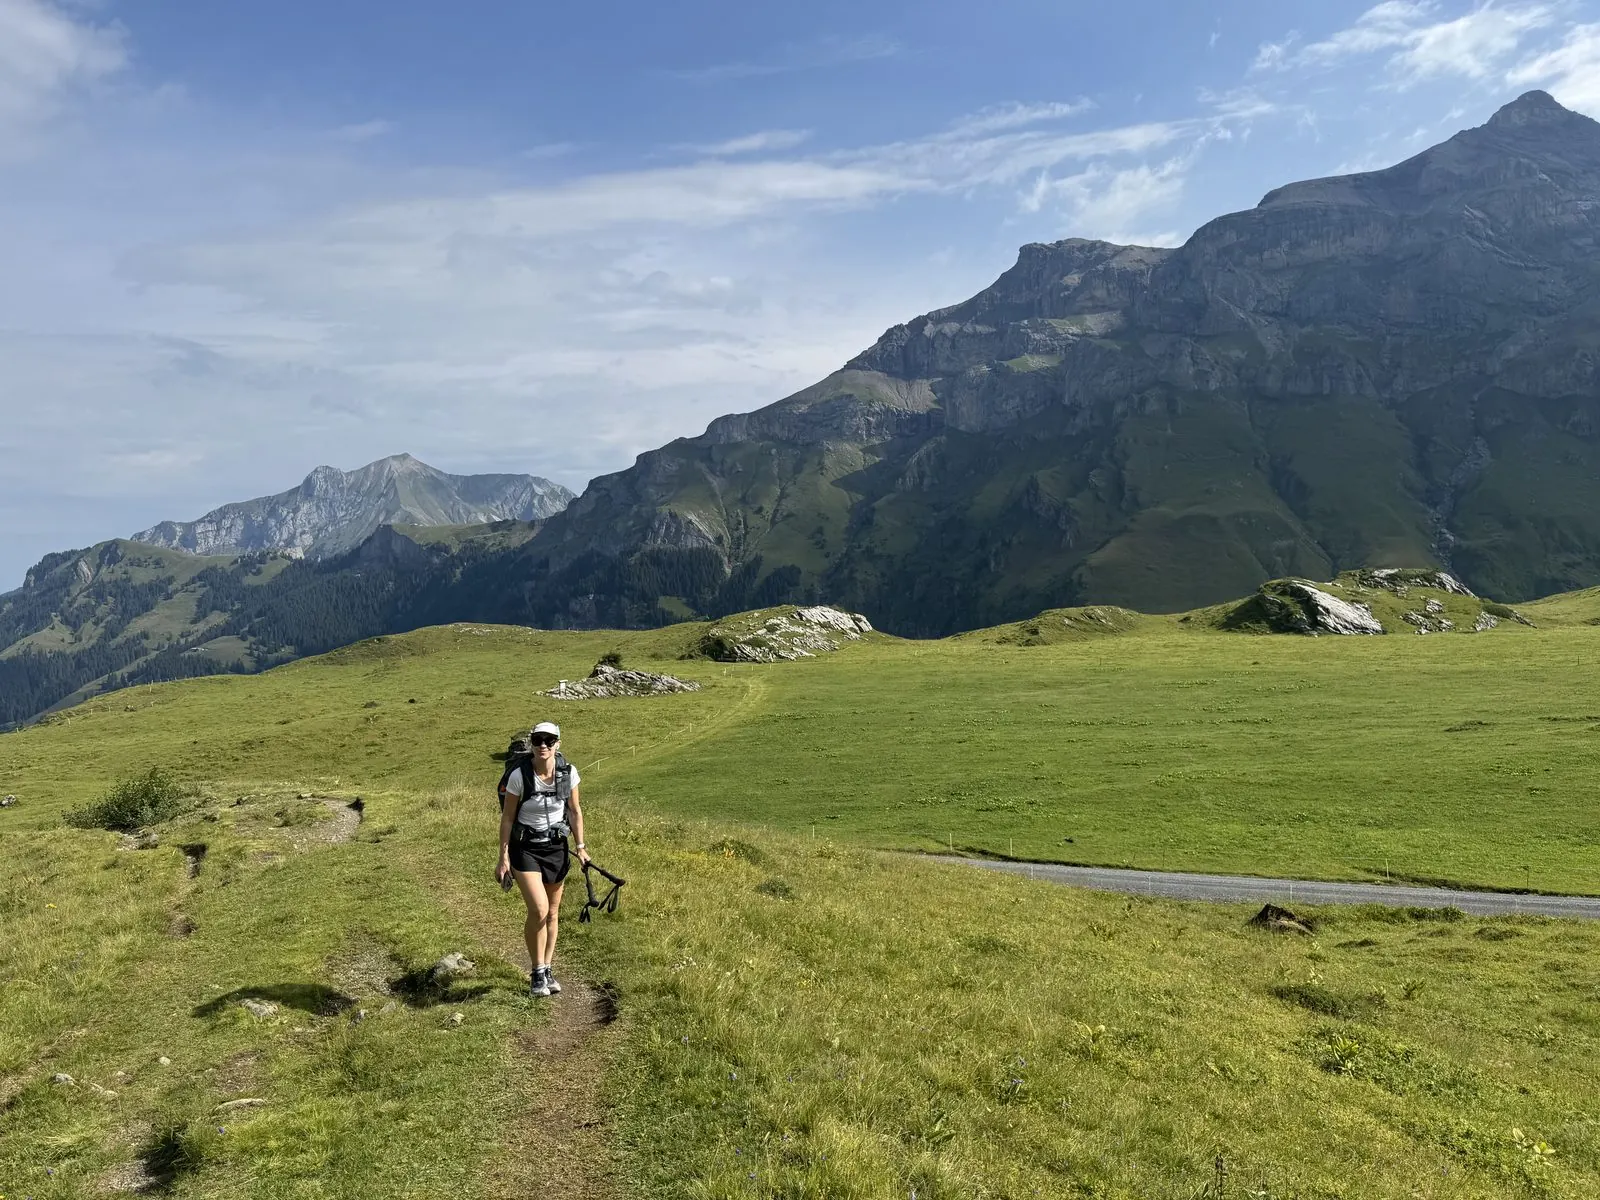
We covered 63 miles (101 km) and climbed roughly 24,000 feet (7,315 m) over five days, hiking beneath the Eiger, Moench, and Jungfrau before finishing in Adelboden. Still running on tired legs from the TMB, we again left the camera gear behind and shot everything on my iPhone.

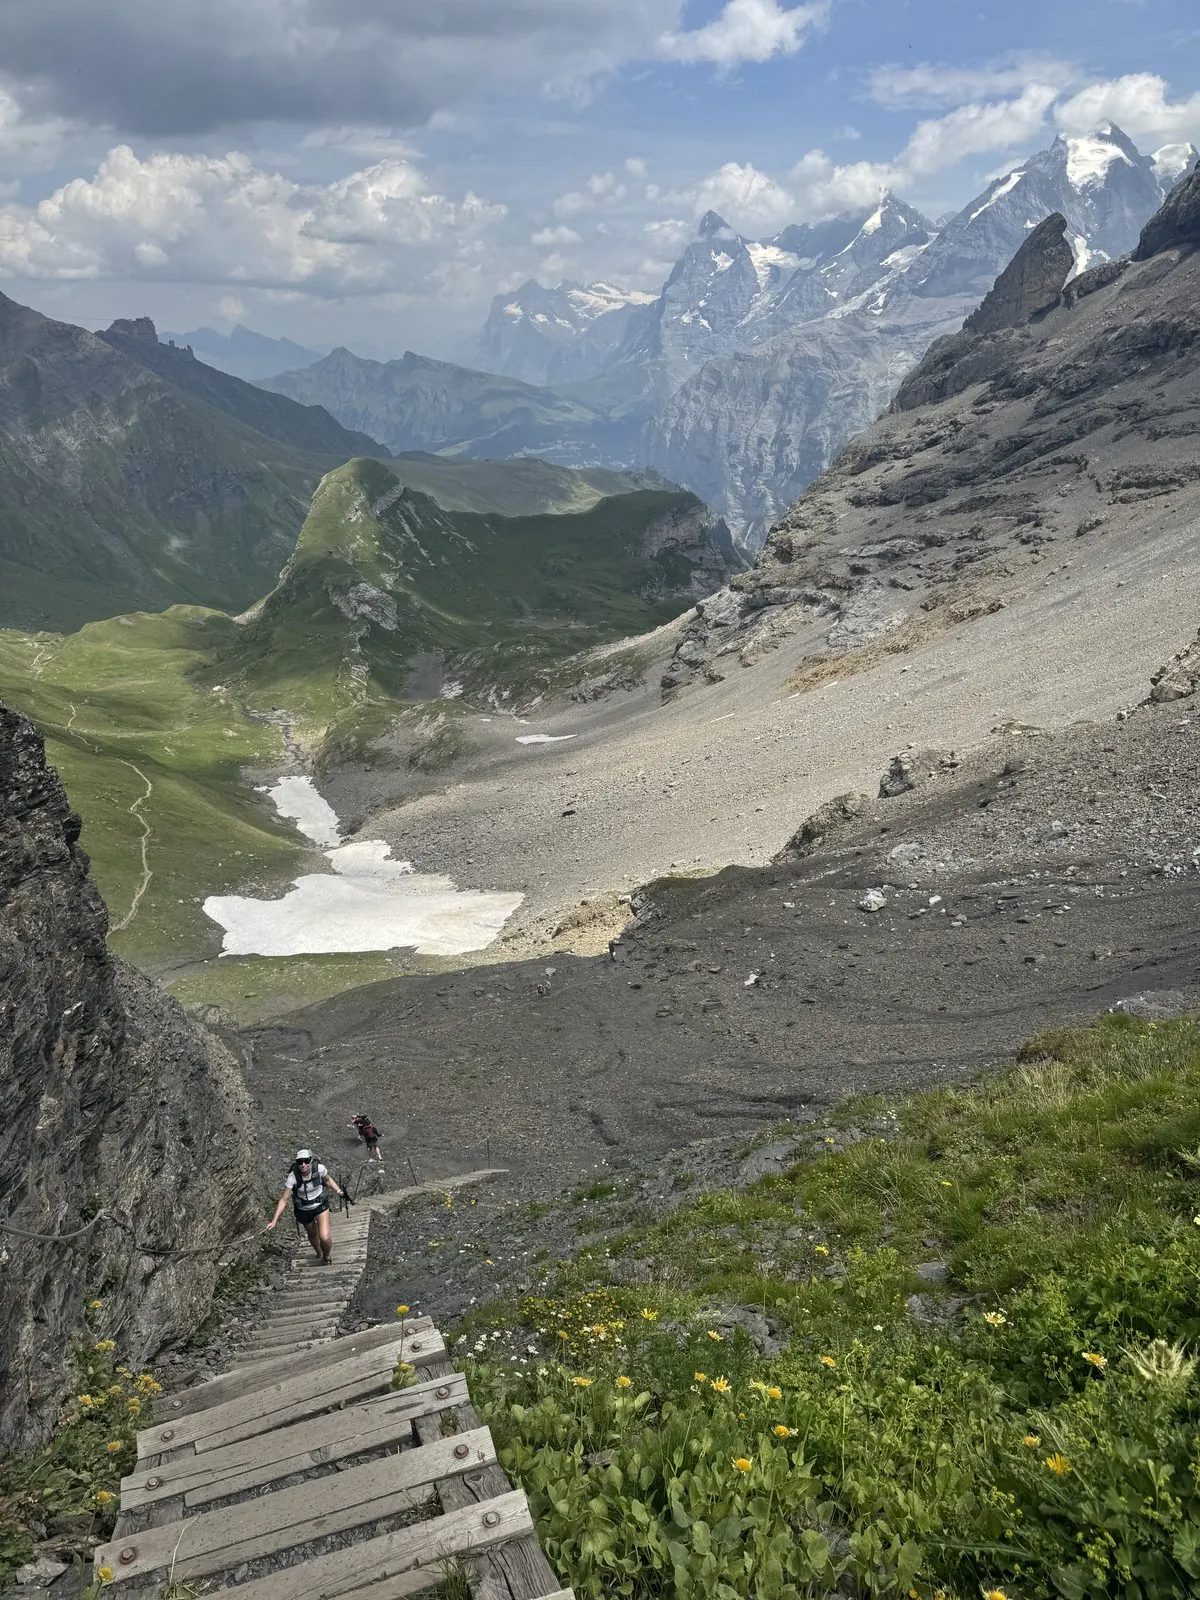
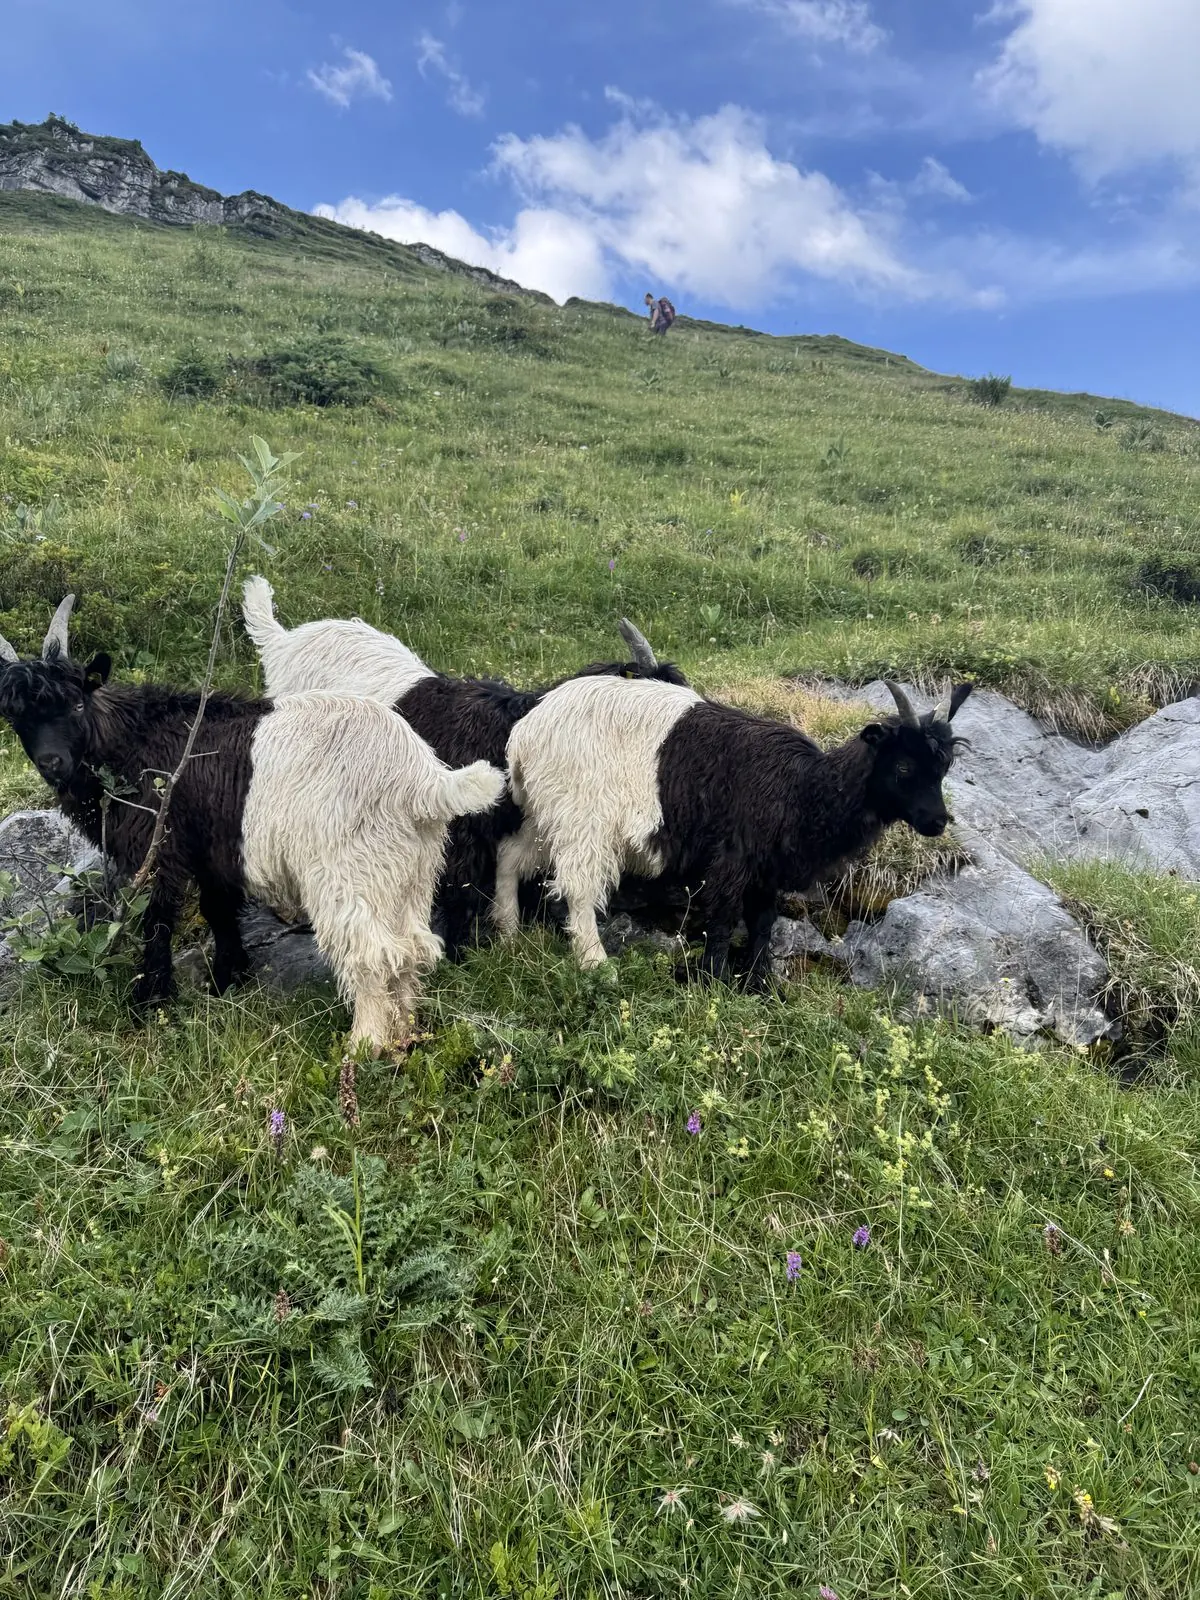
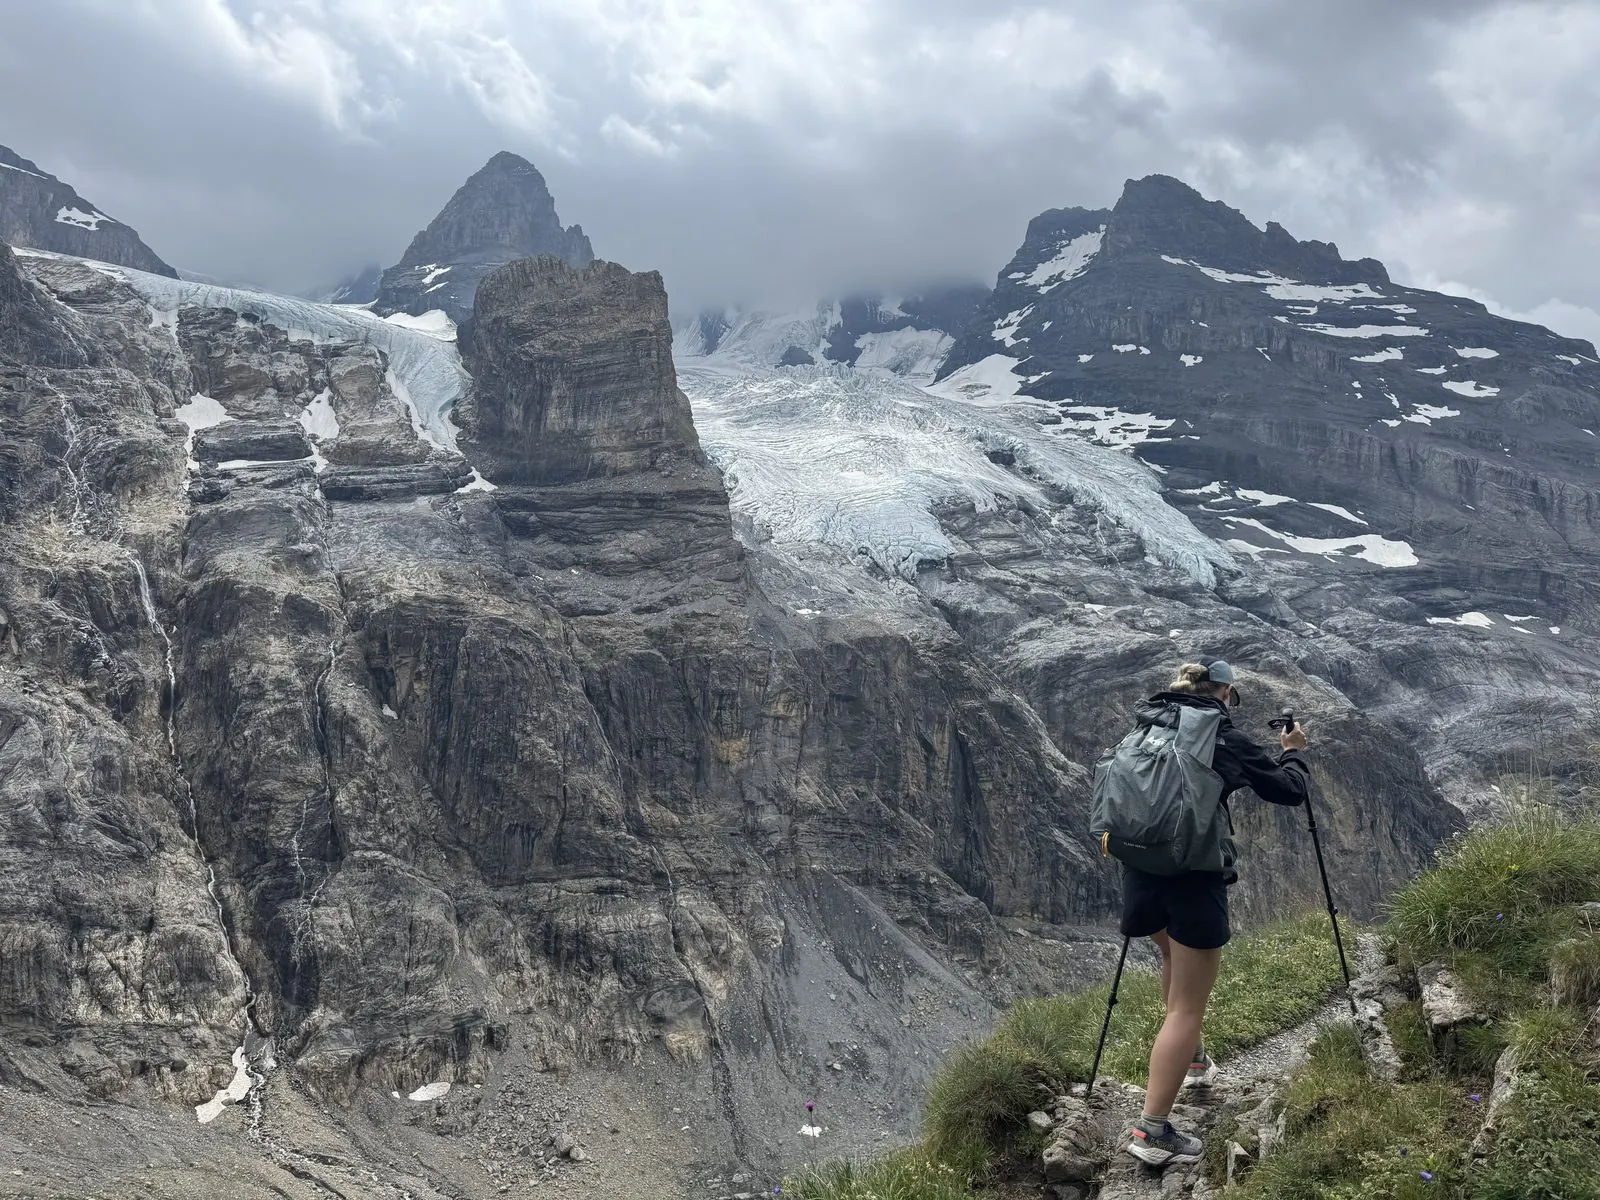
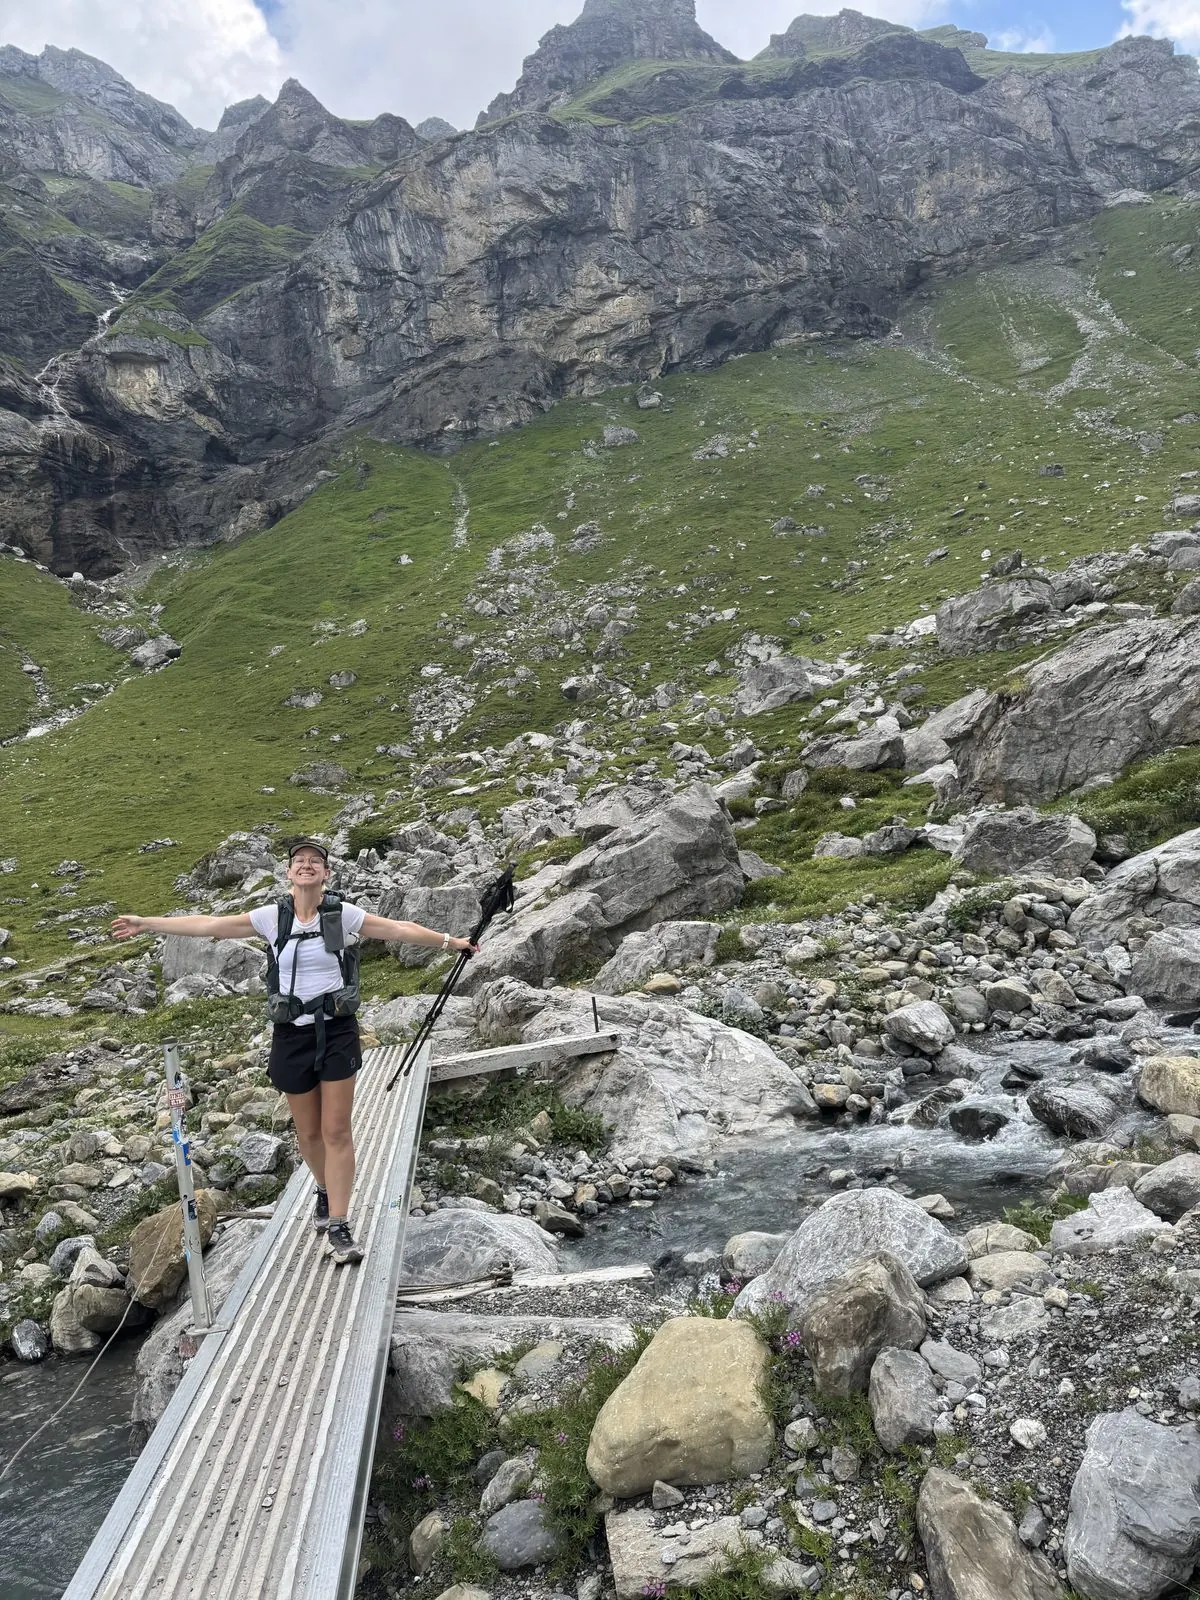
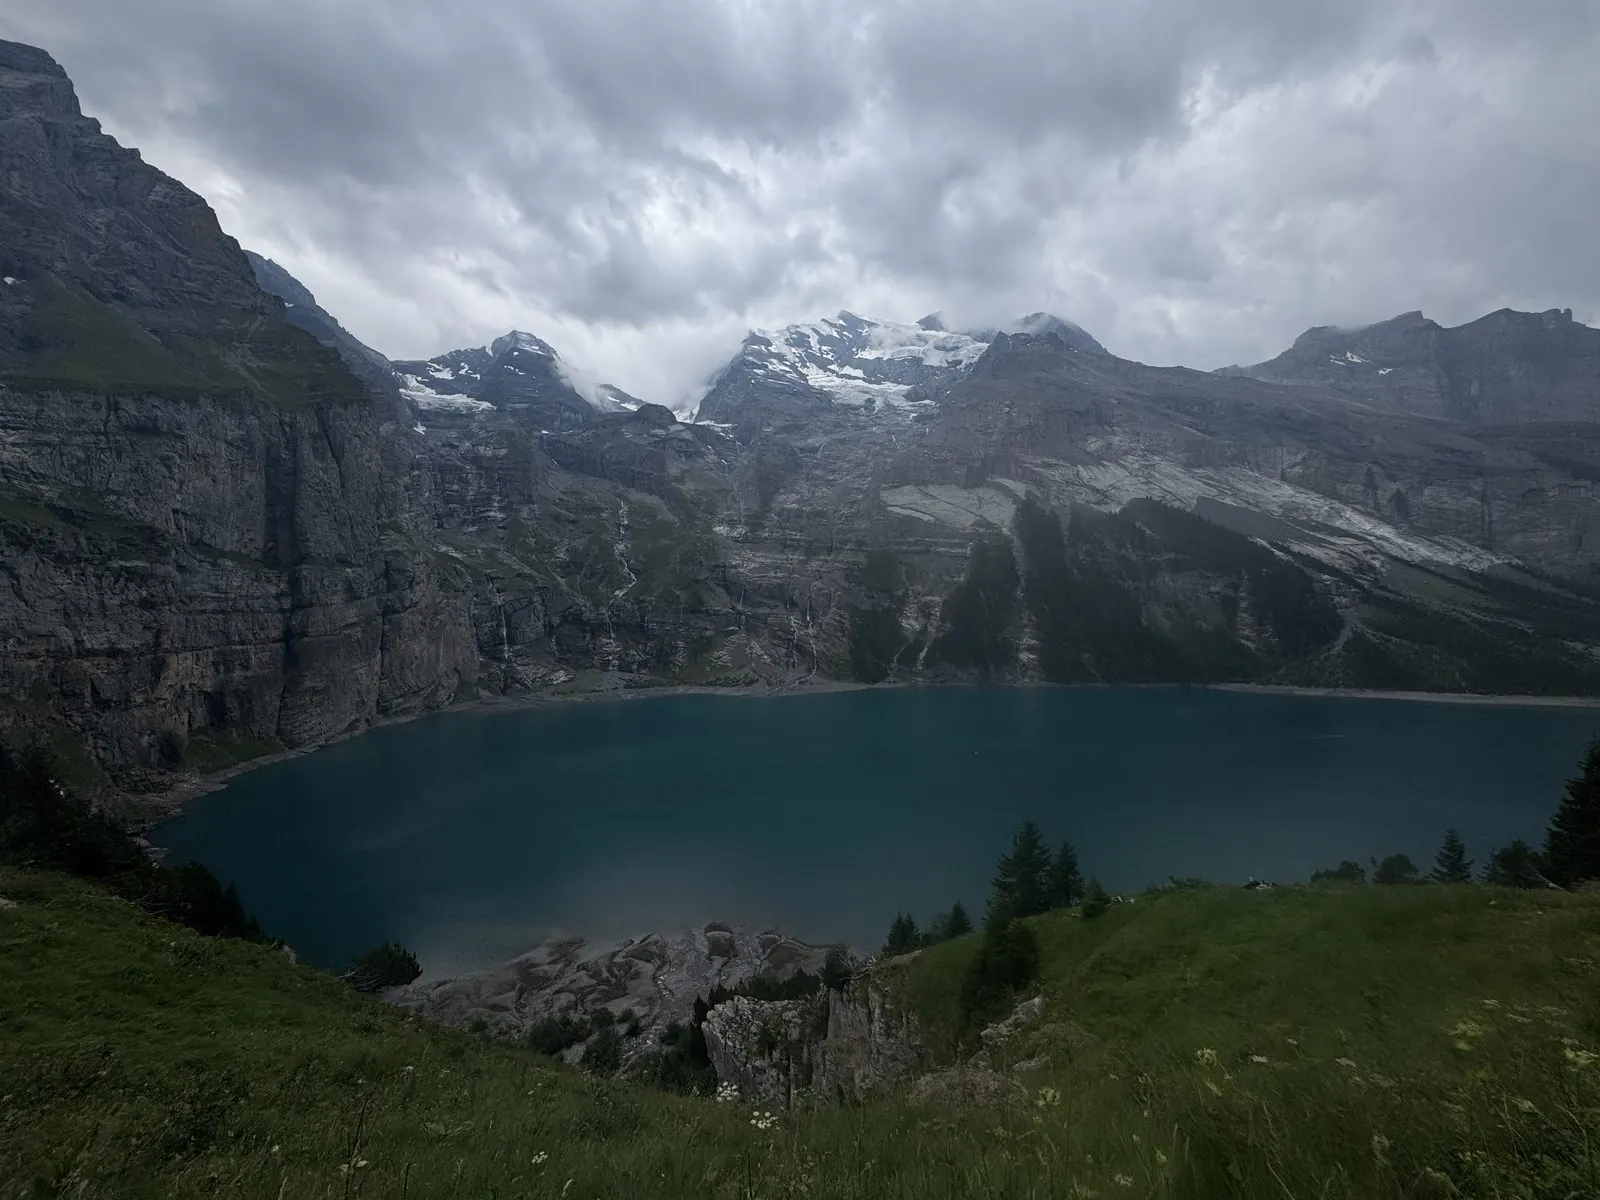
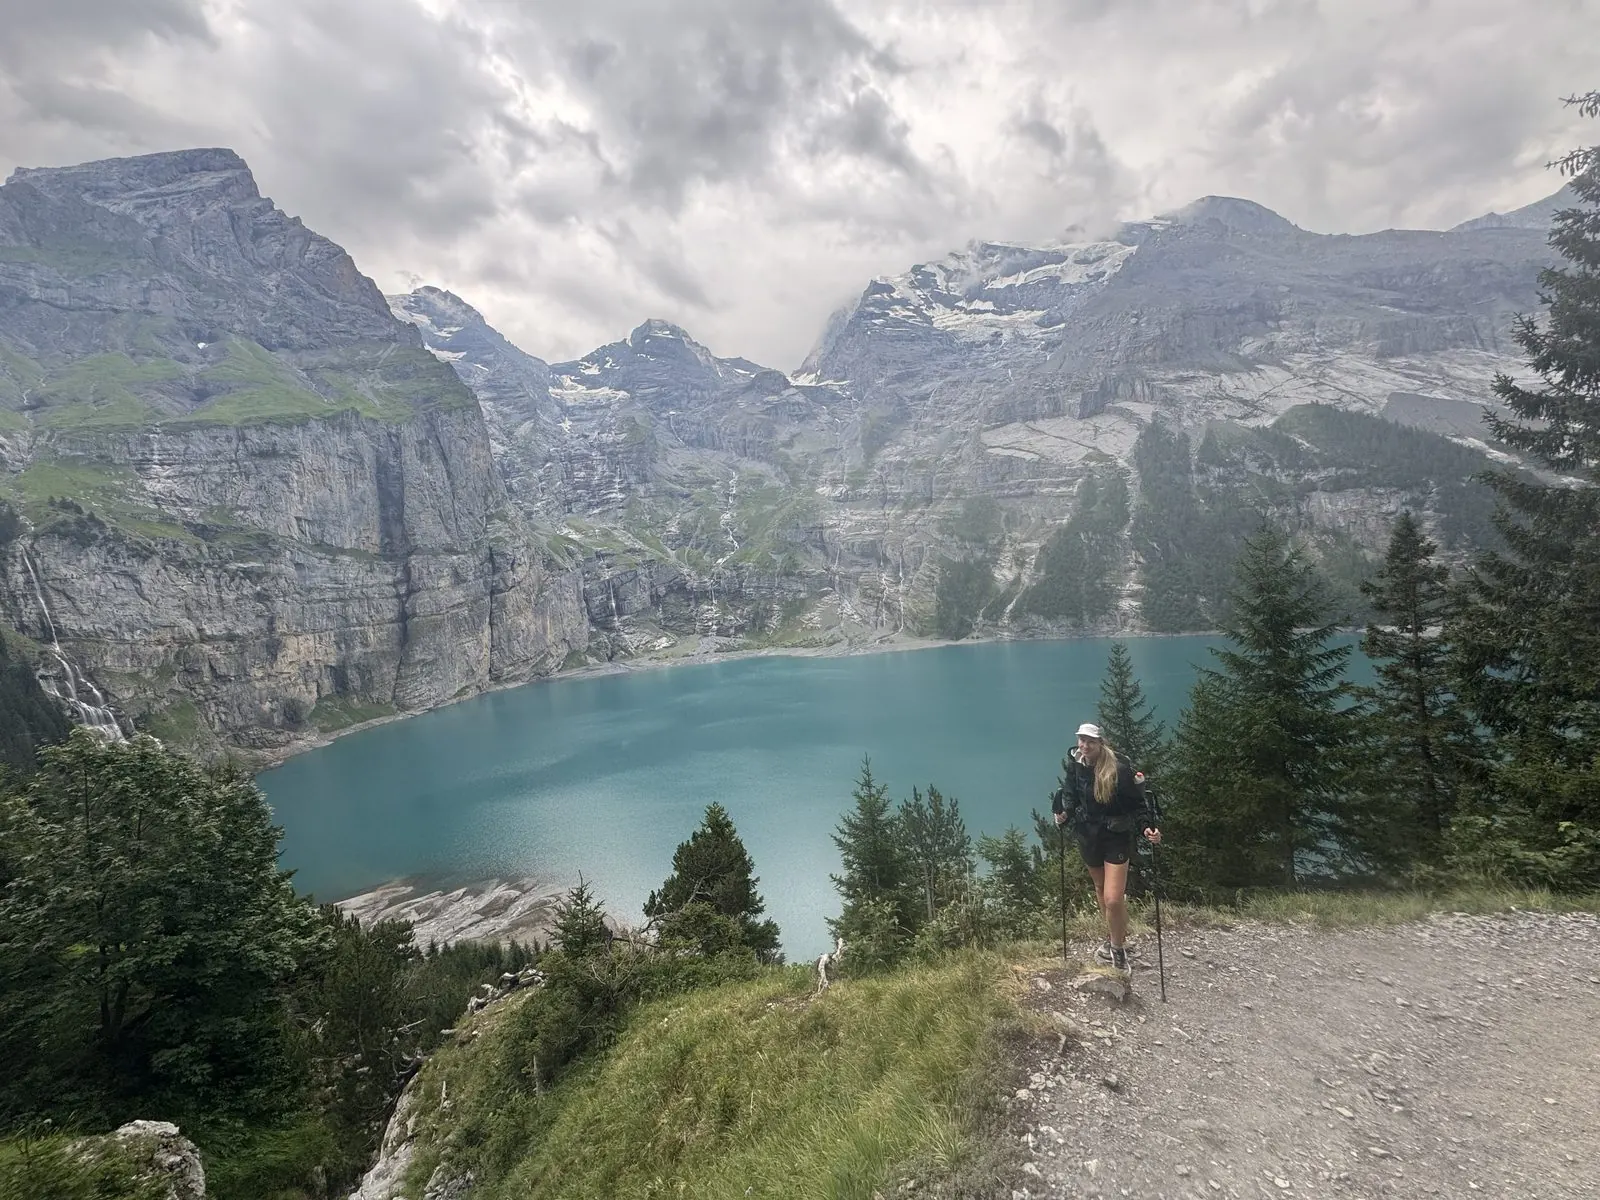
Every day brought a new high pass. Grosse Scheidegg, Kleine Scheidegg, Sefinenfurgge, Hohtuerli, and finally the Hahnenmoos pass, each with its own personality, from cow meadows to glacier views to the turquoise water of Lake Oeschinen.

It was a good complement to the TMB: shorter days, easier logistics, and incredible mountains. Here is how our week on the Via Alpina broke down.

Day 1: Meiringen to Grindelwald

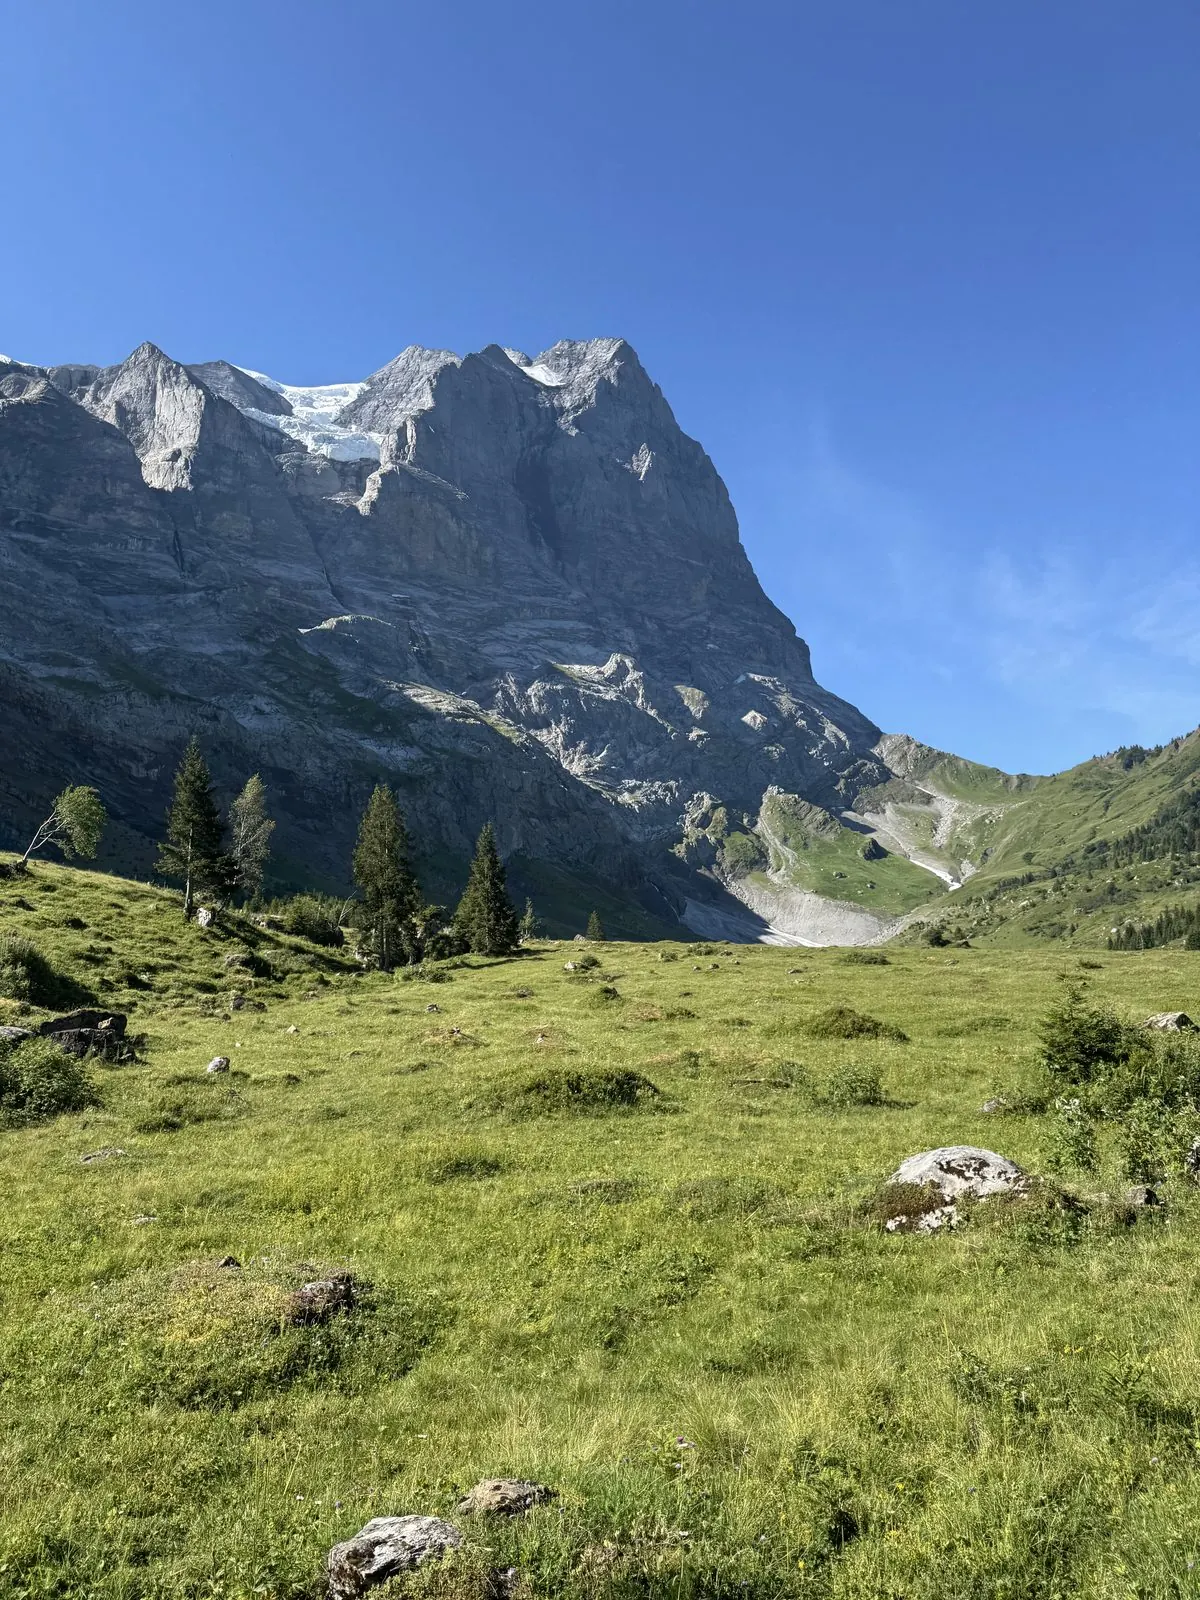
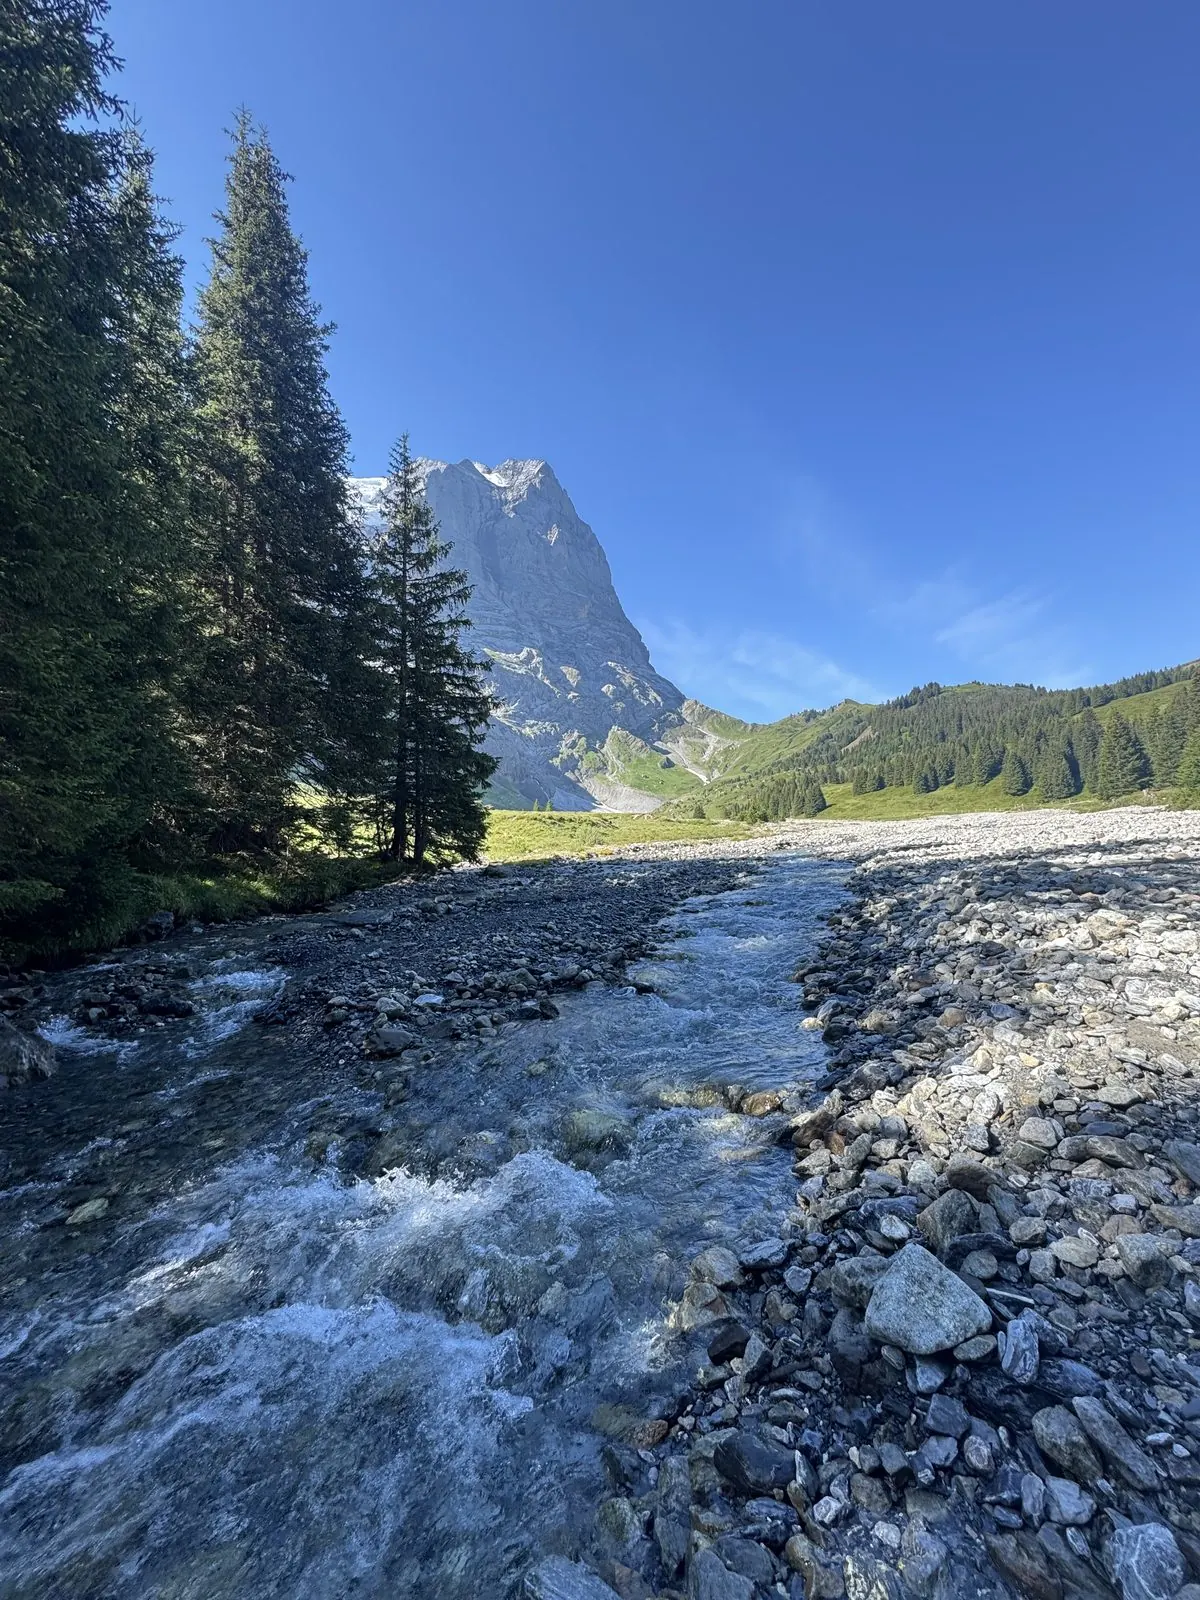
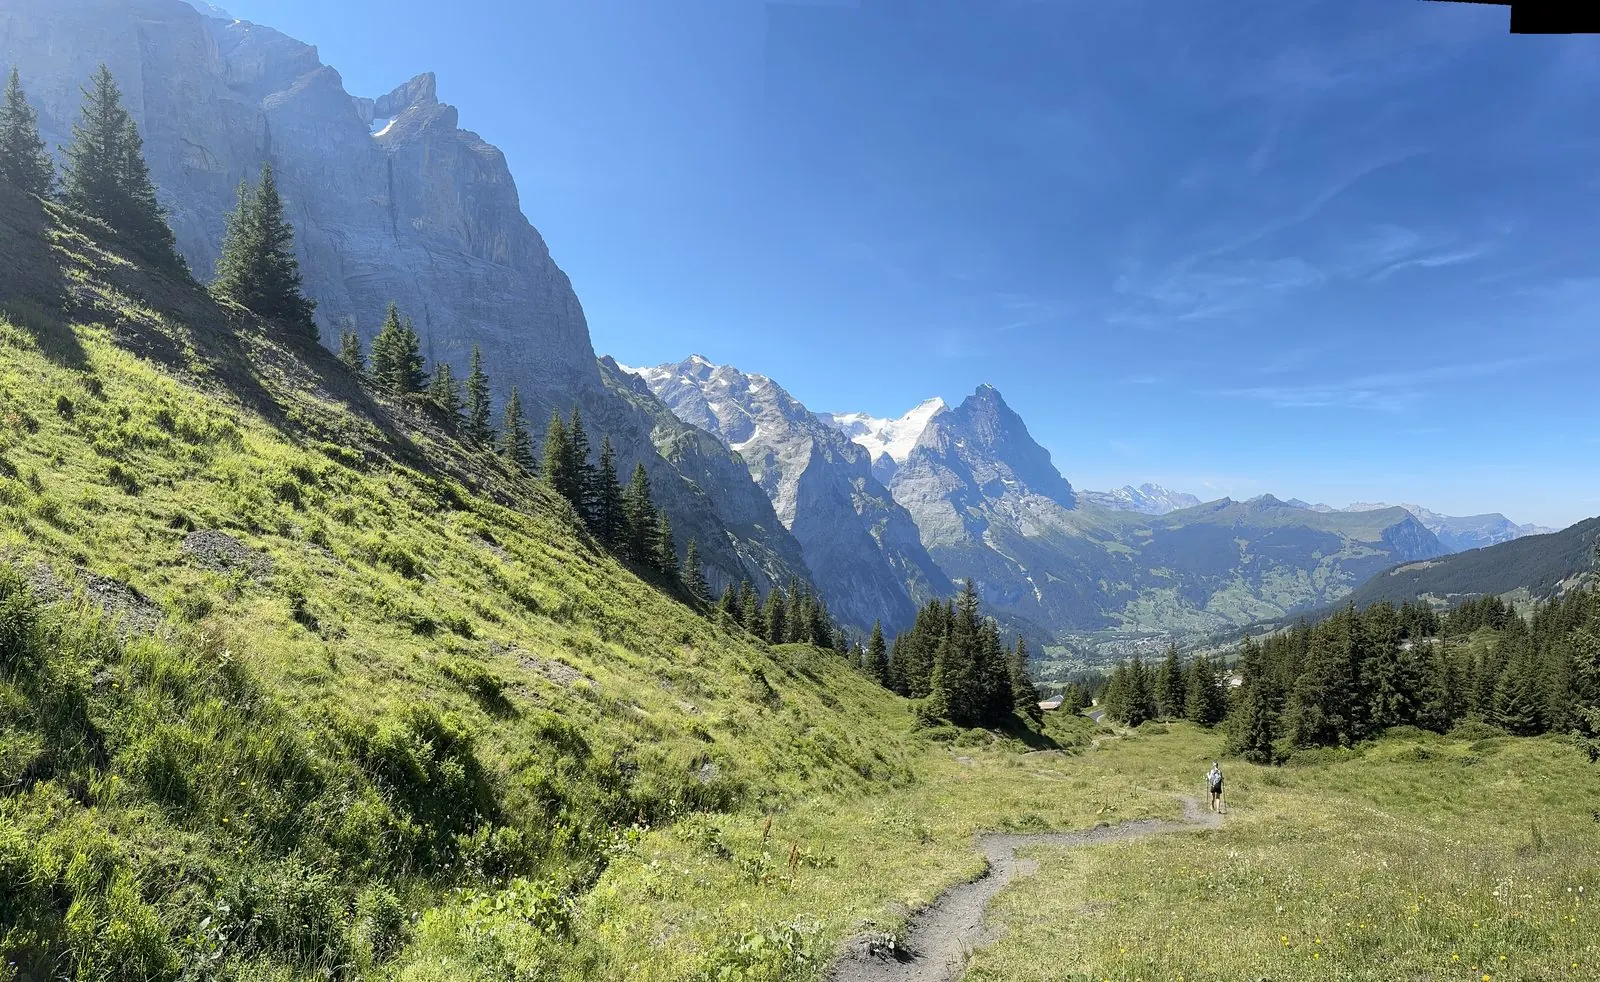
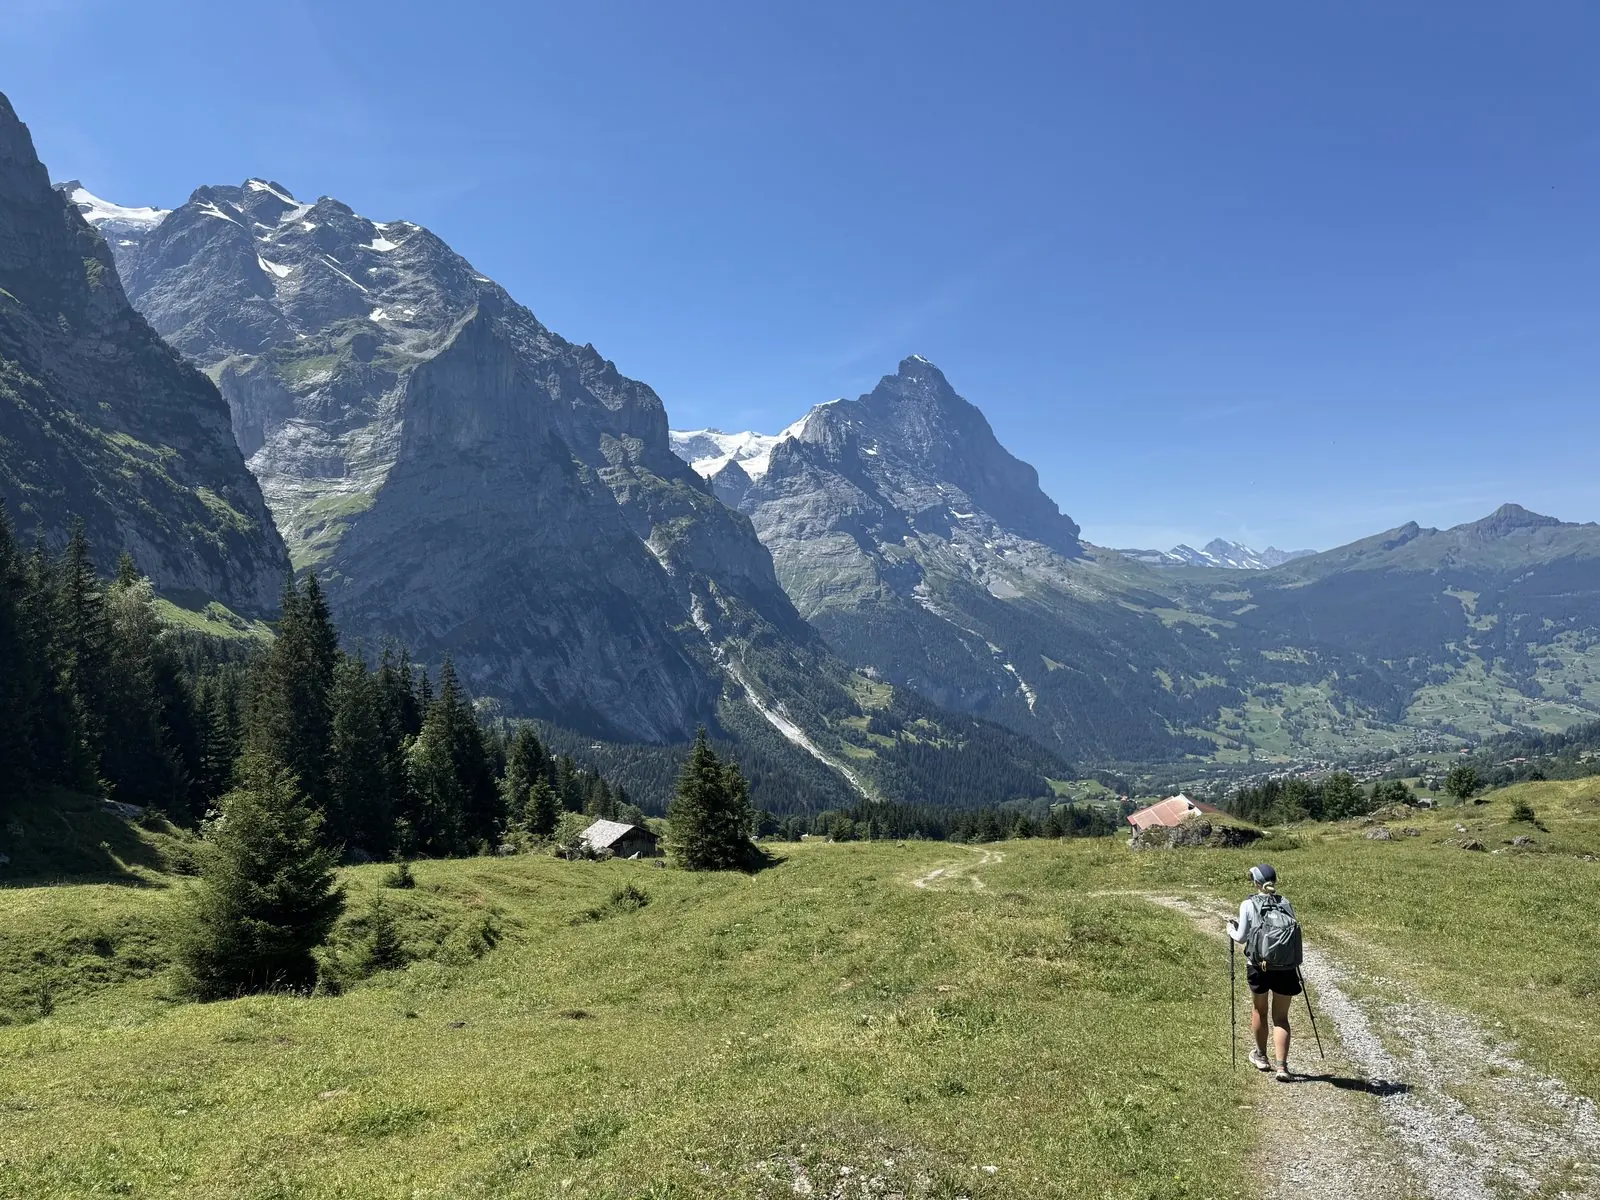
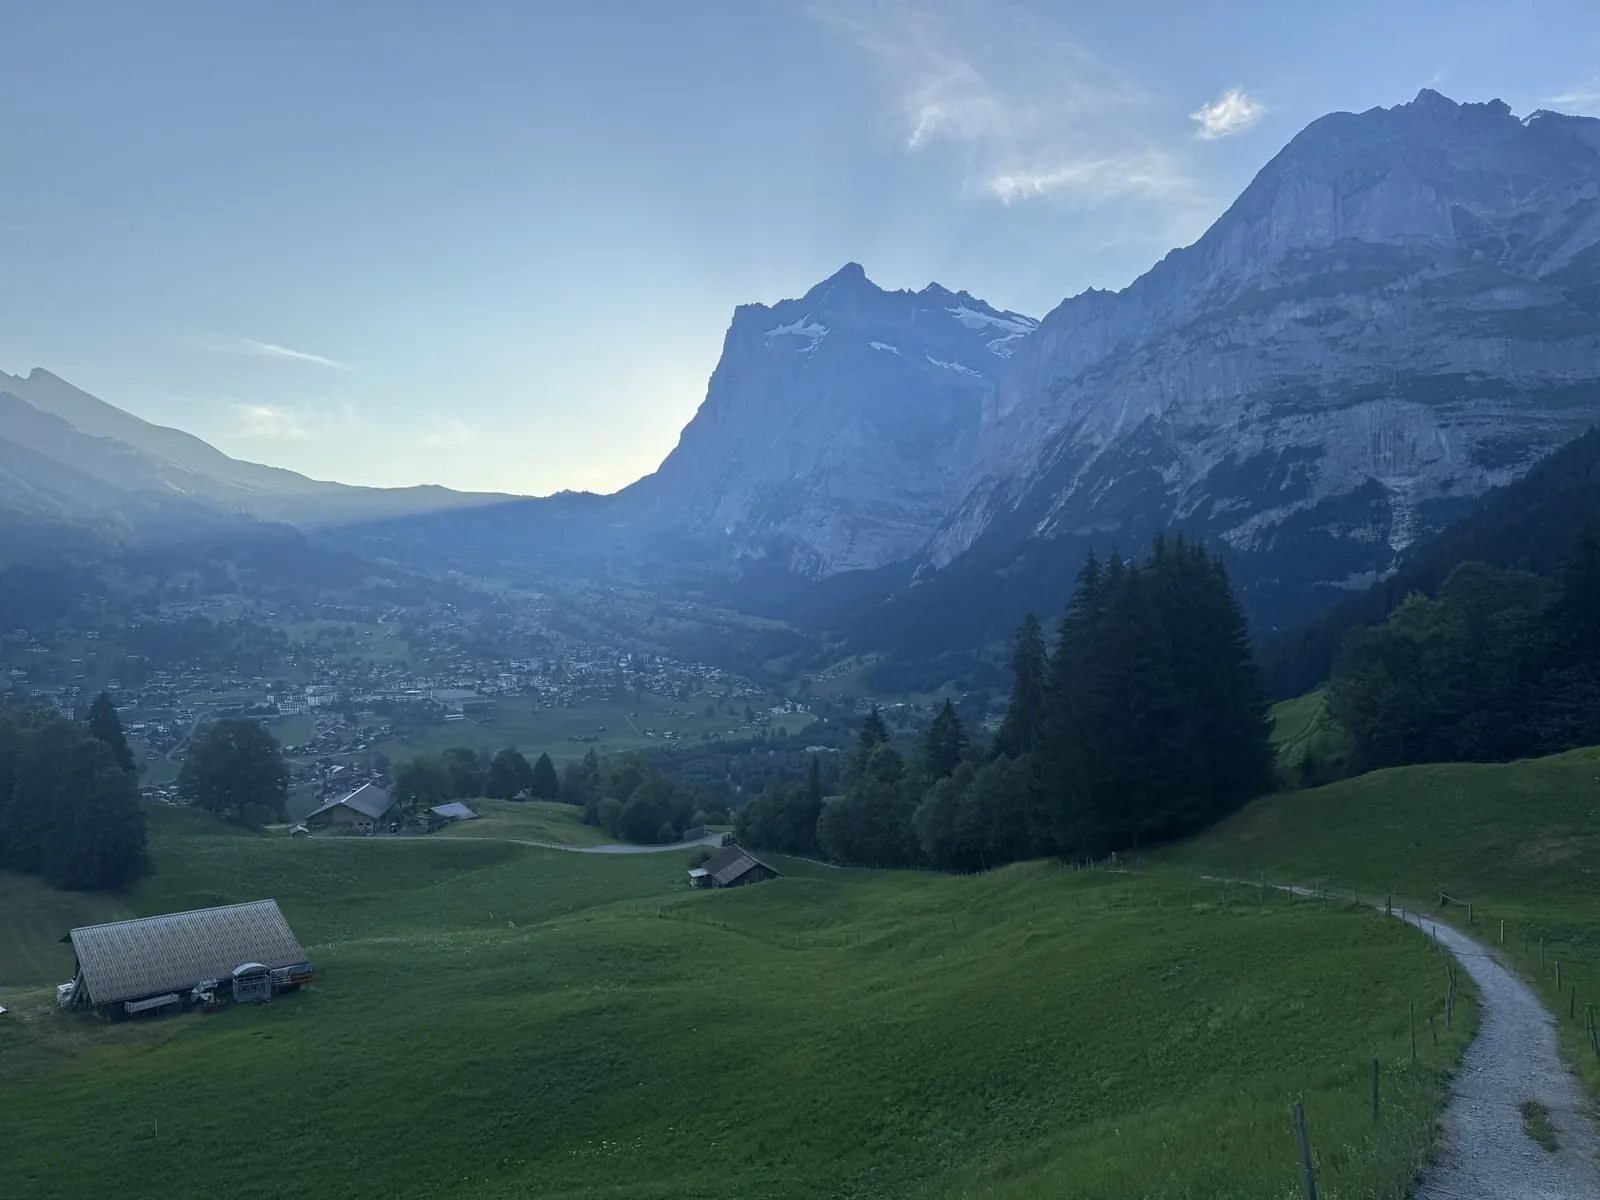
Climbing out of Meiringen over the Grosse Scheidegg to Grindelwald, with the Wetterhorn towering overhead.
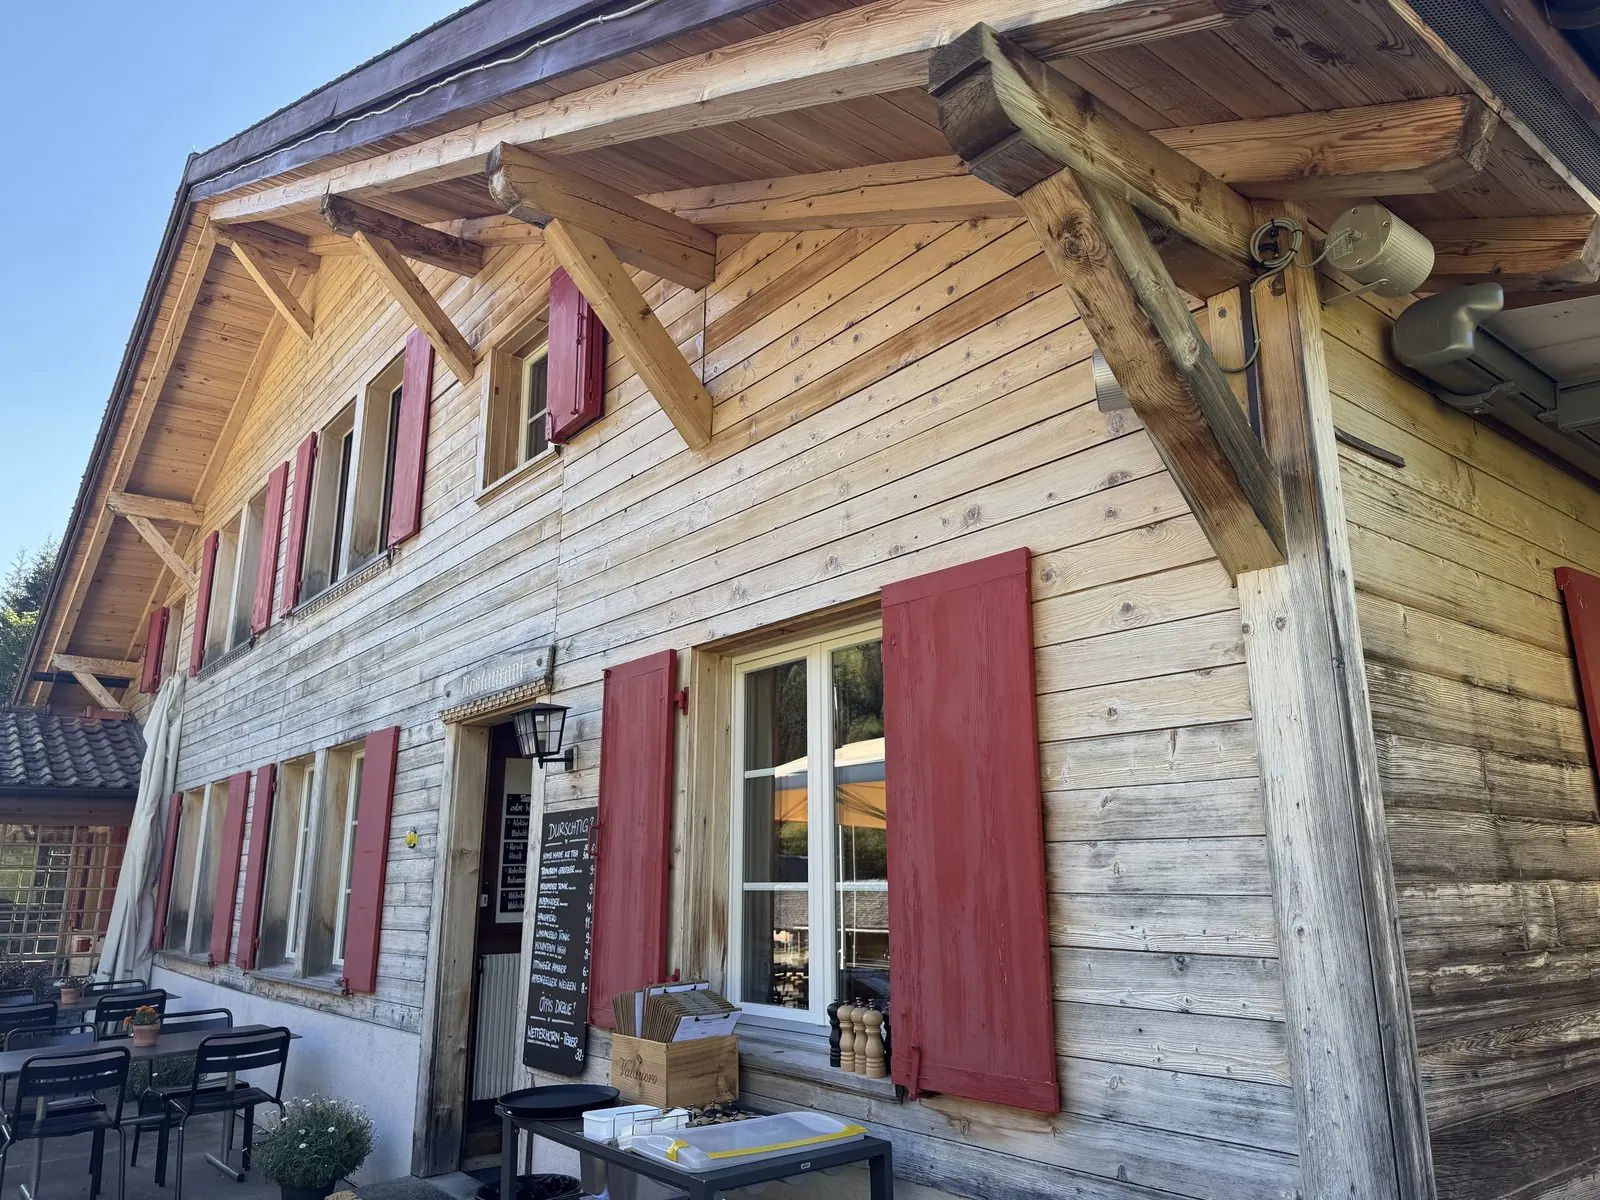
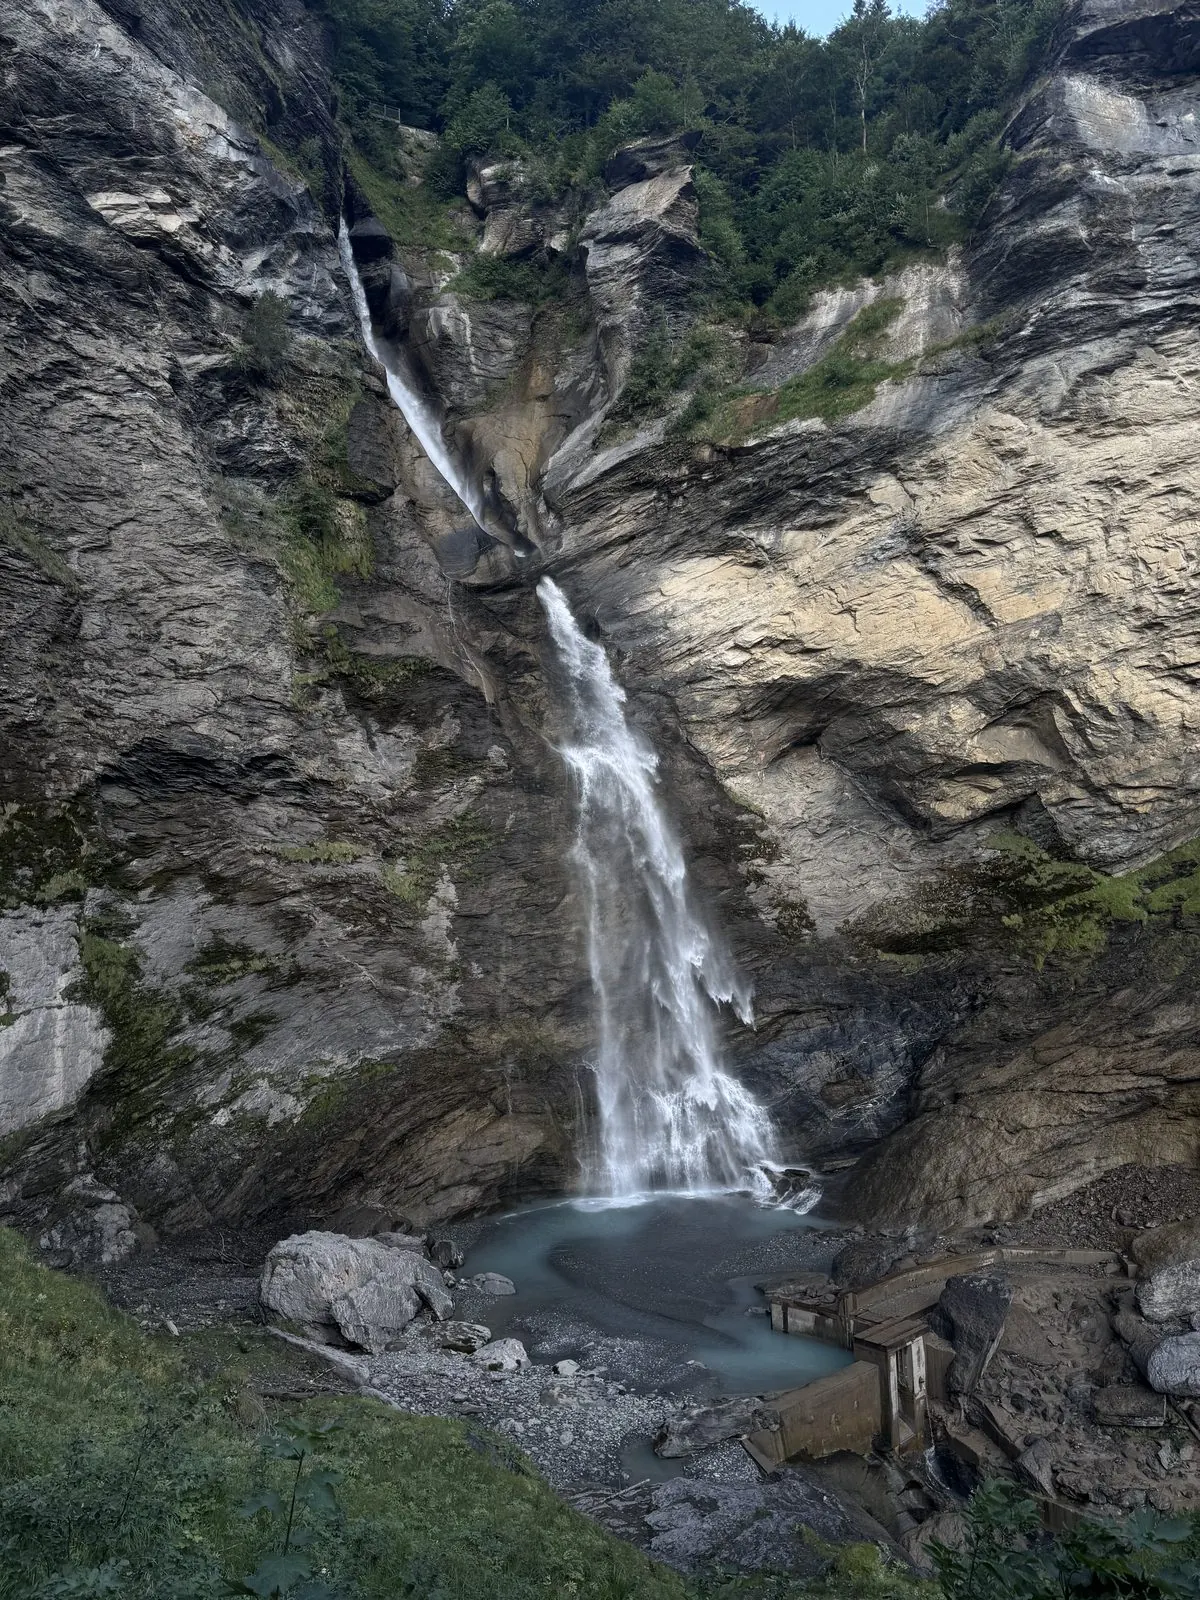
Day 1: Meiringen to Grindelwald -- photo 3
Day 1: Meiringen to Grindelwald -- photo 1 Day 1: Meiringen to Grindelwald -- photo 2 Day 1: Meiringen to Grindelwald -- photo 4 Day 1: Meiringen to Grindelwald -- photo 5 Day 1: Meiringen to Grindelwald -- photo 6 Day 1: Meiringen to Grindelwald -- photo 7 Day 1: Meiringen to Grindelwald -- photo 8

Day 2: Grindelwald to Wengen

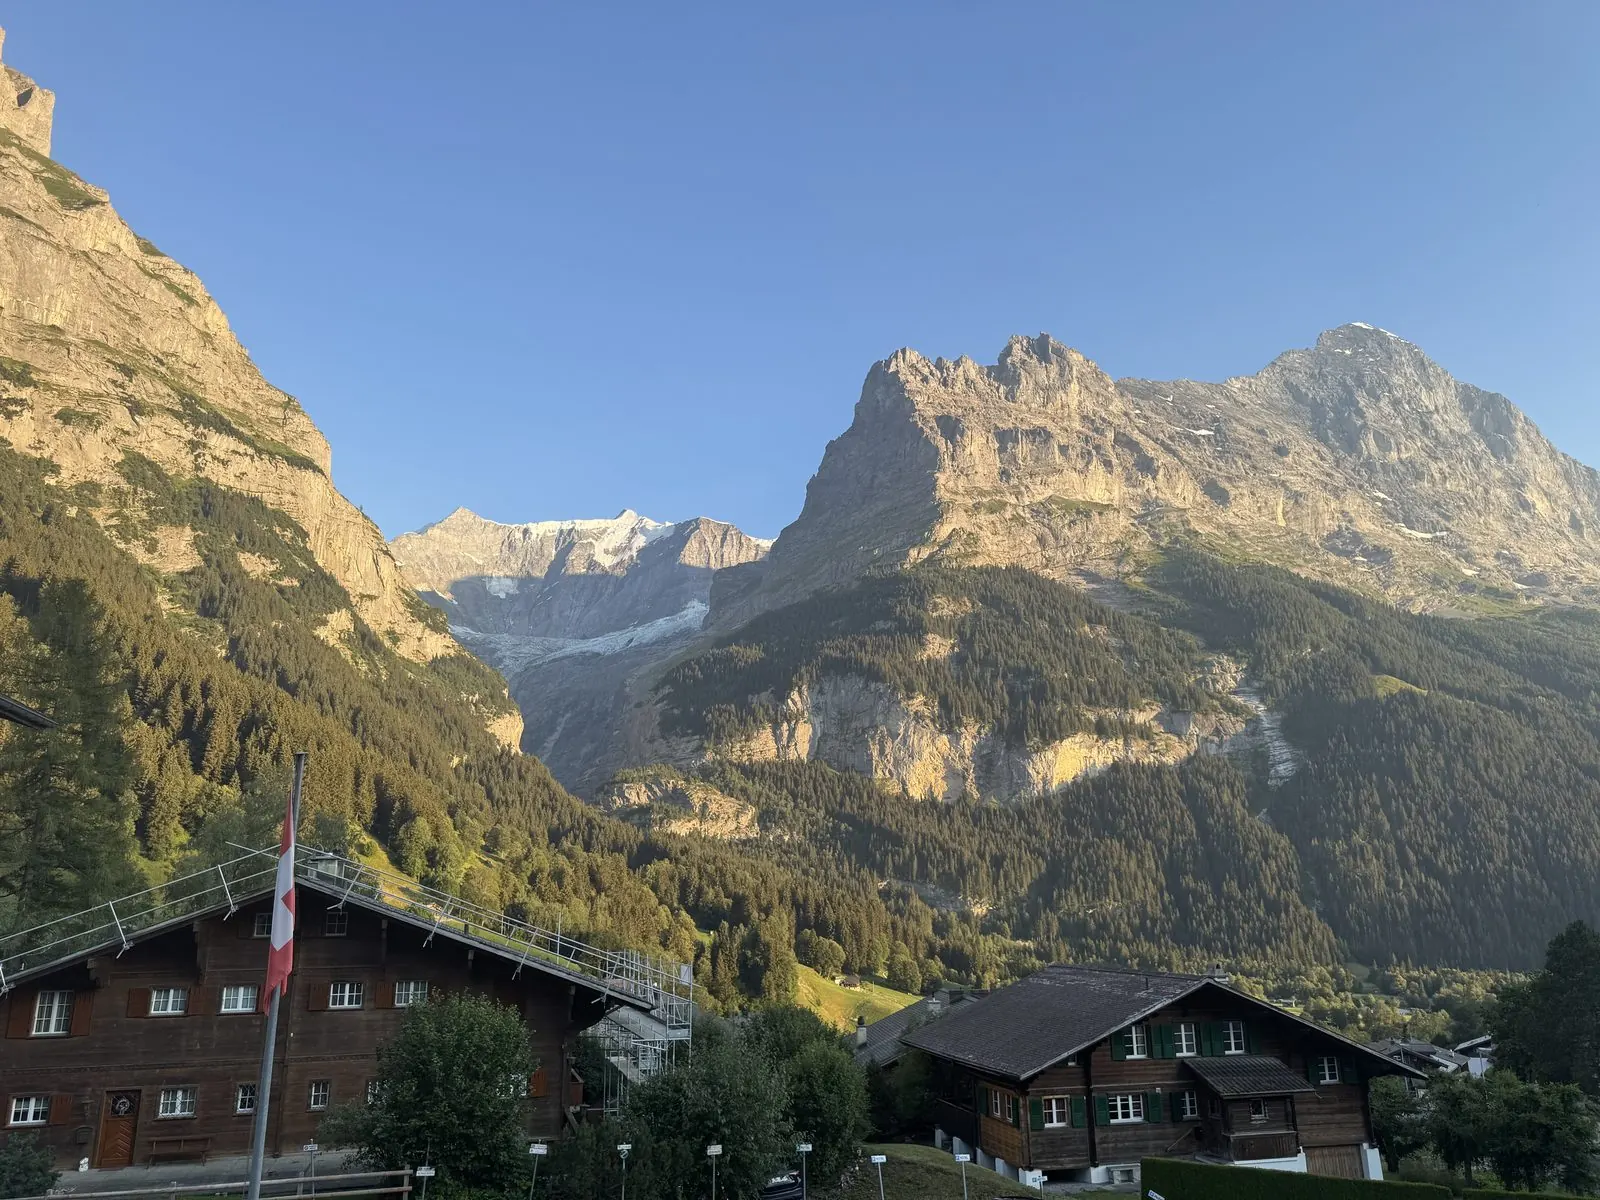
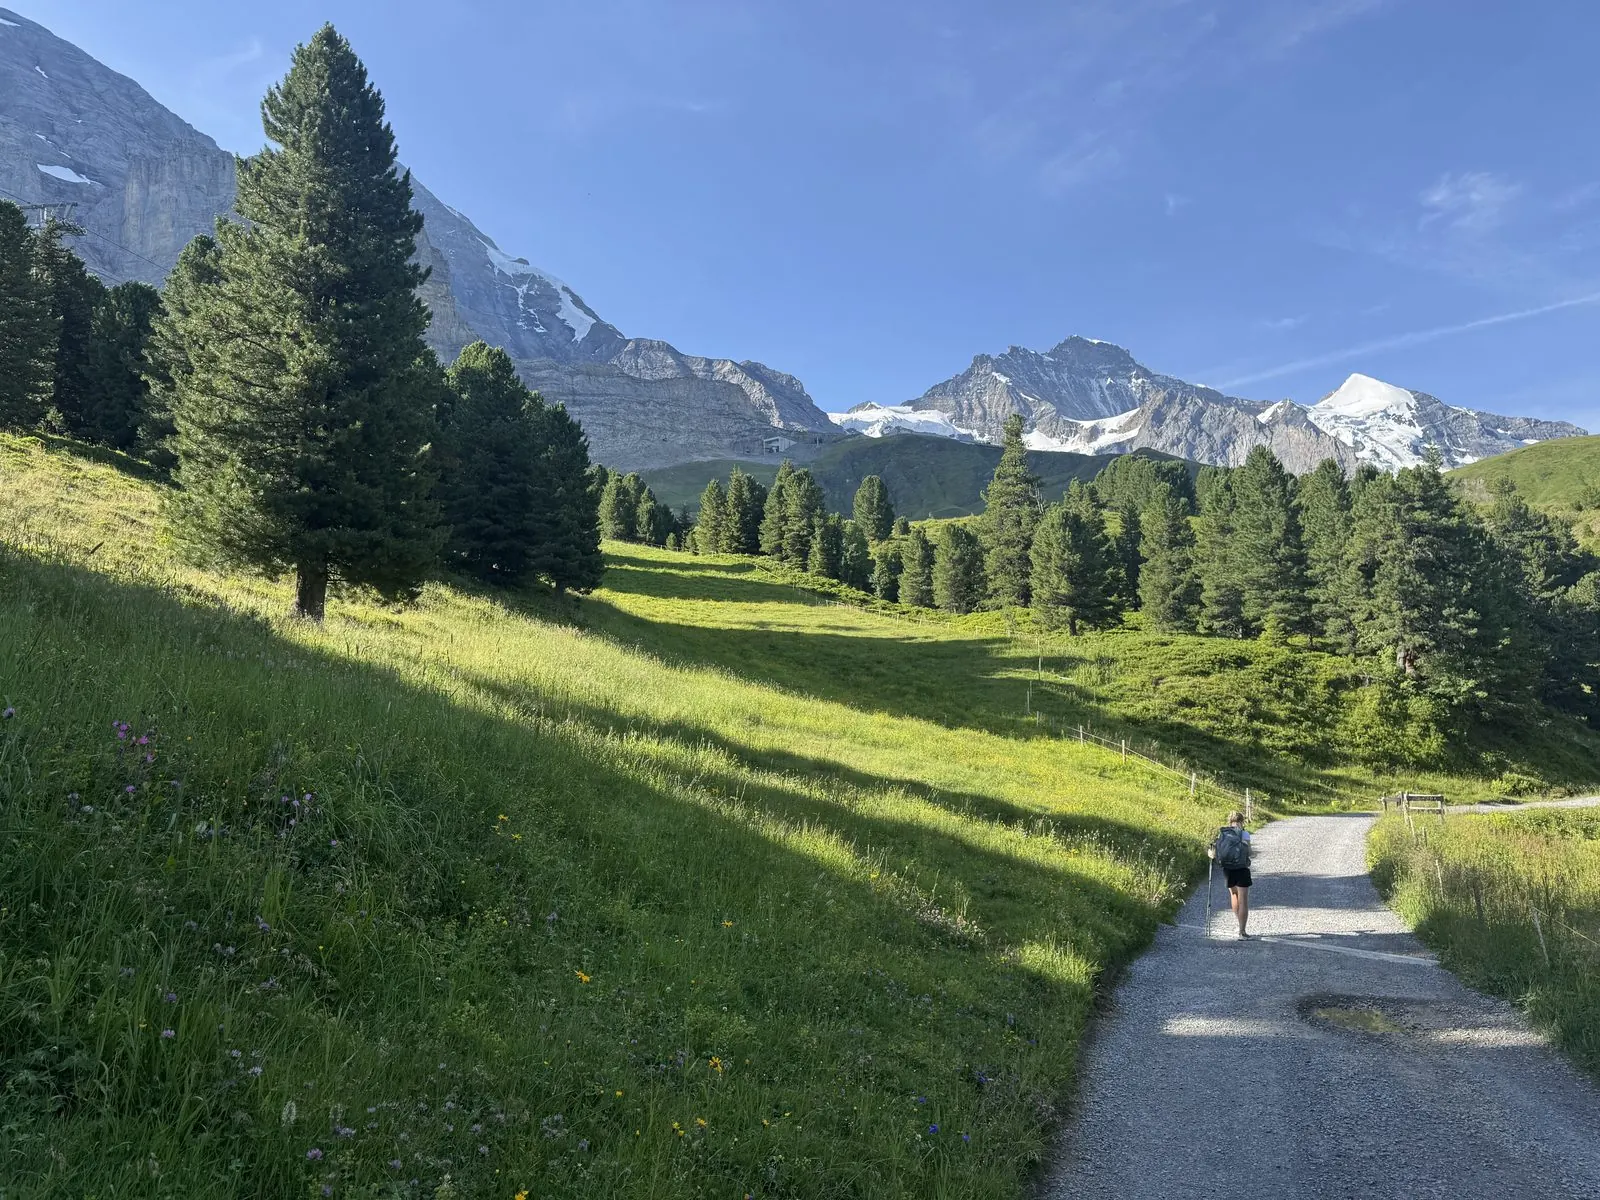
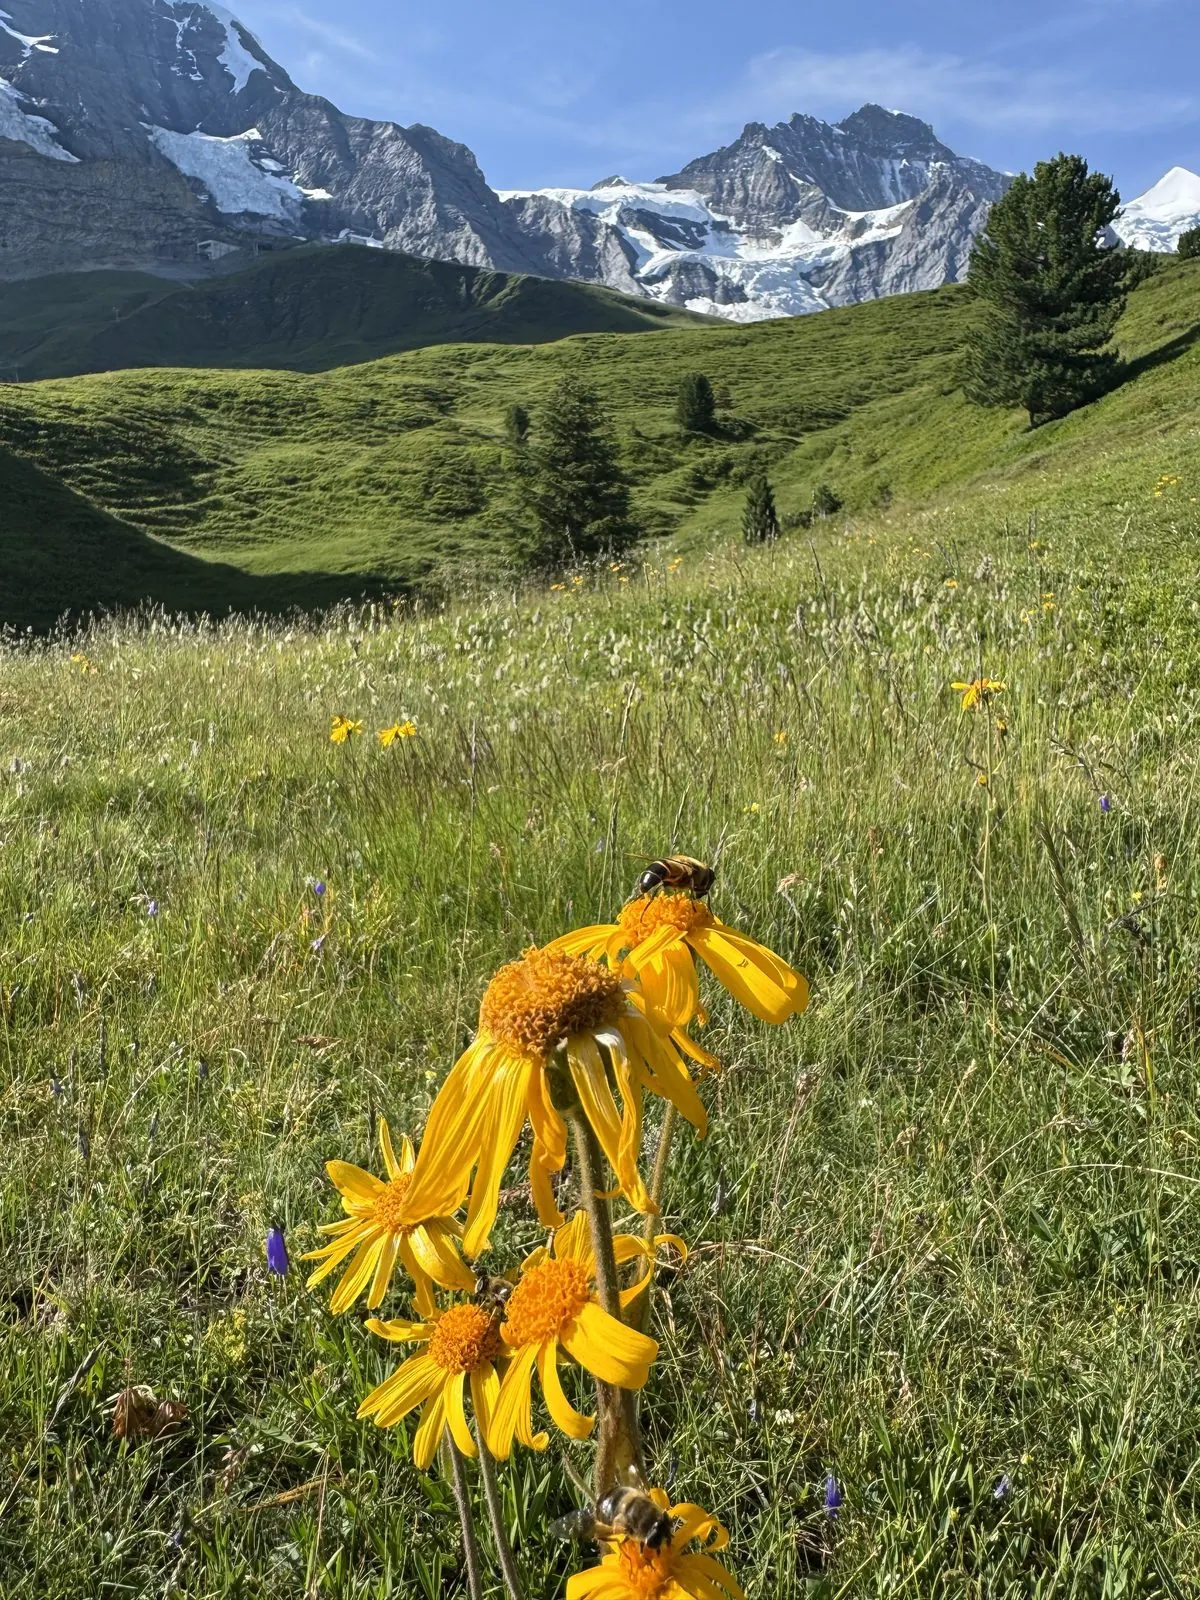
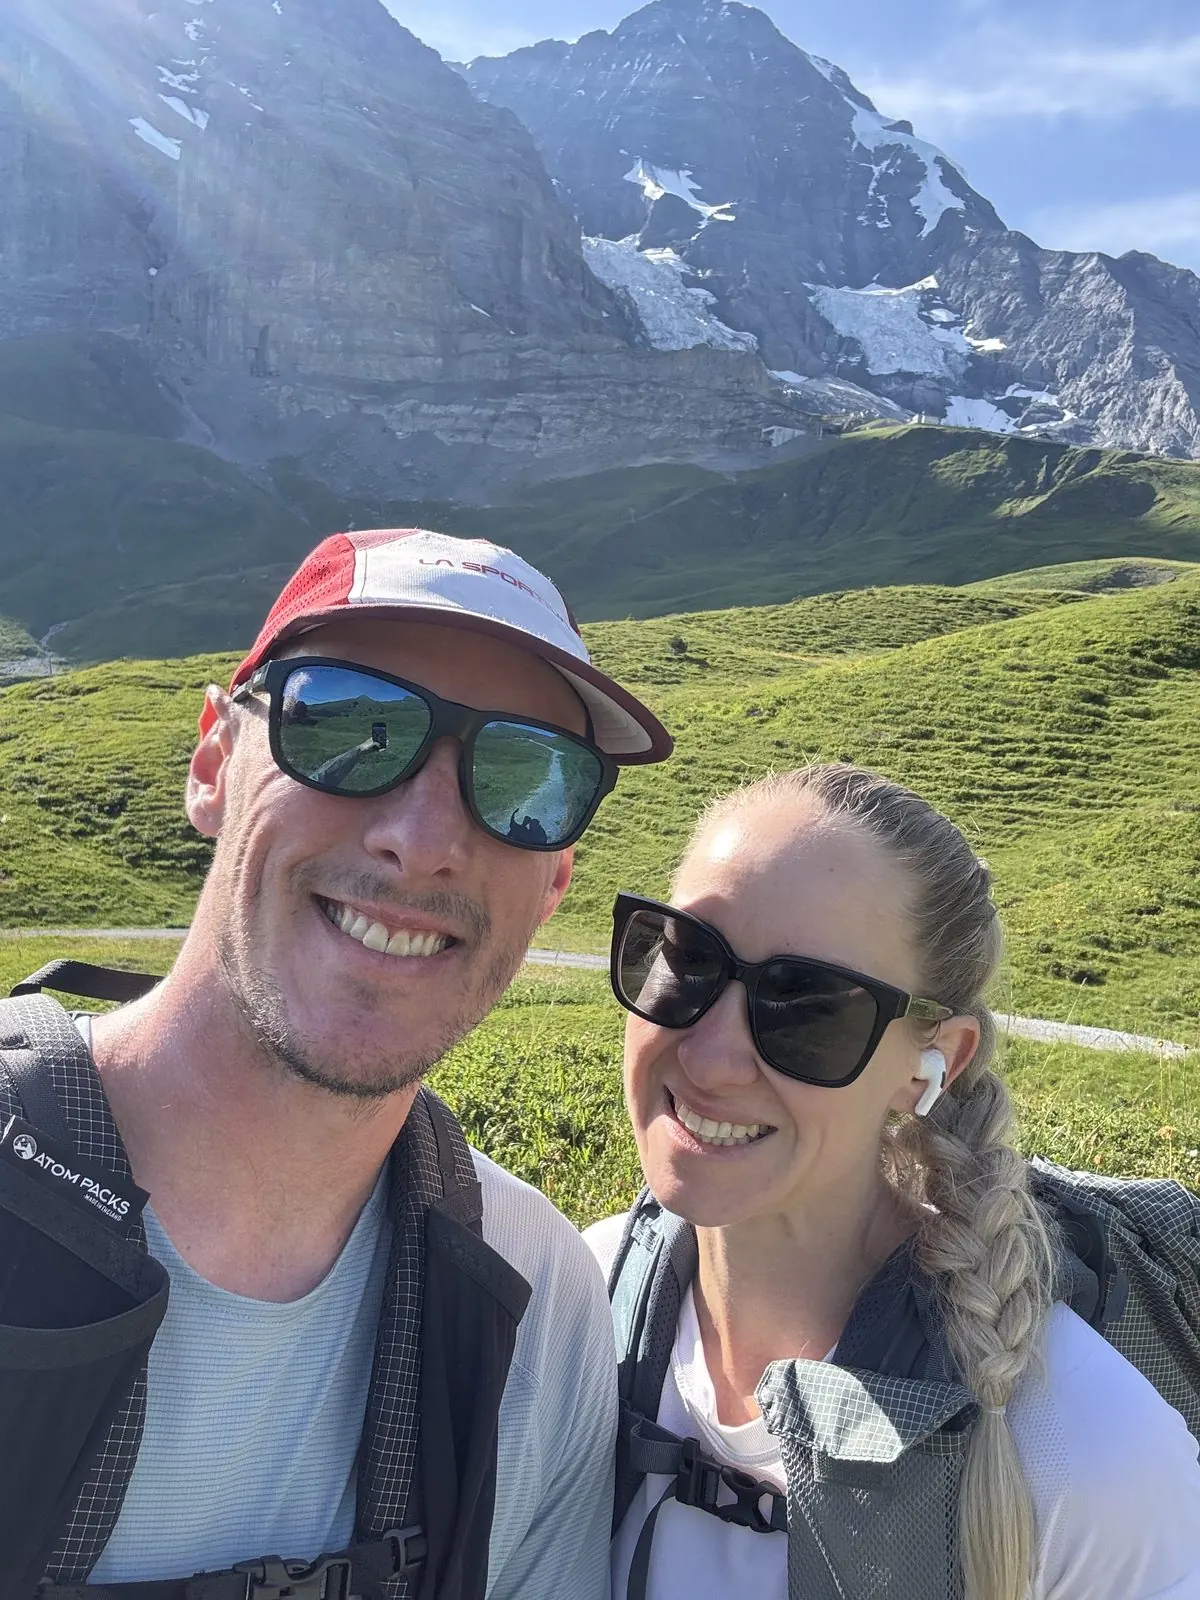
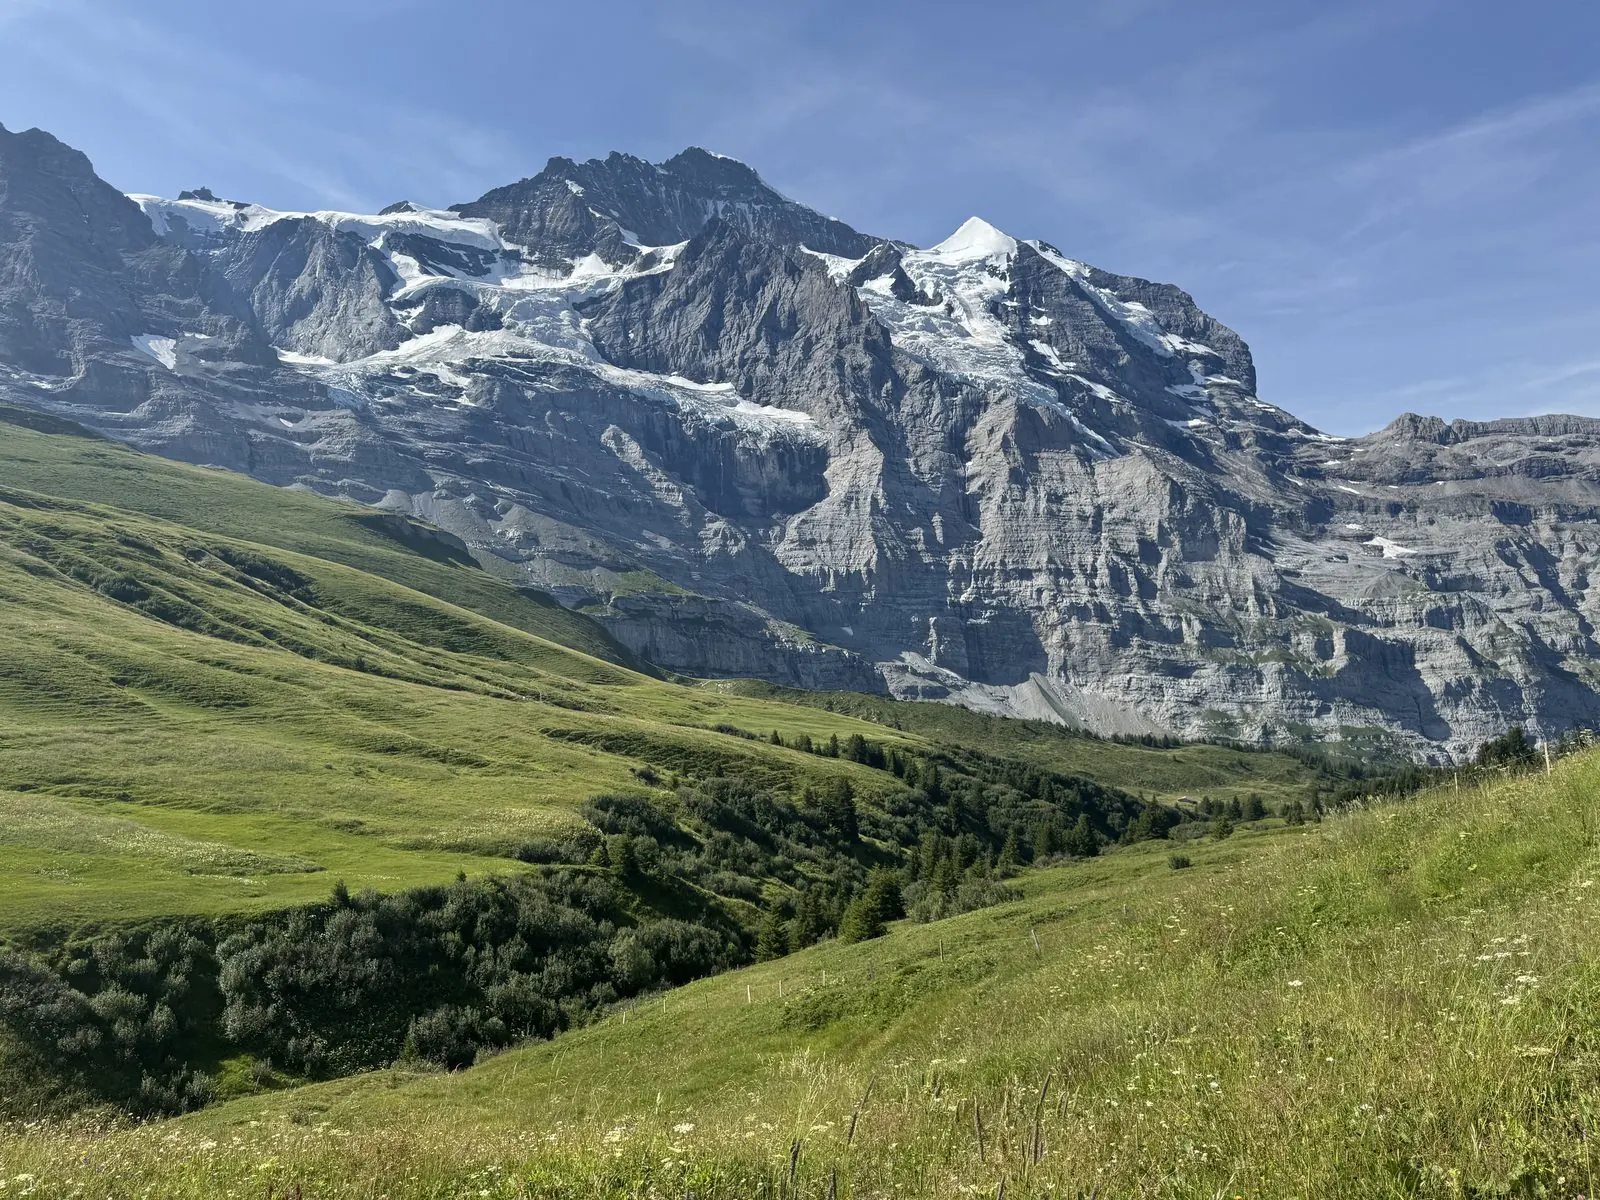
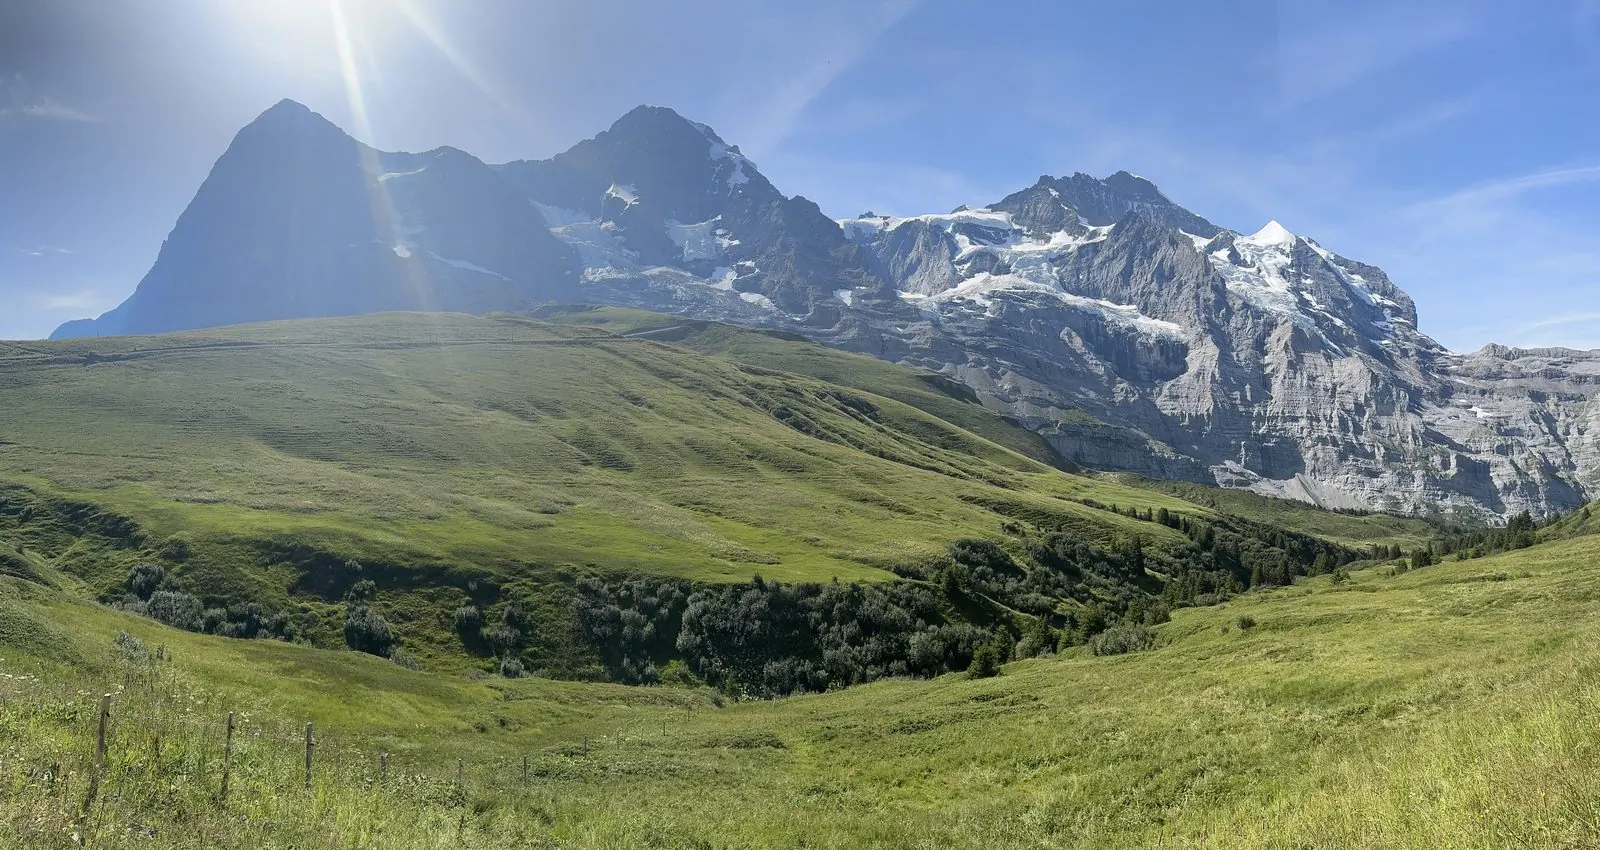
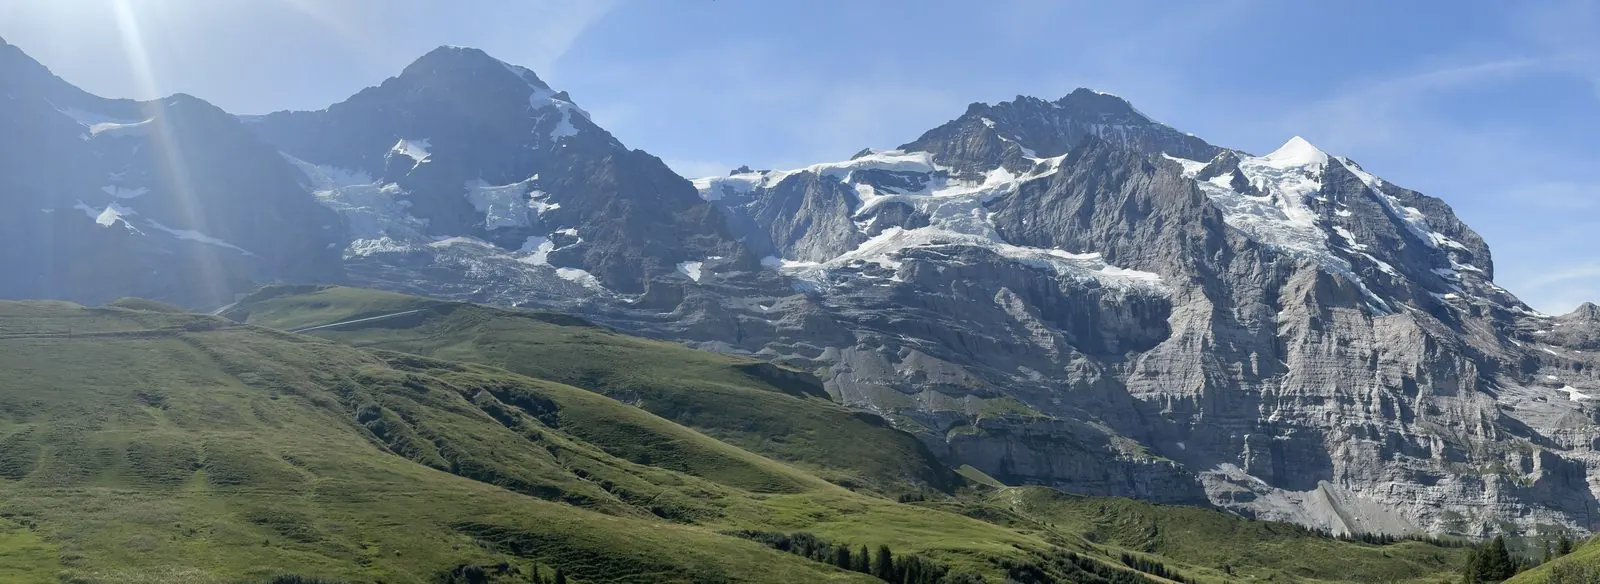
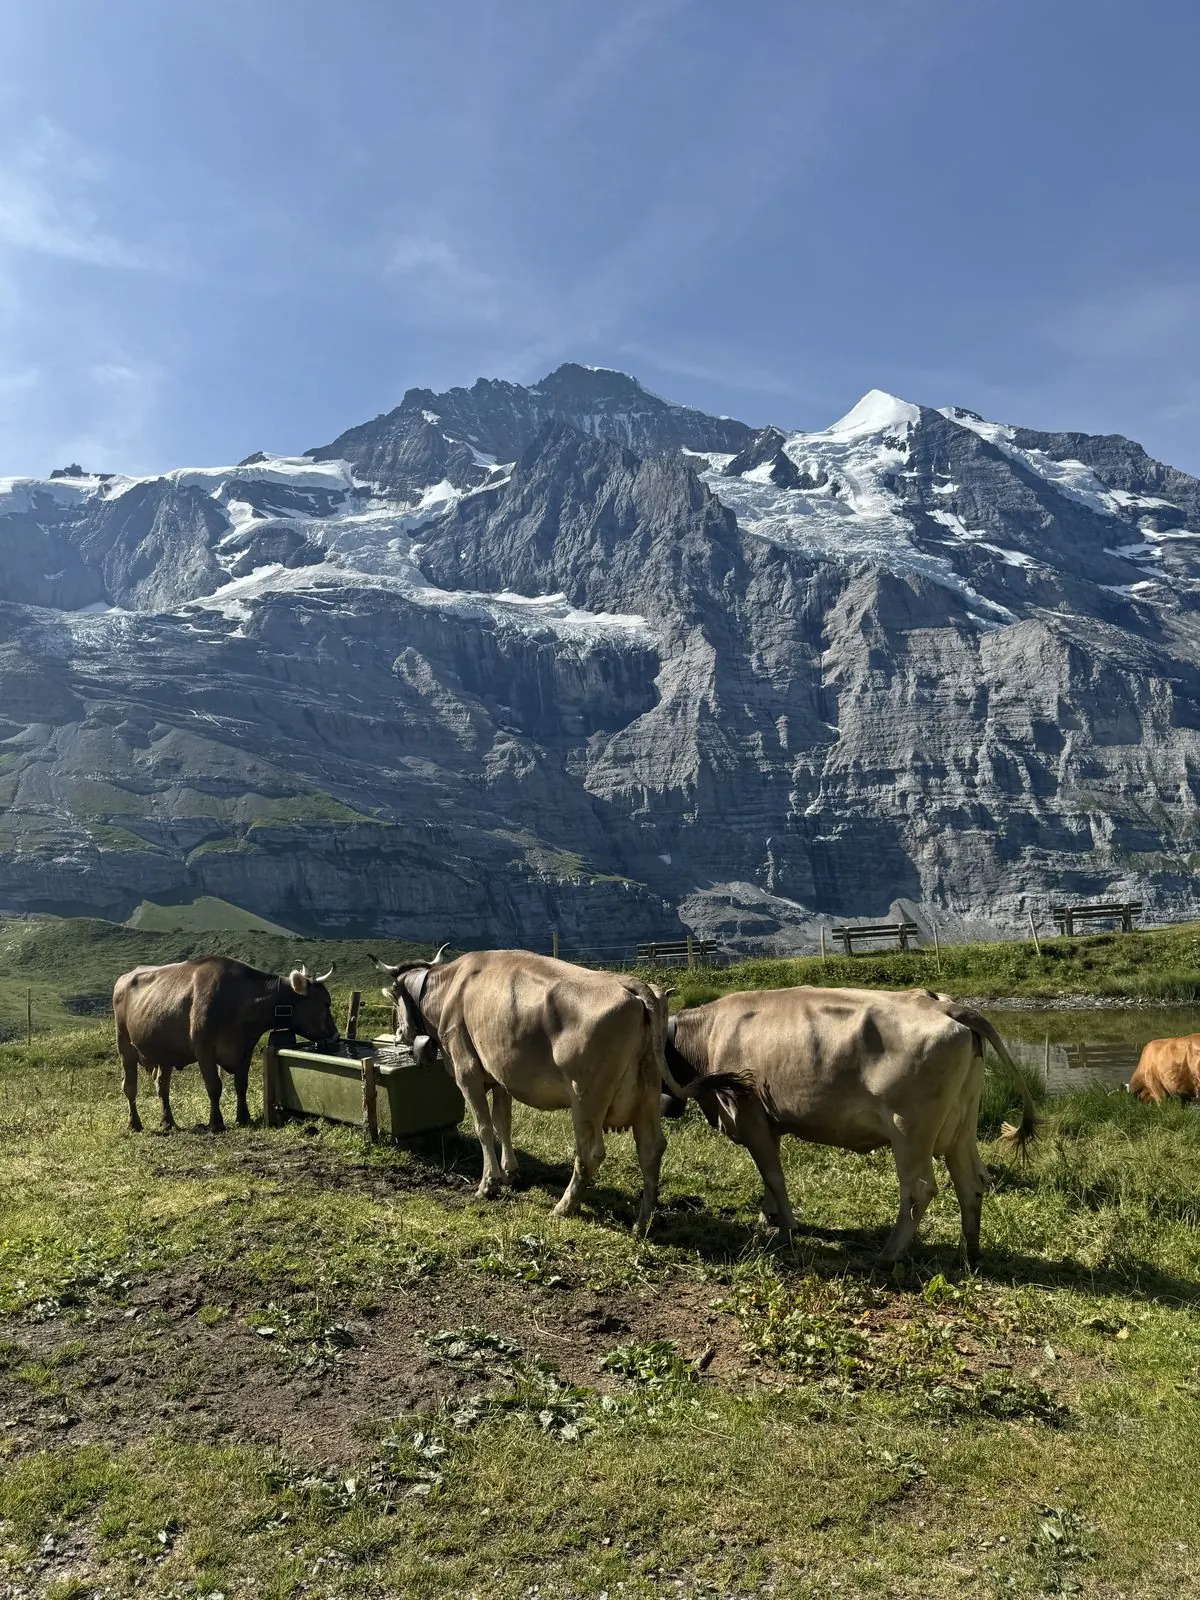
Up and over the Kleine Scheidegg beneath the Eiger, dropping down into Wengen.
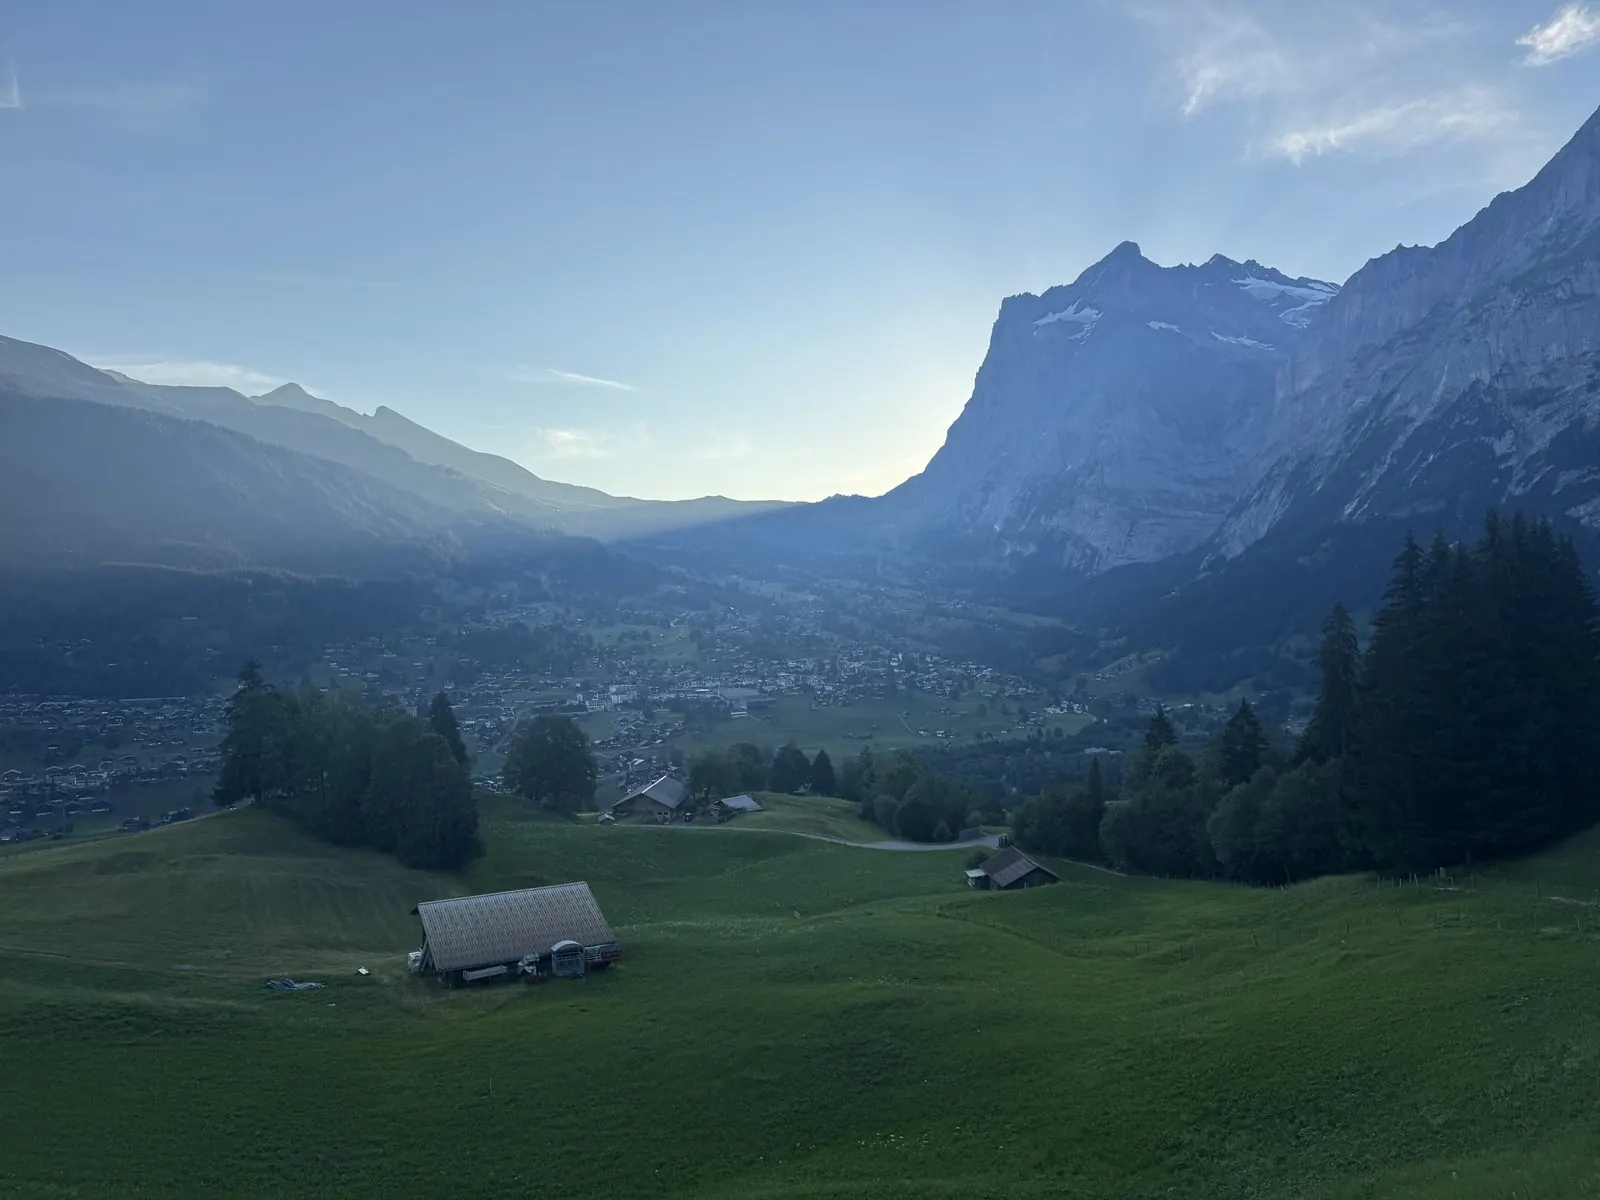
Day 2: Grindelwald to Wengen -- photo 1
Day 2: Grindelwald to Wengen -- photo 2 Day 2: Grindelwald to Wengen -- photo 3 Day 2: Grindelwald to Wengen -- photo 4 Day 2: Grindelwald to Wengen -- photo 5 Day 2: Grindelwald to Wengen -- photo 6 Day 2: Grindelwald to Wengen -- photo 7 Day 2: Grindelwald to Wengen -- photo 8 Day 2: Grindelwald to Wengen -- photo 9 Day 2: Grindelwald to Wengen -- photo 10 Day 2: Grindelwald to Wengen -- photo 11 Day 2: Grindelwald to Wengen -- photo 12 Day 2: Grindelwald to Wengen -- photo 13

Day 3: Wengen to Griesalp

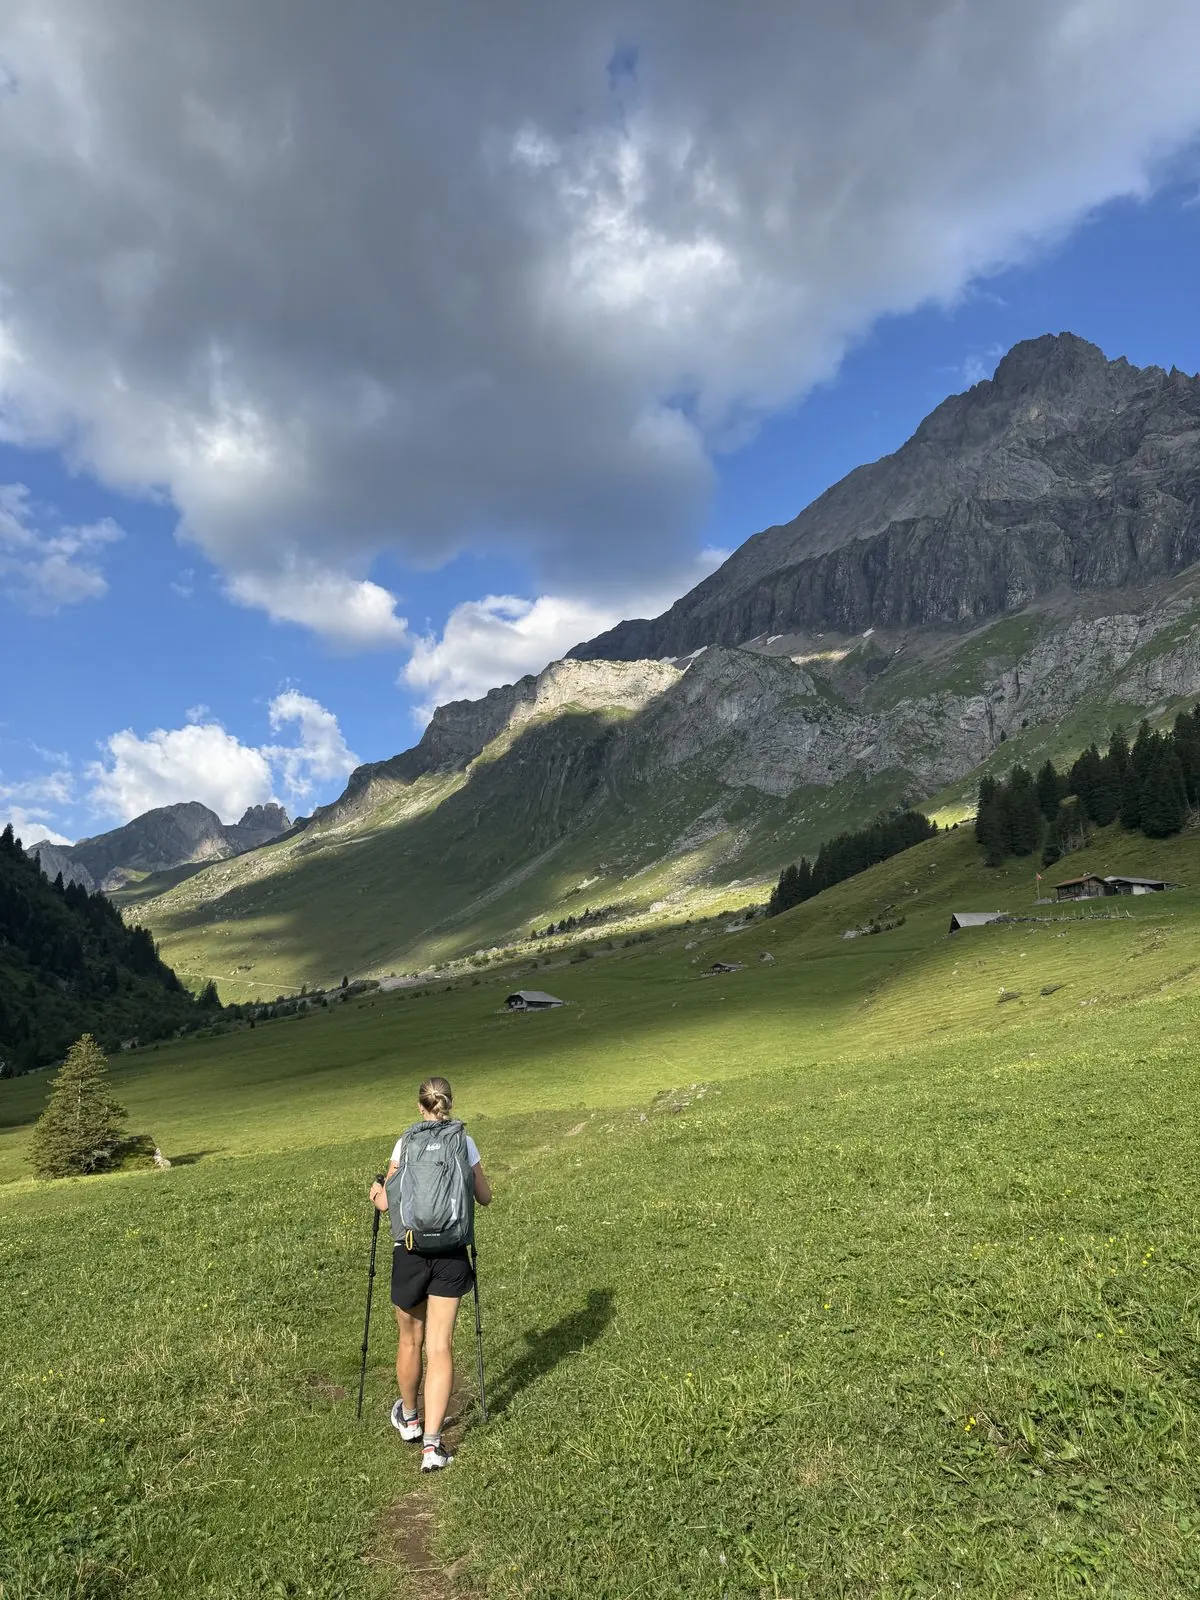
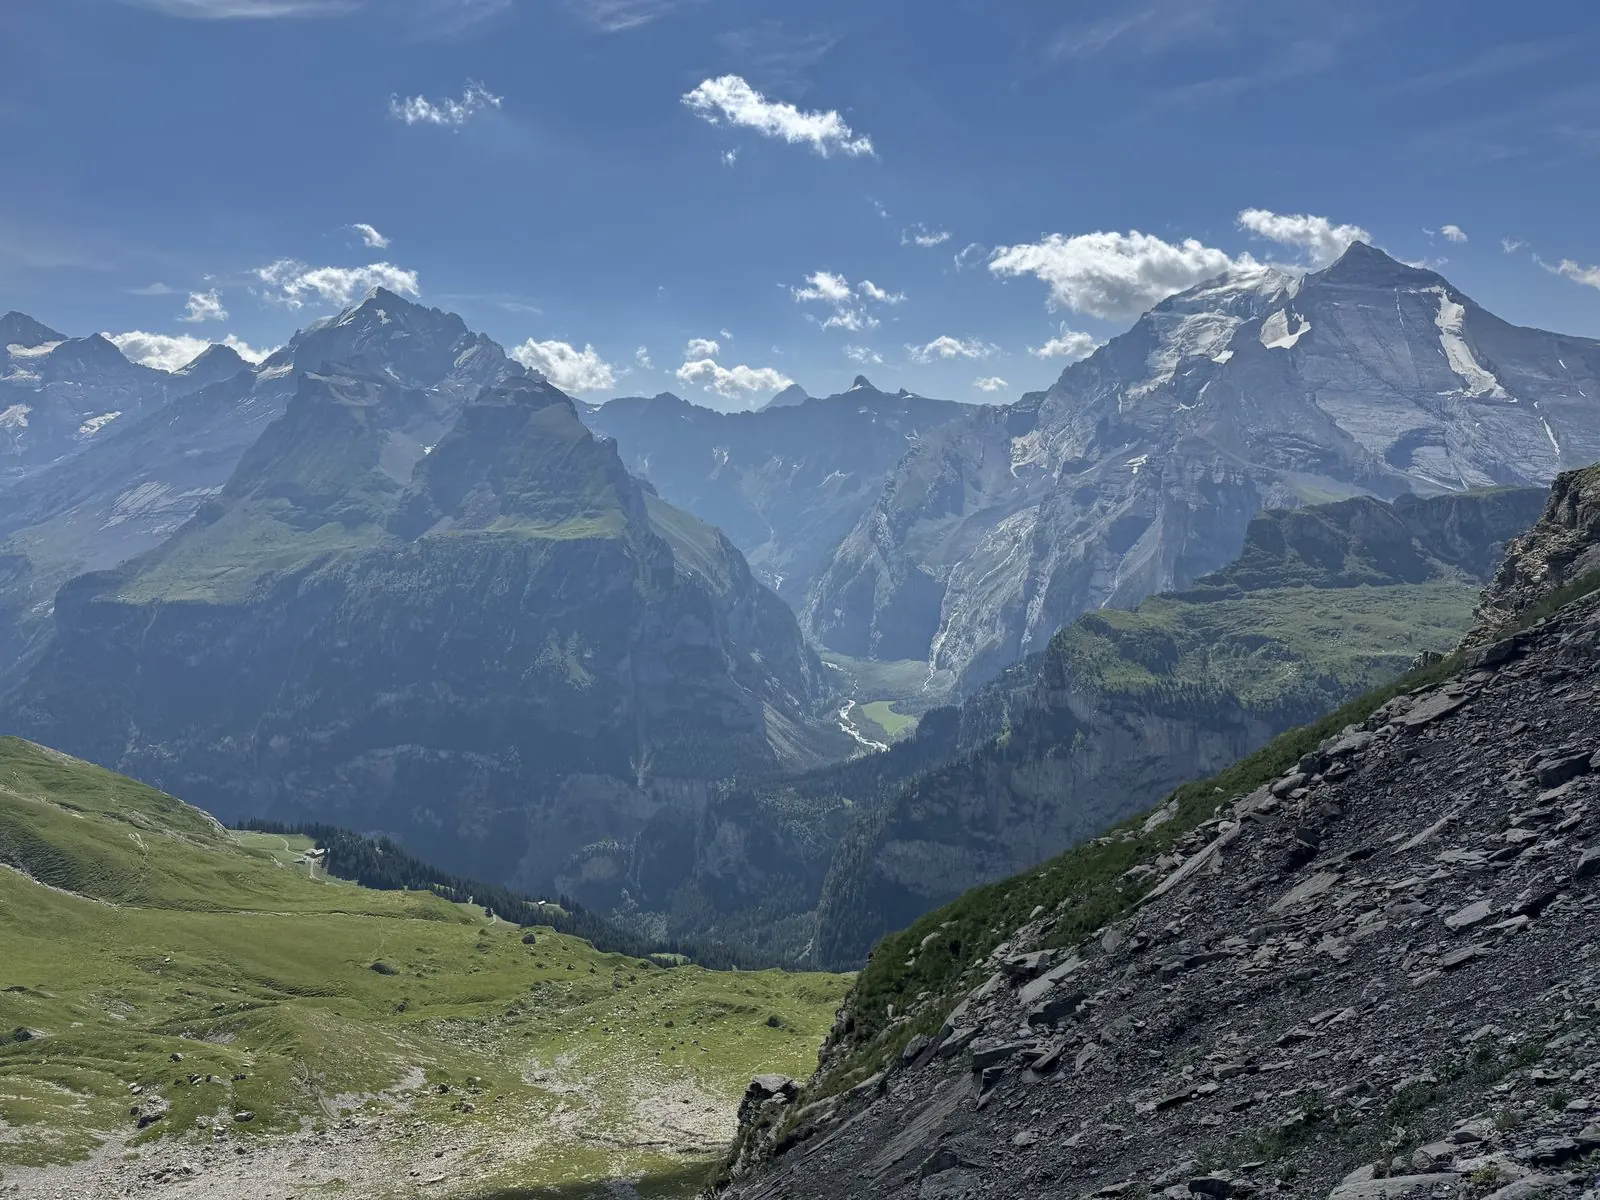
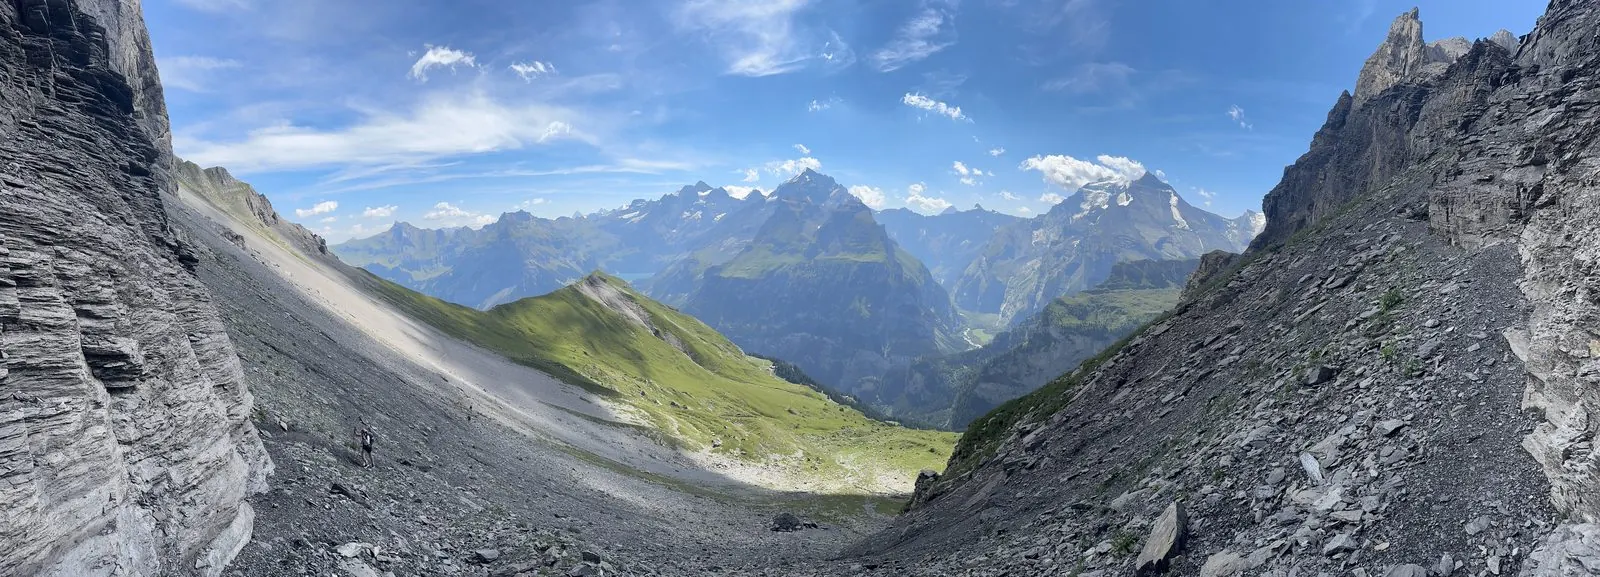
A long, exposed crossing over the Sefinenfurgge into the Griesalp valley.
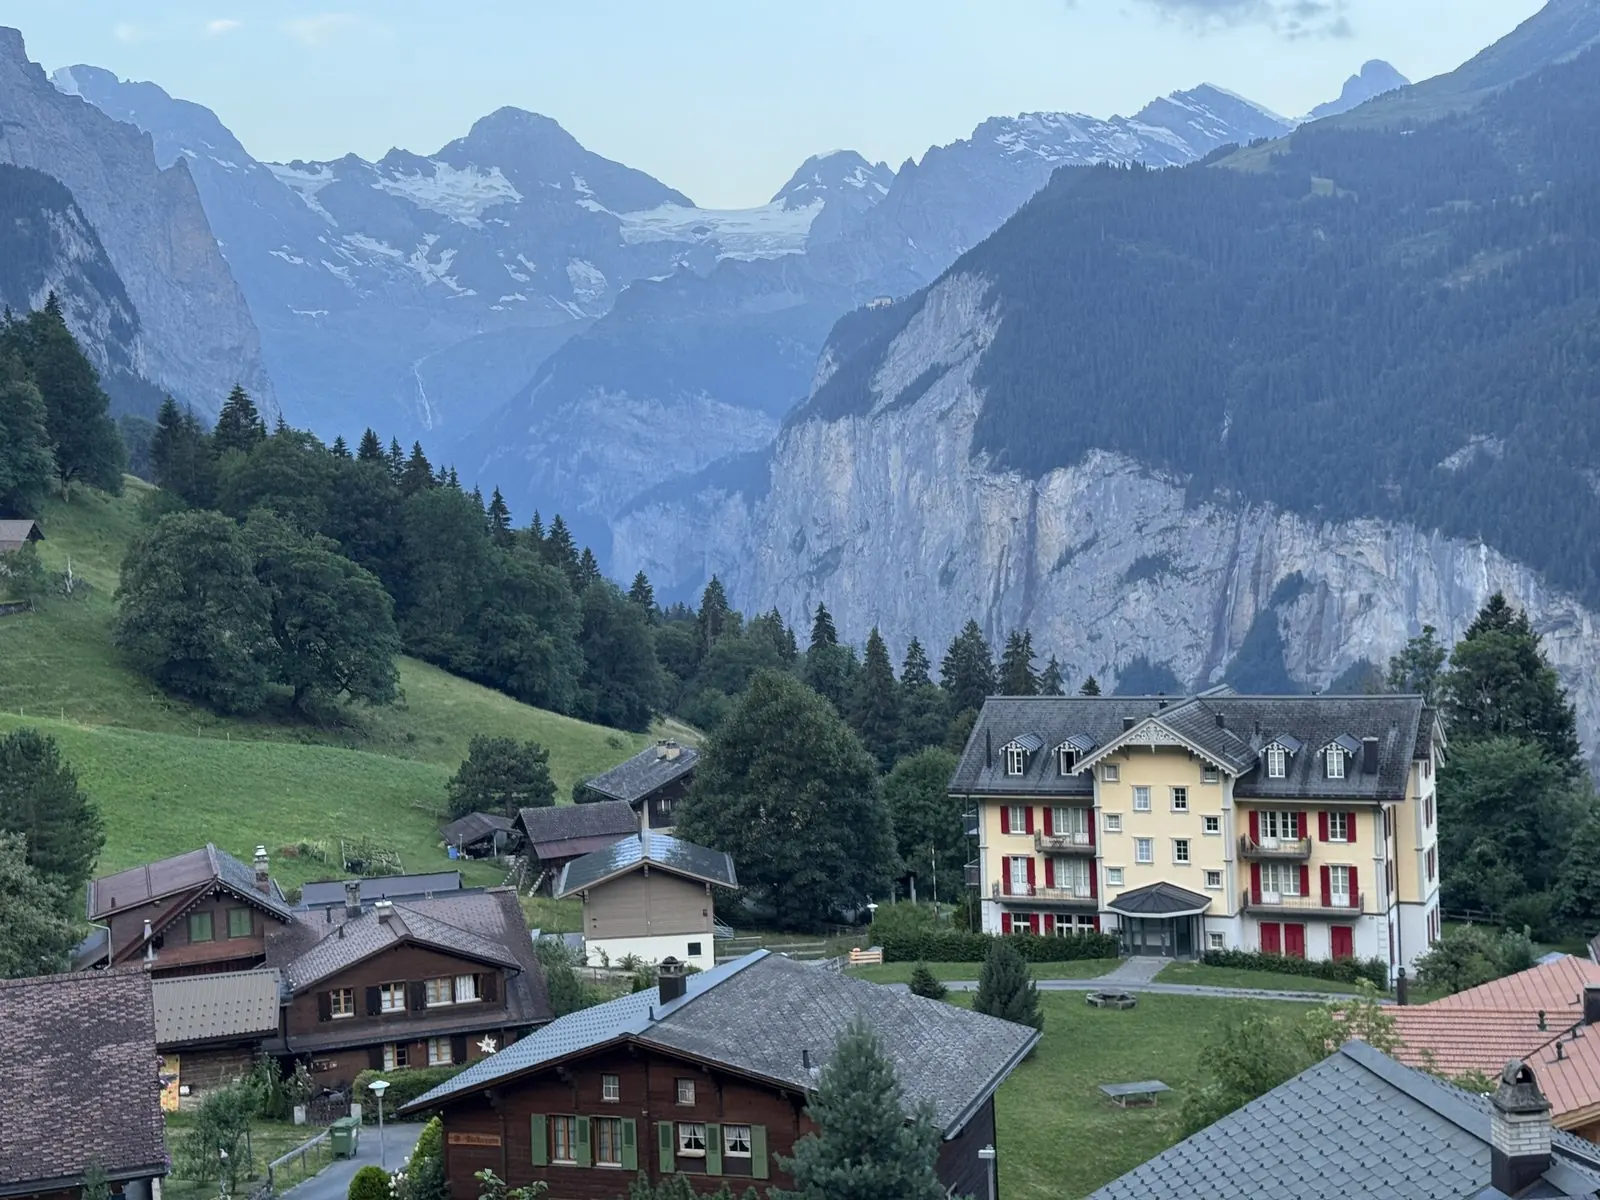
Day 3: Wengen to Griesalp -- photo 1
Day 3: Wengen to Griesalp -- photo 2 Day 3: Wengen to Griesalp -- photo 3 Day 3: Wengen to Griesalp -- photo 4 Day 3: Wengen to Griesalp -- photo 5 Day 3: Wengen to Griesalp -- photo 6 Day 3: Wengen to Griesalp -- photo 7 Day 3: Wengen to Griesalp -- photo 8 Day 3: Wengen to Griesalp -- photo 9 Day 3: Wengen to Griesalp -- photo 10 Day 3: Wengen to Griesalp -- photo 11 Day 3: Wengen to Griesalp -- photo 12 Day 3: Wengen to Griesalp -- photo 13 Day 3: Wengen to Griesalp -- photo 14 Day 3: Wengen to Griesalp -- photo 15 Day 3: Wengen to Griesalp -- photo 16 Day 3: Wengen to Griesalp -- photo 17 Day 3: Wengen to Griesalp -- photo 18

Day 4: Griesalp to Kandersteg

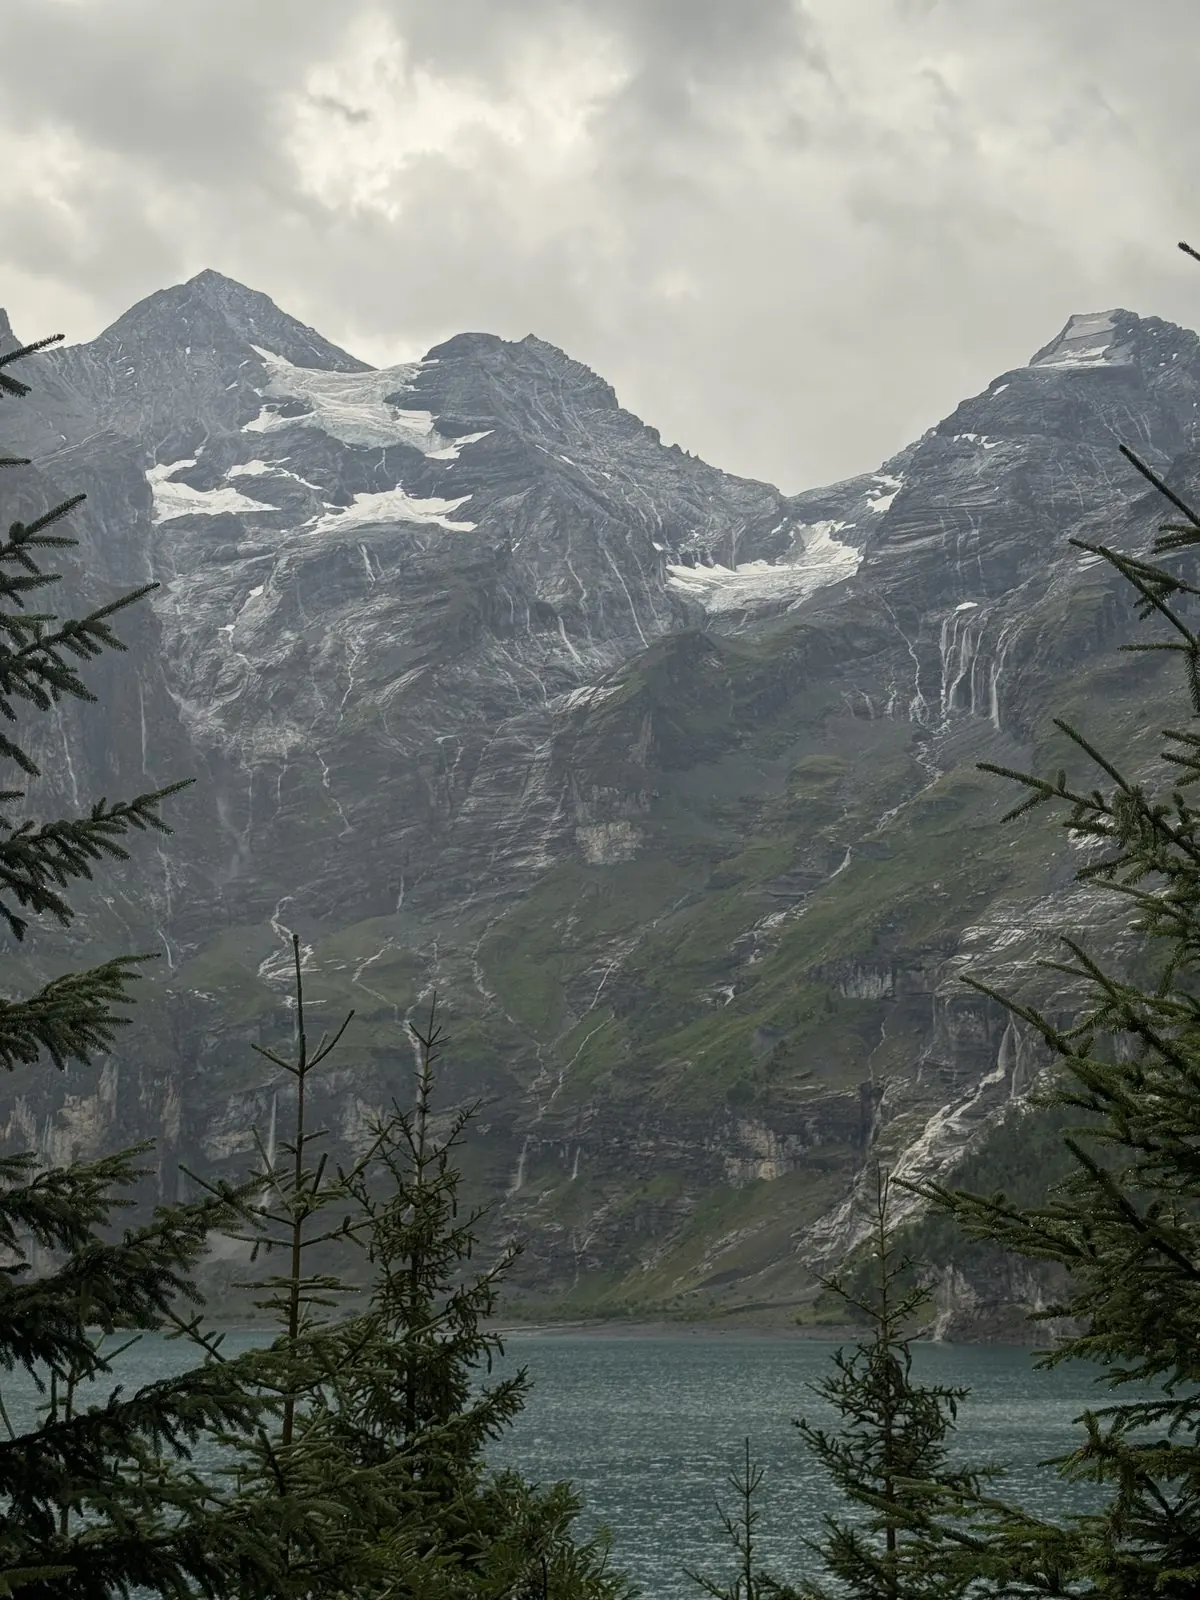
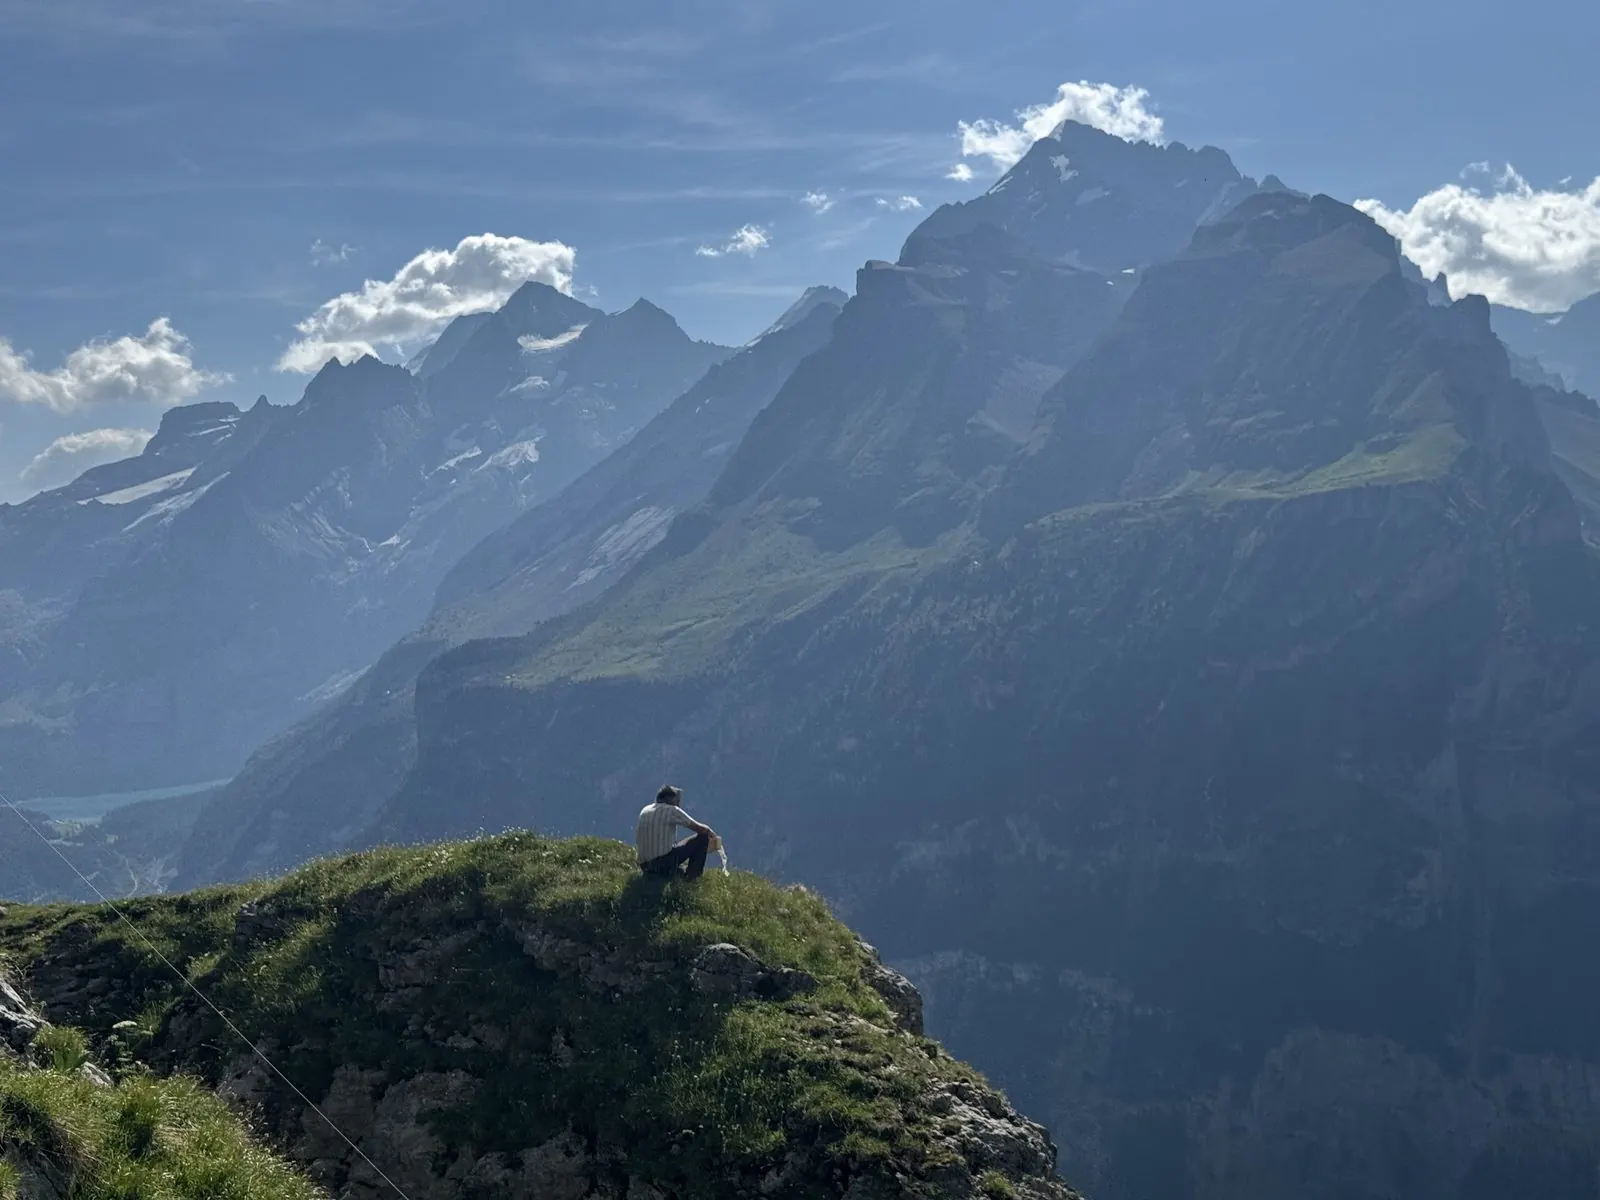
Our biggest climb of the trip, up and over the Hohtuerli pass past the Bluemlisalp hut, then down past Lake Oeschinen into Kandersteg.
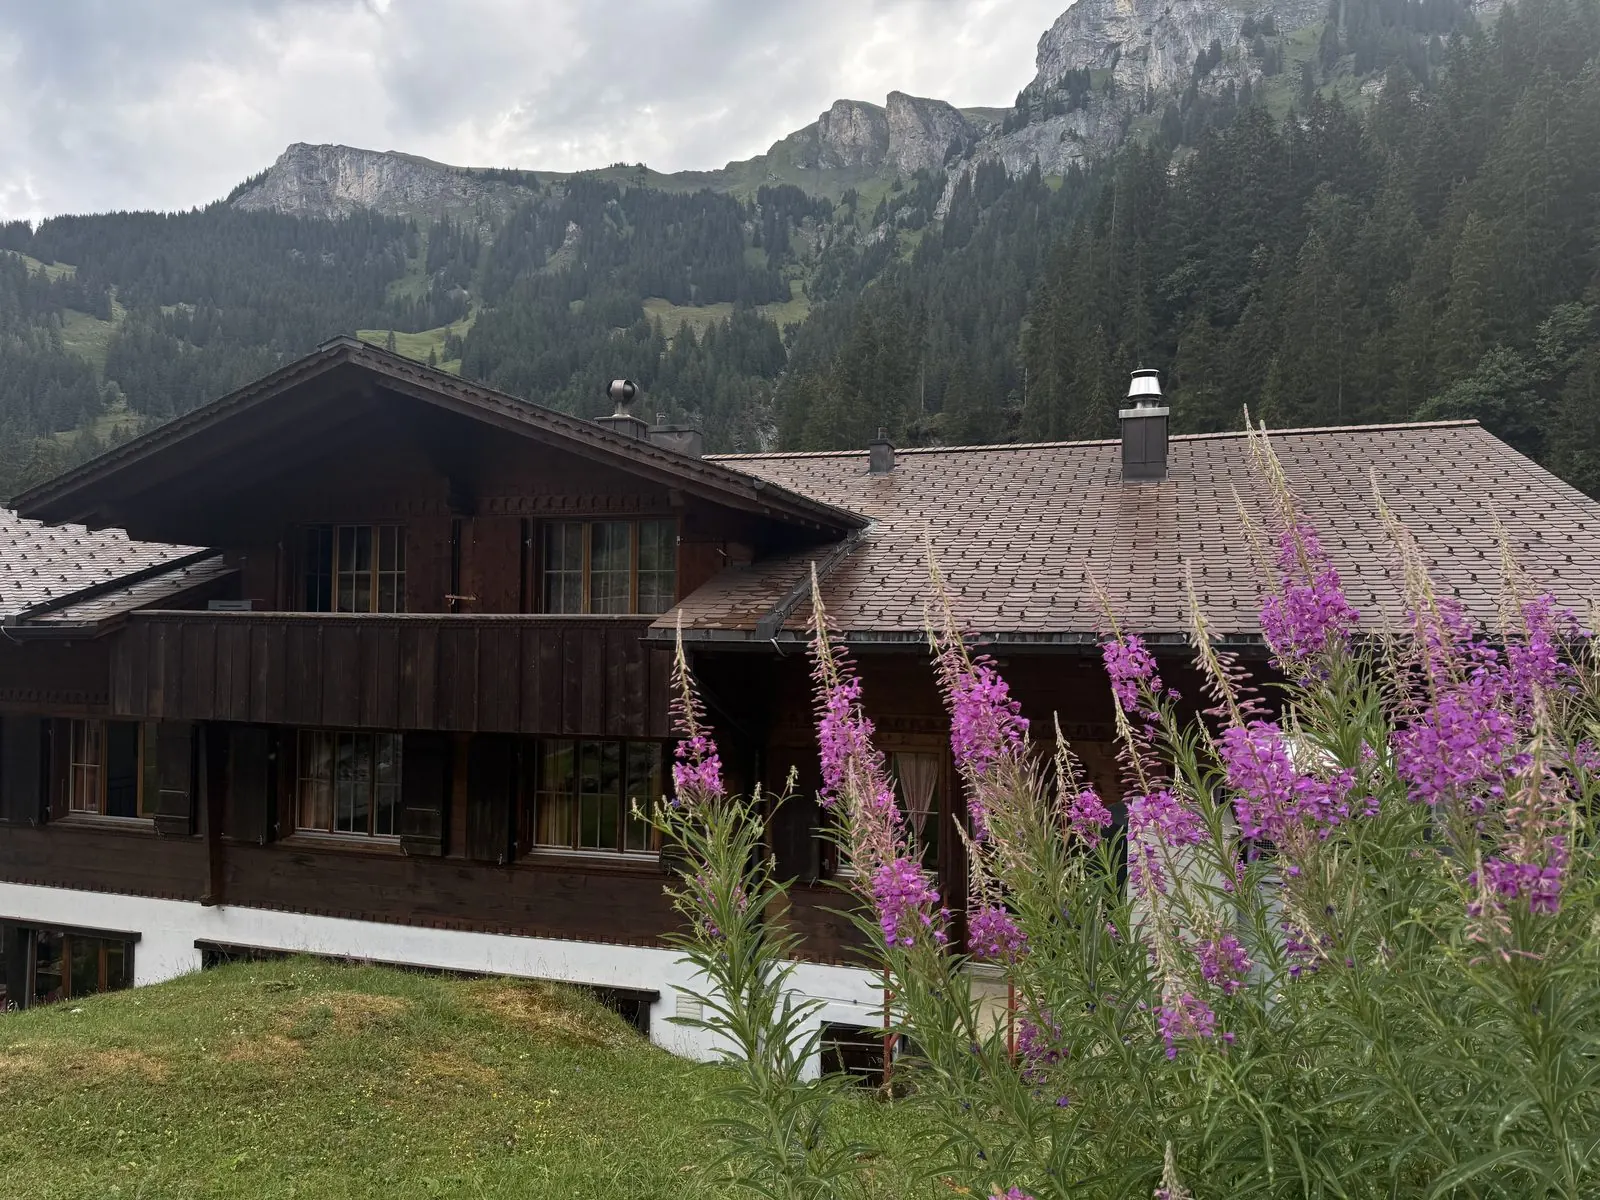
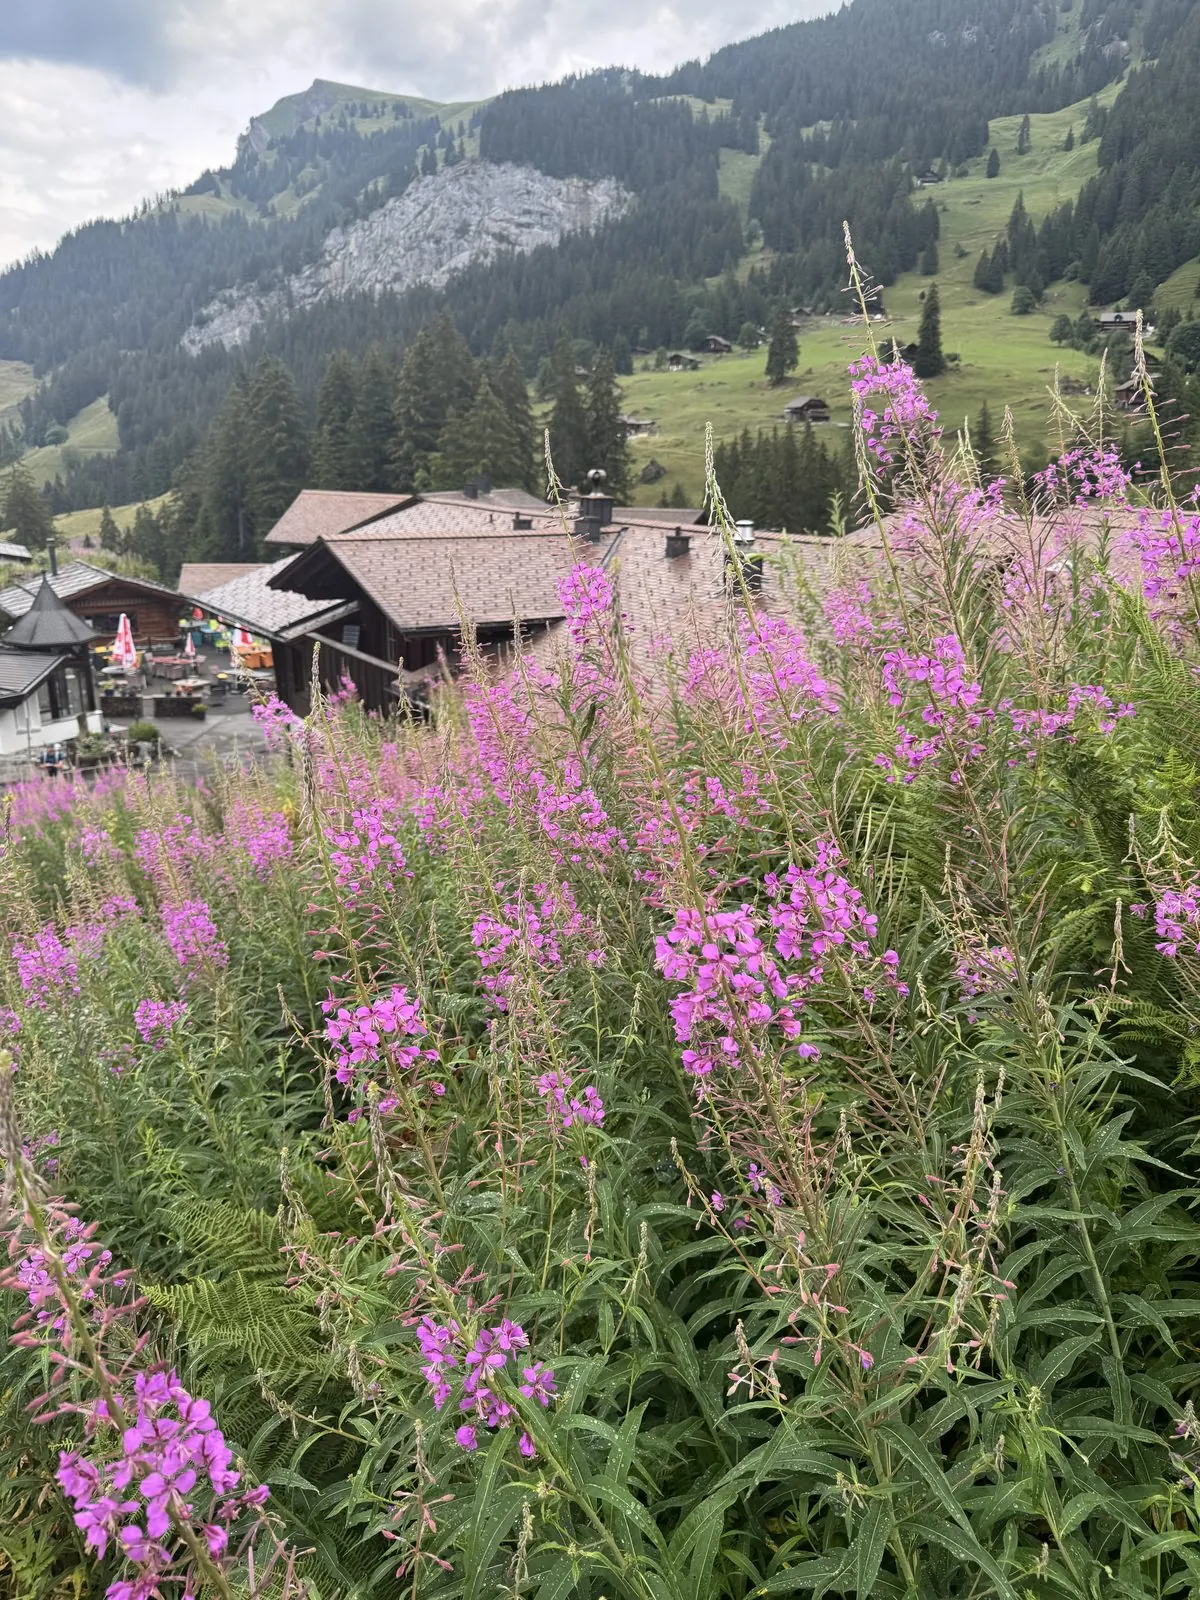
Day 4: Griesalp to Kandersteg -- photo 1
Day 4: Griesalp to Kandersteg -- photo 2 Day 4: Griesalp to Kandersteg -- photo 3 Day 4: Griesalp to Kandersteg -- photo 4 Day 4: Griesalp to Kandersteg -- photo 5 Day 4: Griesalp to Kandersteg -- photo 6 Day 4: Griesalp to Kandersteg -- photo 7 Day 4: Griesalp to Kandersteg -- photo 8 Day 4: Griesalp to Kandersteg -- photo 9 Day 4: Griesalp to Kandersteg -- photo 10 Day 4: Griesalp to Kandersteg -- photo 11 Day 4: Griesalp to Kandersteg -- photo 12 Day 4: Griesalp to Kandersteg -- photo 13 Day 4: Griesalp to Kandersteg -- photo 14

Day 5: Kandersteg to Adelboden

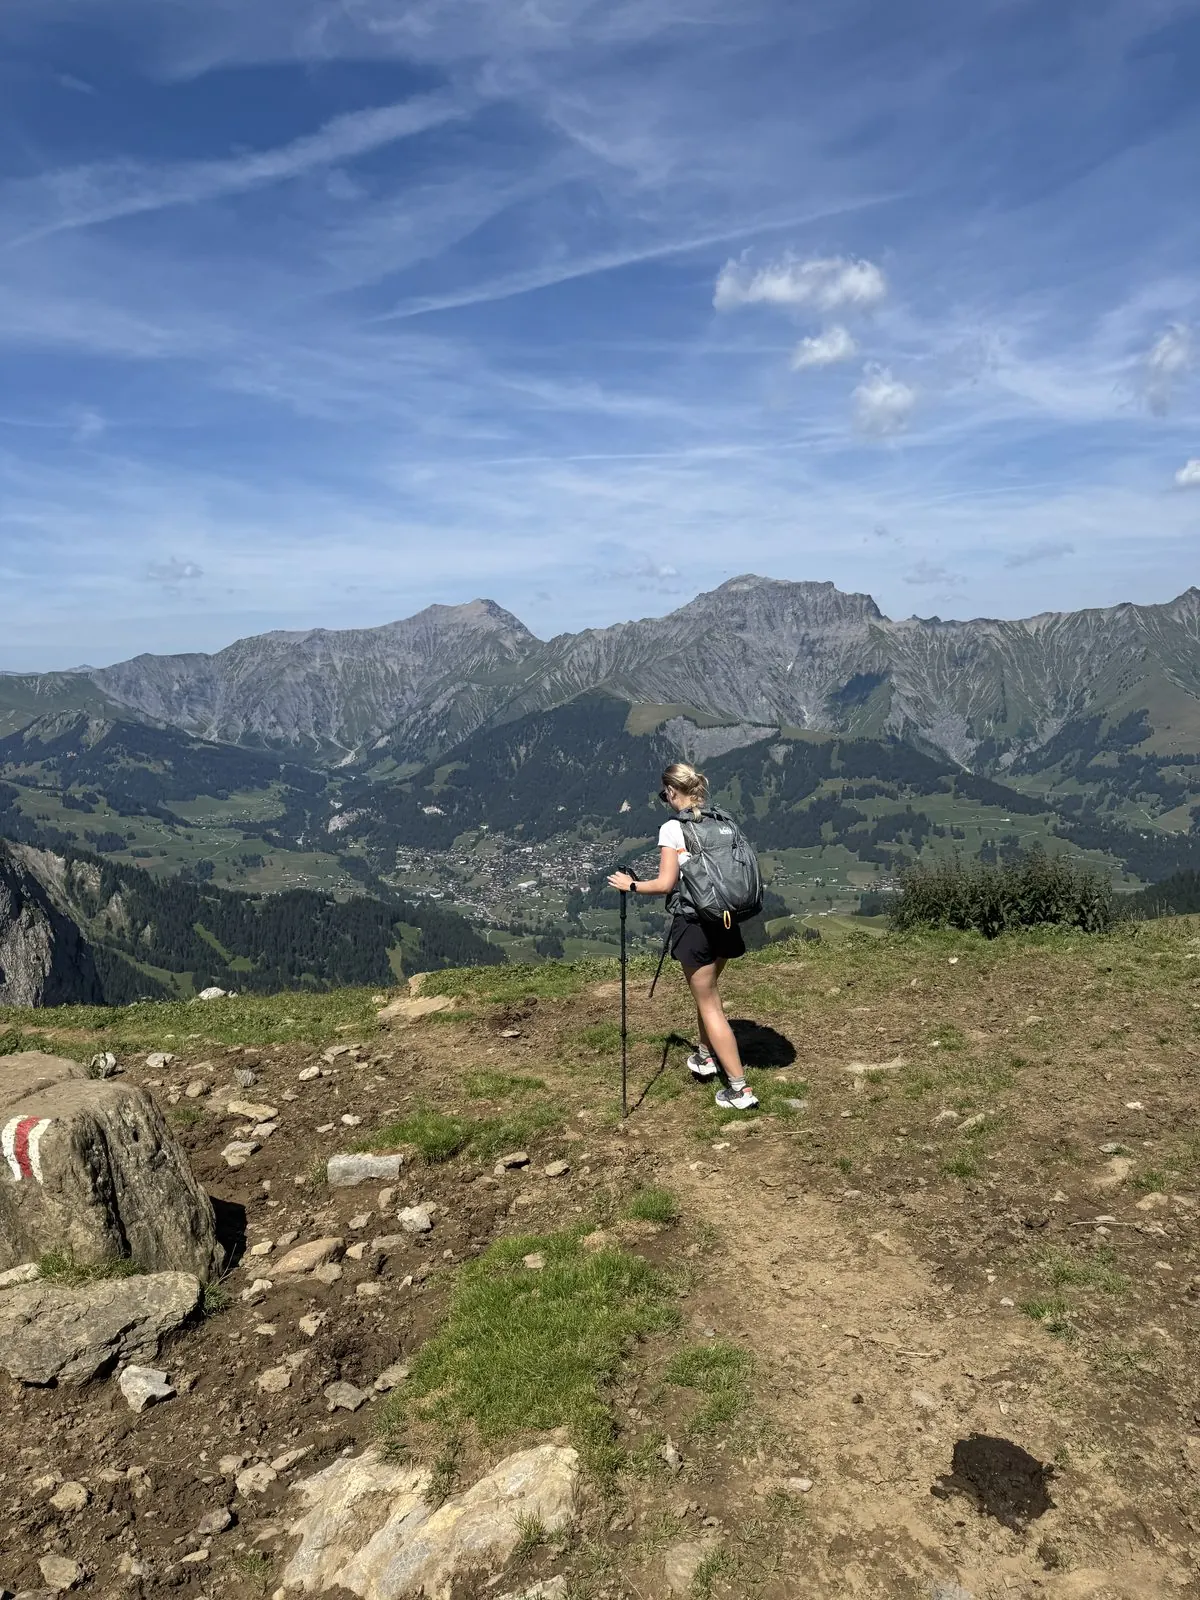
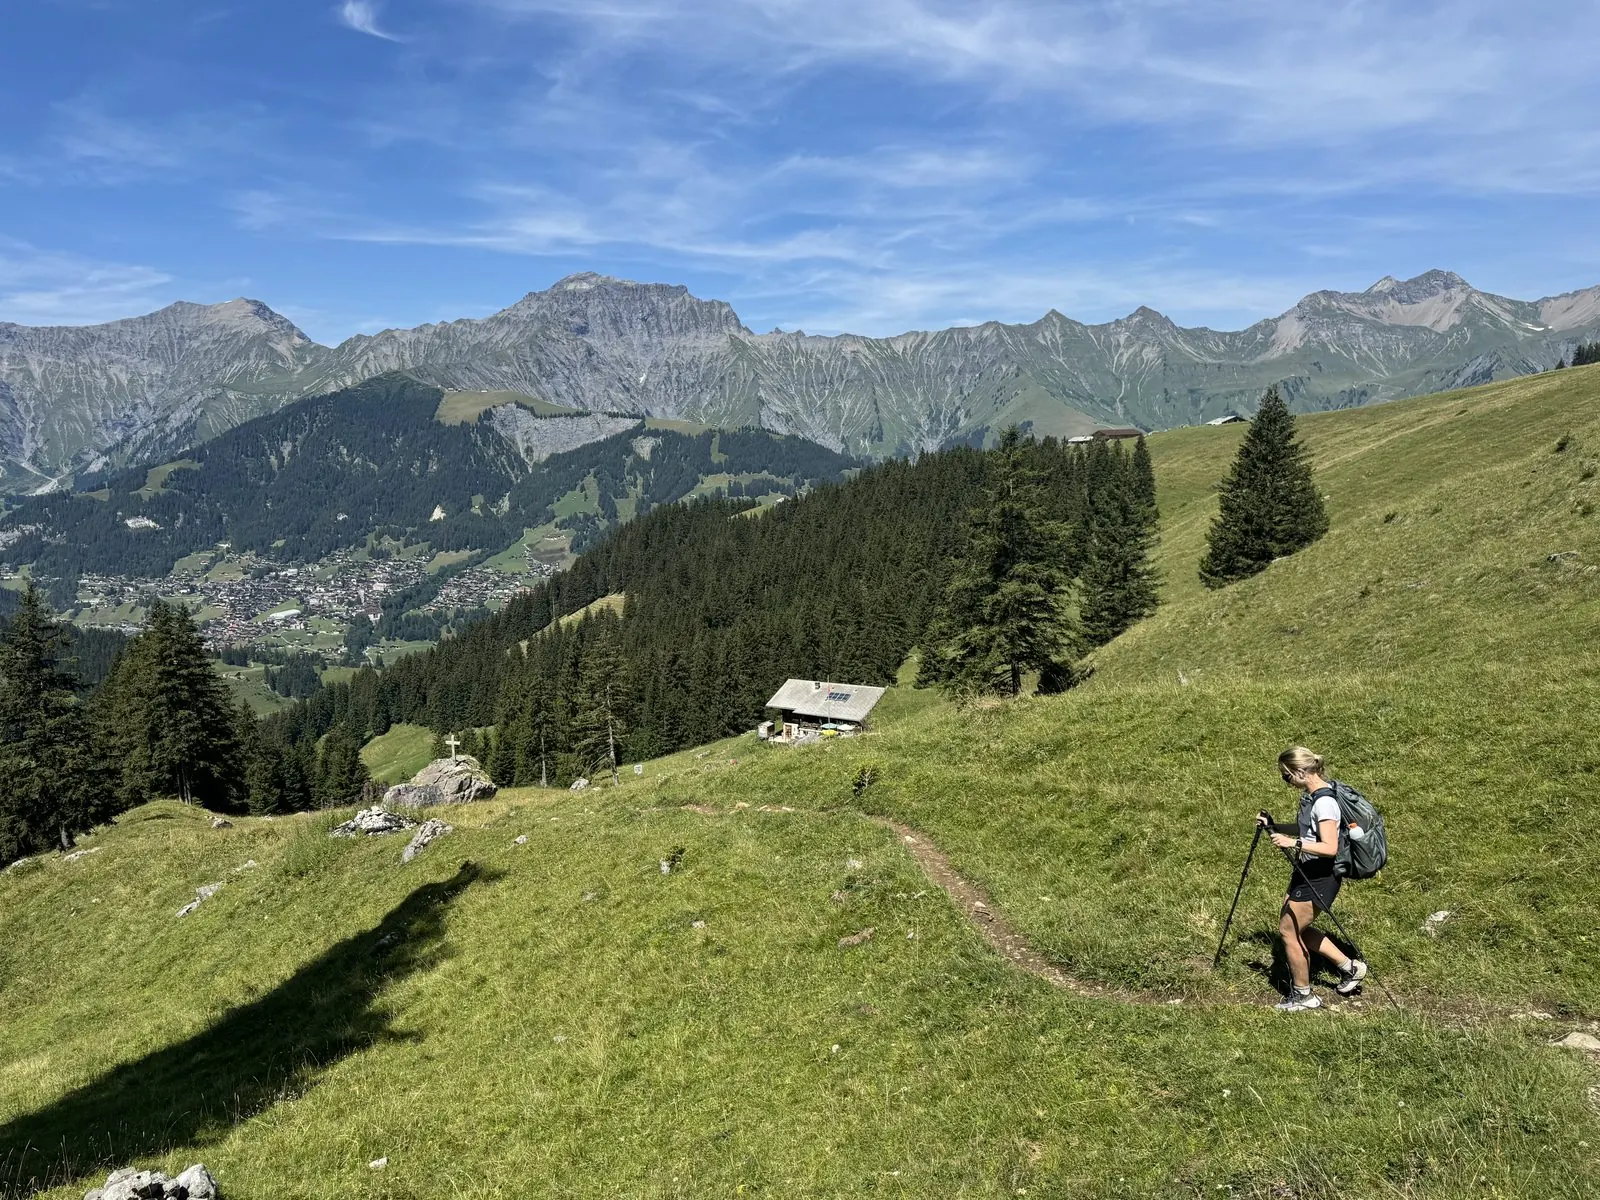
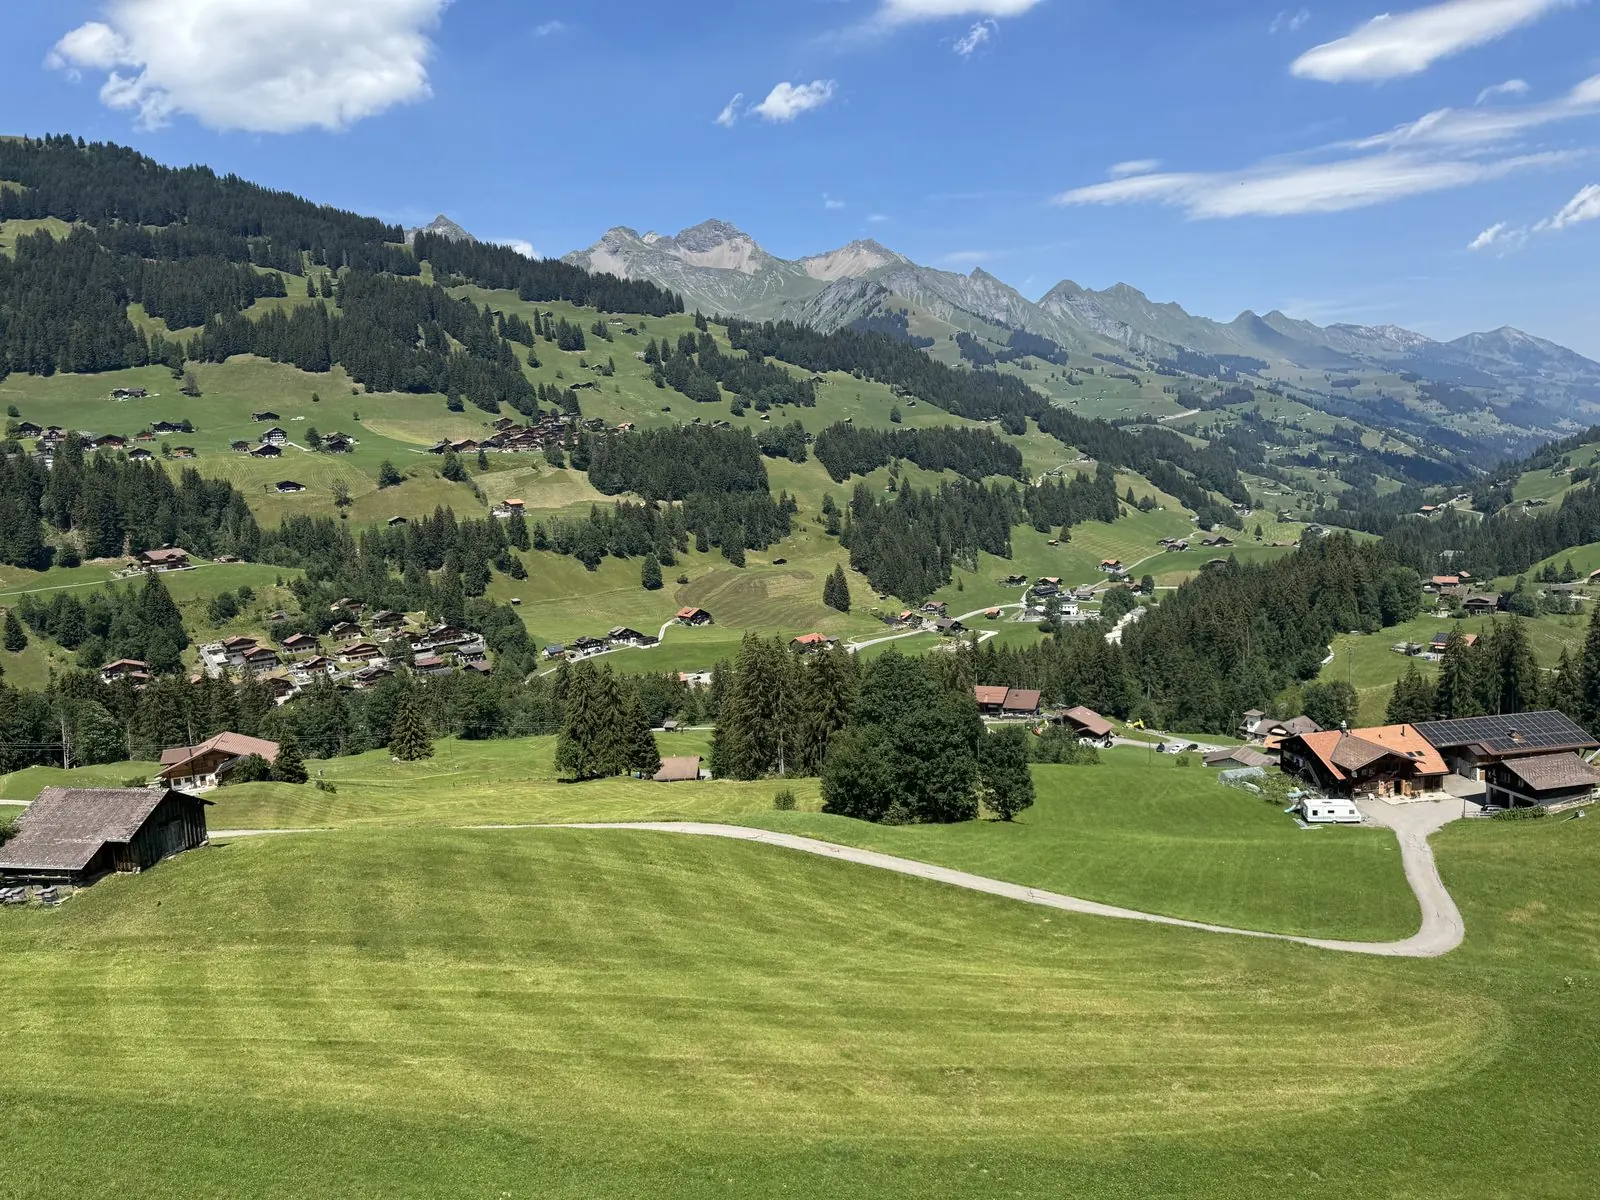
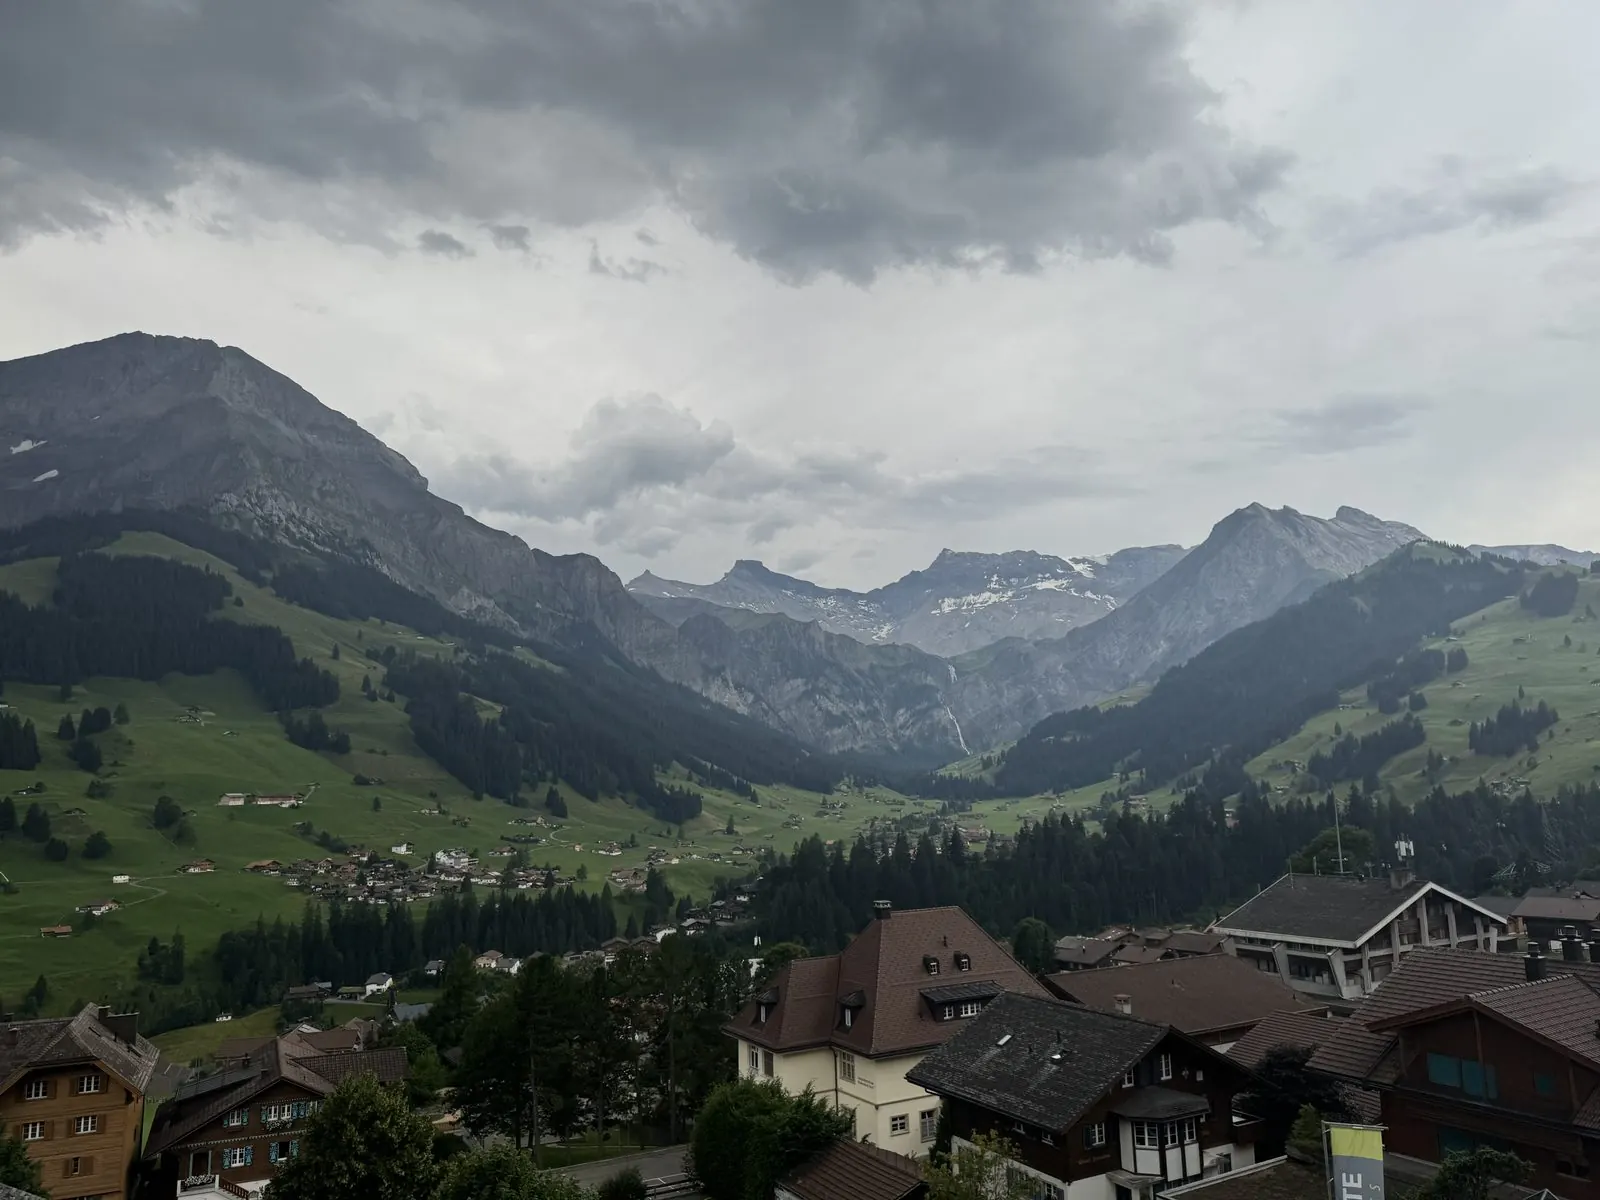
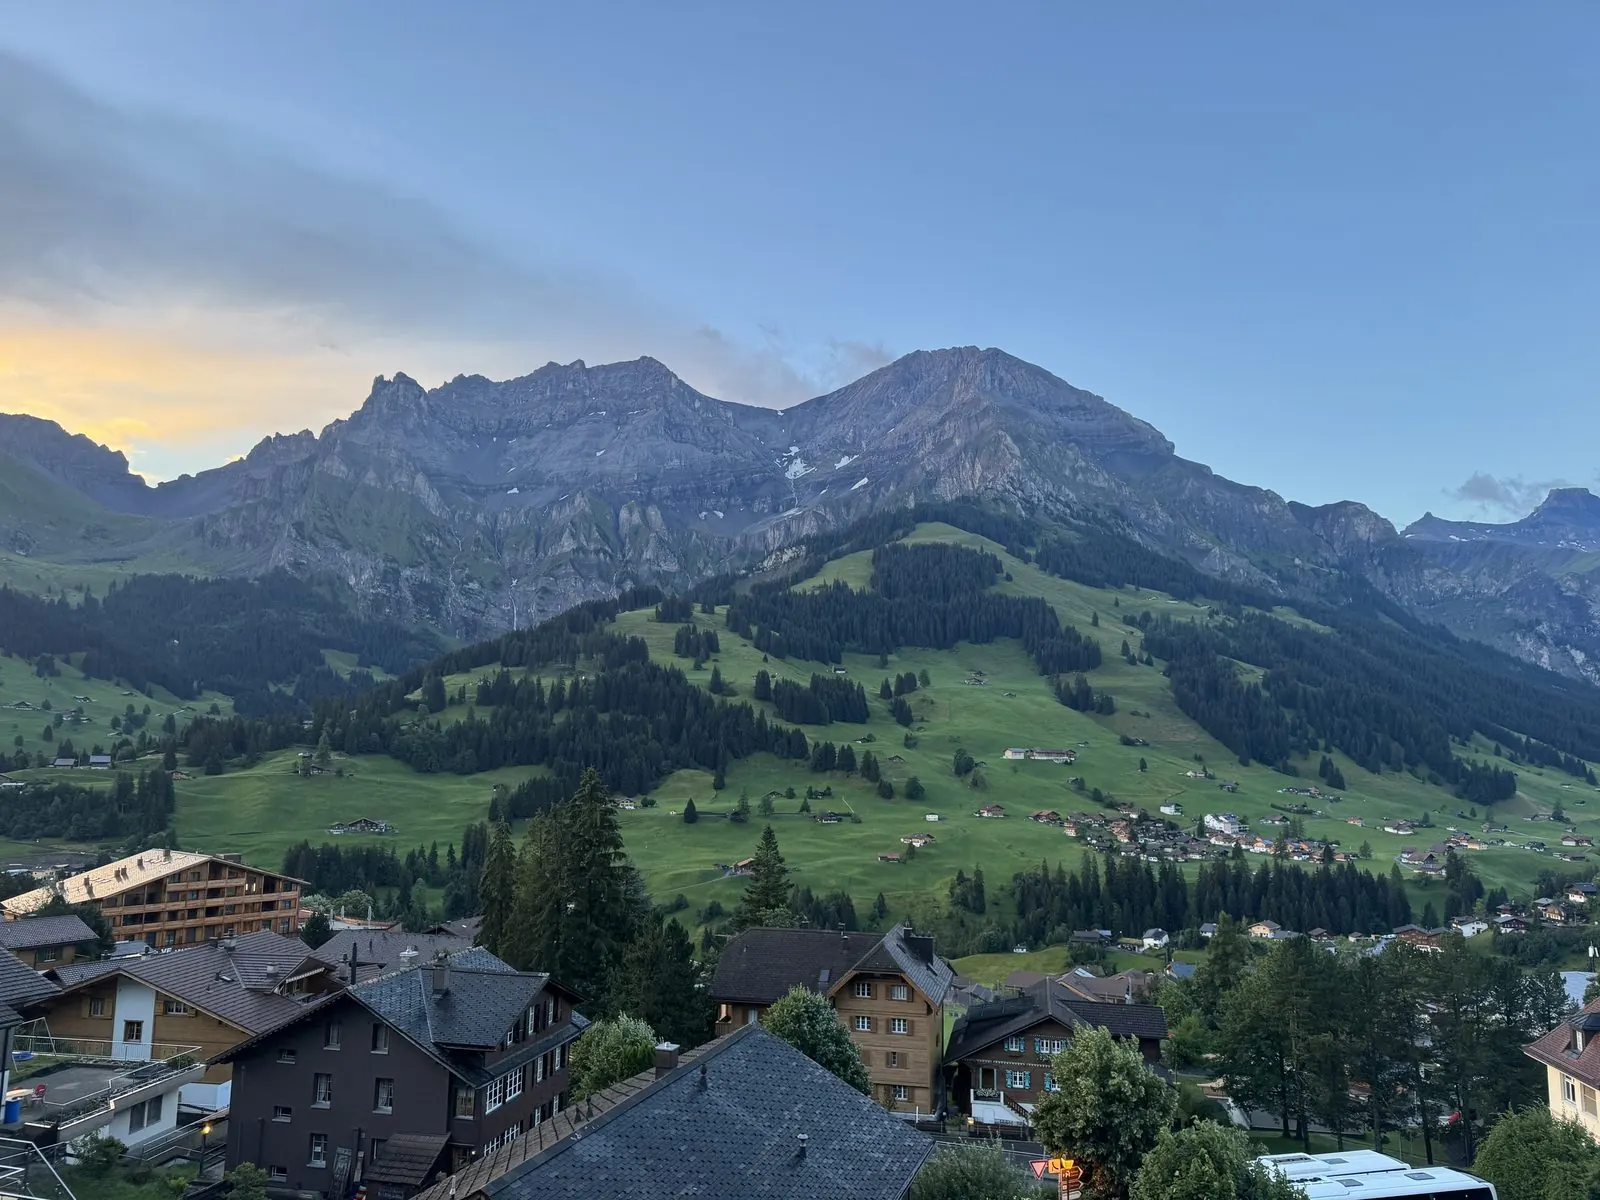
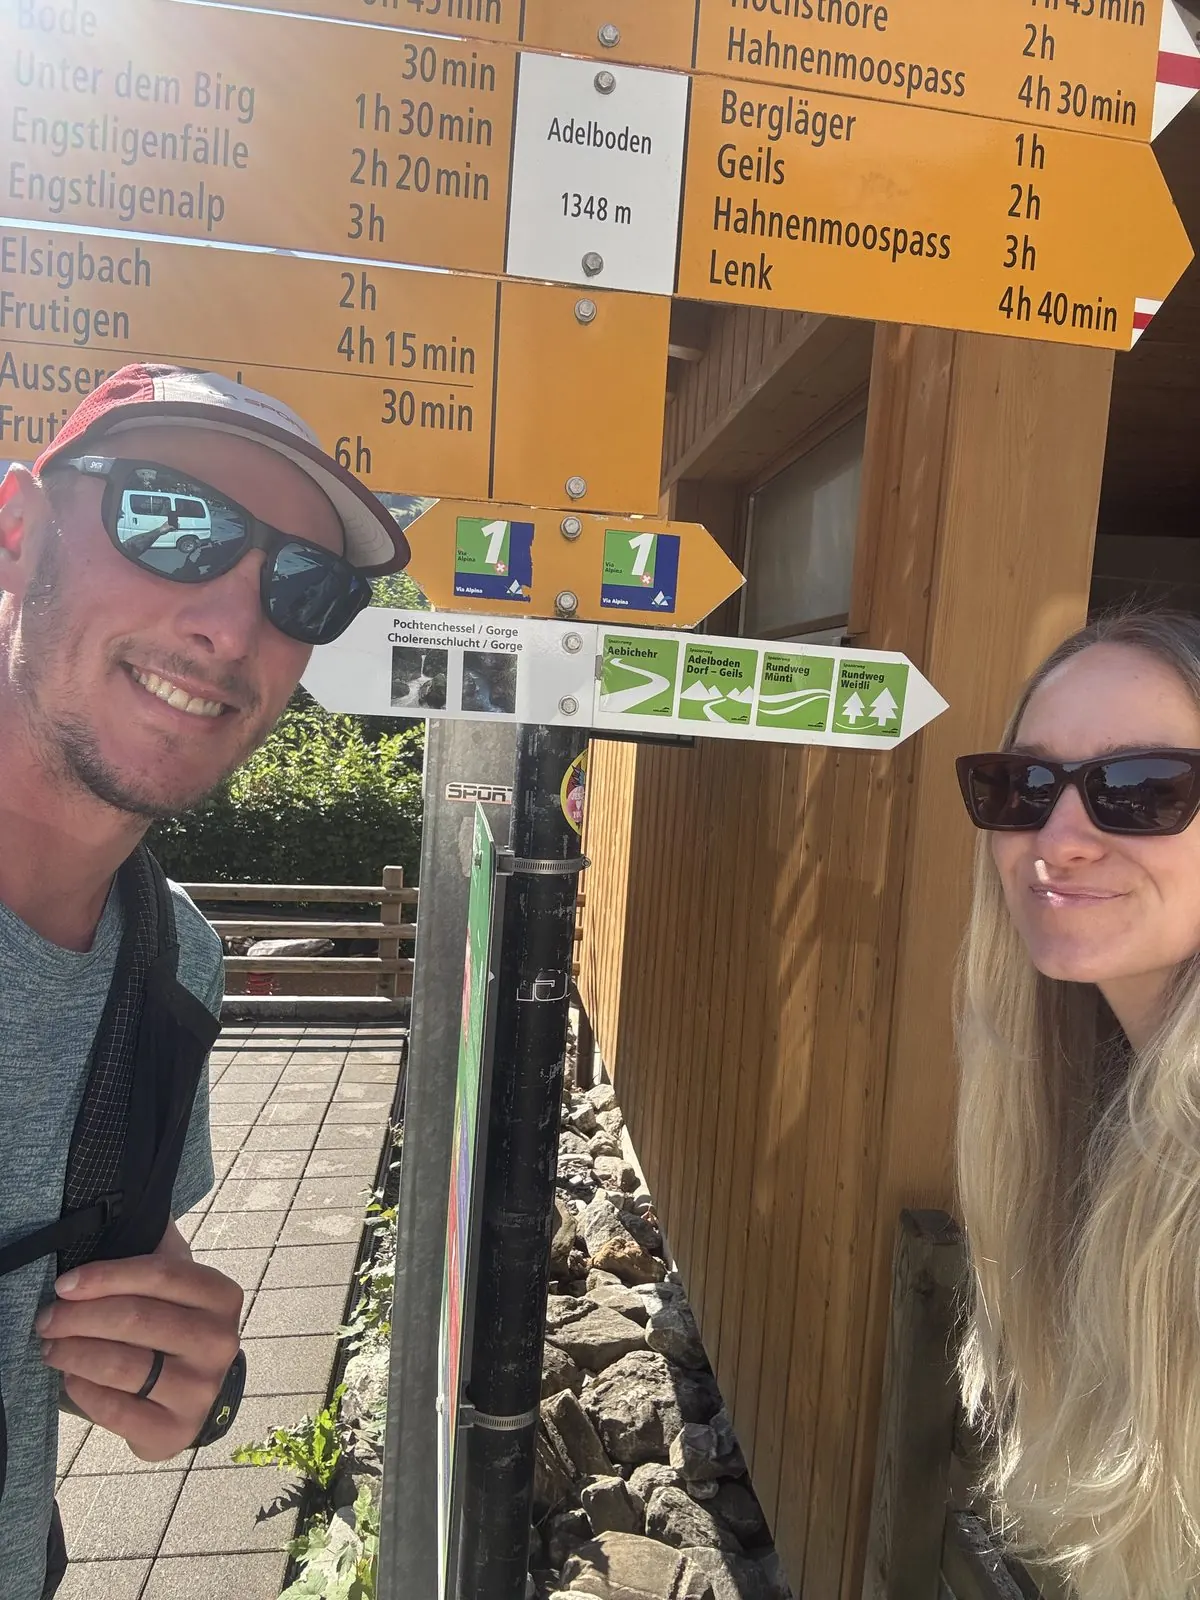
One final climb over the Hahnenmoospass, closing out the Via Alpina in Adelboden.
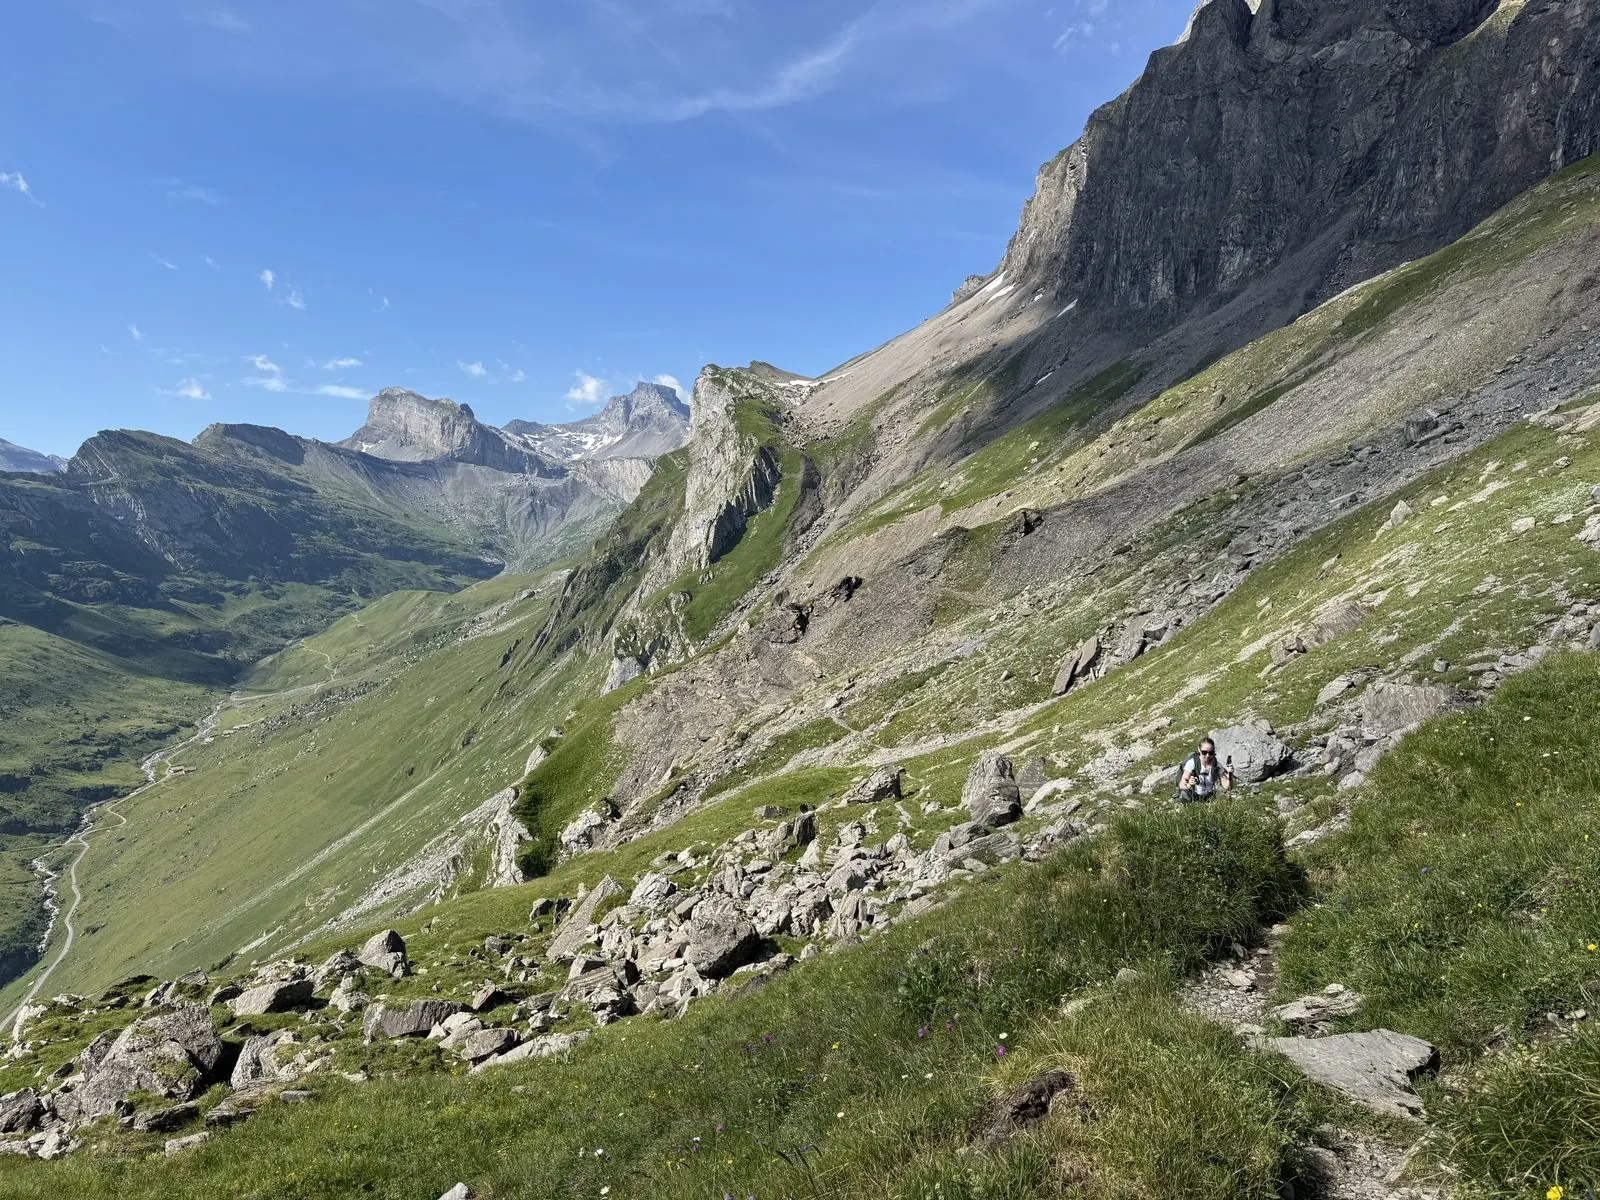
Day 5: Kandersteg to Adelboden -- photo 2
Day 5: Kandersteg to Adelboden -- photo 1 Day 5: Kandersteg to Adelboden -- photo 3 Day 5: Kandersteg to Adelboden -- photo 4 Day 5: Kandersteg to Adelboden -- photo 5 Day 5: Kandersteg to Adelboden -- photo 6 Day 5: Kandersteg to Adelboden -- photo 7 Day 5: Kandersteg to Adelboden -- photo 8 Day 5: Kandersteg to Adelboden -- photo 9 Day 5: Kandersteg to Adelboden -- photo 10 Day 5: Kandersteg to Adelboden -- photo 11